Easy and fast: how to make a paper cube
When a cube base is needed for crafts, you need to know how to make a cube out of paper. The homemaster.techinfus.com/en/ editorial staff will be happy to advise you in what ways you can do this, and you will choose the option that you like best.
The content of the article [Hide]
Secrets of making a simple volumetric cube
When a cube is suddenly needed in the house, there is nothing easier than make it out of paper... There are several assembly methods.
How to make a paper cube: a sweep diagram
Unfolding is a simple scheme that will allow assemble a bulky product from material... You can print, glue or make a cube sweep.
Manufacturing instruction
Let's decide which cube we want to assemble from paper or cardboard, or maybe you want to make a cube with photographs with your own hands?
How to make a paper cube
How to make a paper cube according to the scheme? It is easy and simple to download and print. Then you can follow simple instructions and get the desired result.
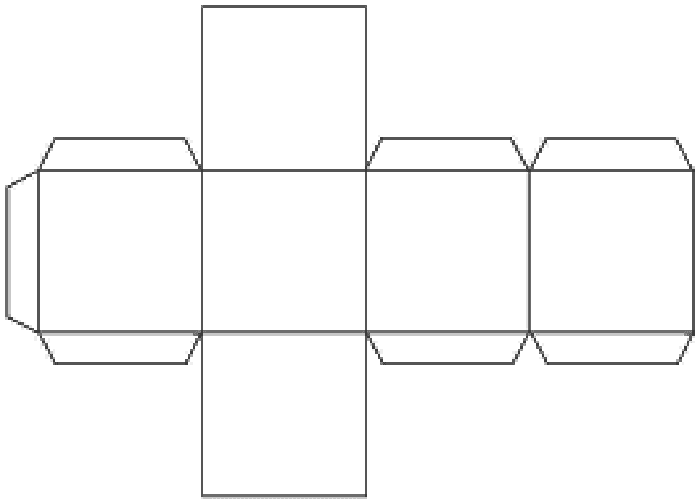
To create a scan, they independently prepare paper, a simple pencil, a ruler and scissors. Since each side of the cube is square, then we need to draw squares with perfectly even right angles.
Any cube has 6 faces, so there should be exactly six of them in the scheme. First, we draw the central square of the desired width (remember that the possibilities of A4 are not limitless), and around it we draw 4 more squares with the same side length. The last square we draw the assembly on any element
In addition to the edges, gluing allowances are required. We draw them from the side, drawing them to the three sides. Each allowance should not be more than 1 cm. Do not forget that 45º corners are cut on allowances.
You can take scissors and cut everything along the lines. We bend the faces of the future cube. All allowances are also neatly bent and coated with glue. Now all that remains is to glue all the parts and let the product dry.
How to make a cube out of cardboard
We figure out how to make a cardboard cube with our own hands.
The difference in making a cube from paper and cardboard is only that first we make a sweep out of paper if the cardboard is very dense... This will help to avoid mistakes and sloppiness. Nobody forbids applying markings directly to the wrong side of the cardboard.
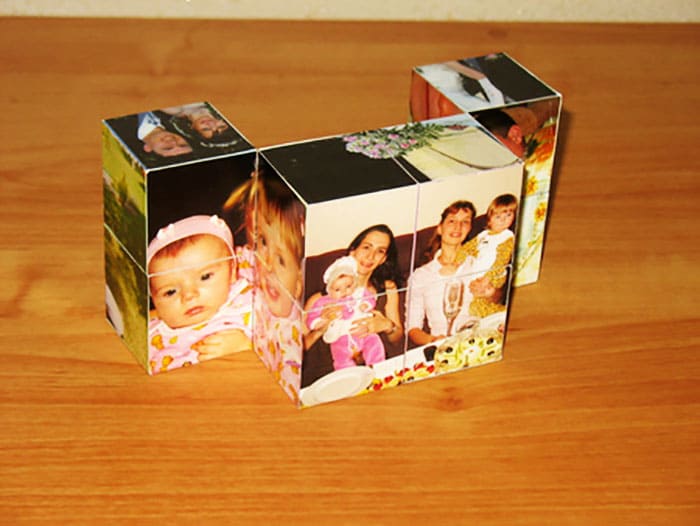
DIY photo cube: creative photo album
How to make a cube with photos with your own hands? This is a creative puzzle that allows you to assemble different photographs.
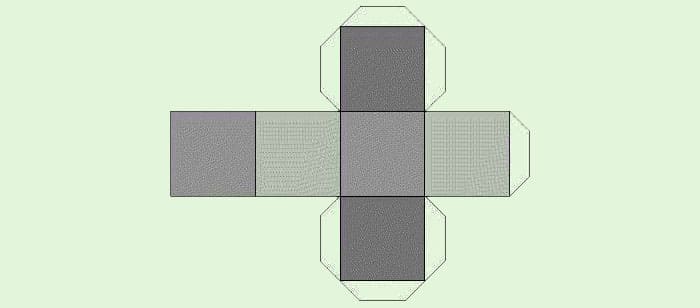
The do-it-yourself cardboard cube scheme is absolutely identical to the paper analogue scheme and can be reproduced even by a child
PHOTO: syl.ru
To make a funny photo album on a transforming cube, you need to glue a piece of a photo or picture on each side of it.
In the work, they use glue, ready-made cubes assembled from cardboard (edges of 4 cm), scotch tape.
It is better to print the photos so that they match in size. The image must be taken with dimensions 8 × 8 cm². You can immediately make a ruled line with a width of 1 pixel: it will be easy to cut along it after printing, and the line itself will be invisible.
If we take 8 cubes, then you need to prepare 10 photos. The picture is cut into 4 parts along the selected line, and each element is glued to the edge. But before that, you first need to stick strips of double-sided tape in a certain way.
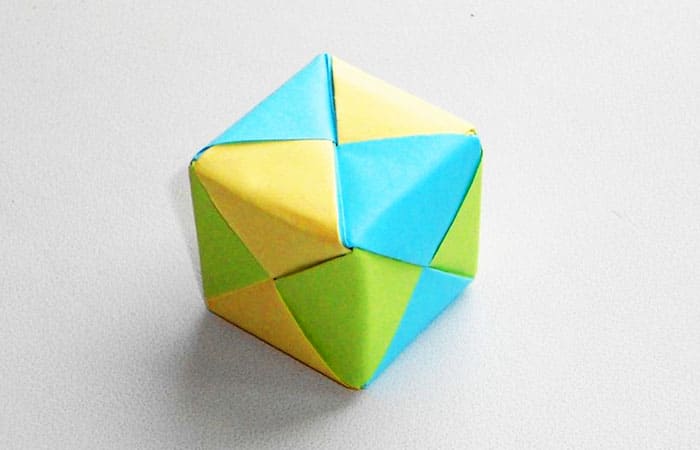
How to make an original and bright modular paper cube with your own hands
Creativity knows no boundaries, and paper is a source of inspiration for different people. Let's see how to make a cube from A4 sheets of paper.
Manufacturing instruction
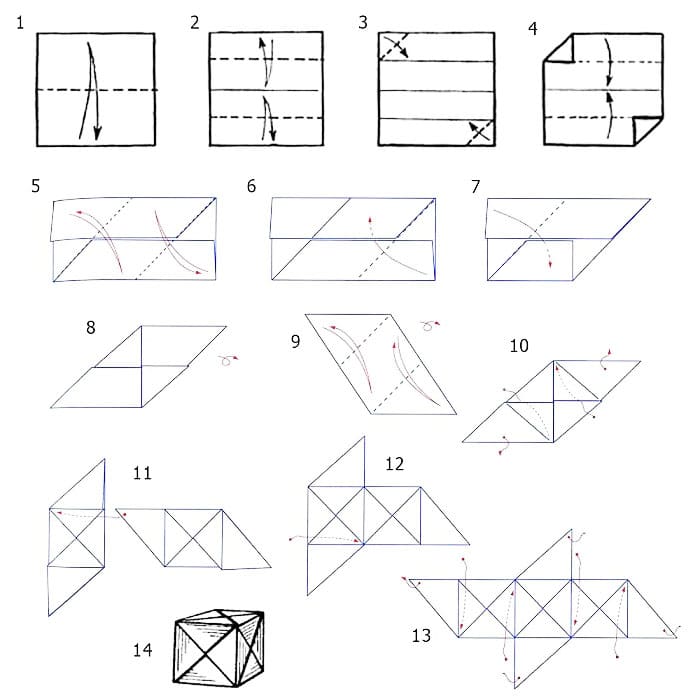
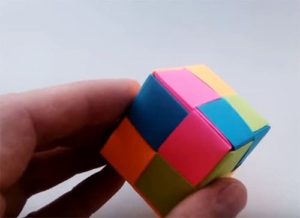
Let's figure out how to make a paper cube by assembling it from modules. For the product, 6 sheets of paper are needed, from each we need to cut a 15 × 15 cm² square. These sizes are convenient for work.
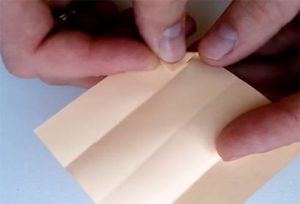
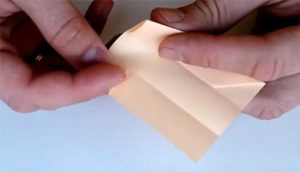
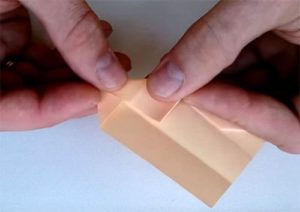
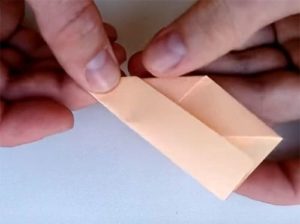
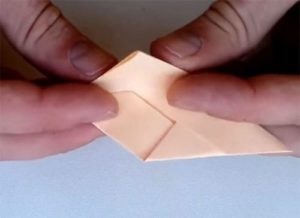
First, fold the sheet in half to create folds, and spread and fold each side towards the center. Now turn the paper over and fold its corners towards the center, making a trapezoid. Only opposite corners can be folded.
The corners must be released and all stages of the folds repeated for each square. In total, we have 6 modules for assembly.
Module assembly process:
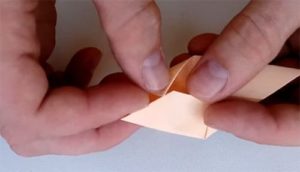
- We take 2 modules, insert the corner of the first into the slot of the second, as in the photo.
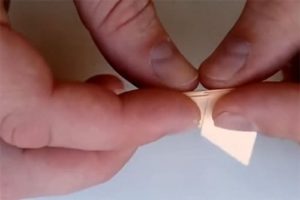
- The second element needs to be inserted in the other direction: each slot will fit two triangles.
- It remains to add one more face, filling in the triangles.
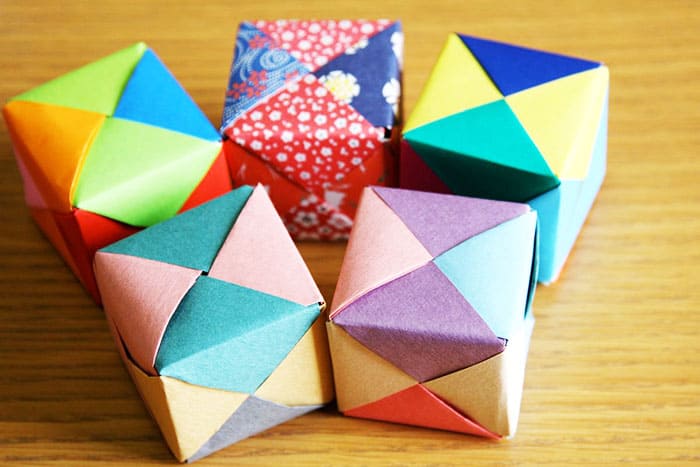
Origami cube from square paper
Hardly anyone is not familiar with the word origami: the ancient technique continues to enjoy unchanged popularity among people of different ages.
It is very interesting to try to make an origami paper cube.
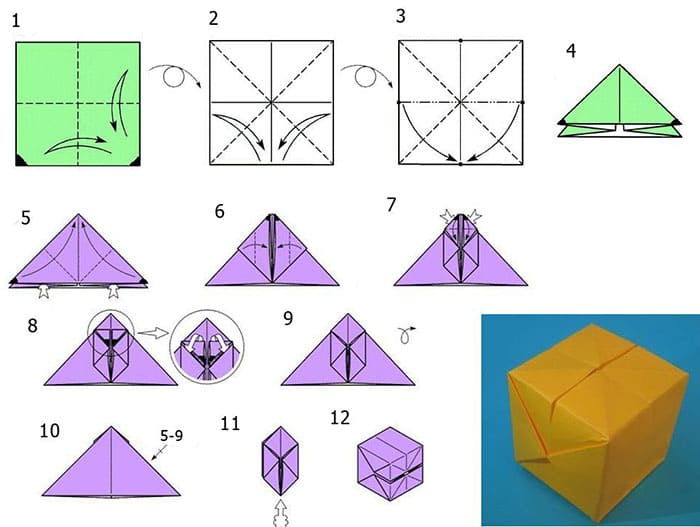
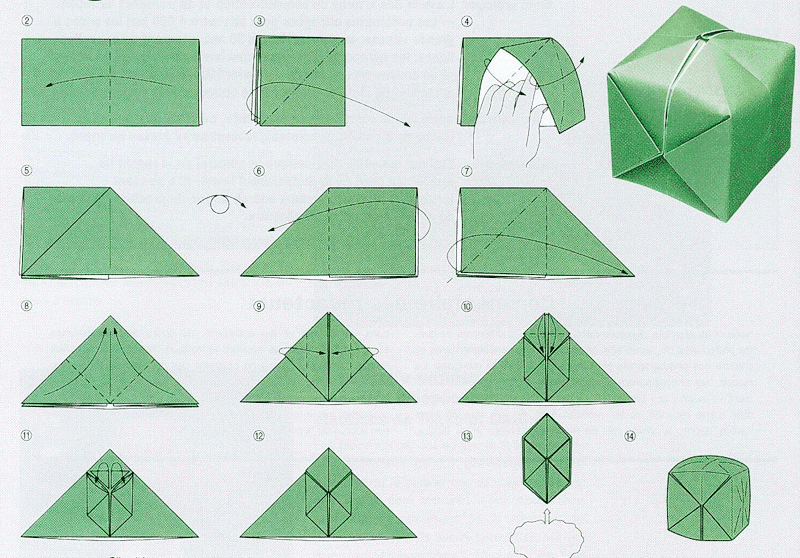
For creative work, you need a square from a sheet of A4 paper. The square needs to be folded diagonally twice, marking the fold lines. It is necessary to make a triangle, tucking it inward. Bend the free corners to the top. Such actions must be done on all sides of the triangular shape.
In the center, you need to bend the opposite corners from the sides, focusing on the vertical. We perform similar actions with the other side.
Where the conical protrusion remains, you need to bend the free corners twice, then shoving them into the pockets.
It remains to find an open corner and blow air into the figure, getting a volumetric square. Now you know how to make it out of paper.
How to make a square from a rectangle
To make a square from a rectangular sheet, you need to grab any free corner and pull it to the opposite side of the sheet: the point is that the extreme sides completely coincide with each other. The lower part will remain free, you just need to cut it off.
How to make an origami paper cube
Here is a diagram of how you can make a paper cube.
How to make a Rubik's cube out of paper
Perhaps such a bright cube is better to do with children!
These are the stages of work to be performed:
How to make a paper dice
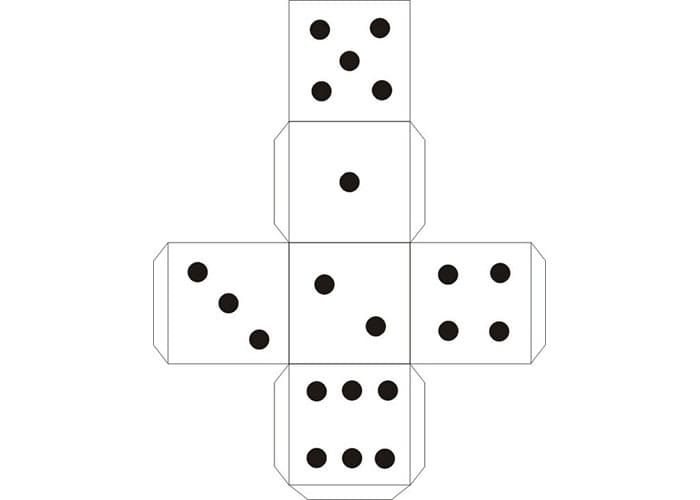
To assemble the dice, you need to print the glue cube template.
Yoshimoto's cube
A very interesting puzzle craft that you can play at home with your own hands.
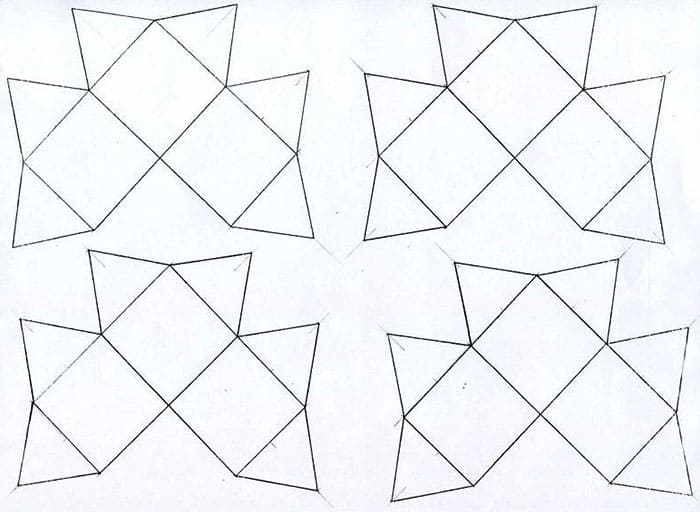
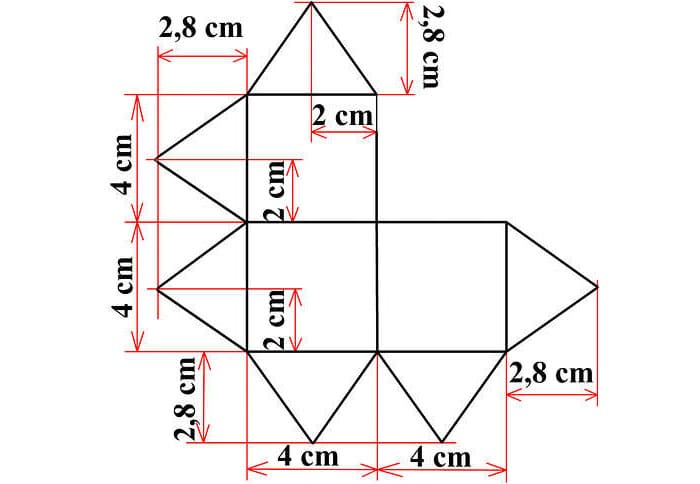
Sweep scheme
A cube that can be twisted and turned into different shapes is always popular. To make a craft, you need to take cardboard, a pencil, a ruler, scissors and PVA glue.
Manufacturing instruction: video
The workpiece must be folded along the lines and glued with tape. This is done with each of the 16 parts. All elements must be connected to each other, and how to do this - in the presented video:

Now you know how to make a three-dimensional square out of paper. Good luck with your work!


