How to install a metal gutter - fixing and installation rules
Where to start installing the drainage system? What should you buy? All these questions come up when it comes time to fix the drainage system. Although the technology is simple, it is still very easy to make a mistake. In order to prevent banal absurdities, it is enough to read our article.
The content of the article [Hide]
Completion of weirs
Installation of roof sills begins with an inventory, especially since there are a lot of components. It consists of:
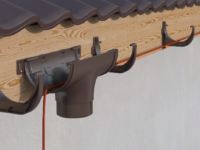
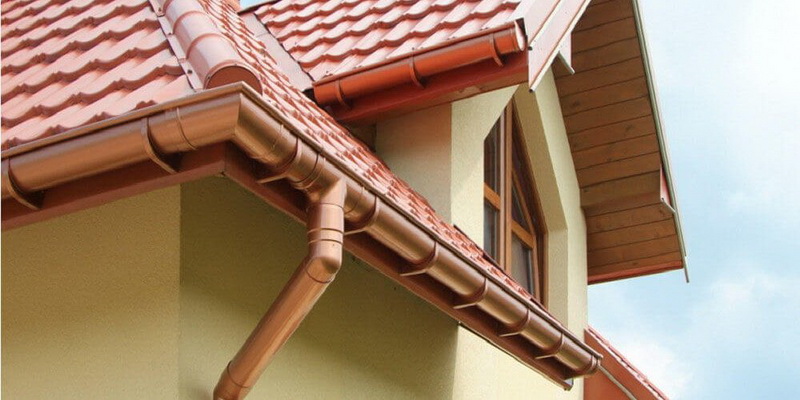
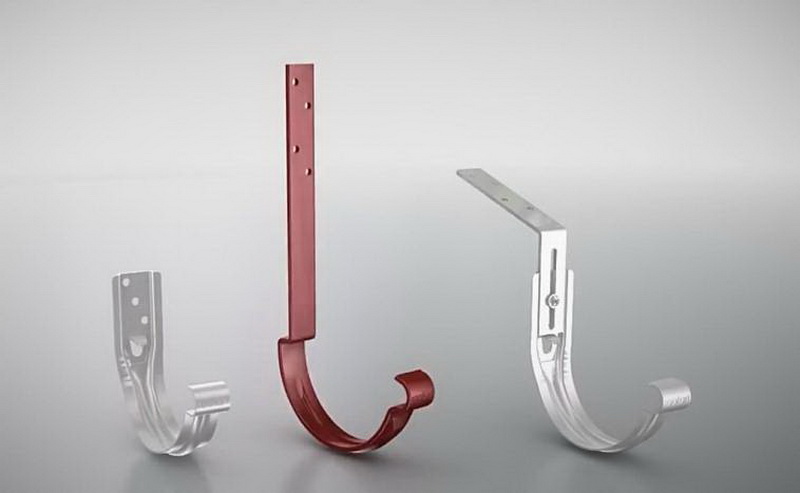
- Bracket. In fact - a normal gutter holder. Most often, these are curved perforated strips that are attached to the rafters or battens. There are metal and plastic on sale. It is better to take the first ones, as they are stronger and withstand strong winds. And if the ebb is too long, it will constantly vibrate.
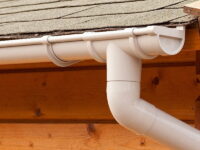
- Chute. Water guide, which is held on the bracket. They are round and square in shape. If the region is snowy, gutters with snow traps will do. There is also a swivel chute. This is the knee that turns the water 90 degrees. By the way, at the junction, the strength is much less than in the rest. Therefore, the brackets should be no further than 15 centimeters from the turn.
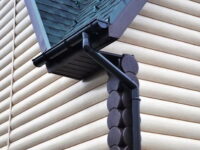
- Funnel. Through it, the water is drained, either one level below, or into the soil.
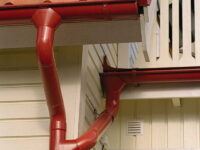
- Knee. Designed for draining water into the socket or connecting several outlets at one point.
- Clamps. They are needed to hold the pipeline and fasten it to the wall.
- Water pipes. Designed to drain water into the soil.
The main mistakes in installing roof gutters
Installing a downspout is not easy. Due to inexperience, you can make 3 mistakes that will lead to the complete inoperability of the ebb.

Incorrect slope of the gutters
Many do not understand how water can flow out incorrectly - it is fluid. In fact, the problem is quite common.
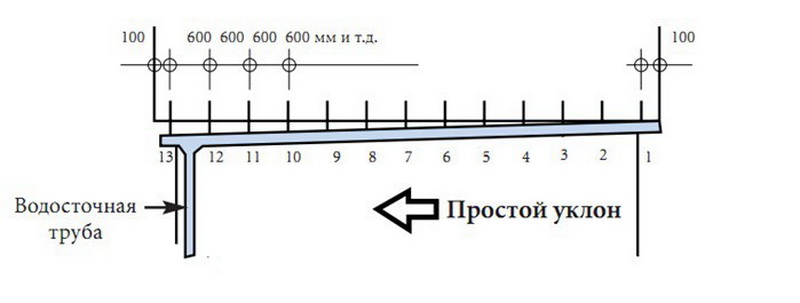
Recommended correct slope: 3 to 5 millimeters per linear meter.
- If the slope is greater, the end of the low tide will be too far away from the edge of the roof.And this will already lead to the fact that water will not fall on it.
- If, on the contrary, stagnant areas will appear, which will not recede. Here I would like to warn you that this often happens due to the uneven retreat line. And stopping the water is not the worst thing. Waterlogging, moss growth, dust and dirt accumulation often occur. Such a blockage will also have to be cleaned off.
Insufficient strength
Many people save on clamps, but this is not worth doing. A hinged structure is a fragile thing and for plastic pipes it is advisable to put a retainer every half a meter. Metallic ones are stronger, therefore 60 centimeters are allowed for them.

Saving 200 rubles on the bracket is nothing compared to a complete refurbishment of the low tide.

Incorrect connection by couplings
If the installation of ebb tides on the roof is done by hand, you need to pay a lot of attention to the coupling joints, since they are the weakest. They often have leaks that make the entire system useless.

Therefore, it is better to spend an extra 5 minutes to check the tightness.

Stages of assembly and installation of the drainage system
So now we have learned all the theory and the main mistakes. Further it is already possible to install gutters on the roof. The process is simple, but it requires precision and patience.
Design and calculations
Installation of a metal gutter system begins with design. This is a responsible moment!
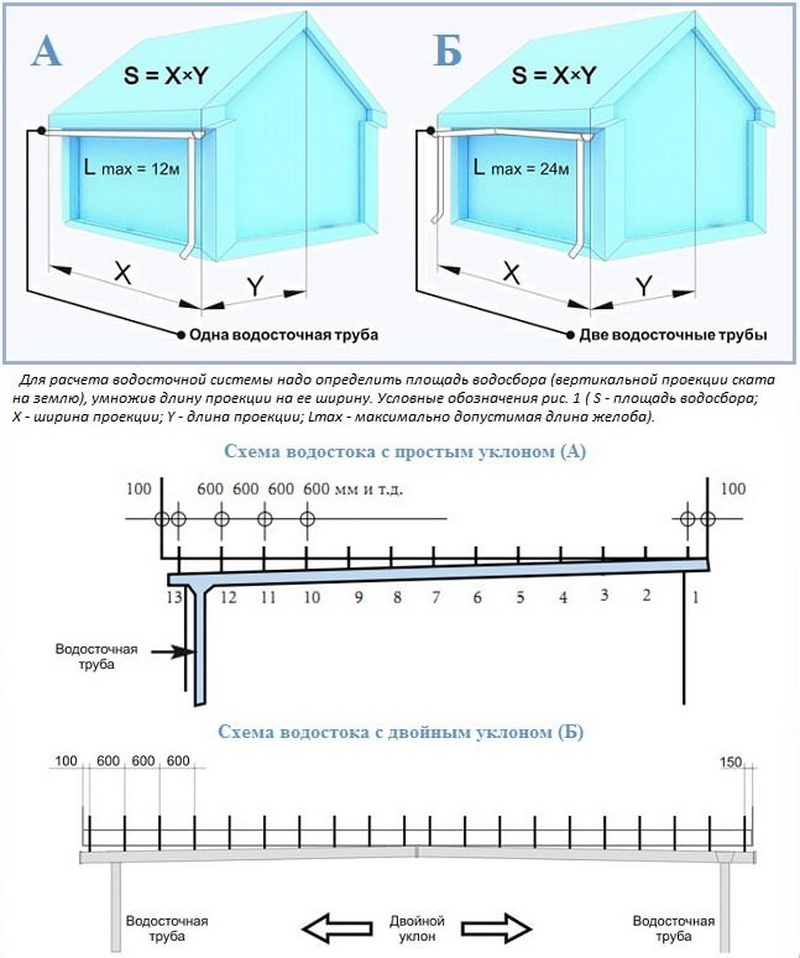
The calculations themselves depend on the type of drains, the length of the slope, the size of the roof. The size of the slope is determined by the simplest school uniform. Let's call it H = (A (length of the horizontal projection of the edge of the roof) + B (height of the roof) / 2) x C (length of the roof).

And in order for precipitation to depart correctly, it is worth studying several factors:
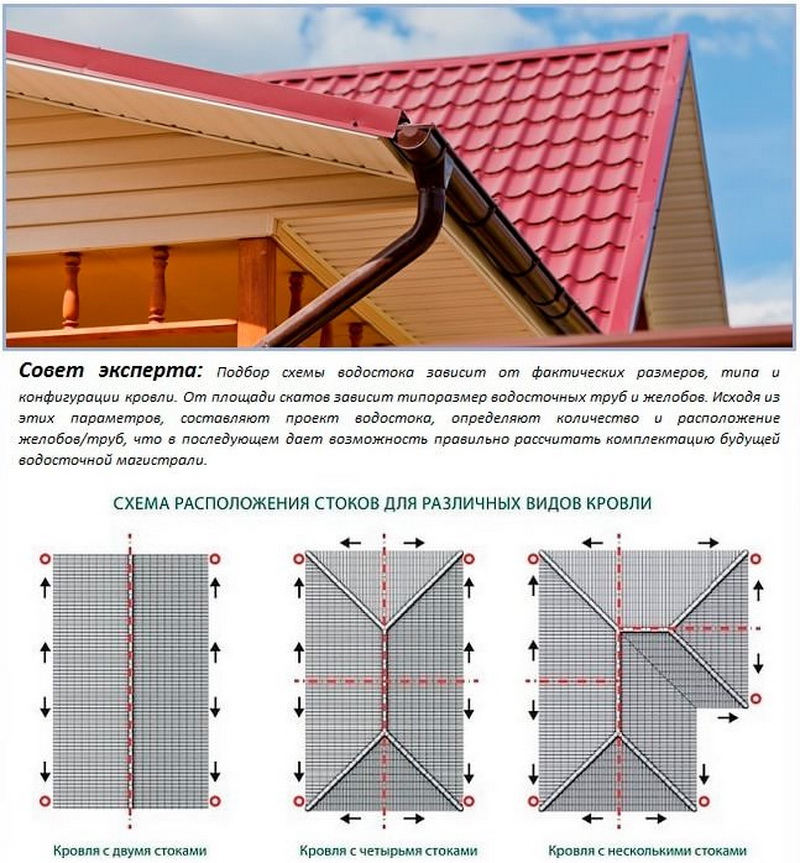
- Number of gutters. 2 for two-slope and 4 for four-slope.
- Number of risers. They are installed in the corners as standard. There are from 2 to 4. If the length exceeds 12 meters, then an additional funnel is inserted into the gap.
- A variety of brackets. There are 2 types. The first ones are installed even before the finishing roof and are attached to the rafters. The second ones are sewn to the frontal board and can be installed at any time.

Calculations are made individually for each roof and there are no universal calculation schemes. But you can deduce general rules:
- For every 12 meters of gutter, add a quarter centimeter. This is due to the linear expansion of the plastic.
- Number of funnels: 1 x 12 meters.
- The bracket is installed 1 by half a meter.
Attaching brackets
Now we turn to the practical installation of the drainage system. The brackets are attached to the beam (frontal board or rafters). Therefore, if the roof has already been installed, the first row must be removed in order to expose the sheathing.

If this is not possible, then a simpler and more mobile option will do. Small hooks-brackets are installed to the front of the roof, instead of long ones.
Installation of gutters is carried out in the following order:
- Fitting and marking. It is necessary to distribute them so as to observe a slope of 3-5 millimeters. The markup must be done carefully, since an offset of a millimeter will already lead to an inoperative system.

- If the holders do not have the desired shape, simply bend them.
- We install the extreme holders.
- We fill in the gap.

This completes the installation of the hooks.
Installation of gutters
Now it moves on to the main drainage system - the gutter. Installation of gutters begins with the installation of a funnel.

This is done simply: we take a groove and drill a place under the drain with a crown. File the edges and line up the holes. We put it in its place - on the lower bracket.

Now we continue to fasten the gutters further - from the bottom up. They are joined using ready-made fasteners.
Installation of drainpipes
The roof gutter is almost complete. It remains only to install the drainpipes. We do this according to the following instructions:
- We hook the upper knee to the entrance of the funnel. The connection is strengthened with FUM or an anaerobic sealant.
- Attach the lower elbow to the wall mounting section.We measure the distance between the knees. Cut the pipe to the required length and connect it. Before that, you need to make vertical markings on the wall and install clamps along it.
- Now we just assemble the pipeline, strengthening all connections with a sealant.
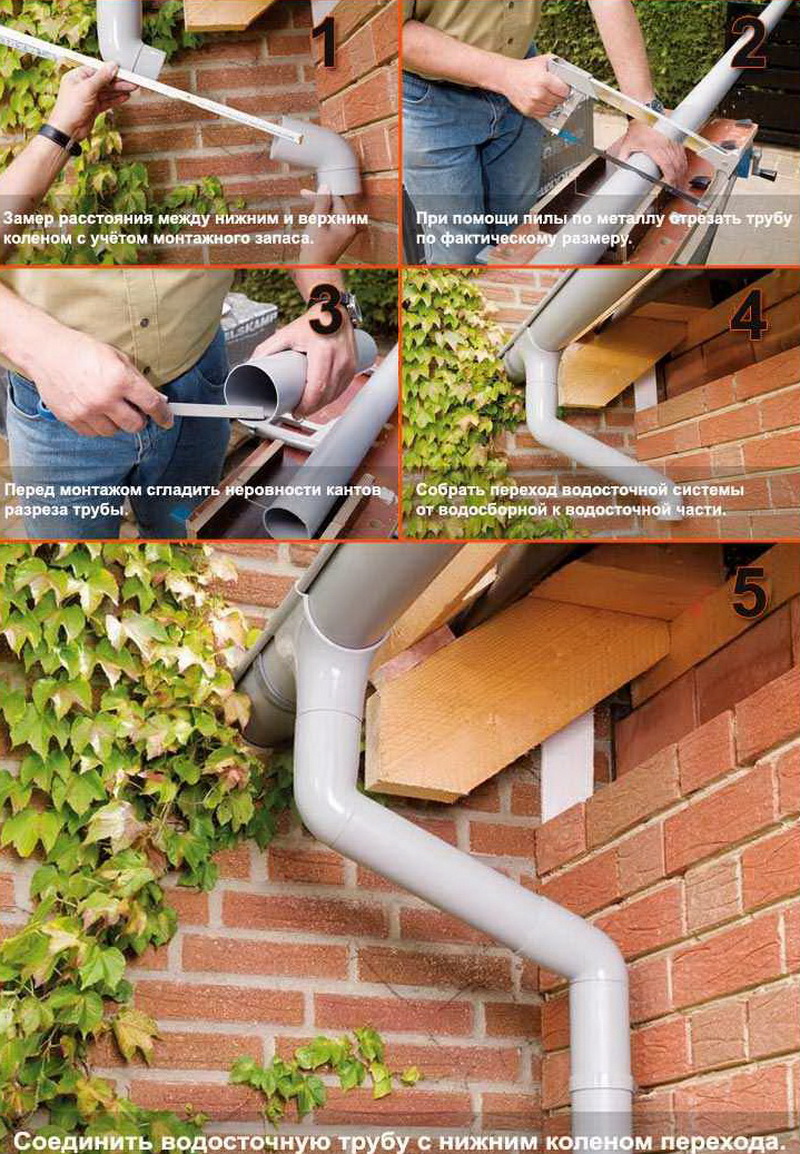
It is important to remove all the tinsel from the saw cut before joining. It will form there anyway, which reduces the tightness.


