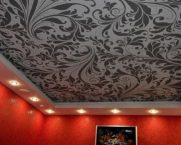
How to mount plasterboard ceilings for a living room. Photos of the most original ideas
In any living space, sooner or later, the need for repairs comes. Along with it comes a lot of questions about planning, the choice of design and materials for interior decoration. So, an original and at the same time practical solution would be to mount ceilings for the living room from drywall... Photos of many options implemented ideas will help you decide on your unique design, which can be assembled without the help of professionals.
The content of the article [Hide]
Varieties of false ceilings with photos for the hall and other rooms
Almost any drywall construction can be realized. It can be simple or complex, act as a decoration or for leveling the surface, and also serve as the basis for light zoning of space.
There are several main types of such structures:
The simplest option with one level of plasterboard ceilings, the photo of which is presented below, is quite common. With its help, they level the surface and distribute Spotlights based on lighting needs. And also such a layer is used as a basis for creating other levels of drywall.
Related article:
Multilevel structures
Such options are more common, since they can be used to implement the most daring design ideas, making the room unique, beautiful and original. Multilevel plasterboard ceilings have their own characteristics:
Using a different number of levels gives you more space for zoning. Often there is a combination of plasterboard and stretch ceiling. Each of the options looks original.
Designers sometimes use the mirroring method and zone the floor, which looks impressive.
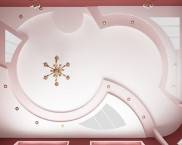
Here are some examples of interesting curly plasterboard ceilings in the photo:
It remains for yourself to decide how many levels you want to mount in the apartment, and in which room to use drywall for ceilings.
Related article:
Why choose plasterboard ceilings for the living room (photos of interesting works)
There are several features of the material, thanks to which more and more people prefer to mount plasterboard ceilings:
That is why consumers are increasingly turning their eyes to suspended ceilings for the hall, the photos of which are presented below.
If you have already decided and decided to mount such a ceiling yourself, decide how many levels you want to create, purchase materials and prepare the necessary tools.
Do-it-yourself plasterboard ceilings
Before the actual build process, check that you have everything you need:
If all this is already prepared, proceed to the assembly instructions.
Self-assembly of the first level of the ceiling
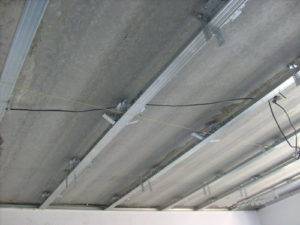
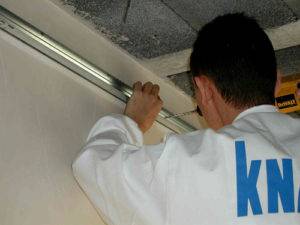
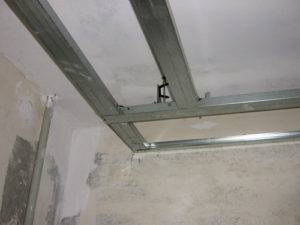
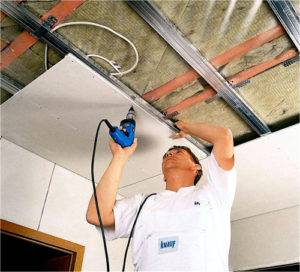
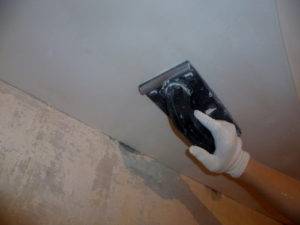
Each step of the work on the installation of plasterboard ceilings for the living room with photo examples.
Table 1. Sequence of installation of plasterboard ceiling
In this way, you can mount the ceiling from the GPC in one level, for greater clarity, we suggest watching the video:
Plasterboard ceiling: the sequence of installation, all the secrets (video)

If you want to create a tiered structure, then you should be patient and start the second tier by installing the cable holder. Next, the installation of guides and securing sheets of the CPC. At the end of the work, distribute the lighting.
This work is more difficult, so you should carefully study the selected scheme and all the features of its installation.
Here are some examples of multi-level plasterboard ceilings for the living room (photo):
Photo gallery of beautiful plasterboard ceilings
Instead of a conclusion, I would like to add a little more photos of suspended plasterboard ceilings in the hall so that you do not doubt the correct choice.
Among all the ideas and methods for assembling structures from gypsum board, everyone can find an option that is suitable in style, cost and installation method. Good luck with the repair!


