Everything is simple and according to the rules: how to sterilize cans in the oven
With the onset of the hot and bustling pore of homemade preparations for the winter, the question arises of how the sterilization of cans will be carried out. IN oven, in microwave, steamed, in a sterilizer. There are enough ways, but today the homemaster.techinfus.com/en/ editorial board offers to learn everything about how to prepare jars for pickles and stews in the oven.
The content of the article [Hide]
- 1 About the rules for sterilizing cans in the oven
- 2 Whether or not to sterilize cans in the oven or not, that is the question.
- 3 Preliminary preparation for the process
- 4 How cans are sterilized in an electric oven
- 5 How is the process of sterilizing cans in a gas oven
- 6 Microwave cans sterilization process
- 7 How long does it take to sterilize jars, depending on the volume: we do everything right
- 8 How to sterilize jars in the oven: video
About the rules for sterilizing cans in the oven
Always and everywhere there are rules. You can, of course, violate them, but then the result will be obtained with a great deal of uncertainty. In matters of sterilization and canning, the rules are important, the safety of each workpiece depends on the correctness of the process.
So, the general rules for the preparation of glass containers:
- We use cans only in perfect condition: cracks and chips are not allowed.
- The cleanliness of the glass is not even discussed. We wash each side thoroughly and carefully using baking soda and laundry soap. After finishing washing, wash off the detergents and rinse the container with clean water.
- After the sterilization process, put on dry, clean gloves or prepare potholders. Even from a slightly damp cloth, a temperature drop occurs and the glass can burst. In addition, the products will be hot and you can burn yourself without protecting your hands.
- When you need to put several cans at once, they are installed with the neck down, placing them on a dry towel.
- Remember the temperature of the contents: it should be practically equal to the temperature of the walls of the can. If we fill it with hot, then the container is hot, and we put cold refills in cooled glass.
- We do not take the jar by the neck, we only grasp it with both hands.
Whether or not to sterilize cans in the oven or not, that is the question.
You can decide whether this method of preparing glass containers for blanks is good or not by reading about the advantages and disadvantages of the method.
Pros:
Minuses:
As you can see, this is a simple and affordable way that is convenient to use.
Preliminary preparation for the process
Containers for blanks need preparation, namely, you need to find out how tight the packaging for winter products is and how to properly clean the containers.
About the tightness of cans
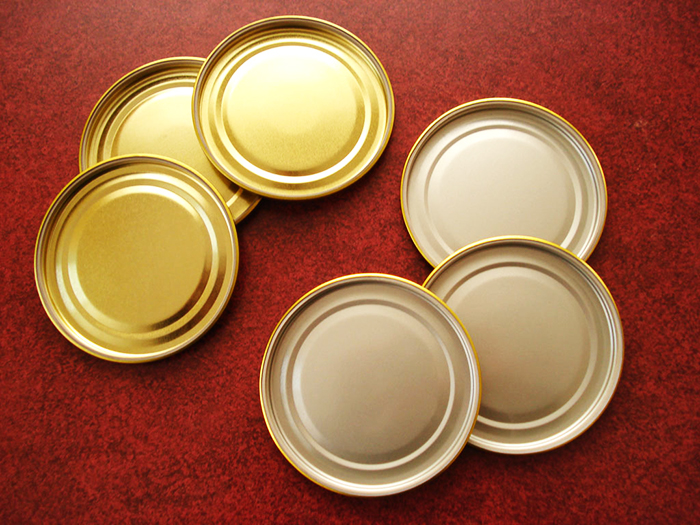
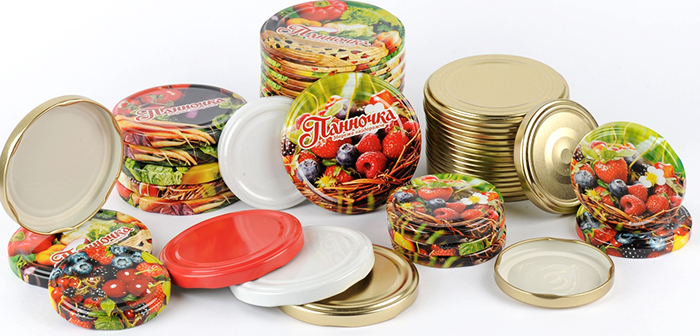
Without tightness, there will be no storage, the jar with the contents will not last even a month. To ensure a tight seal, tin lids with rubber bands are used.
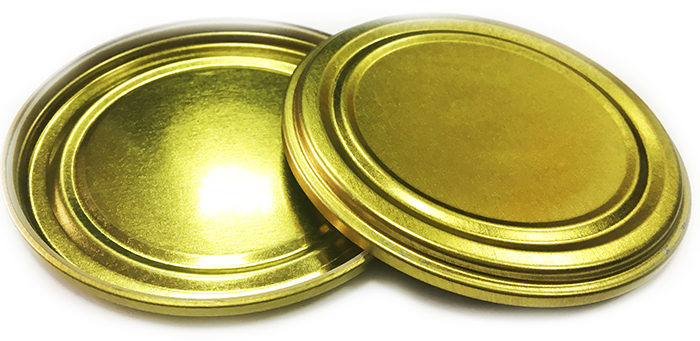
As lids for jams, preserves, pear and apple compotes, unlacquered tinplate is suitable. But vegetable marinade, sour berries and sour fruits are best covered with lacquered yellow lids.
If the can involves the use of a screw cap, then this is even more convenient.
My cans are correct
First, we inspect each container, discard vessels with cracks and chips.
The check is carried out as follows: water is poured into the jar, the container is wiped dry from the outside. Now the container is screwed up with a lid, turned over and shaken. Droplets of water that appear on the table will let you know about a loose closure.
At the first stage of washing, it is better to fill each jar to the top with water and leave it for a couple of hours. It happens that solid particles invisible to the eye adhere to the inner walls, and so in the water they get soaked and perfectly washed out.
We use baking soda for washing. It removes all odors and washes away completely with dirt.
How cans are sterilized in an electric oven
If the oven is powered by electricity, then it is very convenient to sterilize the jars in it.
Sterilizing empty cans
Most often, recipes indicate that a winter preparation should be placed in a pre-sterilized jar. We do it like this:
- We examined the container, if it is flawless, then we proceed to washing.
- We prepare the oven: it should sparkle clean and not smell of any food.
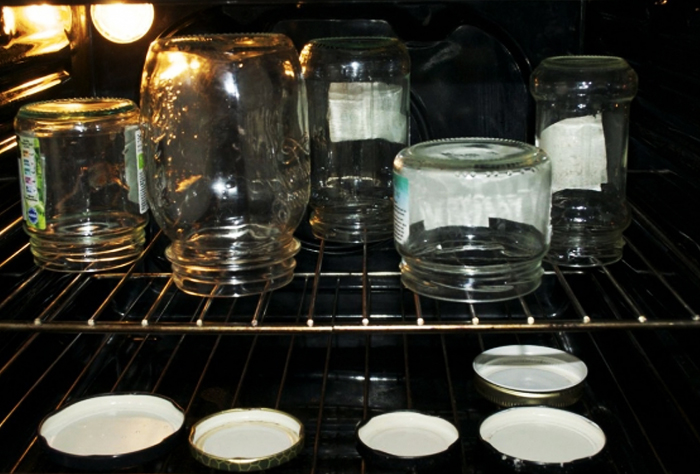
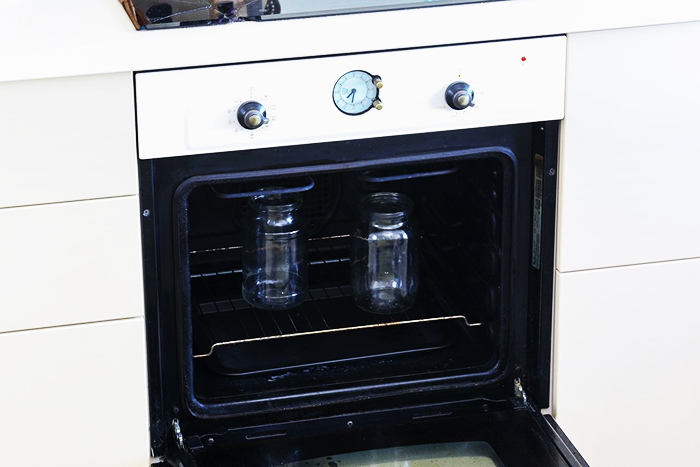
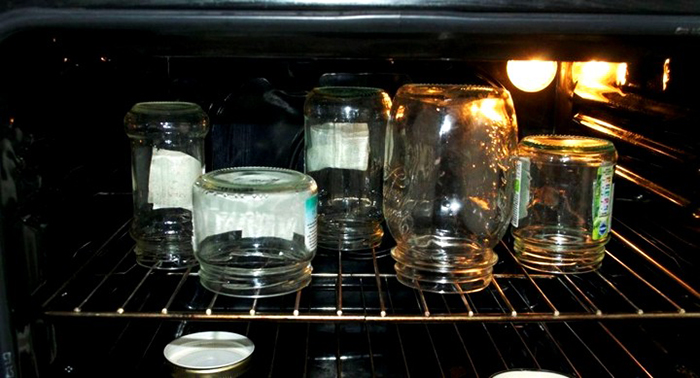
- If the cans are dry, then we put them with their neck down, if they are wet, then we turn them upside down.
- If the sealing will be carried out with iron lids, it is also reasonable to place them on a baking sheet.
- We turn on the oven and set it to 150 ° C.
- Banks are quietly disinfected, at the end of the process they are removed. It is better not to open the oven right away, but to do it a few minutes after turning it off.
- We put them on the table with their neck down, and cover them with a towel on top.
Sterilization of cans with blanks
On the contrary, many recipes require sterilization of containers with finished products. To do this, put a jar filled with product in a cold oven, but without lids.
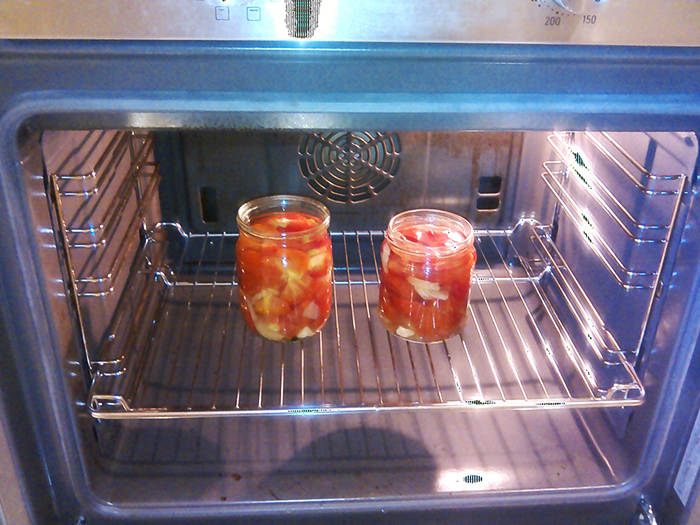
We use the 100 ° C mode and leave everything in the working device for 20 minutes
PHOTO: mir-duhovok.ru
Then we take out the blanks with both gloved hands. Can be rolled up under the cover.
How is the process of sterilizing cans in a gas oven
Many have gas ovens in their kitchens.They also do an excellent job of sterilizing winter twists.
Sterilizing empty cans
In this way, empty glass containers are often sterilized in the CIS countries: the method is old, time-tested reliability.
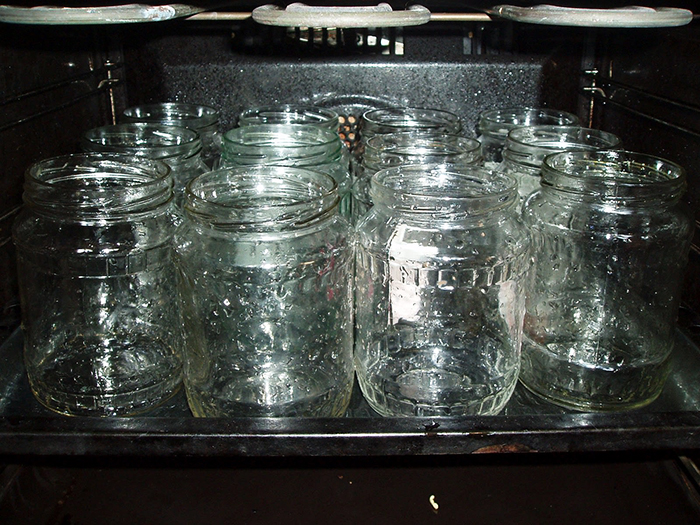
Clean jars should be placed with the neck down on a baking sheet or wire rack in a cold oven.
The temperature is not brought to the maximum. At first, the oven is heated to warm air, and then the mode is increased to 180ºC. The readiness of the cans can be determined by looking at the glass on the door. If at first it looks foggy, then by the end of the process it is completely dry.
Sterilization of cans with blanks
We put all the blanks in a cold oven on a baking sheet, covering with lids without rubber bands. We leave the unit with the jars to warm up, wait 20 minutes at 180 ° C. After we take out the conservation, change the lids to others or insert the rubber bands into these lids. Shake the contents of the container lightly to release the air.
Microwave cans sterilization process
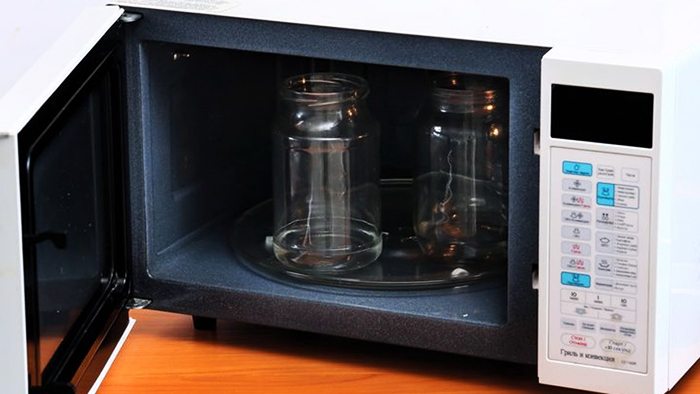
Pour water into each jar, about 2 cm. If this is not done, they may burst. Now we put the container on the dish in the microwave. At 900 W, only three minutes are enough.
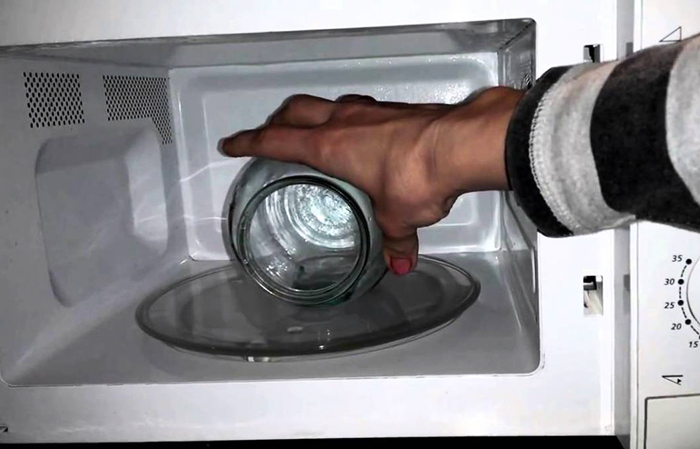
If the jar is high, then they put it on its side, still pouring some water inside.
PHOTO: posuda-gid.ru
How long does it take to sterilize jars, depending on the volume: we do everything right
Time is an indicator of the readiness of the container for use. To underestimate the jar means that microorganisms have a good chance to survive and do their dirty work in the future. If you overdo it, the bank will easily burst. How to be?
There are timelines to follow.
We sterilize jars with a volume of less than a liter for 10 minutes, from a liter to two - 15 minutes, 2 liters - 20 minutes, if the capacity is more than three liters, you will have to sterilize half an hour.
Well, mistresses, how are we going to sterilize the jars?
How to sterilize jars in the oven: video


