When everything is possible: do-it-yourself beautiful things using papier-mâché technique
Any handicraft made using the papier-mâché technique with your own hands traditionally evokes enthusiastic sighs and admiring glances. This is truly something wonderful: junk newspapers, toilet paper and glue make amazing crafts of any genre. The homemaster.techinfolux.com/en/ editorial team admired the craftsmen's products and offered to try to make a carnival mask, vase, painted plate or toy on their own.
The content of the article
- 1 Get to know the papier-mâché techniques
- 2 Recommendations that will definitely help you in your work
- 3 Workshops and tips: making different papier-mâché products for interior decoration
- 4 How to make a papier-mâché mask with your own hands: preparing for the carnival or decorating the interior
- 5 Tips and tricks for making funny papier-mâché animals
- 6 Examples and ideas: getting inspiration
Get to know the papier-mâché techniques
The masters work on a choice in two techniques, with some variations. These can be either independent techniques or a combination of them.
Layer-by-layer gluing of paper - wrapping
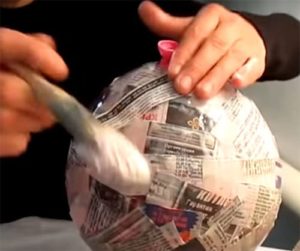
When many pieces of paper of different shapes are glued onto a mold, the process is called waving.
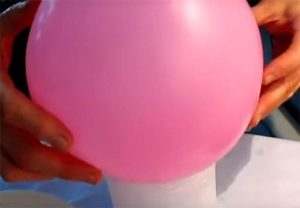
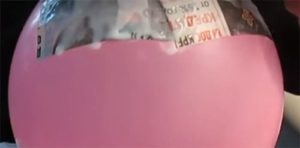
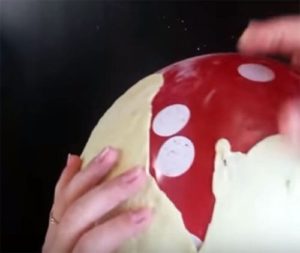
This is not creating something new, but copying the shape of some product. Sometimes it is not possible to extract the base form, but, basically, the prototypes are real plates, from which the machined layers are easily removed in one piece, or paper, cardboard bases, balloons, which are simply blown off at the right time.
Option two: creative modeling from paper pulp
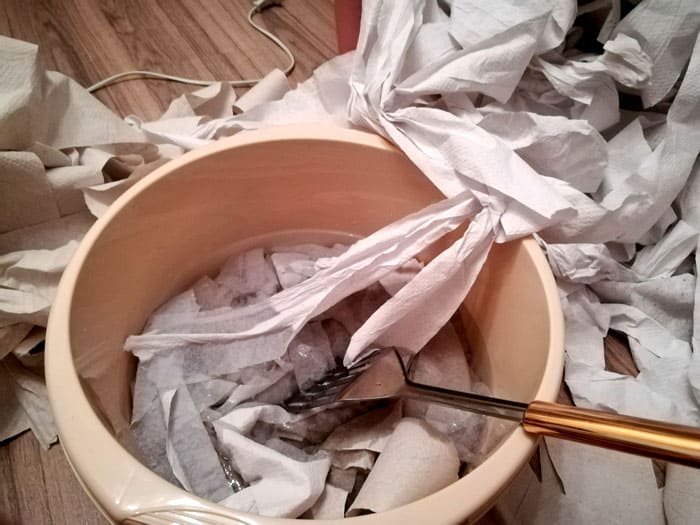
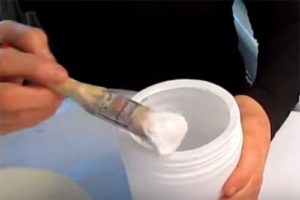
When the pieces of soggy paper are mixed with the paste, it makes an excellent sculpting mixture. There are many variations of its preparation.There is an excellent recipe when PVA glue slightly diluted with water, a tablespoon of sunflower oil and a couple of tablespoons of corn or potato starch are added to scraps of toilet paper.
They work with mass, using a base, or without it, if you need to make an object of small size.
Also, this papier-mâché method is good in that it can be used to correct the product of molds, different sticks, a knife, everything that is required to create an accurate image of an idea.
Recommendations that will definitely help you in your work
With the first method of creating papier-mâché figures, rarely anyone has difficulty. Problems can appear when sculpting with paper dough. The most difficult thing is to knead the paste correctly. The plastic mass will tell you how best to work with it. And flaws in dough production significantly reduce the quality of work and the success of the process.
Best Use: Leftovers from cardboard egg trays, old newspapers and toilet paper, and the paper should be of better quality, like Zeva. In this case, the result will be better than using a cheap analogue with all sorts of impurities. The fact is that the mass turns out to be successful when the fibers in the paper are destroyed. Cheap paper, oddly enough, deteriorates worse.
It is better to dissolve paper or cardboard in warm water, so it is permissible to put the bowl on a small fire and heat it a little.
So, let's take a container of warm water. You need to grind into it what you will work with. It is more difficult to grind cardboard, but, in any case, if you need a lot of mass, then even a roll of paper will not be so easy to break finely. The smaller the pieces of paper and cardboard are, the sooner you can start working on your craft.
When the paper is soaked, it is additionally grinded with a mixer or blender. After that, you can add PVA glue and start mixing the mass well. Readiness is determined by consistency, as well as by the fact that the resulting paste ceases to stick to your hands.
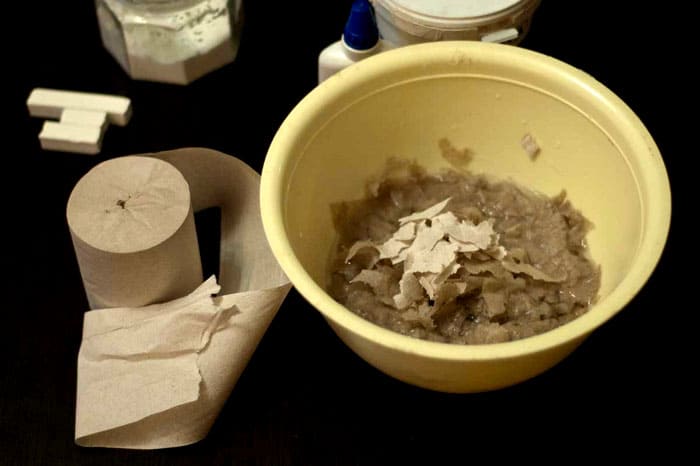
If you are acting for the first time and have absolutely no experience, then do not rush to make a bucket of mass right away. It is better to find "your" recipe by trying different ways to create dough in small portions
It is very important to understand that haste does not help here, but even hurts. It doesn't matter whether you choose the first or the second method, in any case you will have to dry the product before applying each layer. Drying with a hairdryer is acceptable.
How many layers there will be is up to the creator of the product, but you shouldn't make their total number less than 4-5.
The final version of the product is dried for about 24 hours, but it is better not to rush here either, leaving the craft to dry for up to three days.
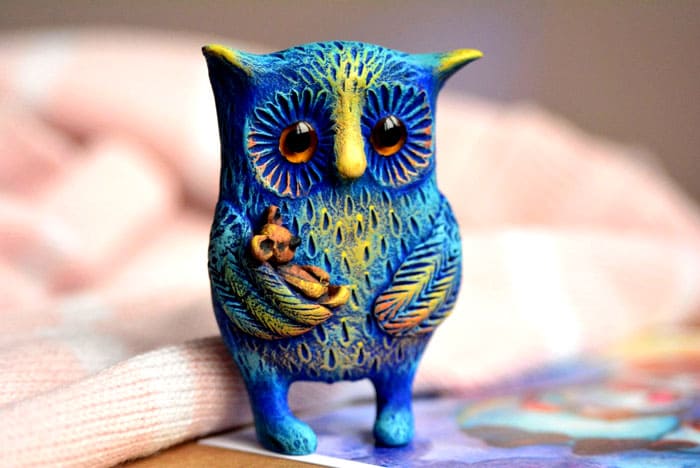
Once the figure is ready, it needs to be covered with solid paint. After it dries, you can already decorate the product with decoupage, painting, craquelure, patina, and at the end cover it with finishing varnish
Workshops and tips: making different papier-mâché products for interior decoration
Our hands are not for boredom: how to create something beautiful for your interior? We arm ourselves with knowledge, choose a product and start creating!
A decorative plate will always find a place in the house
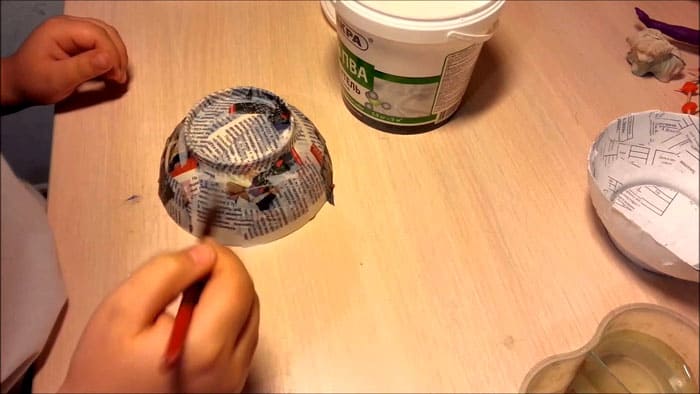
First, we will prepare what we need in the creative process, namely, a real plate of the desired shape, several newspaper sheets, a brush, PVA, a bowl of water, acrylic paints or gouache, scissors and transparent varnish for finishing.
Let's get down to the process.
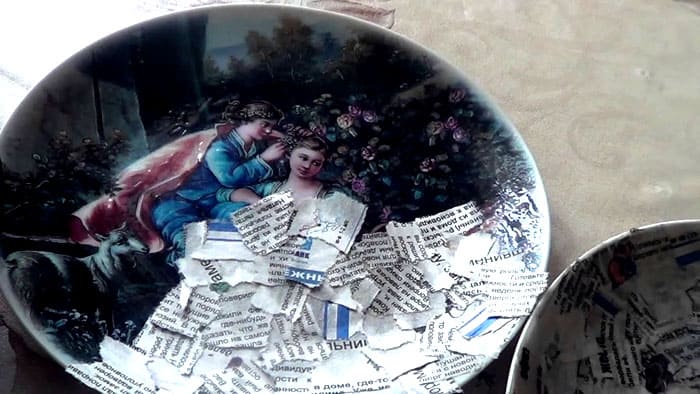
- We tear newspapers into pieces about 1-3 cm in size.
- We place the base upside down.
- Cover the plate with pieces of paper dipped in plain water. They must be exactly wet. We make sure that the coating goes beyond the base. Do not worry, the excess will be removed later.
- After that, thickly coat everything with glue and continue to apply pieces, also dipped in water. Do not forget to let the layers dry out a bit.After two layers of glue, you can apply another layer of plain paper dipped in a bowl of water. We dry and continue to smear with glue and apply scraps. A total of 9-10 coats should be applied. Now we leave the plate to dry completely. This can take 1-3 days.
- Remove and remove the base.
- We cover the craft with a good base paint. No newspaper print should be visible!
- Now you can paint the plate as you like, and then varnish it.
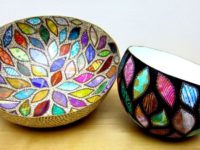
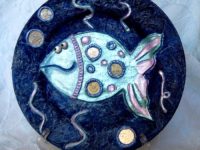
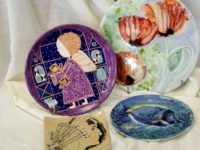
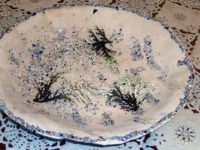
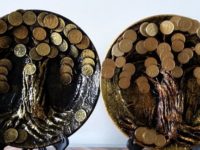
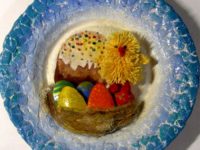
Let's admire the beautiful papier-mâché plates:
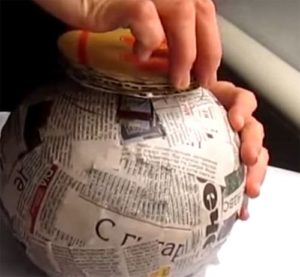
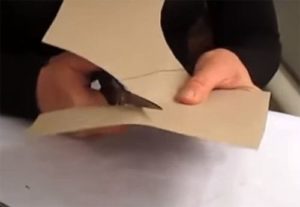
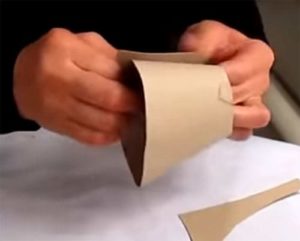
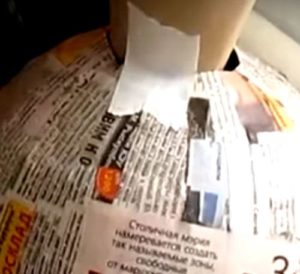
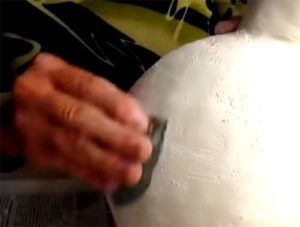
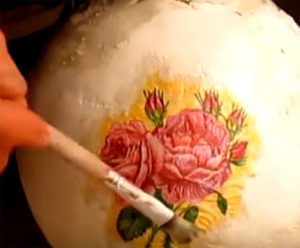
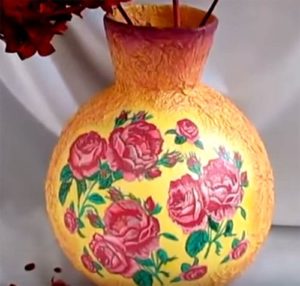
Vase for artificial flowers or for decoration
Making a vase is actually not that easy, but with the help of a detailed master class, the art of papier-mâché will be up to you!
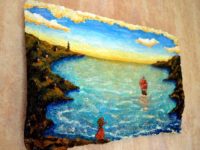
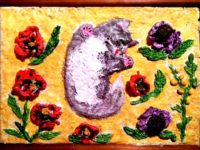
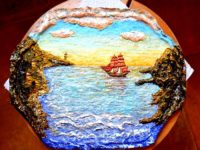
Three-dimensional painting: a unique product for wall decoration
To create a three-dimensional picture, the following materials and tools are needed: brushes for drawing and working with glue, scissors, watercolor paper, cardboard for the base, drawing base, paints, paper napkins, PVA glue.
The work is quite time consuming, therefore it will take a lot of attention and time.
- We glue watercolor paper on the cardboard base.
- You need to sketch the future art on paper. Those who do not have drawing skills will have to reduce the drawing through carbon paper.
- Let's start painting the background with paints. Those who know how to work with watercolor can use it, and those who are not particularly familiar with this technique can paint the background with gouache.
- Soak pieces of napkins in a bowl with glue. They lay out those objects that are shown in the picture. We help to form the desired with a brush and improvised tools.
- You can tear off the pieces and immediately put them in place, or take more mass and shape the object in place. It is preferable to act slowly, working with small pieces. This will keep the background intact and beautiful.
- It is important to wait until the craft is completely dry, then paint all the details.
Advice! You can glue some elements on top of the sculpted ones. These can be additional leaf twigs, elements of flowers, balconies, if you are drawing a house. They are painted separately, wait to dry, cut out and, using glue, attached to the picture.
Here are some beautiful pictures you can create with your own hands:
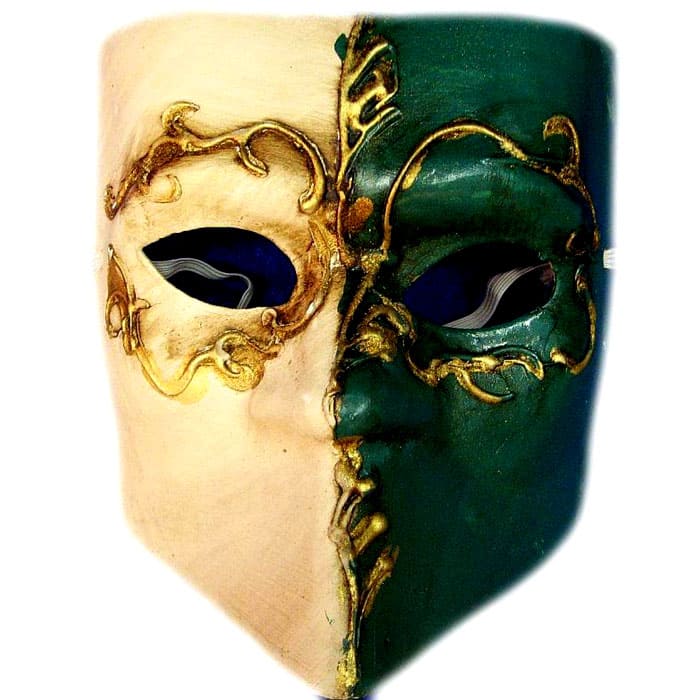
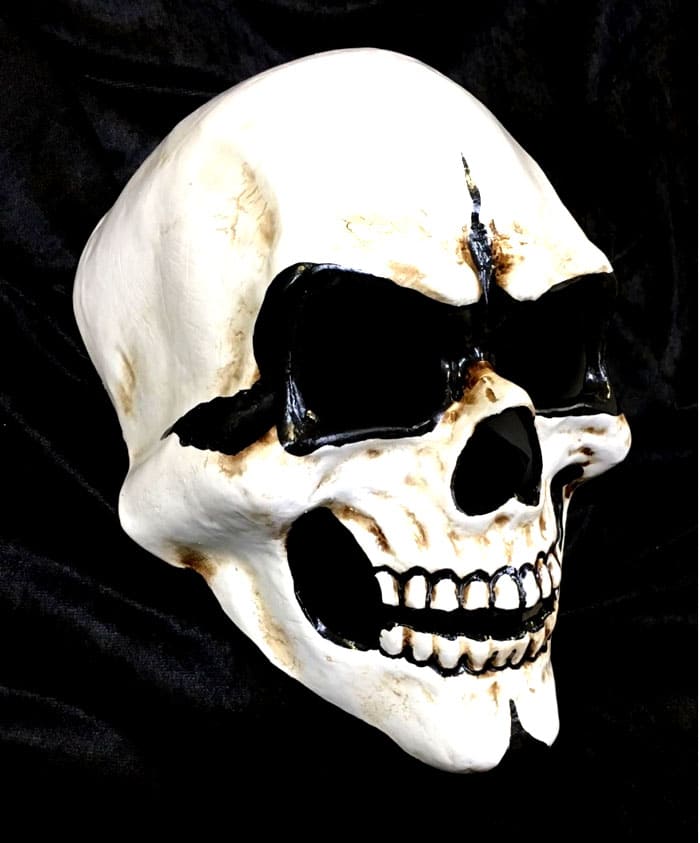
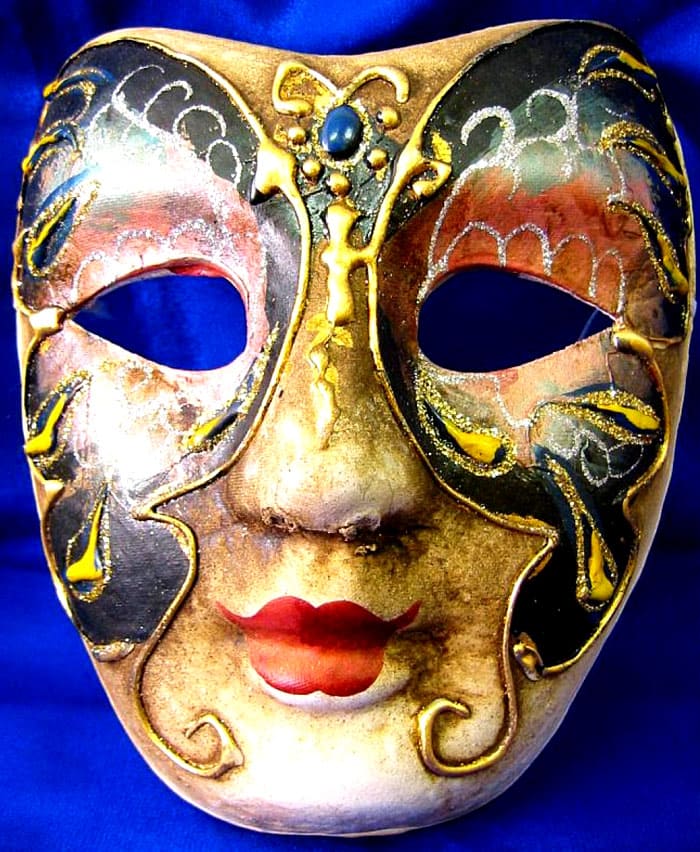
How to make a papier-mâché mask with your own hands: preparing for the carnival or decorating the interior
Whatever mask you want to make, the work is carried out according to the same principle. The difference is in the decoration and shape of the product.
The mask needs a base.It can be made of plasticine, you can take an old plastic fancy dress, a wooden log, which should also be glued over with plasticine to create an African mask, a plaster blank. You should not take your own face as a basis, this is associated with inconveniences, and this is not good for health.
In addition to the base, you need scissors, gouache, white or black paint for priming, newspaper or napkins, water, a bowl, and a brush. If you want to make a carnival mask, you will need openwork lace, feathers, beads for decoration.
The actions are as follows:
- We cut or pluck pieces of newspaper 1-2 cm each, tear the napkin into strips.
- With the first layer on the base, we spread simply pieces of newspaper soaked in water, and the remaining layers are pre-coated with PVA and let them dry. For strength and elegance of the mask, it is better to alternate layers of newspaper and napkins.
- A completely dried mask is removed from the base, primed and painted. Any decor is applied with hot glue or supermoment.
Excess can be easily cut off with scissors, eye holes are also easy to cut.
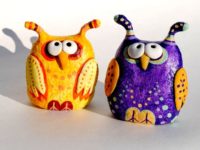
Tips and tricks for making funny papier-mâché animals
The papier-mâché technique opens up wide horizons for creativity. You can make wonderful animals as a gift or as a designer craft for your home.
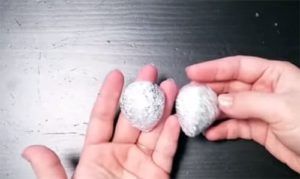
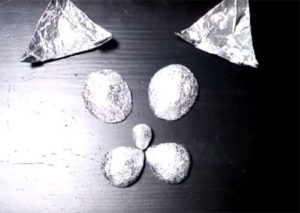
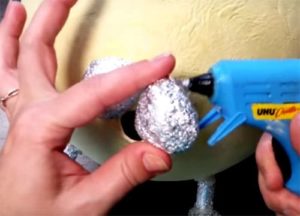
Let's see how you can make a funny cat.
This is what the author's master class looks like:
Video: recipe for the ideal mass for papier-mâché
Examples and ideas: getting inspiration
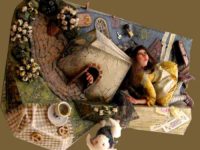
Here are some interesting DIY solutions:
Share your papier-mâché finds and masterpieces! Let's make our world more beautiful!


