Creative workshop: how to choose napkins for decoupage
The art of decoupage is striking in its ability to transform any object. Bottle, cutting board, cardboard, boxes - any thing ceases to be just a thing and becomes a miracle. Each of us can do something beautiful with our own hands, and decoupage napkins can help with this. The homemaster.techinfolux.com/en/ editorial staff will help you figure out what to do with them, how to use them, and will tell you about the nuances of making beautiful gizmos by means of decoupage.
The content of the article
- 1 Why decoupage napkins are so special
- 2 What napkins are bought for decoupage
- 3 Various solutions for decoupage napkins
- 4 Advantages and disadvantages
- 5 Choosing napkins for decoupage
- 6 Working moments: napkin gluing techniques
- 7 How to glue a wrinkle-free napkin for a beginner
- 8 We decorate different surfaces using decoupage
- 9 Video: decoupage for beginners
Why decoupage napkins are so special
Those who are just getting acquainted with the decoupage technique do not always understand what is the peculiarity of using napkins.
Since such a material is multi-layered, the extra layers are removed, leaving the thinnest one, which will be needed. It blends easily with the treated surface after just two coats of varnish.
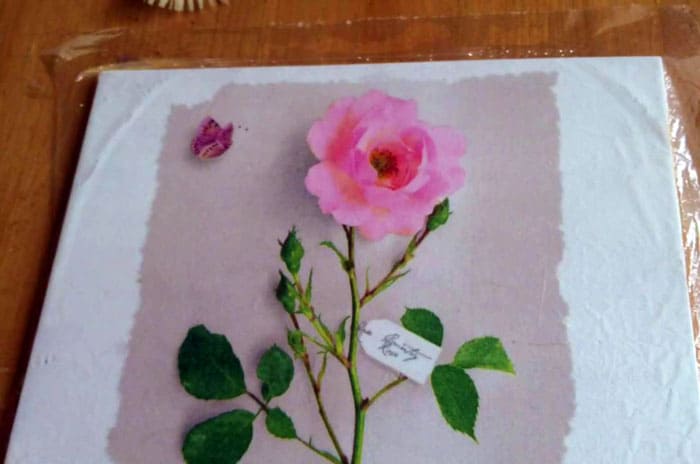
A special stretchable napkin so as not to wrinkle, it is soaked in water, smoothing on a file
PHOTO: artists-lab.ru
The property of accepting the background color is also noteworthy - this is a very useful quality for creativity. The drawing remains bright, and the background merges with the surface of the subject. If a primer or just white paint is applied under the drawing, then the picture will be very bright and clear. It is not recommended to glue napkins on a dark background, unless this is the process of implanting a picture into stained or acrylic wood. In this case, the translucence of the wood texture under the drawing is valuable.
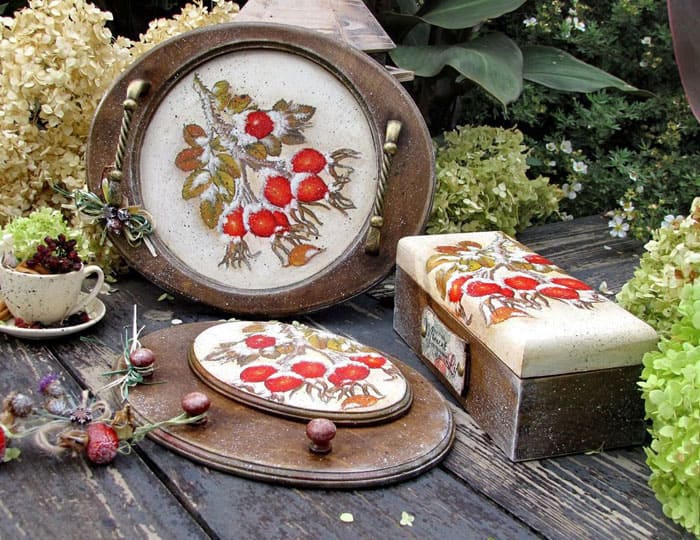
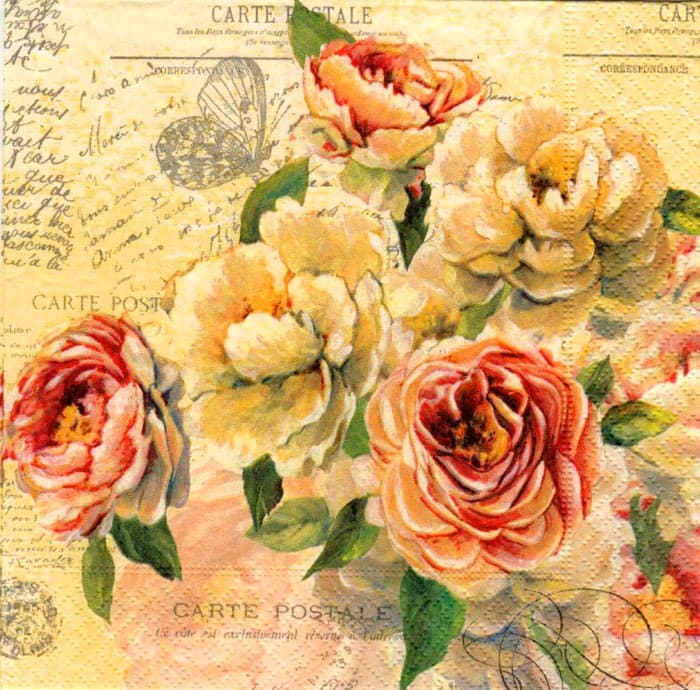
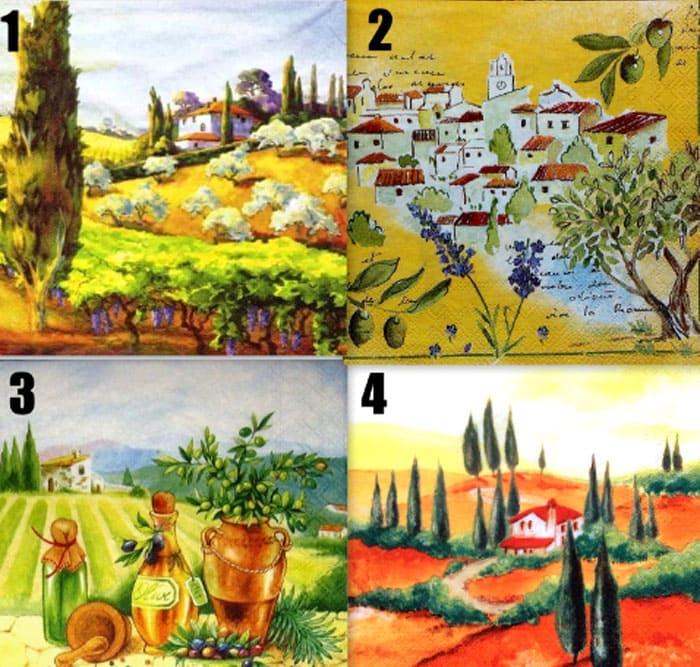
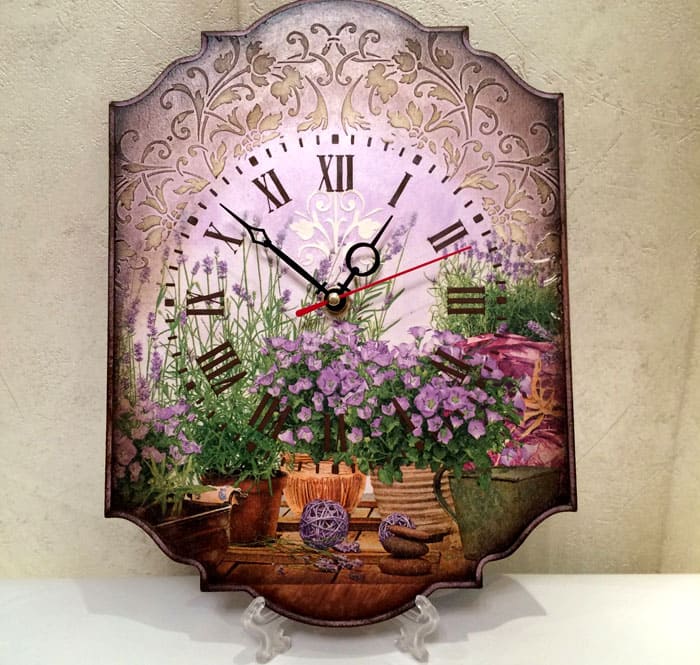
Thematic plots allow you to use the product for the design of different interior styles
PHOTO: creativnost.ua
What napkins are bought for decoupage
There are three types of suitable napkins: three-layer, four-layer and special. Let's see how they differ from each other.
Regular three-layer
The first option is the most common - we buy these products for the table in whole bundles. Their size is usually 33 × 33 cm². Very often you come across beautiful drawings of a festive theme. The downside is that the picture will be the same throughout the package, less often there are packs with four pictures (5 pieces each).
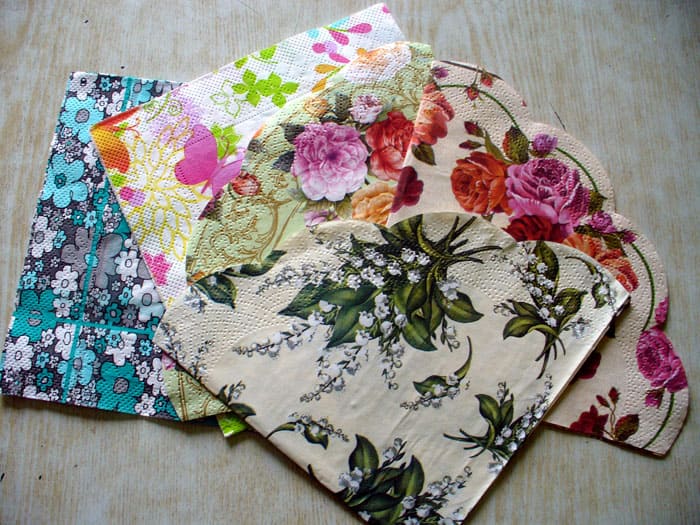
The packaging is inexpensive, it is especially good to practice on such pictures
PHOTO: happymodern.ru
Four-layer "handkerchiefs"
You can buy these handkerchiefs at a craft store or at large chain stores. The size of the product is 21 × 21 cm². Here, too, the same pattern can be found in the package, but with different sizes. This option is suitable for decorating a collection in a uniform style.
Special
Manufacturers have realized their benefits from creating decoupage materials and offer a wide range of thematic products of proper quality.
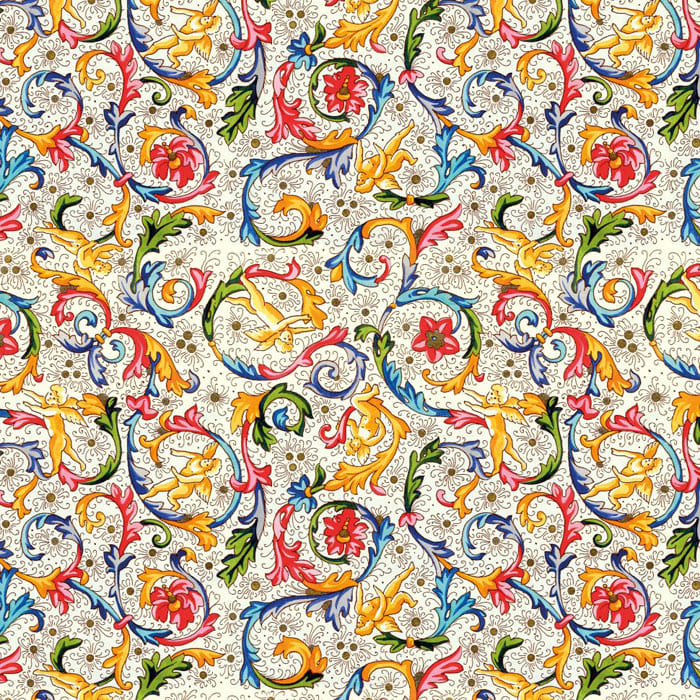
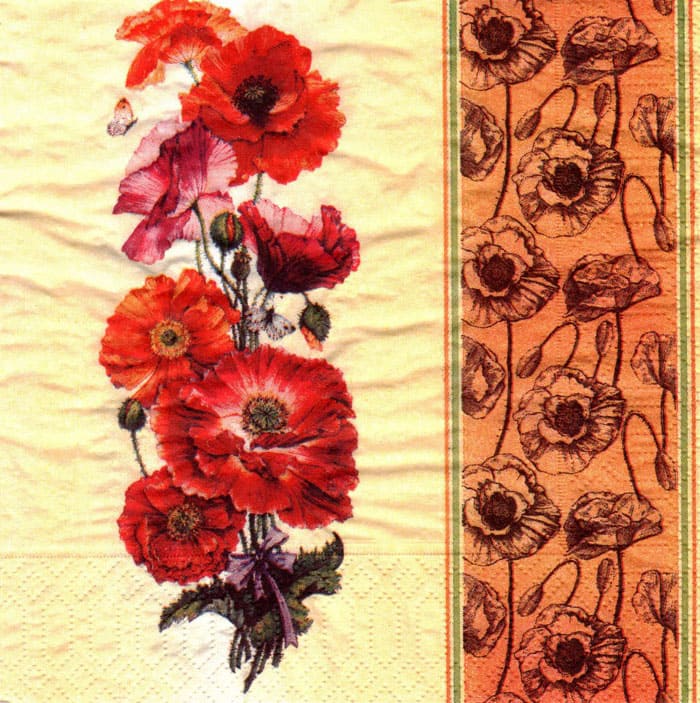
The drawing is located on a quarter of the napkin and is repeated 4 times, moreover, it can be made in a mirror image. There are paired motives (2 + 2), the motive is repeated two times, two different motives, one image on the whole scarf.
The quality of special cards for decoupage is high, the most suitable. Drawings are crisp and vibrant with no fraying edges and the final work looks flawless.
Various solutions for decoupage napkins
There is always a wide selection in outlets for needlework. In addition, you can order the desired plot in the online store from the manufacturer directly, although this option is the most difficult for a retail purchase. It all depends on what should be depicted, in what color schemes.
All images are divided into background, monochrome and collages, drawings.
Plain colored napkins themselves are the backdrop for different work. Such products are called plain rice paper and are often sold individually.
Advantages and disadvantages
It's even strange to talk about the advantages and disadvantages of decoupage napkins, since this is the basis of the technique. Depending on what your soul wants, they acquire thematic, stylized images suitable for a specific style. Who wants a nautical theme, who new year or nursery: the assortment is truly great.
The thickness of these napkins is small, which allows them to merge with the surface. Maps or office paper will be much more difficult to hide.
The disadvantages of the products are striking: the plot is cut off or it is simply inconvenient to divide it into fragments. We have to somehow get out. In addition, not every manufacturer understands the importance of the absence of extraneous background.
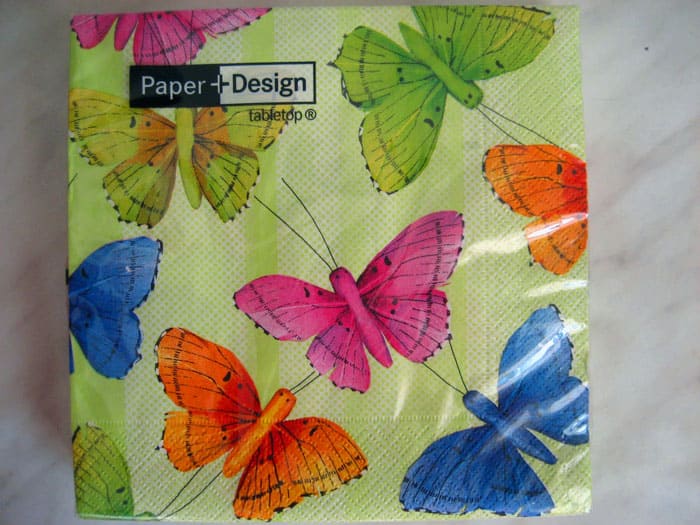
The size of the products is fixed, this also brings its own difficulties
PHOTO: exchange-for-you.blogspot.com
If you need to repeat the work, and there is no such pattern in the house, you will have to turn everything upside down in search: from the nearest stores to Internet resources. Alternatively, you can scan the image in advance.
Often there are problems with a dotted background: it differs from brush strokes, so you have to delete it completely, or sketch.
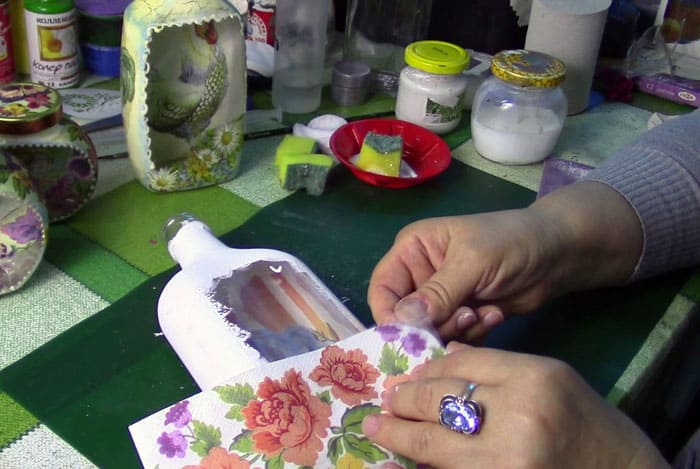
It can be difficult for beginners to adapt to delicate paperwork - either folds get in the way, or the paper tears
PHOTO: postila.ru
Related article:
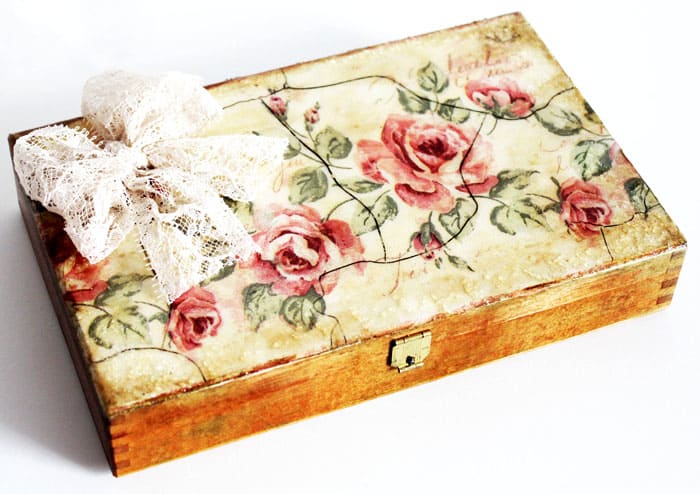
Decoupage for beginners: step by step from a photo of a bottle to furniture decor. This decor is especially popular when creating objects in a vintage style. In the article, we will consider detailed photo instructions for decoupage: furniture, on glass from napkins, on a box.
Choosing napkins for decoupage
It is always worth purchasing such products with a margin. One copy may break or unsuccessfully adhere, in this case, you can use the reserve. If everything works out the first time, the remaining napkins can be exchanged with the same masters, or you can decorate something else.
Preference should be given to a rice base, such paper will lie in a perfectly even layer on any object.
When you want to take a complex plot, think about how you use it, whether it will be convenient to work with.
Working moments: napkin gluing techniques
The task is to glue only the top layer with the image, which is complicated by its thinness and literally translucency. There can be no question of imposing two layers at once. Napkins are glued in different ways: by the file method, fan brush and glue stick.
Advice! Before applying, it is better to treat the surface with white primer or white paint, otherwise the picture will look faded.
Easiest way: file method
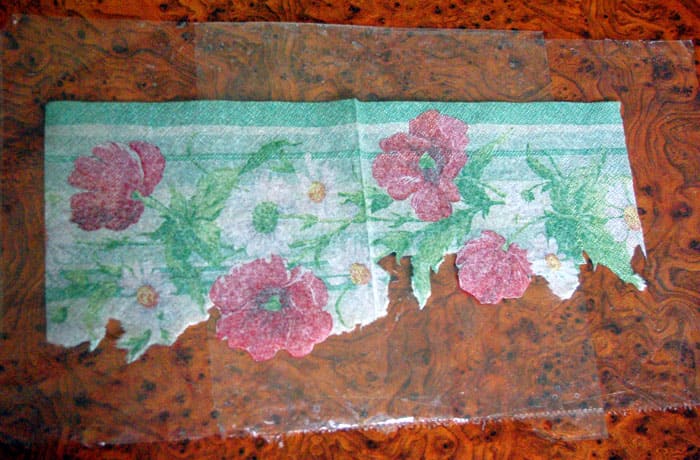
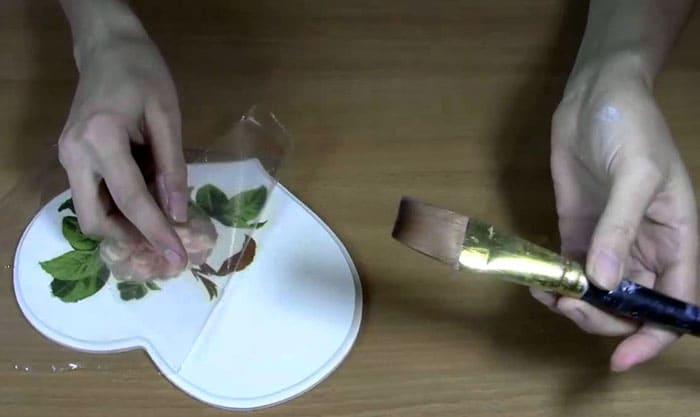
A universal solution is to glue the picture using a regular transparent file. This is how they decorate any surfaces, including flat, embossed and even the edges of an object.
In addition to the layer with the picture and the file, they use a brush, PVA glue, and water.
We put a napkin on the film with a pattern down, for decorating an opaque thing, and with a pattern up for a glass decor. Pour water on the product so that the paper "floats". This will make it easier to smooth out creases and align edges. After everything has smoothed out, the water must be drained.
The file must be placed on the object, the position must be corrected and the air bubbles trapped inside must be expelled. It's too early to shoot the file at this stage!
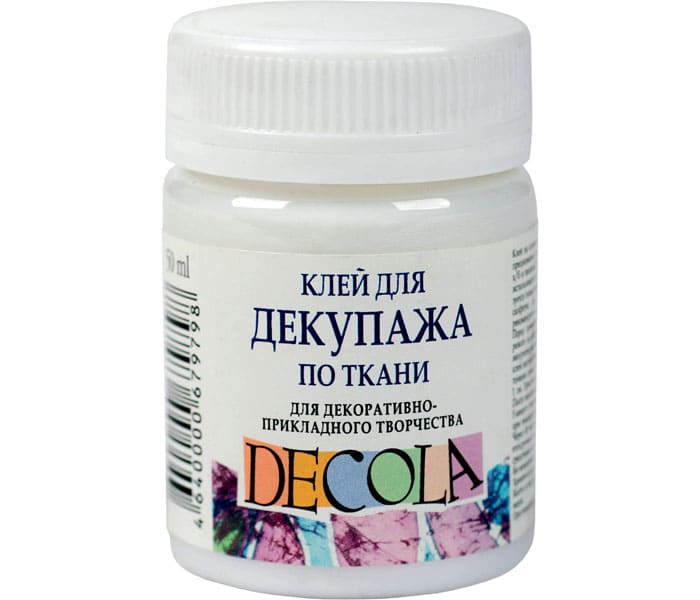
Now we coat the drawing with PVA glue, in the direction from the center to the edges, but we do not apply any efforts - the image can be torn. Wait for the drawing to dry and grind it with sandpaper (no. 1200). Then two coats of acrylic varnish should be applied.
Method two: apply with a fan brush
For some reason, diligent people like this option very much.
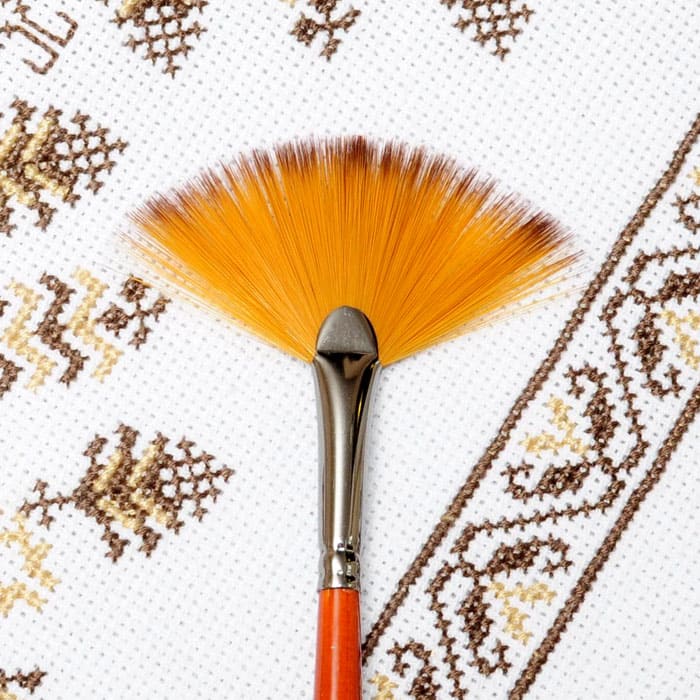
You need to attach a napkin to the object to be treated, drip water in the center to make a puddle. The fan brush now begins to radially disperse the water. If necessary, add water. The drawing is even raised by the edges, which helps to straighten all the wrinkles. This method is suitable if the surface is convex or concave - the napkin receives the desired degree of stretch.
The work of glue stick and iron
For a plane, you can use a regular glue stick, but a special decoupage is better. Carefully lay out the drawing on the missed place, cover with baking paper and iron with a heated iron. The glue will seize under the influence of heat and glue the image to itself.
How to glue a wrinkle-free napkin for a beginner
For those who just can't beat the folds, you can take an aerosol acrylic varnish and just sprinkle it on the drawing. He will soon become stiff, which will allow not to be afraid of the appearance of folds during work.
But here, too, there is an important nuance: the paper will lose its permeability to glue and water, so you have to thoroughly grease the base before applying the napkin.
We decorate different surfaces using decoupage
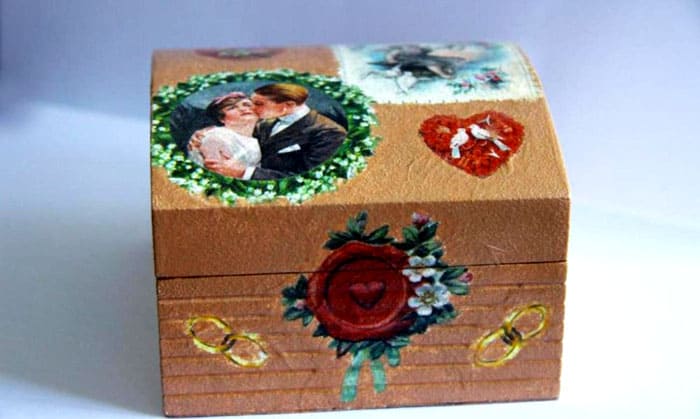
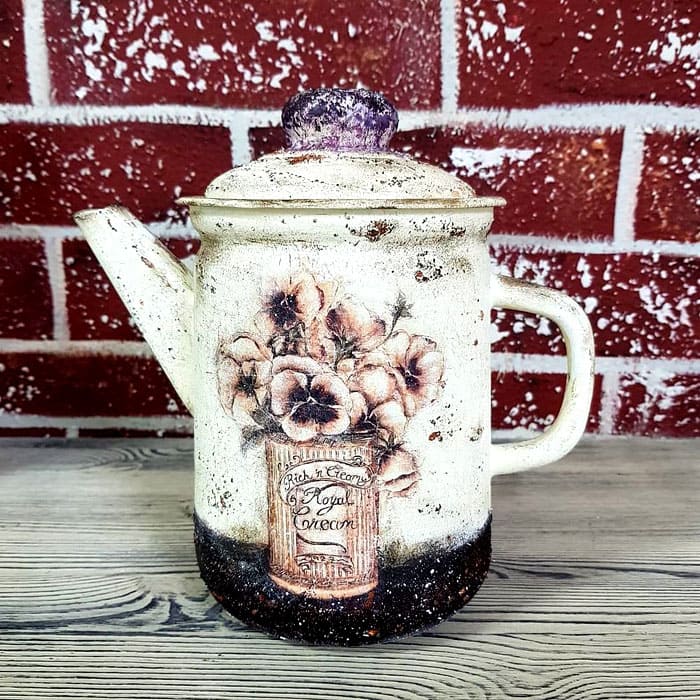
You can create something beautiful on any surface of any object. Do you have an old kettle that you plan to add to the decor? Excellent, the metal is also subject to decoupage processing. An old book, tables and chairs, chests of drawers, glass, wooden products - decoupage can be used everywhere.
Wood and metal
The wooden surface must be pre-treated. You will need to grind the product with fine-grained sandpaper. This will remove bumps and jags. After finishing the work, the dust is cleaned off, and the surface must be primed and varnished.
Repeat varnishing and sanding if necessary. Then the image is already superimposed and glued.
Working with metal is a little different.The surface of the object is degreased with an alcohol solution, you do not need to skin anything! The surface, as in the case of wood, is covered with a layer of acrylic primer. After drying, the base is covered with an even layer of paint. They are waiting for drying, apply a new layer across the previous one, dry and repeat the process.
Glass, ceramics and plastic
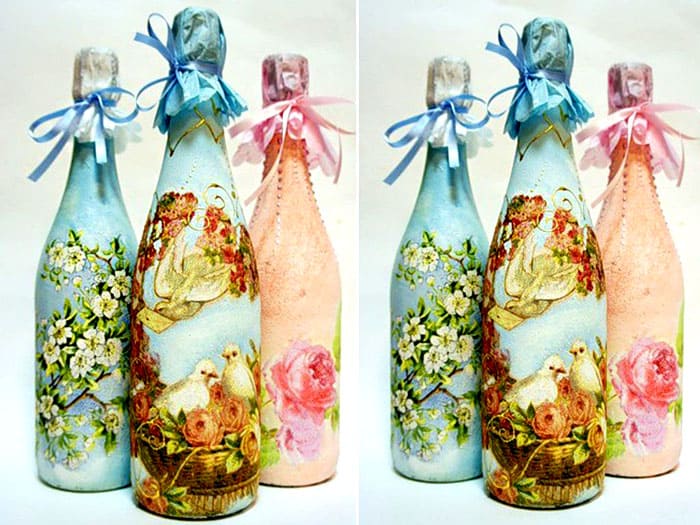
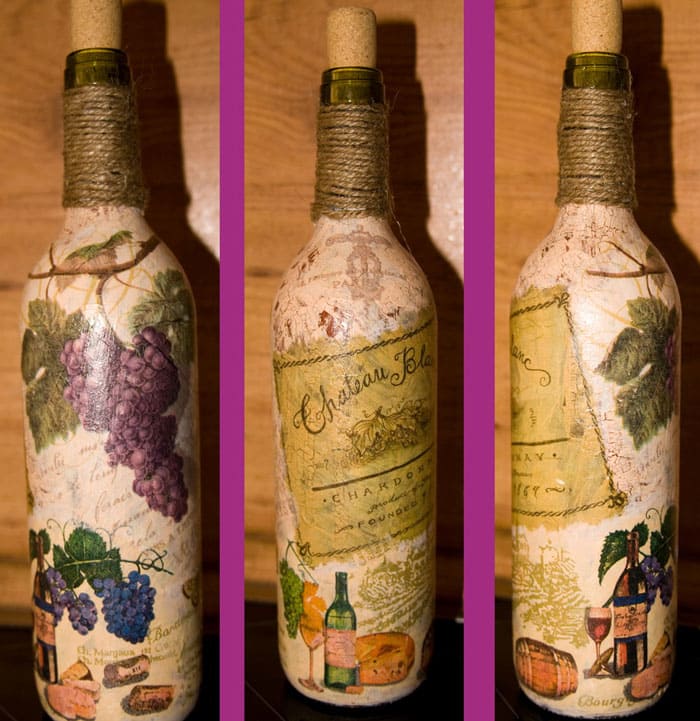
Decoupage patterns are also applied to glass bottles. More often than not, the work is amazing - a simple bottle turns into a work of art!
The object is washed out, degreased, primed and varnished. As soon as the varnish layer dries, you need to work a little with sandpaper. After that, they already go directly to gluing the napkin or part of it. The dried image is varnished with several layers.
They do the same with ceramics and plastic: the main thing is to exclude a perfectly flat surface by working with sandpaper and a primer.
Be creative, let your imagination help you, pushing on new and fresh ideas!


