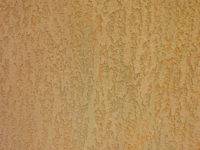
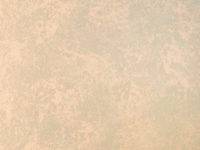
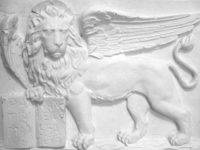
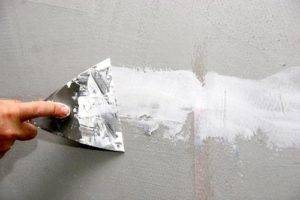
Textured plaster for walls: photo, video application technology
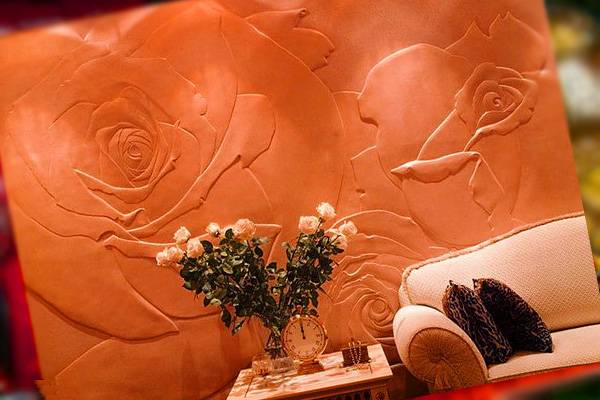
Increasingly, in city apartments and private houses, instead of wallpaper on the walls, you can see a wide variety of design solutions made with various materials. Unusual textured plaster for walls also attracts attention (photos, videos on installation will be presented below). This material is able to bring to life any volumetric drawings, even whole paintings can be recreated by applying such plaster to the wall.
The content of the article
What is textured plaster for walls: photos, videos of interesting application options
Diversity decorative plaster striking. The base includes water, binders, additives and fillers (thickeners, etc.). The composition may vary, and even at home you can prepare such a solution.
Textured plaster for walls, a photo, a video about which is presented on the Internet in large quantities, can be divided into three main subtypes:
- Mineral. It is made on the basis of cement, commercially available as a dry mix. Before use, it should be diluted with water until a homogeneous mass is obtained using a mixer. There is a drawback - you cannot dissolve the paint in a large amount of plaster, so the walls will have to be “painted” after finishing the work with the surface coating.
- Acrylic. Made from synthetic materials with acrylic resin. It has high ductility, water resistance and good adhesion to mineral substrates. The disadvantages include flammability, therefore, it is not recommended to use it with mineral wool insulation. Moreover, such plaster is easy to apply and keeps its shape. Before application, the surface of the walls should be leveled and primed. It is also sold dry. Pay attention to the expiration date, if it is approaching the end, do not buy the mixture, as it will be difficult to work with it.
- Silicone. A modern and versatile version of textured plaster. Has a high rate of elasticity, durability and adhesion.Suitable for all types of substrates, does not let in steam. It is sold cooked in a specific color. Even a beginner in the construction industry can handle such a material. The disadvantage is the high cost.
- Silicate. It is made on the basis of potash glass, which is rarely used in interior decoration. That is, such plaster is good for facade work. It is not easy to work with, so it is rarely used.
At the same time, textured plaster is different in result, that is, a finished surface in the form of granite, rain can be obtained, used under a roller and other options. This is also worth considering when choosing a material.
To make it easier to choose, below are photos and videos about textured plaster for walls:
Related article:
Decorative plaster for interior wall decoration. This article will discuss the types of wall plaster, the tools required for its application, and the technology for applying the coating.
Prices for textured plaster for walls
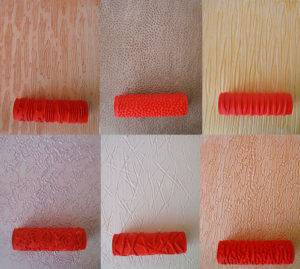
Textured plaster is a popular and affordable option, where wood fibers, small stones and mica are used as fillers. Such inclusions make the surface three-dimensional, which is inaccessible to wallpaper or paint. There are also many stamps and rollers on the market to make the job easier.
To buy textured plaster for walls, keep in mind that the cost of such material is calculated based on 1 m² of application to the surface. Here are some options with a photo.
Table 1. Average cost of textured plaster
Olga, Moscow: “I decided to decorate the hallway beautifully, Intonachino Minerale advised. I ordered the masters, they made a real painting to the ceiling. "
Maria, Dnepropetrovsk: “I bought Tamstucco for the initial finishing, but decided to make a panel on a separate site. It turned out very nicely and inexpensively. "
Dmitry, Samara: “We decided to make columns in the big hall, but for the relief we used STUCCOFACILE. It turned out very nicely. "
You can make the wall decoration with textured plaster yourself or contact construction companies that are engaged in decor and interior decoration. Here are some interesting examples of design solutions using this material:
Textured plaster for walls: video how to apply the material yourself
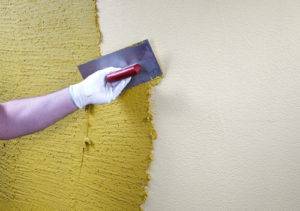
It is not difficult to apply the material yourself, so everyone can cope with such a process. Let's look at step-by-step instructions with photo examples.
Table 2. Technology for applying plaster
In this simple way, you can independently apply a pattern to a wall in a house or apartment. Here is a video on the stages of work.
How to prepare textured plaster yourself
If you want to reduce the cost of the repair process, then you can prepare textured plaster from ordinary putty with your own hands, spending your time and effort on this, knowing exactly what the mixture is made of.
For work, prepare a putty, a deep mixing container, a trowel and spatula, a construction mixer (you can do with a stick), a metal grater and a bag to create a pattern.
To calculate the required amount of putty, pay attention to the packaging, which indicates the amount of mixture per 1 m². If you decide to buy the material in the form of powder, then additionally purchase some PVA glue. To dilute, take 2 liters of water, 200 g of glue and 6 kg of the mixture.
Note! The glue is added only after mixing with a mixer.
For the walls in the rooms, gypsum or cement plaster is suitable, and if you decide to update the bathroom, then stop the choice on the second option.
Then proceed in the same way as when applying the purchased textured plaster, the stages of which were described above. Here is a video that will help you understand how to make such material with your own hands.
Related article:
Do-it-yourself textured plaster from ordinary putty. In this article, we will look at how you can make several structure options using various tools.
Patterning options
Textured plaster differs not only in the number of inclusions of small particles that give volume, and in color, but also in the option of creating the necessary pattern. You can use everything: from a brush to a paint roller.
Here are some variations of the patterns:
- Scales. Apply 3-5 mm of material to the wall, then use a spatula to make vertical strokes. Once dry, paint the desired color.
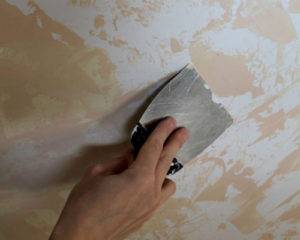
- Cave. Apply the mixture and smooth it, then walk over the entire surface with a piece of compressed polyethylene. You can just leave the film for a day, then remove it.
- Venetian version. Apply uneven strokes on the wall with a trowel, scattering a small amount of material on it. Wait for everything to dry out. Paint with one color, then an additional one, and then, with a damp cloth, remove some of the plaster from the convex parts. After completely dry, apply wax, acrylic or gilding.
There are a lot of pattern options, you can create real paintings. Choose whatever you like and get creative.
Small photo gallery
Instead of conclusions about the dignity of textured plaster, which were given enough in the article, see the interesting works of real masters of design using this material:


