Cozy and useful creative for the kitchen: how to make a tea house with your own hands
Purchased boxes of tea do not look presentable, the bags fall apart - another thing when everything is stored in a very convenient and beautiful house. In the review of the homemaster.techinfolux.com/en/ editorial office, we suggest spending some of your time today and learning how to make a tea house with your own hands. Believe me, it is not so difficult to make it, especially since there are several manufacturing options for different tastes.
The content of the article
- 1 How beautiful there are DIY tea bag houses
- 2 Do-it-yourself cardboard tea house: diagram and description of the creation process
- 3 Master class: how to assemble a tea house from plywood with your own hands
- 4 Master class: a quiet evening weaving a tea house from newspaper tubes
- 5 Tips for decorating tea houses
- 6 Is it possible to buy a tea house
How beautiful there are DIY tea bag houses
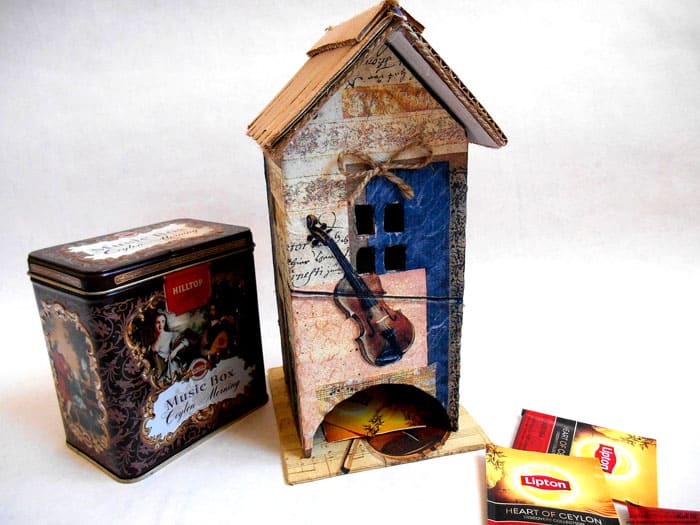
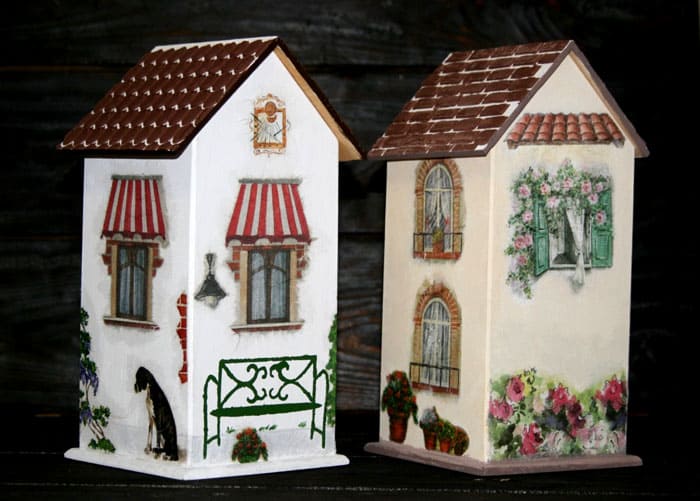
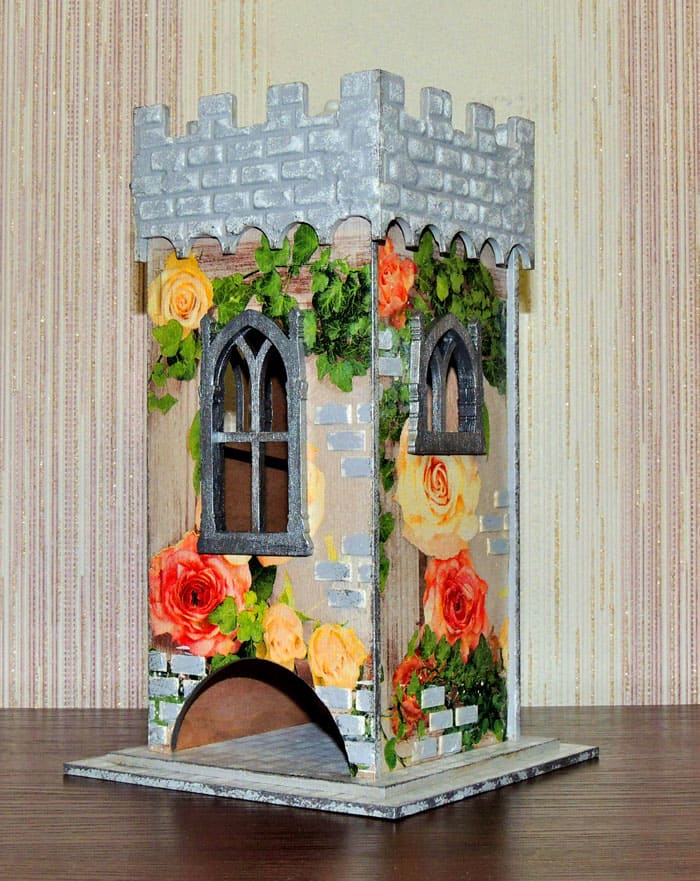
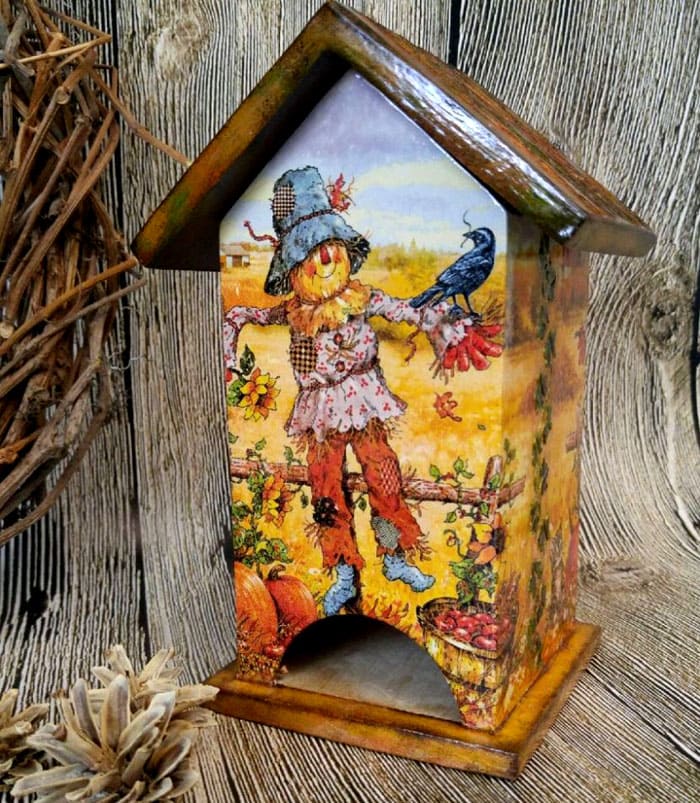
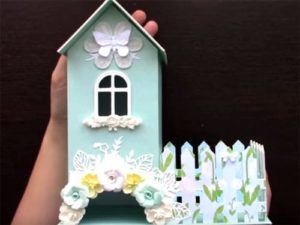
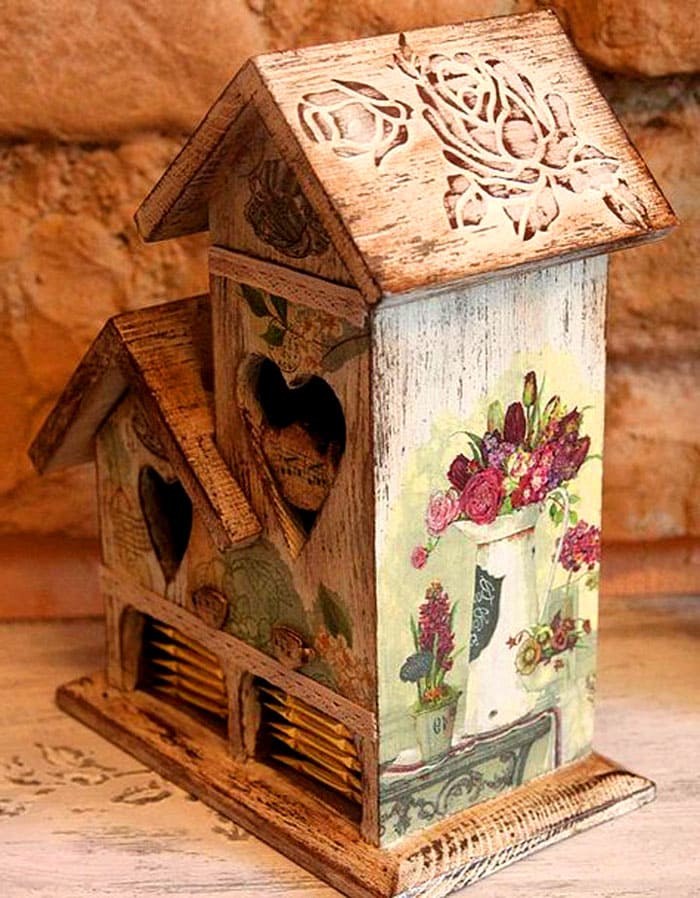
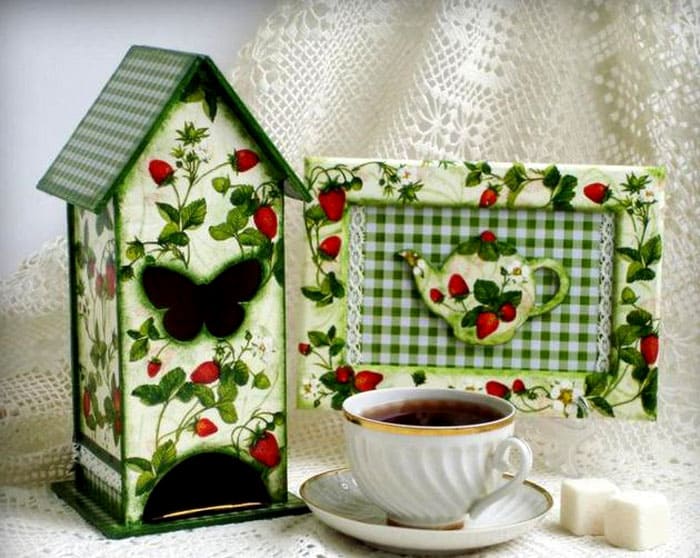
The house-shaped do-it-yourself box for tea bags looks amazing. The beauty is that you can choose the style and decor of the craft directly for the kitchen design.
Do-it-yourself cardboard tea house: diagram and description of the creation process
As an example, we offer a master class for making a tea house from cardboard. The author's work is amazingly beautiful, and if you follow the instructions, you can make an equally attractive product.
What you need to work
For work, we will prepare thick cardboard, it is possible from vegetable boxes, scissors, aerosol glue, a simple pencil, a ruler, paper, scrap paper, decor.
Crafting tips
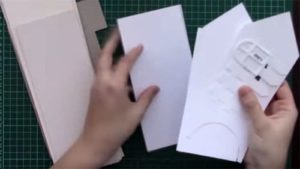
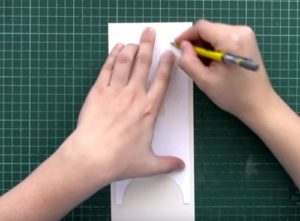
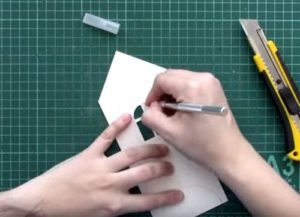
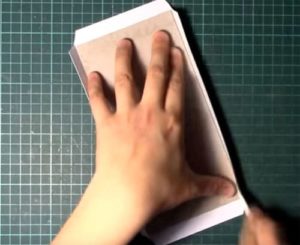
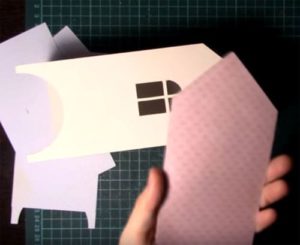
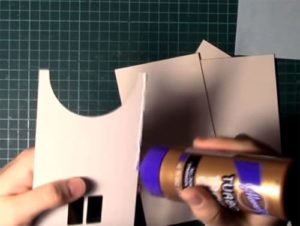
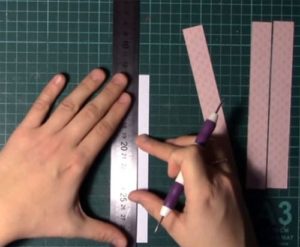
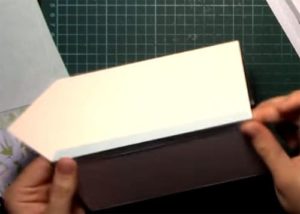
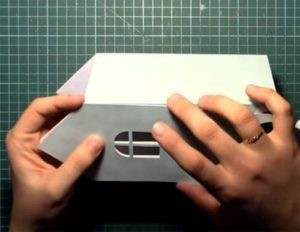
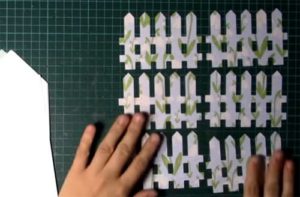
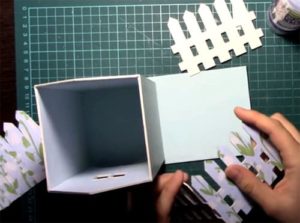
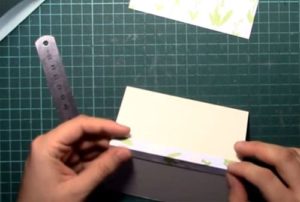
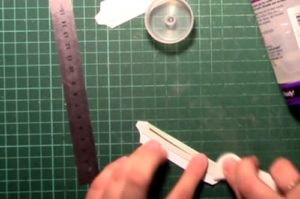
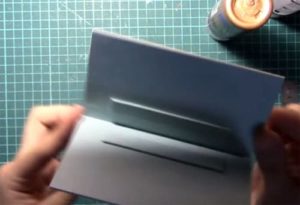
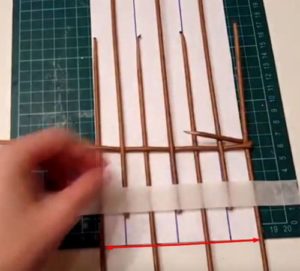
Let's see the process of creating a house in the photo with comments.
Master class: how to assemble a tea house from plywood with your own hands
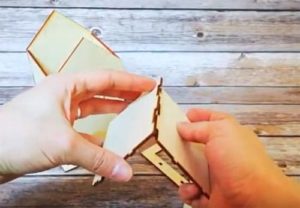
To create a teahouse from plywood without carpentry experience and in the absence of special tools, you need a blank.
They decorate plywood buildings with wood putty, decoupage or simply paint the primed product.
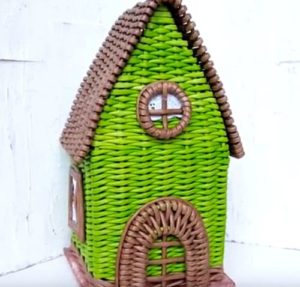
Master class: a quiet evening weaving a tea house from newspaper tubes
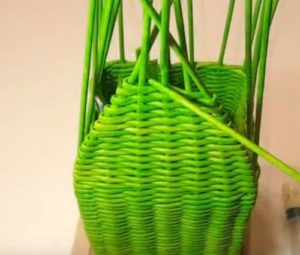
Everyone can master weaving, but the most important resource will be not only time, but also patience: you have to create the material yourself, and twisting all the tubes can eventually take a whole evening. The main thing is to understand the principle of twisting, and then you can work with your favorite TV series, without delving too much into the process of preparing the material.
Material preparation
We will wind a sufficient number of tubes, namely, “many”, and paint them in any color with color scheme, gouache, toner, stain - to your taste. To make one tube, you need to take a thin long knitting needle and wind a newspaper strip (about 5 × 30 cm) around it at an angle of 45 °. The tip of the strip is glued with PVA glue.
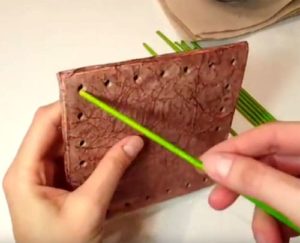
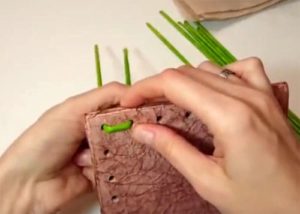
In addition to a mountain of tubes, you will need a dense base with holes made in it around the perimeter for inserting the tubes. The base is immediately made beautiful, since it no longer needs to be changed.
An important point: 12-16 tubes should be used a little damp, almost immediately after coloring and light drying.
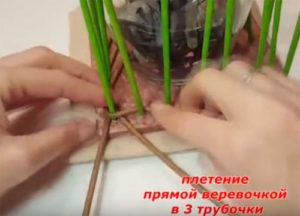
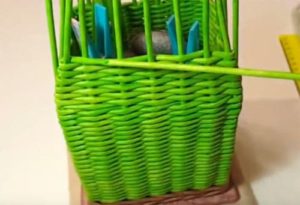
Manufacturing instruction
Let's move on to weaving.
Related article:
Weaving from newspaper tubes: new ideas in this technique, features of making crafts and step-by-step instructions for several new products - in our publication.
Tips for decorating tea houses
There is no way to count the decoration methods. Depending on the base, the material for the decor is selected, for example, cardboard and plywood crafts are most often decorated with decoupage cards for tea houses. Beautiful napkins with any theme are also included in the entrance, it is so easy to decorate a New Year's teahouse or make a product in the style of shabby chic and Provence. In addition to decoupage, they use putty, polymer clay, scrapbooking elements, lace, beads, wooden patterns and much more.
Master class "decoupage" on the decor of a tea house
To get inspired and develop your idea, you can always look at the photo of decoupage of tea houses. A treasure trove of solutions and ideas helps to determine what we ourselves want, and advice will help bring the idea to mind.
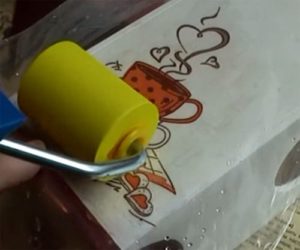
First, we process the craft with acrylic primer. As soon as the soil dries up, we continue to create. In the place where the drawing of the desired size will be located, PVA glue is applied, preferably mixed in equal proportions with water. Now the picture torn from the napkin is placed on the film face down. You can take ready-made pictures for decoupage with a tea theme.
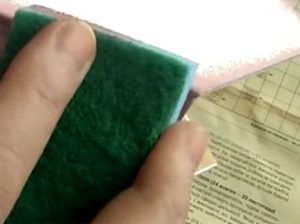
Water is sprayed onto the drawing from a spray bottle, excess moisture is drained. Turn the drawing over and carefully place it on the prepared place.
Related article:
Decoupage for beginners: step by step from a photo of a bottle to furniture decor. This decor is especially popular when creating objects in a vintage style. In the article, we will consider detailed photo instructions for decoupage: furniture, on glass from napkins, on a box.
Video: the process of creating and decorating a tea house
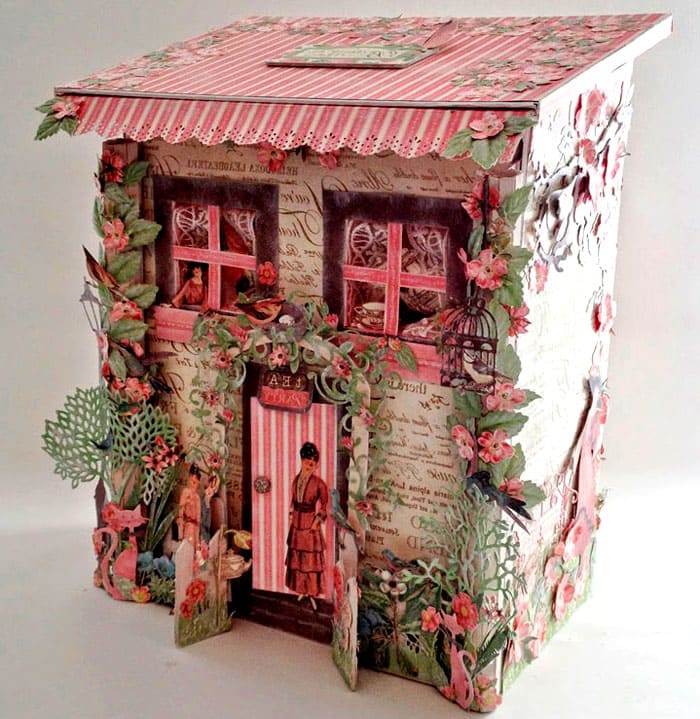
How to decorate tea houses using scrapbooking technique
Decorating a craft using the scrapbooking technique is quite interesting: for this you will need to visit a store for creativity and needlework.
What are they getting? If there is nothing at all, the list will be quite long. Therefore, you should first decide what the future teahouse will look like, and then go to the store.
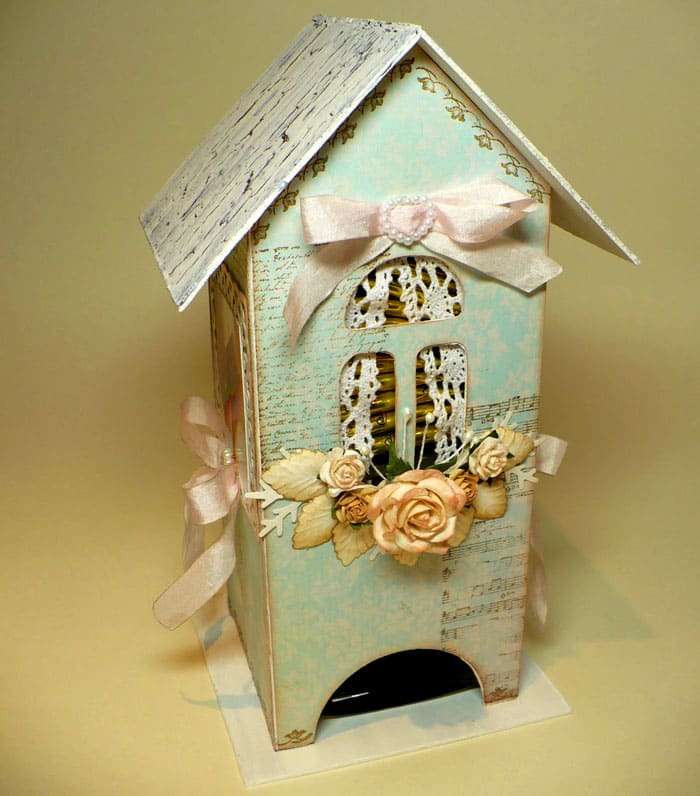
Simple options involve ready-made commercial jewelry in the form of flowers, ribbons, lace borders or decorative tape
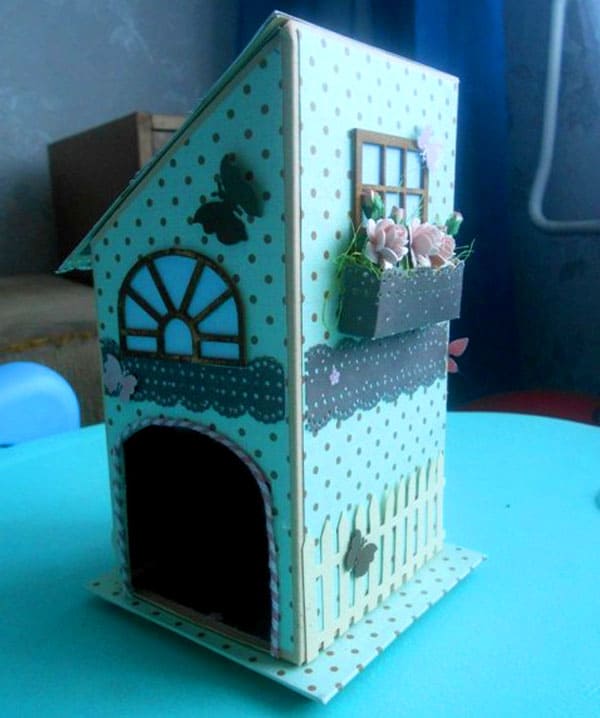
A figured hole punch will help in the decoration: with the help of special patterns they make a beautiful edging or create butterflies, petals of flowers and plants
Liquid pearls, which will harden and form small dense pearls, will be a good purchase.
Is it possible to buy a tea house
Not everyone is ready to go and create a wonderful product, but why not buy a finished one? All kinds of craftsmen's fairs provide such an opportunity, and they acquire a fabulous house both for themselves and as a gift.
In any case, you should contact the author and ask him about the material of the product, density, operating rules. A good craftsman will not be stingy with answers and is always ready to cooperate: often such crafts are made to order according to the taste of the buyer.
Let such an amazing accessory decorate your kitchen interior!


