DIY compost pit: manufacturing options, photos and useful tips
If there is poor soil on the site, then a container is built to create humus, which is an important part of any garden plot. The use of top dressing in the form of compost allows you to grow environmentally friendly plants and vegetables. Recommendations from experienced gardeners will help you understand how a do-it-yourself compost pit is created, the manufacturing options, photos and installation features of which can be considered in detail below.
The content of the article
- 1 Features of the design of the reservoir for compost humus
- 2 What is the purpose of the pit?
- 3 How to make a compost pit with your own hands: video and installation requirements
- 4 DIY compost pit: manufacturing options, photos and nuances
- 5 What can and cannot be used as humus?
- 6 Features of the operation of the compost tank
- 7 Video: self-construction of a compost pit
Features of the design of the reservoir for compost humus
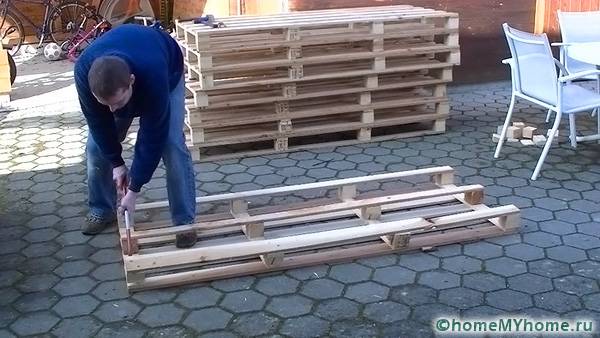
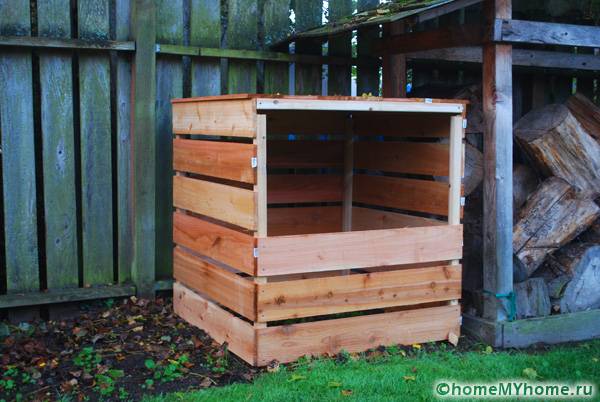
The compost pit is easily created by hand. In this case, the manufacturing options can be seen in the photo. Simple products can be made from pallets, which are taken after the sale of building materials and purchased for a small amount.

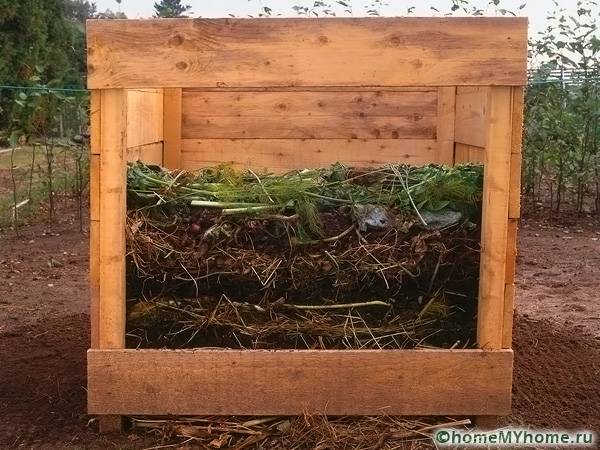
Humus can be composed of several layers. To accelerate the decomposition process, it is recommended to stir the plant mass
It is important to choose the right location. It should be remote from housing. This should be a well-ventilated area. This will prevent bad odors from developing. Containers made from scrap materials are highly available. The finished design allows you to dispose of weeds from the site.
Helpful information! The vegetation is compacted over time and, under the influence of bacteria and moisture, is converted into an excellent organic fertilizer. Ideal for cultivating a variety of crops in your garden or garden.

It is necessary to provide free access to the pit and at the same time install it remotely from the residential building
What is the purpose of the pit?
An excellent method of disposal of various garbage is a do-it-yourself compost pit.Manufacturing options, photos and drawings can be found in sufficient quantities on the Internet. This facility allows you to get high-quality fertilizers in the shortest possible time. This involves cutting grass, leaves and manure.
How to make a compost pit with your own hands: video and installation requirements
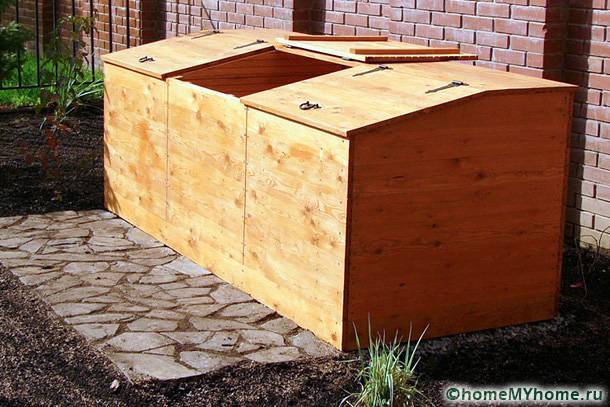
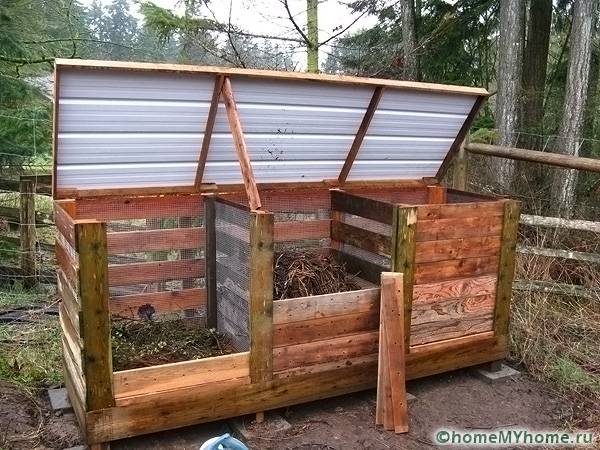
Many gardeners and summer residents are interested in the question: how to make compost pits correctly. The tanks are constructed in three parts. In this case, 8 columns are installed, which are treated with a protective solution. This can be fuel oil, engine oil and tar.
For one side it is recommended to use fence cloth... The partitions are made of boards, in which holes for ventilation should be left. Doors are installed on all compartments. At the end of the work, you need to install handles and latches.
An important point is the installation of ventilation holes. Also, the container must be closed during precipitation with a special lid. For this, conventional plastic wrap can be used.
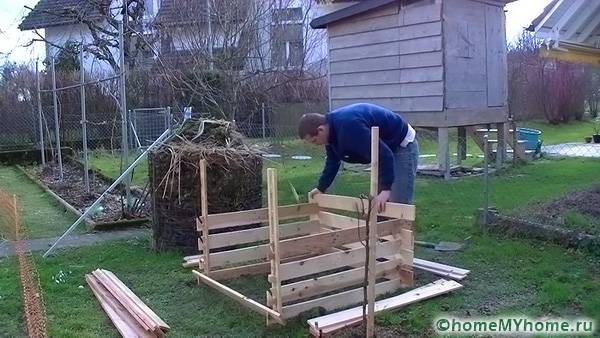
You can make a product from pallets. To do this, you need to disassemble them. Via circular machine the boards are divided into separate blanks. All boards are fastened vertically. In this case, the front board is fixed with an adhesive solution.
To keep the pallet product stable, you need to trim the planks at the bottom using a level.The Finnish compost pit differs from standard pits. It has several distinctive features. Filling must start from the first compartment. When removing humus, the container is filled from an adjacent compartment.
All recyclable material must be stirred periodically. Also, the container should maintain an optimal humidity level.
Installation of such a structure consists of the following steps:
- wood planks are treated with a special compound;
- the side walls are being assembled;
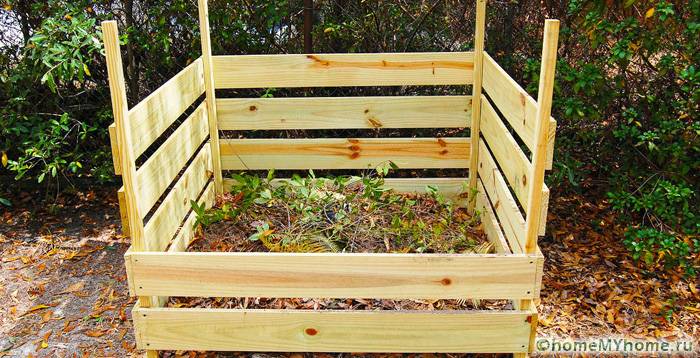
- the walls are sheathed with boards, two walls are made with gaps and two of tightly standing boards;
- boards for the back are attached;
- the bottom is made;
- the cover is mounted;
- lower doors are installed.
Helpful information! The wood from which the pit is made must be impregnated with a special solution. This will prevent damage from moisture, harmful insects and decay processes.
DIY compost pit: manufacturing options, photos and nuances
There are many ways to make compost pits in the country. It is worth choosing a type of structure that meets the requirements of a particular area.
The most famous methods are used:
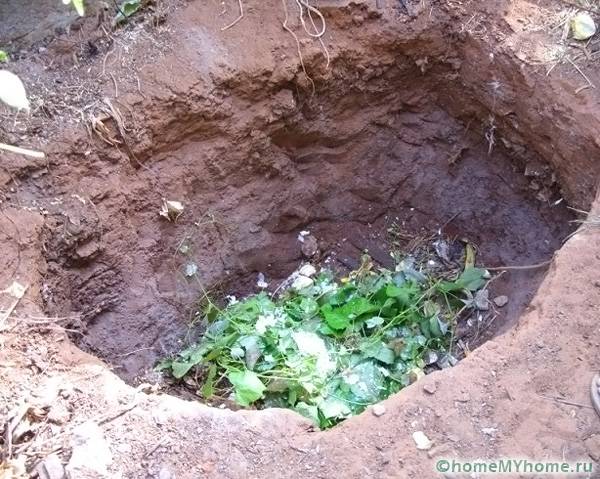
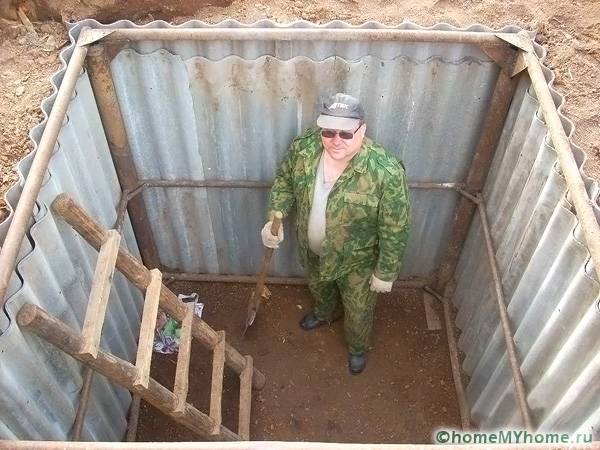
- construction of a pit in a specific place. The pit should be like a well, but shallower. In this case, the walls of the pit are additionally strengthened and sheathed, but only at a height of 20-25 cm from the bottom, so that microorganisms can easily penetrate inside;
- the container is mounted in the garden. This allows the compost mixture to be removed at any time. The pit is based on formwork. In this case, a plastic tank or a box of boards is used; It is important to install ventilation holes;
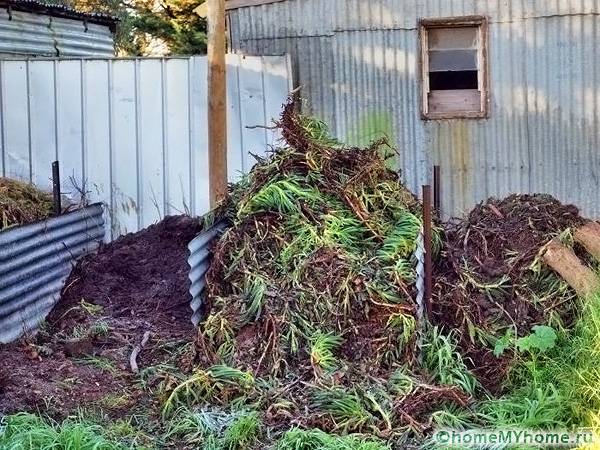
- The easiest way is to create a compost heap. This creates a substrate of sand, dried grass and gravel.Waste is laid on top, which must be overheated.
There are many options for creating such a structure. They differ not only in materials, but also in the properties of the reservoir and dimensions.
Helpful information! Before placing plant materials in the structure, you need to carefully loosen the bottom and install a ventilation hole. After rains, the pit can be covered with polyethylene to speed up the work of microorganisms.
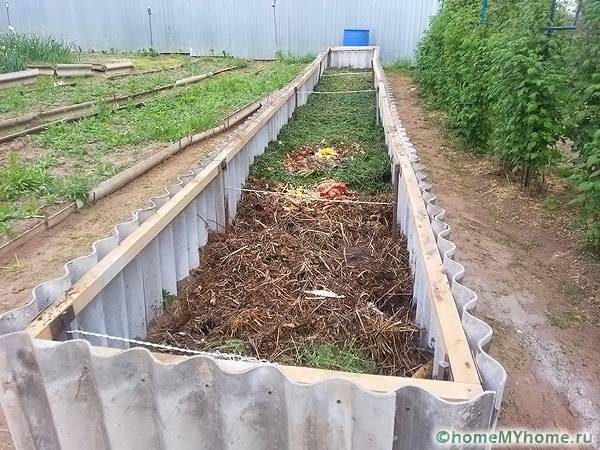
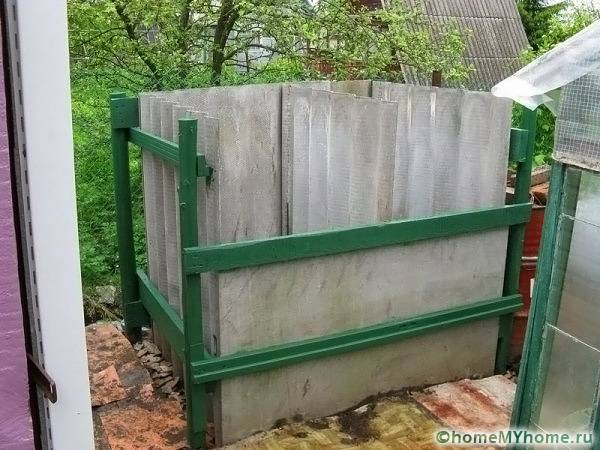
How is a compost pit made of slate in a summer cottage?
The advice of the masters will help you decide how to make a compost pit in the country from slate in order to get a reliable and durable structure.
Slate canvases will be an excellent base for the walls of the box. The design is carried out in several stages:
- suitable dimensions are determined;
- after choosing a site for the location of the structure, you need to make a small depression;
- supports made of pipes or boards are mounted in all corners;
- a pit is mounted with the help of slate sheets;
- a partition is installed in the box, which divides the space into two parts.
What can and cannot be used as humus?
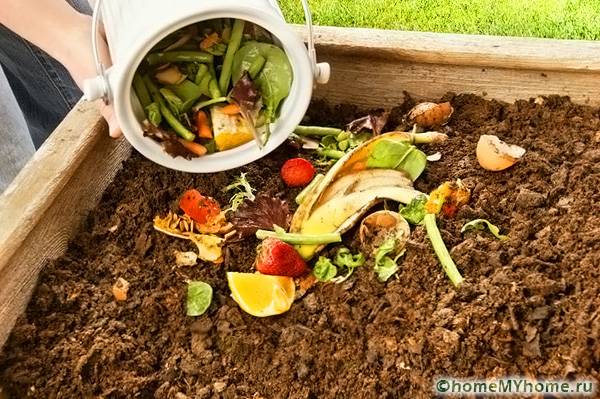
You cannot throw everything into such constructions. They are suitable for fertilizers if the following substances will be collected there:
- leaves, branches and fallen bark of a tree;
- various weeds;
- manure composition;
- cleaning from vegetables and fruits;
- ash, straw and sawdust;
- cardboard, napkins and paper.
The following components cannot be added to the pit:
- inorganic materials;
- tomato and potato tops, which are often affected by late blight;
- fertilizers with chemicals;
- thick branches;
- feces from animals that live in the house.
Helpful information! For quick decomposition of the grass layer, it is recommended to sprinkle it with soil on top.
Features of the operation of the compost tank
There are also certain requirements for using a compost pit:
- the compost mass should be periodically loosened with a pitchfork. This speeds up the recycling process;
- the compost mass must sometimes be watered with water;
- Californian worms are often added to the humus, which help to process the mass;
- a dark polyethylene film can be laid on top of the plant mass; This affects the creation of the greenhouse effect; The ripening period of such a heap will be 3-4 months;
- whenever possible, preparations are added to the composition to increase the rate of waste decomposition.
By creating a high-quality compost pit, you can provide your garden with useful and ecological fertilizers.
Video: self-construction of a compost pit


