We build a greenhouse from a profile pipe with our own hands: photo and video instructions for the process
It is not necessary to install an expensive greenhouse for growing seedlings and forcing. An excellent option would be the construction of a greenhouse, which will take up a minimum of space on the site, will not require a heating system connection and will be undemanding to maintain. Its design is simple and therefore, even without construction experience, it will not be difficult to design and install a greenhouse from a profile pipe with your own hands. Photo and video instructions will help you to competently complete all stages of work in the shortest possible time without involving specialists.
The content of the article
Why is it profitable to build greenhouses from shaped pipes, and not from wooden blocks?
The frame is the main bearing part greenhouse, therefore, it must retain its shape and withstand the loads of atmospheric precipitation. Therefore, the material must be at the same time easy to process in the manufacture of parts, tough, strong and durable. There are two main frame materials:
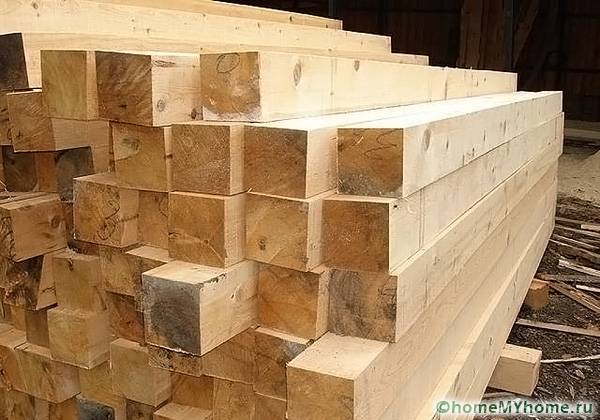
- Wooden bar. It can be processed with any suitable cutting tool, allows constructing structures at minimal financial costs and is able to create a unique microclimate inside the greenhouse. However, it is susceptible to rotting or drying out with a loss of strength properties, to pests and insects. This significantly reduces its service life to an average of 5-7 years. Significant woodworking experience is required to create an arched structure.
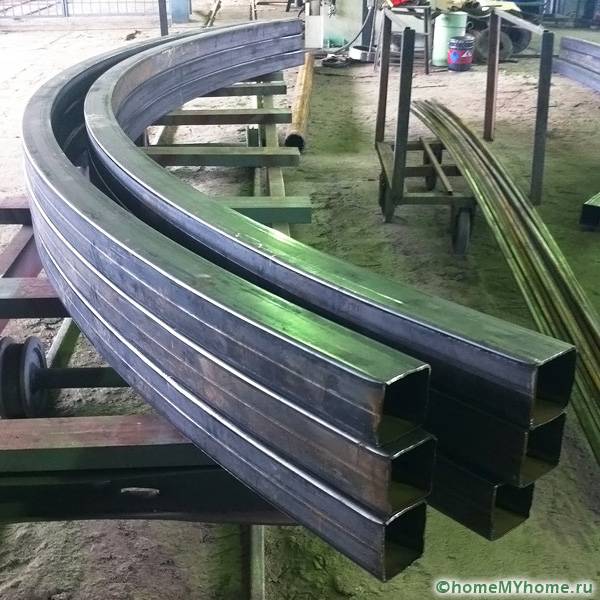
- Metal shaped pipes. They are easy to process with a specialized tool, they allow you to create structures of complex shapes, they can contact with any types of materials without damaging them due to the smooth surface. The service life of metal-profile pipes is on average 10-15 years. At the same time, they, unlike wood, do not need additional care or protection from pests. The optimal pipe section is 20 * 20 mm, which provides sufficient strength and rigidity of the structure.
When comparing wood and metal structures, it is obvious that to provide the same strength and load-bearing capacity of the frame, metal slats with more compact dimensions are required. In this case, this will allow you to get more sunlight per unit area and provide more favorable conditions for thermophilic crops. In addition, the wood will need periodic anti-fungal treatment.
Wood is used to create blank walls or pallets, for example, in movable objects. In addition, it has a low thermal conductivity and therefore will keep heat in the volume of the structure.
Choosing a material for cladding
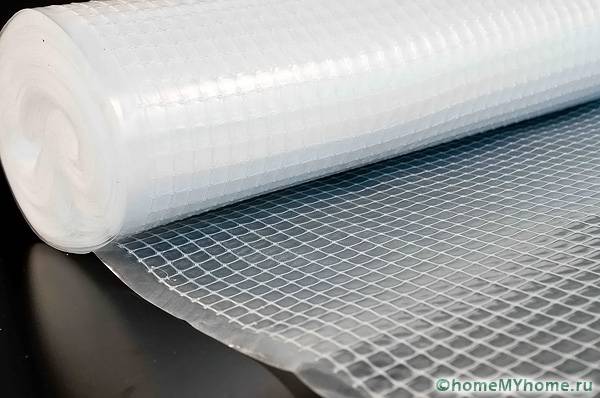
You can sheathe the greenhouse with plastic wrap, glass or polycarbonate. Polyethylene is notable for its cheapness, the ability to create tight contact with a rough or uneven surface, and is also resistant to moisture, mold and mildew. It can provide different degrees of light transmission depending on density. The disadvantages include minimal resistance to precipitation loads, ease of damage and loss of properties under the influence of ultraviolet rays. Average service life is 1-5 seasons.
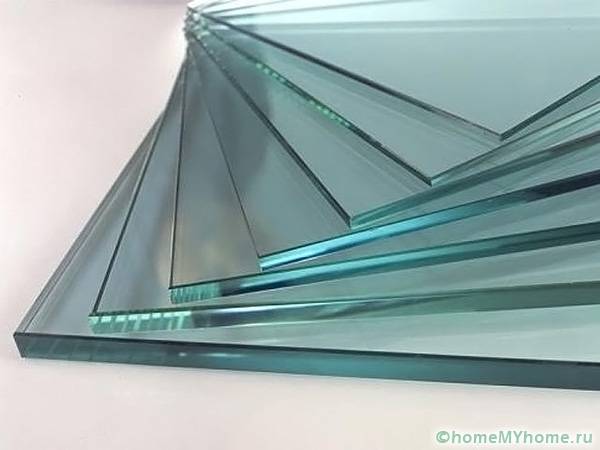
The glass has a high light transmittance and is strong enough to withstand snow loads. However, due to its fragility during cutting and installation, it requires increased accuracy and care. It has a lot of weight, so it is required to make the frame stronger than when using polyethylene or polycarbonate as sheathing. The service life can be up to ten years.
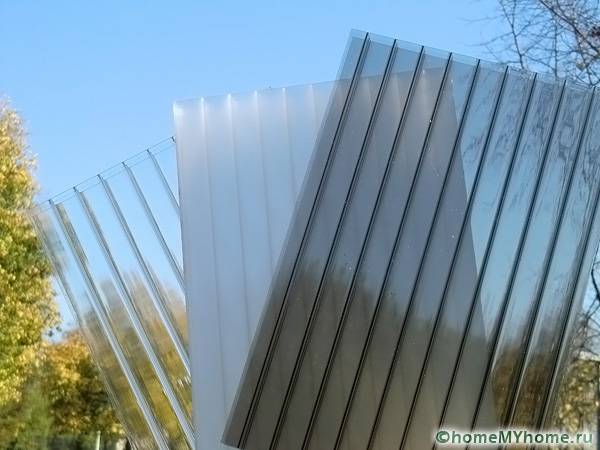
Polycarbonate is more profitable in terms of installation and operation. In terms of light transmitting characteristics, it approaches glass, but it is devoid of fragility and is very plastic, which makes it easy to bend and form a nonlinear surface. Able to withstand all types of precipitation, including hail, without damage or loss of basic properties. Service life up to 20 years.
Design phase
Before you make a greenhouse with your own hands, you need to choose a site for its construction, choose the type of construction and competently carry out the assembly steps. The duration of its operation and the achievement of the calculated thermal characteristics will depend on the quality of the work performed.
Choosing a suitable place for the object
The energy efficiency of an unheated structure depends on the amount of sun rays falling on it, which will create favorable growing conditions for crops: humidity, light level and temperature. Therefore, before starting the design, a suitable place for the construction of a greenhouse is chosen. The main selection criteria are as follows:
- The structure is placed in a windless place or in conditions of minimal influence of air currents. This will reduce heat loss during the cold season and keep the internal temperature within normal limits.
- The site should be illuminated by the sun as much as possible.Even if crops that require shading are grown, it is recommended to install glass or polycarbonate, which will partially absorb some of the sun's rays through the use of a special coating. In this case, not only the body will heat up, but also the internal volume.
- It is recommended to choose a flat area to increase the stability of the structure and to ensure uniform illumination of the plants.
- All the necessary communications should be located near the object: water supply for irrigation systems and a power grid for connecting artificial lighting.
Helpful information! It is important to take care of the convenience of access to the greenhouse for maintenance. The amount of free space should be at least along three sides of the object within 0.5-1 m.
Choosing the type of construction
The shape of the greenhouse determines the angle of incidence, refraction and reflection of light rays on the grown plants. Optimum perpendicular incidence of sunlight on the surface in order to maximize using solar energy for heating.
The following types of structures exist:
- Shed. It is the simplest structure, which is erected adjacent to residential or farm buildings in order to save building materials or compact placement on the site.
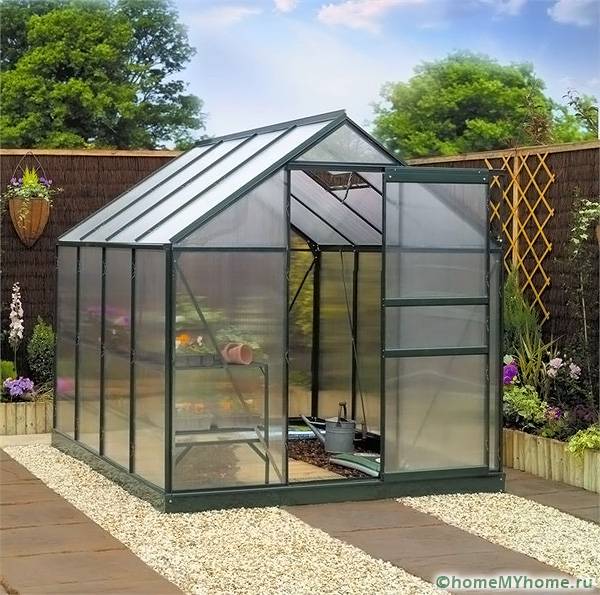
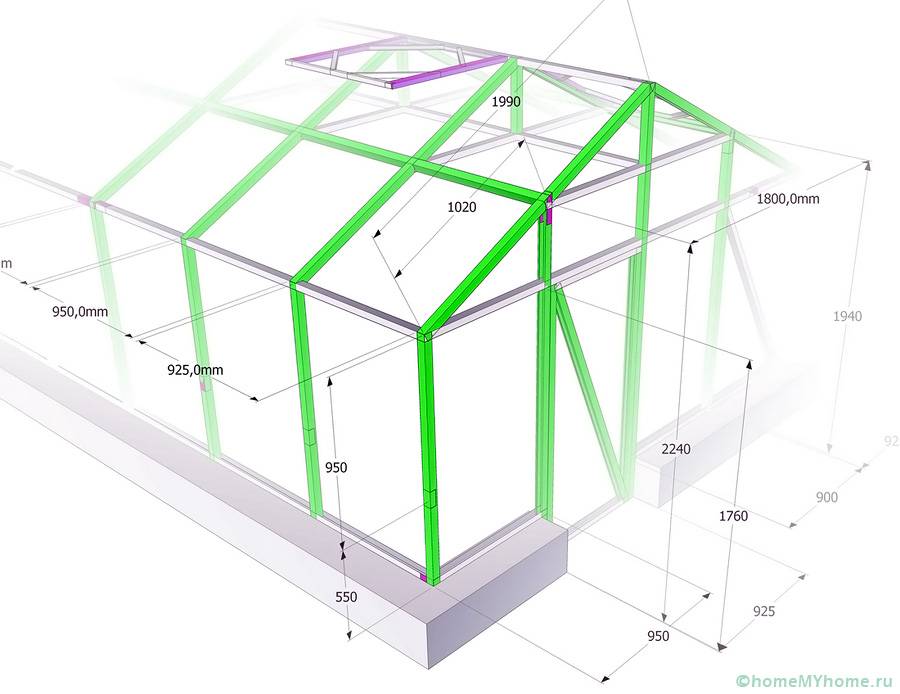
- Gable. Can be installed as a separate structure and provide better illumination for the grown plants than in the case single-slope type.
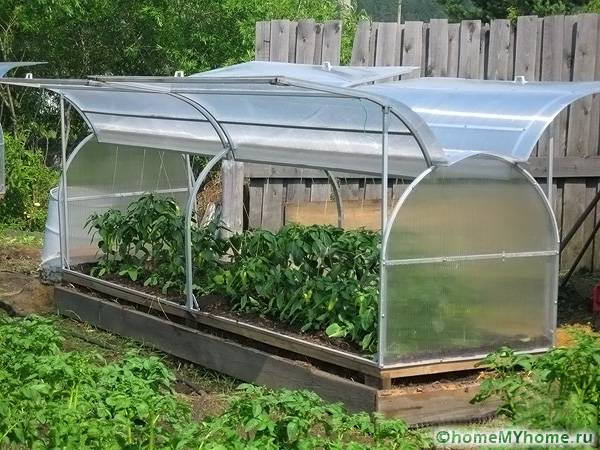
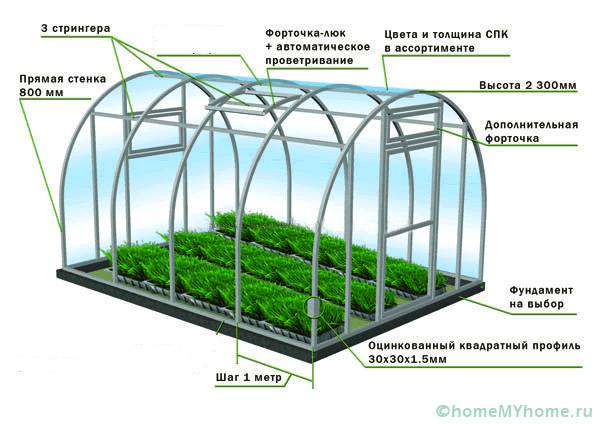
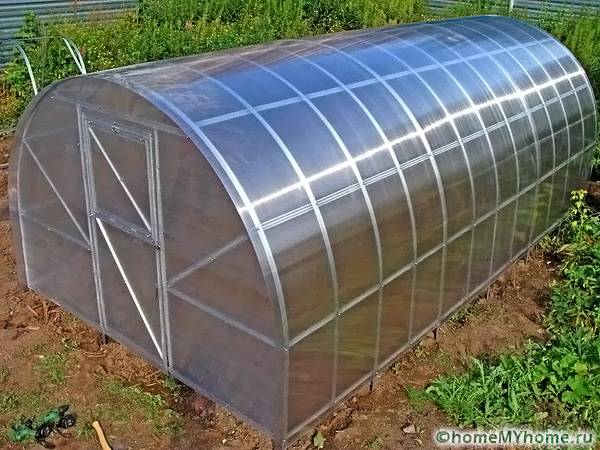
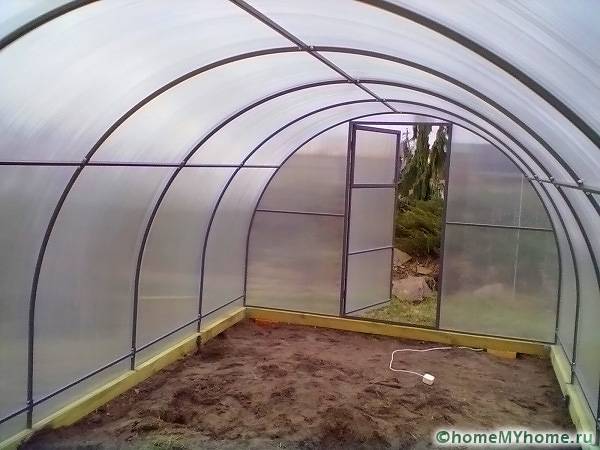
- Arched. Provides uniform illumination of the entire internal volume, regardless of the position of the sun. However, to achieve this effect, it is necessary to correctly place the object being erected so that the arch is in the direction of the sun's movement. During installation, difficulties may arise with bending and centering steel pipes, as well as attaching the sheathing to the frame. As a result, the maximum efficiency of heating and lighting will be obtained, in comparison with other types of structures.
It is easier to choose a suitable greenhouse from a profile pipe and make it yourself if you see ready-made examples in the photo. They will allow you to roughly understand the complexity of the construction, as well as indirectly assess the benefits.
Related article:
DIY polycarbonate greenhouse. Drawings, types of structures, step-by-step construction and much more in a separate publication of our portal.
Create a drawing
The creation of a drawing is an important design stage, which allows you to correctly calculate the amount of material, assess the complexity of the work, and also perform the assembly correctly. Planning should begin with determining the size of the greenhouse.
Unlike other objects being built on a personal plot, in this case, you cannot make a stock in terms of area. This is due to the increase in energy efficiency and the provision of optimal conditions for plant growth. Therefore, it is necessary to clearly determine which crops and in what quantity are supposed to be grown.
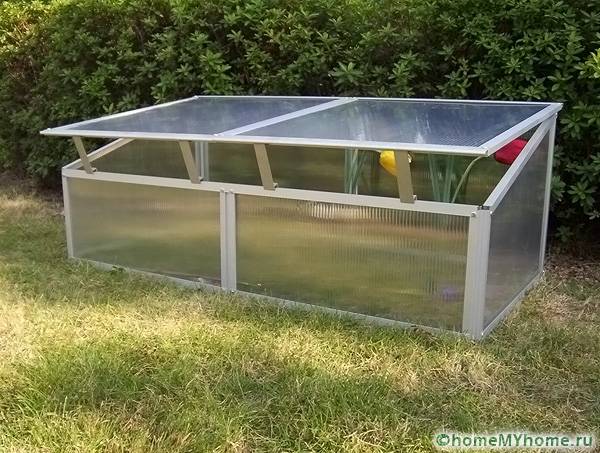
The greenhouse can be mobile or stationary. The first option is suitable when there is an acute shortage of usable area of the site or the need to move it to a heated room with a significant decrease in the air temperature outside. It is a structure similar to a stationary one, but smaller in size, made of light materials and located on a special mobile platform.
A stationary facility is designed with any required area. It can be made in aboveground and shallow design. Aboveground greenhouses are attractive in that they completely exclude the formation of shading, but at the same time it is advisable to install them in the middle and southern latitudes because of the possible freezing of the soil.Shallow ones can draw heat from the ground and warm up the internal volume, regardless of the level of soil freezing. The disadvantage is the appearance of shading near the walls, which will slow down the development of plants.
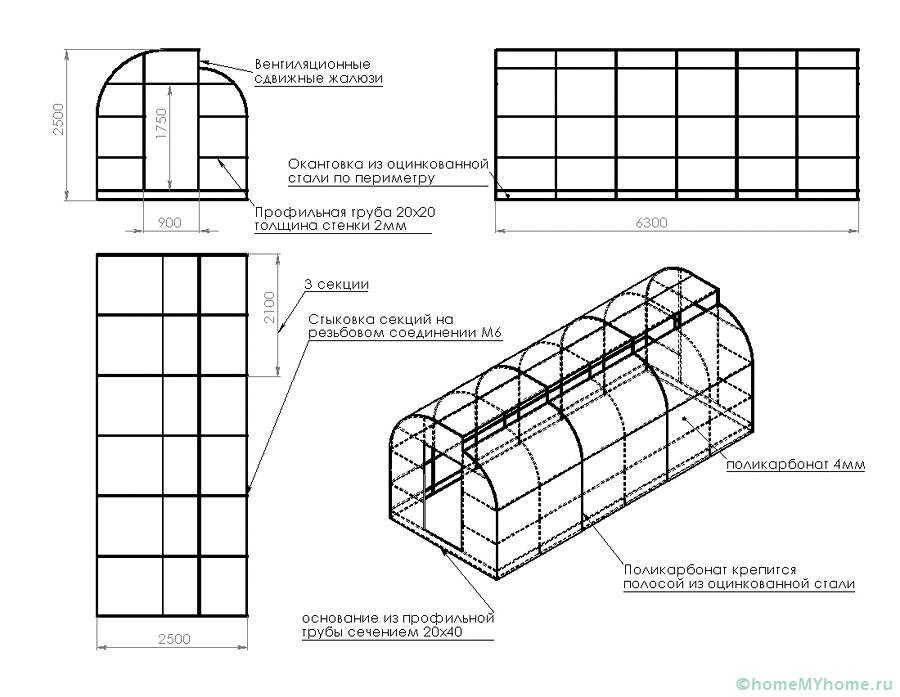
Just like a projected greenhouse made of polycarbonate with your own hands, the greenhouse drawing should take into account and contain removable elements (sashes or doors) that will provide access to plants and ventilation. For this, in its upper part, one or two doors are provided on both sides, which are fixed to the upper crossbar of the frame.
Helpful information! To increase the strength of the frame, intermediate structural elements should be provided, which should be evenly distributed along the walls with an interval of 0.5-0.8 m. The interval is chosen so that the sheathing sheets with joints fall into the middle of the steel pipe.
A drawing and a photo of a greenhouse from a 20 * 20 profile pipe with your own hands are shown in the images below.
Do I need to design a foundation?
During the construction of household objects, the foundation plays the role of a reliable foundation for the entire structure, allowing the load to be distributed along the entire perimeter of the walls. Since a greenhouse made of shaped pipes and polycarbonate has a minimum weight, in most cases it is not required to create a foundation for it, since the steel frame will take on the main loads without deformations. Therefore, it is not required to lay the foundation under it, especially if you consider that it will significantly increase the cost of the project.
Cost estimate creation
Based on the drawing, we draw up a cost estimate and detailing, which will ensure that there are no problems when purchasing the necessary materials and will allow us to calculate the cost budget. The detailing will show which parts require the use of a specialized tool and at what stage assembly difficulties may arise.
When calculating the amount of building materials, it is necessary to make a stock of 10%, taking into account their possible damage during delivery, as well as the assumption of installation errors. Even if it is possible to save material, in the future, the excess can be used to repair or improve the facility.
How to correctly make a greenhouse with your own hands?
The construction of a greenhouse can be qualitatively divided into three stages: the search for a tool and the creation of structural details, site preparation and the construction process itself.
Selection of the necessary tools and creation of structural details
To build a polycarbonate greenhouse with your own hands, you will need the following tools:
- shovel for leveling the ground;
- drill for installing frame racks;
- grinder for cutting shaped pipes;
- screwdriver for screwing in self-tapping screws;
- a hacksaw with a fine tooth for sawing polycarbonate.
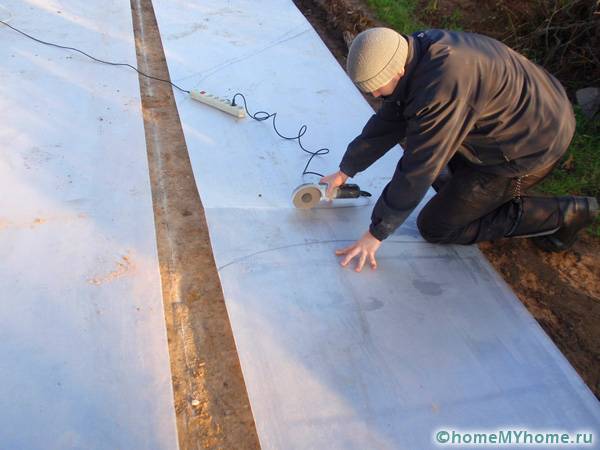
Helpful information! It is forbidden to cut polycarbonate with a grinder, as it will melt and lose its decorative properties. It is necessary to use a hand-held metal cutting tool with a fine tooth or a power tool with speed control.
The sequence for assembling the frame is as follows:
- We buy building materials in accordance with the estimate.
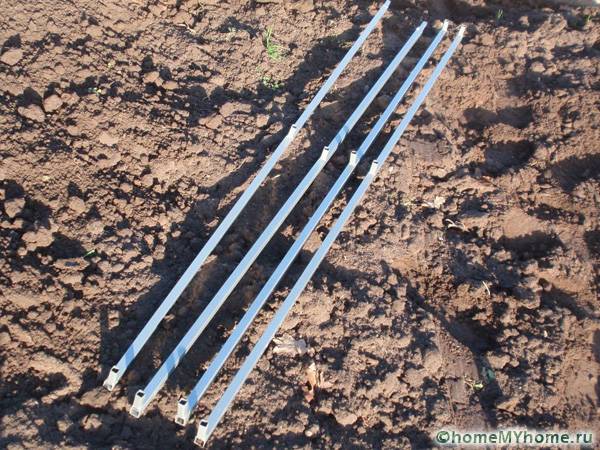
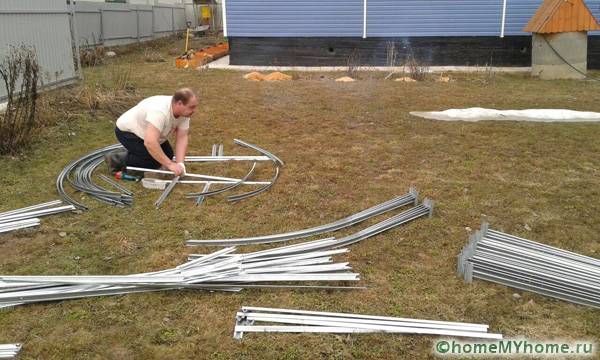
- We make frame parts by cutting pipes 20 * 20 mm to the desired length. First of all, we make the base, and then the support posts.
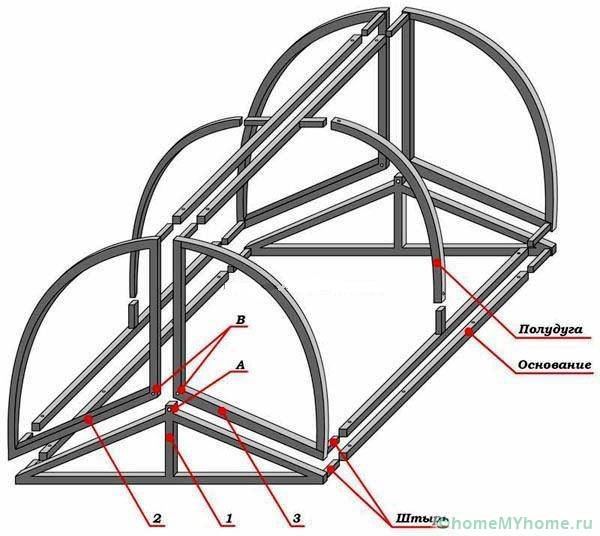
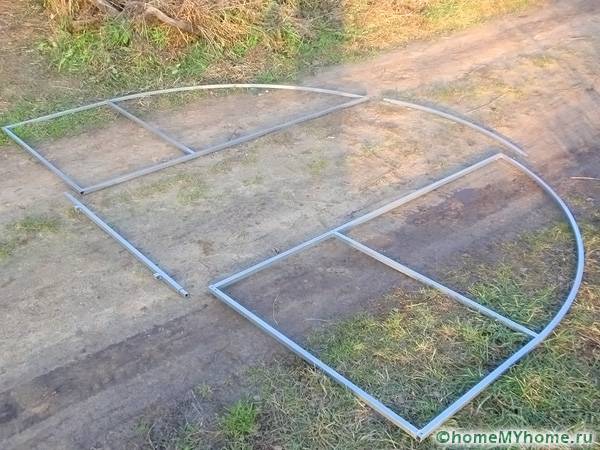
- To create an arched arc, apply pipe benders, or improvised means, for example, we use a standard reinforced concrete ring and scrap inserted into the pipe as a lever. To prevent sudden bending, the inside of the pipe must be filled with sand. If the bending radius of the pipe is up to 50 cm, then it is recommended to warm it up with a blowtorch.
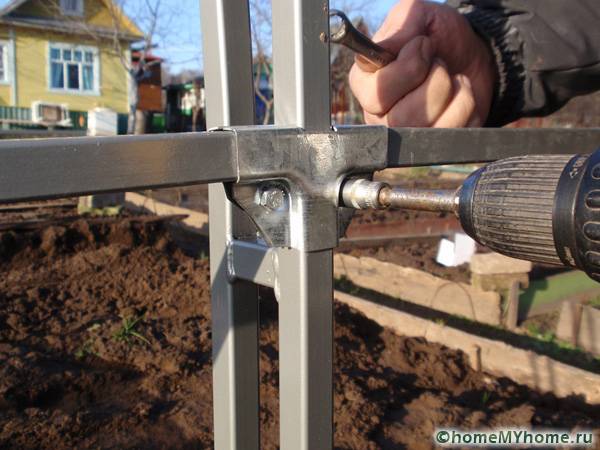
- We assemble the finished parts into a single structure according to the drawing.For fastenings, we use standard steel brackets of suitable dimensions and bolts, or we make a welded connection.
- We measure the length of the side walls and cut polycarbonate sheets to size.
Helpful information! You can measure the length of the arc with a curvimeter. If it is not there, then you can use a rope by attaching it tightly to the steel pipe, and then mark along its length on the polycarbonate sheets and cut.
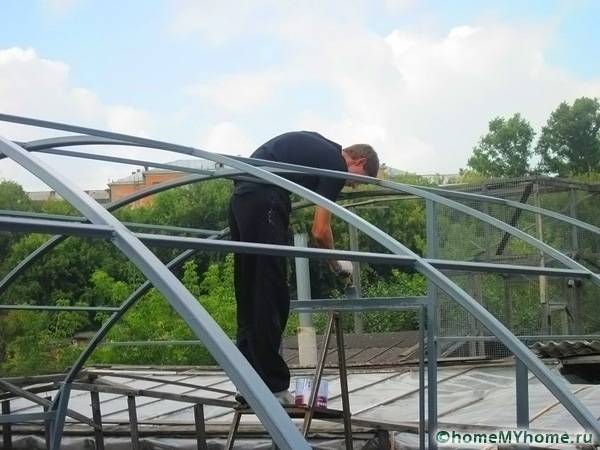
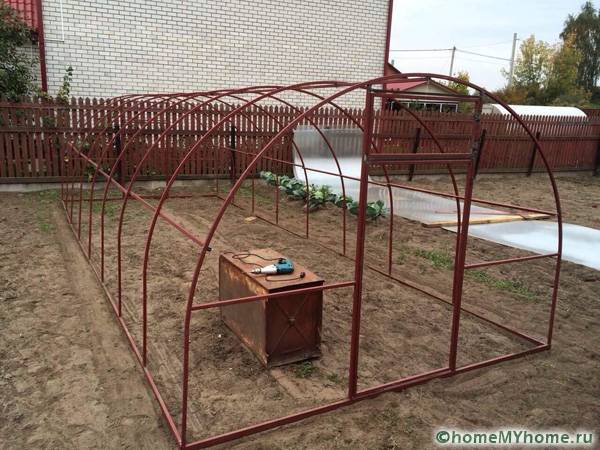
After assembling the frame, it must be protected from the negative effects of the external environment - it is recommended to paint it with water-based paint. Shown ready greenhouse frame from a profile pipe with your own hands in photo 20.
Related article:
Do-it-yourself greenhouse made of plastic pipes. A separate review provides a detailed overview of the use, design and installation of PVC pipe greenhouses.
Site preparation
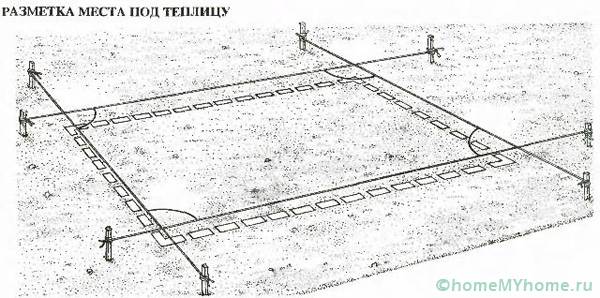
The site for the object is marked by driving in pegs along the perimeter, but with an indent of 0.5 m on each side. This is done in order to create convenient access to it.
Regardless of the type of construction chosen (aboveground or shallow), it is recommended to dig a trapezoidal trench for laying biofuel, which allows the soil to warm up during the decomposition of organic substances by bacteria.
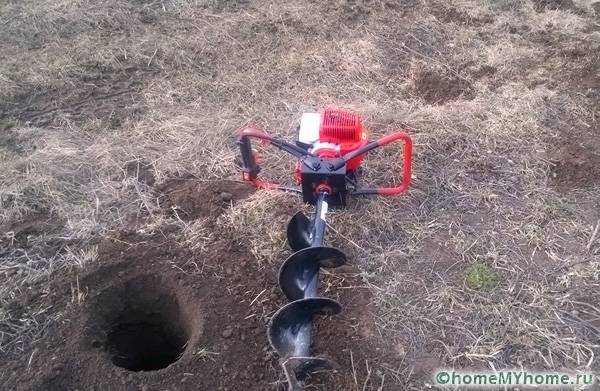
At the locations of the fixing rods of the frame on the site with the help of a drill, it is necessary to make wells to a depth of about 0.5 m.At the bottom, you need to fill up a sand-crushed stone pillow with a thickness of each layer of 10-15 cm, depending on the type of soil, and tamp it carefully ...
We install a greenhouse from a profile pipe with our own hands: photo and video of the process
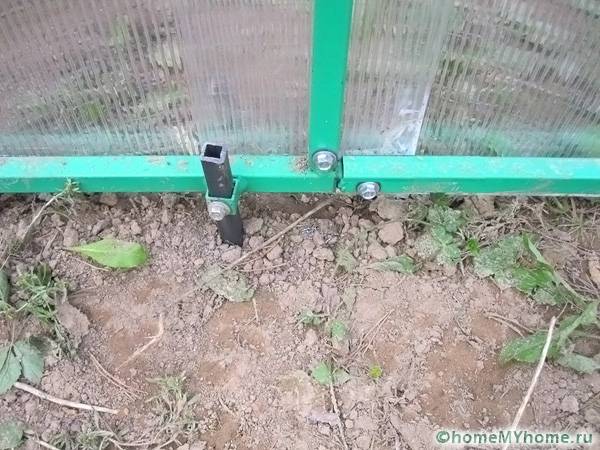
We install the assembled frame on a prepared platform with fixation on steel pins inserted into the drilled holes. If a stationary installation is being erected, then the supports are recommended to be concreted with M300 concrete. Partial hardening time is 14 days, and full hardening - 29 days. Further work is carried out two weeks after pouring.
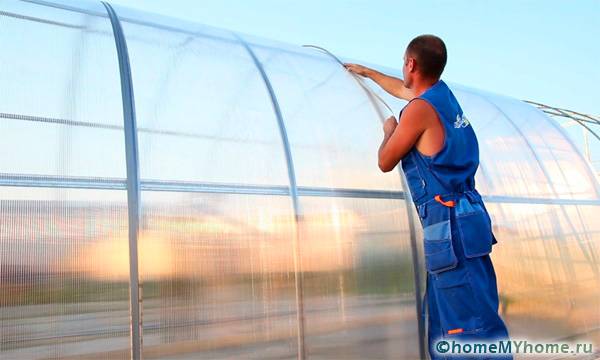
Next, we proceed with the installation of polycarbonate cladding. Since its thermal coefficient of thermal expansion differs from the base metal, it will be necessary to place a damping pad, for example, based on rubber, in the gap between them. The number of fasteners to the frame is selected individually and is at least one per 10-15 cm to ensure a tight connection.
We apply the sheet to the frame, so that the sun-protection film is outside. Along the perimeter of contact with the frame, be sure to lay a strip of sealing tape or coat it with silicone sealant. We mark the places for holes with a diameter of 8-10 mm and drill them with a drill at low speeds. We fix it with bolts or self-tapping screws at the corners of the sheet in the lower and upper parts. It is important to keep a distance of 3-4 cm from the corner so that it does not break off. Then we drill the rest of the holes and carry out the final fixing of the sheet.
Helpful information! If the polycarbonate sheet turns out to be wider than the distance between the auxiliary posts of the greenhouse, then it must be cut so that the joint falls exactly in the middle of the steel pipe.
Polycarbonate sheets can also be attached to special profiles. To do this, the fasteners are installed on the main frame on screws, and then the polycarbonate sheets are inserted into special openings. This method of fastening will not only be reliable, but will also shorten the installation time of the cladding.
We lay the next sheet end-to-end to the fixed one. We carry out similar sealing and fastening operations. The joint between the two sheets must be sealed.
We fasten the hinges to the bolts for attaching the opening doors to the upper crossbar of the frame. There should be two of them for each part. The position of the hinges should be such that their counterpart is in the same plane with the sheathing surface in order to prevent the opening part from skewing relative to the frame.
Along the perimeter of the contact of the flaps with the body, we put a rubber seal 2-3 mm thick and 5 mm wide on the glue base. Then we fasten the flaps to the screws.
Helpful information! After fixing the polycarbonate sheets, you need to remove the protective shipping film from their surface.
As a result, a greenhouse was built from a profile pipe with your own hands, a photo of which is presented below.
Conclusion
- The advantages of building a greenhouse from shaped pipes with polycarbonate sheathing are described.
- The description of the main structures, their advantages and disadvantages is given.
- The process of planning, preparation for the construction and construction of an object with your own hands is described.
Video: making a greenhouse from A to Z


