Buy? No! It's time to create practical beauty with your own hands: tips on how to make a frame for a picture
The picture looks complete and laconic only in the frame design. Whatever one may say, but an unformed piece of canvas or just art on a sheet will not make the proper impression without a frame. The editors of the online magazine homemaster.techinfolux.com/en/ believe that it is not necessary to buy a baguette, since making a frame for a picture with your own hands is not only interesting, but also easy!
The content of the article
- 1 How to decide on the design and size of the picture frame
- 2 How to make a stretcher for a picture with your own hands
- 3 How to make a baguette for a picture with your own hands
- 4 How to make a cardboard frame with your own hands
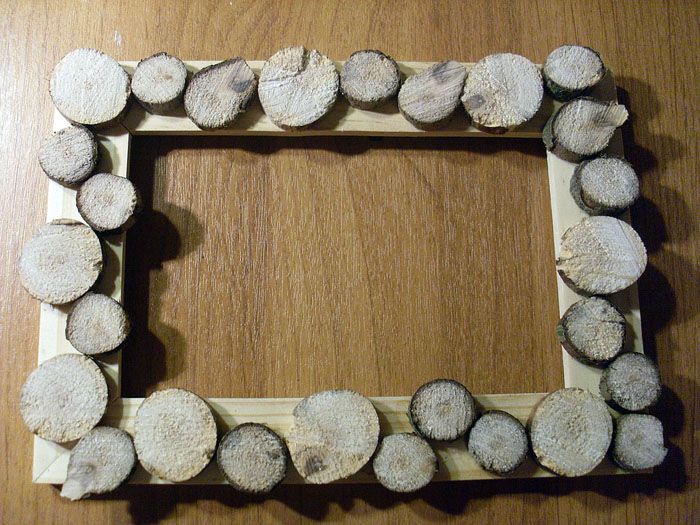
- 5 How to make a frame for a picture from scrap materials with your own hands
How to decide on the design and size of the picture frame
What determines product design? The surrounding interior. It is not enough to simply wish to see a blue pretentious frame in a picture in a room with a classic interior - therefore, we focus strictly on the style of the room.

Do not forget that no matter how beautiful the frame is, the picture will remain the main one, therefore, when choosing a design, we remember the goal: to decorate and supplement
The size of the canvas and the image itself will tell you which sizes are preferable. Agree, if the canvas is small, and the frame takes up half a wall, this indicates problems with a person's taste.
How to make a stretcher for a picture with your own hands
The stretcher serves to stretch the canvas and is of two types: modular and blind. Being engaged in the manufacture of picture frames, people themselves determine which stretcher is more convenient - each model has its own characteristics.A blank subframe is a solid structure, the corners of which are fixed together with glue and wooden triangles. If the canvas sags, you have to pull it over.

A modular stretcher, unlike a blind one, is movable and allows you to adjust the tension of the canvas. It is a collapsible design, very convenient for transportation.
We will tell you how to make a blind stretcher with dimensions of 100 × 180 cm.
To do this, we will prepare two-meter wooden slats, Moment wood glue, a measuring tape, sandpaper for processing the product, a hammer, a stapler for furniture with staples, corners and screws.
What you need to work
As already mentioned, we purchase a ready-made wooden profile, fine sandpaper, prepare a jigsaw, wood glue and a tape measure.
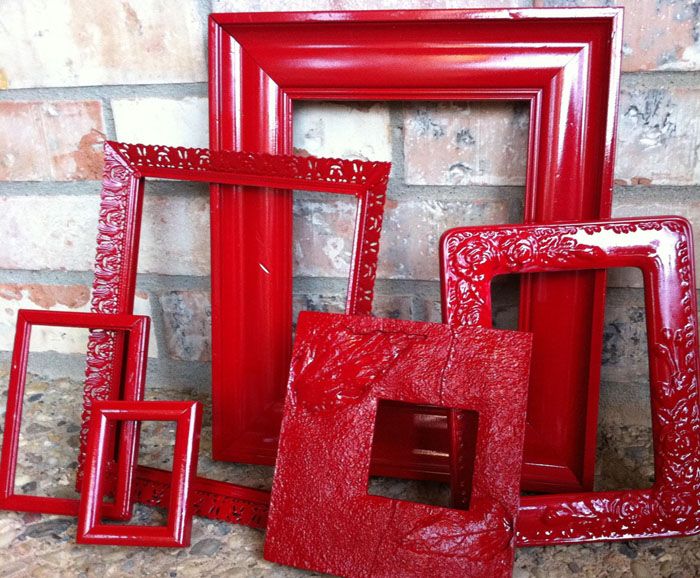
If the profile is completely finished, then no additional actions are required, although, if desired, the baguette is decorated with gilding, craquelure varnish, patina.
Instructions for making a picture frame from a wooden plinth
We measure the picture and correlate them on the profile. The task is to make cuts at an angle of 45 ° and perfectly clean each one with sandpaper.
We apply glue to each saw cut and connect them together. This is where a clamp comes in handy, which will help make the bonding points very strong.
On the seamy side, the picture must be covered with a sheet of plywood or durable cardboard.
DIY painting frames from polyurethane ceiling plinth
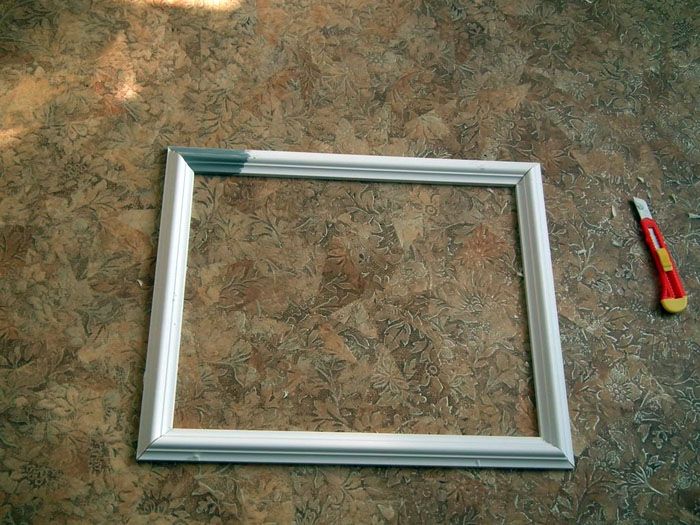
If you want to see a white picture frame on the wall, you can make a baguette from the ceiling plinth.
What you need to work
Ceiling skirting boards are sold in every hardware store today, and the selection of products is great. For the first time, we suggest trying to make the simplest version from a medium-width profile without any special decorations.
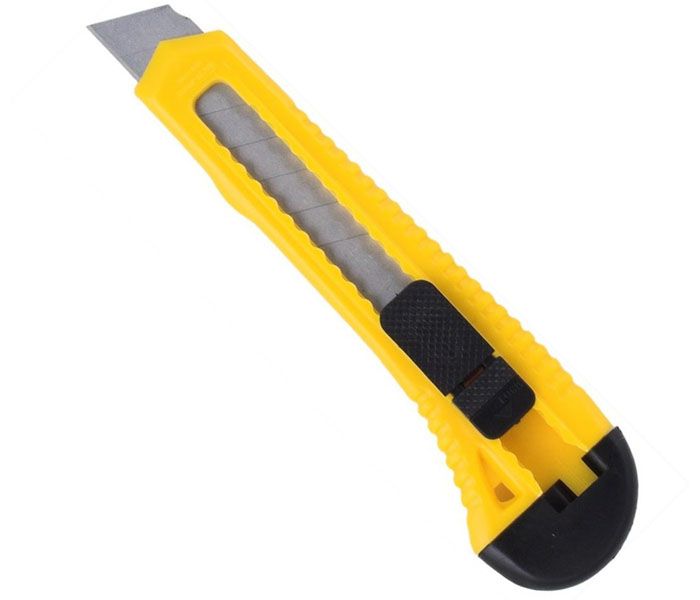
For gluing we take Titan glue for ceiling tiles and skirting boards, we also need a stationery knife, a ruler and a protractor to measure the angle. If you want to paint over the whiteness of the plinth, prepare the desired color of acrylic paints.
Instructions for making a frame for a picture from a polyurethane plinth
Having made measurements horizontally and vertically, we prepare the base of the picture from thick cardboard or ceiling tiles (if the size of the canvas allows). The base is either the same as the picture, or slightly surpasses it.
Let's start creating the frame:
- We measure all measurements made on the baseboards and mark them with a protractor (remember that we need an angle of 45 °).
- We make cuts with a clerical knife according to the markings made, or with the help of a miter box we immediately cut off the finished elements.
- Before starting the gluing process, all sides are aligned with each other to ensure that all edges match exactly.
- You can glue all the pieces together and leave them alone for a while.
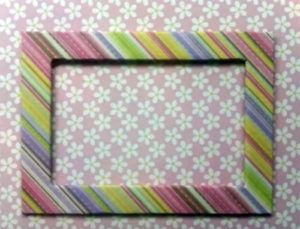
How to make a cardboard frame with your own hands
A frame for a picture with your own hands from cardboard can be made by people without experience in applied art: it is cheap, beautiful and not at all difficult. In order for everything to work out the first time, you need to immediately prepare all the elements necessary for creativity.
What you need to work
In the work you will need thick cardboard for the base and for the frame itself.Both simple cardboard and corrugated cardboard are suitable here: it all depends on the desired thickness and strength of the product.
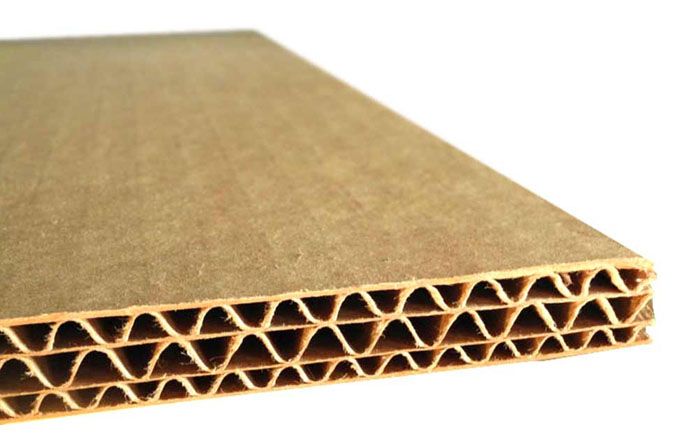
The thicker the material, the more difficult it is to work with it, but the stronger the result will be.
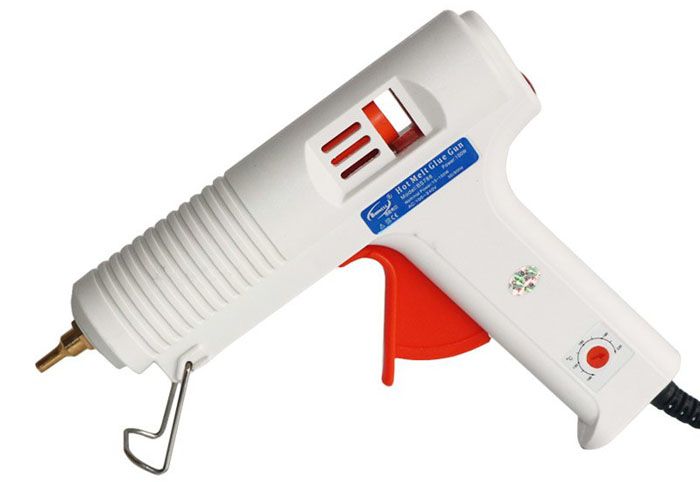
In addition to the main material, we prepare scissors, a stationery knife, a glue gun with glue sticks (or, in the absence of such, we purchase wood glue or Titan glue for ceiling tiles). It remains to pick up everything for the external decor.
Cardboard products allow you to widely apply your own imagination: there are no boundaries for either form or decoration. You can decorate the product with textiles, beads, shells, and scrap paper.
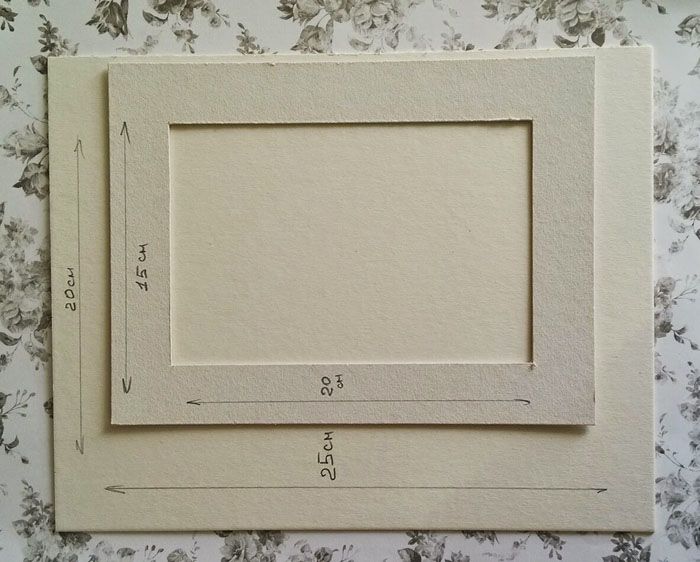
Instructions for making a mat
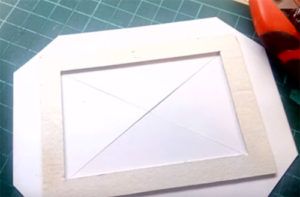
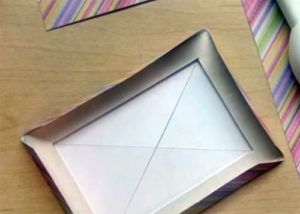
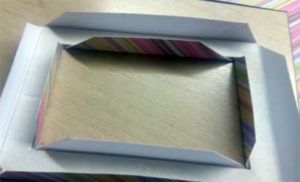
Let's proceed to the instructions on how to make a cardboard frame for a picture.
Video: DIY cardboard photo frame
How to make a frame for a picture from scrap materials with your own hands
Making frames for paintings with your own hands is your own fantasy, embodied in practical use. It has become fashionable to decorate walls or tables with your own products, because this is the most direct inclusion in the design of your favorite home. Why is it worth trying to make frames with your own hands if there are a great many of them on sale? Well, who knows your preferences better than yourself? Who cares more for the warmth of the hearth, except the landlord?
If we describe all the ways of creating picture frames, all the pages of our magazine will not be enough, so we will focus on the two most accessible materials: newspapers and buttons.
How to make a picture frame yourself from buttons
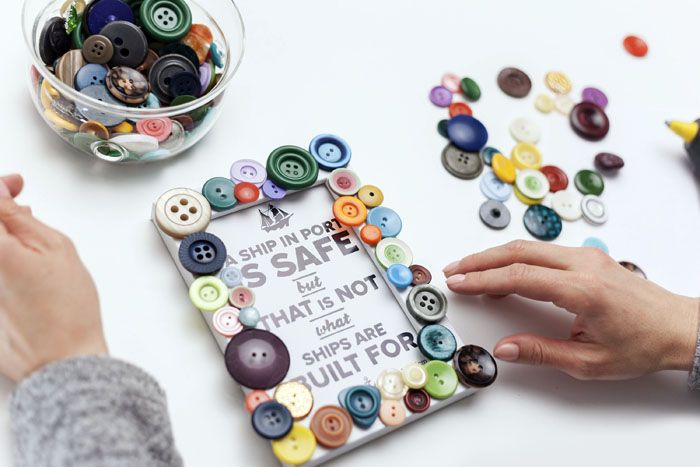
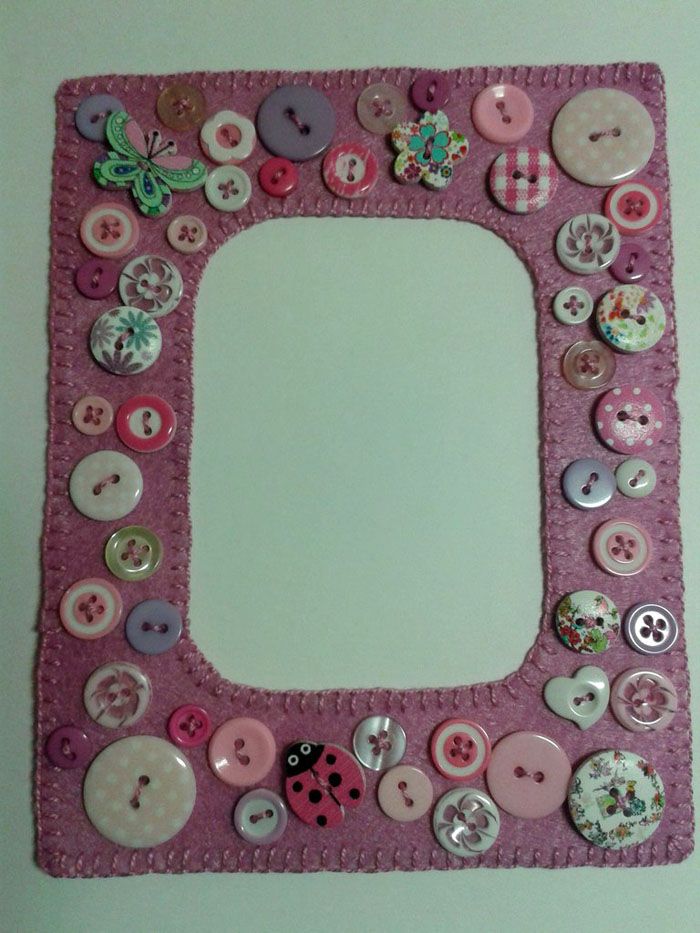
Beautiful picture frames are made from buttons! Many have button deposits from grandmothers and mothers, but not everyone knows what to do with them. For creativity, we do not need tons of new buttons, any will do!
What you need to work
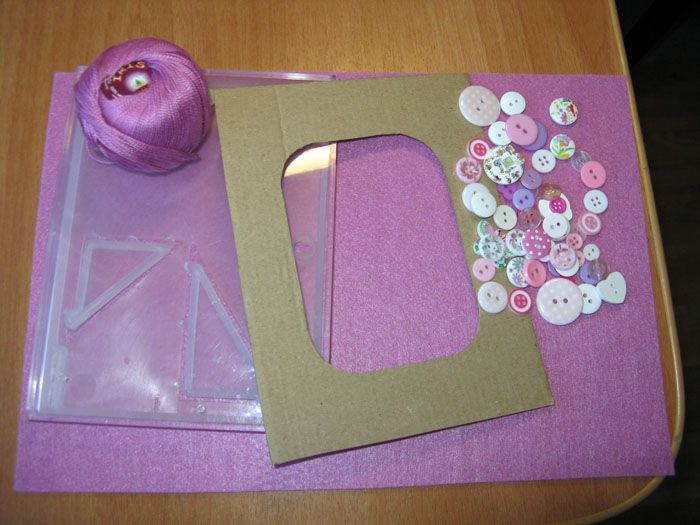
Here we will use the previous paragraph of the content and start making a cardboard base: cut out the desired frame shape from cardboard.
Advice! Don't limit your imagination! Let the form be unexpected, catchy, angular, streamlined.
We prepare a frame base, acrylic paints or spray paint, glue-moment or a thermal gun. If the buttons themselves are very beautiful, matched in harmonious combination with each other, then you only need to paint the base.
Now we turn on the appropriate music and get started!
Manufacturing instruction
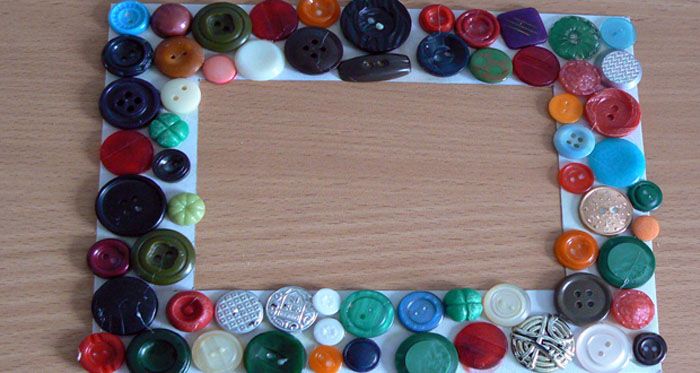
We select the largest buttons and use glue to attach them one by one to the frame base. Do not rush to the next layer - let the first grab properly.
Then we begin to glue medium-sized buttons, trying to cover all the gaps. Small buttons cover the remaining gaps and are located over the entire surface of the frame.
The spray can will paint the entire frame at once, and you can create interesting color variations with acrylic paints.
Picture frame from old newspapers
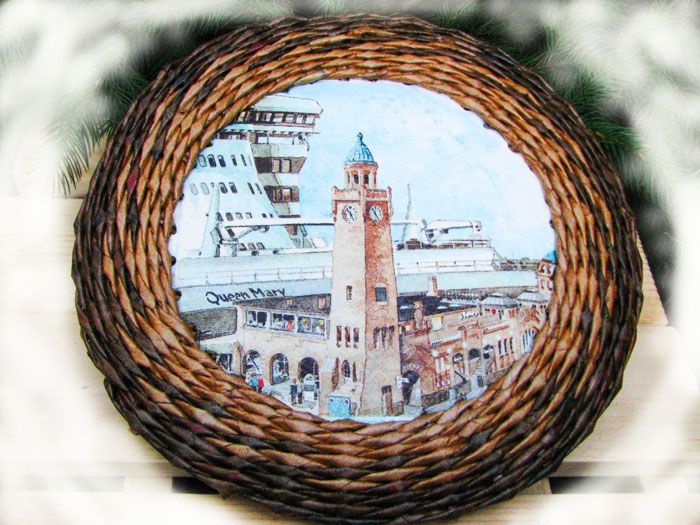
As soon as the newspapers read and become unnecessary are not used in everyday life! If earlier they washed glasses and mirrors, today it is a fertile material for weaving baskets and various kinds of decor. Lovers of making frames were also attracted by the newspaper as a decoration material.
What you need to work
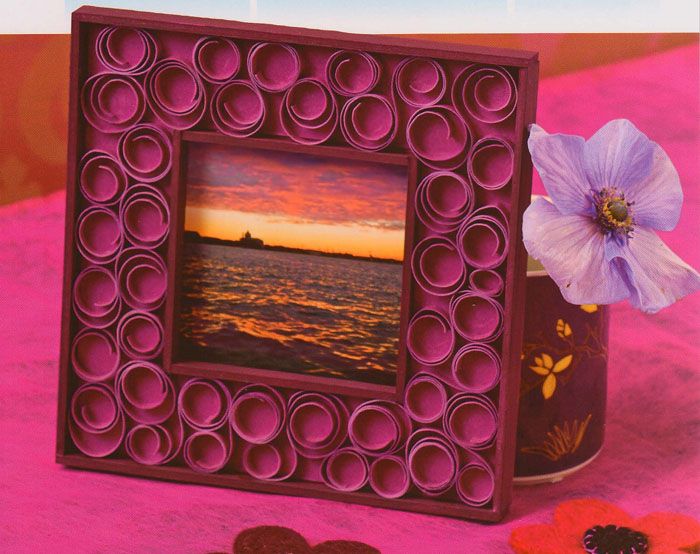
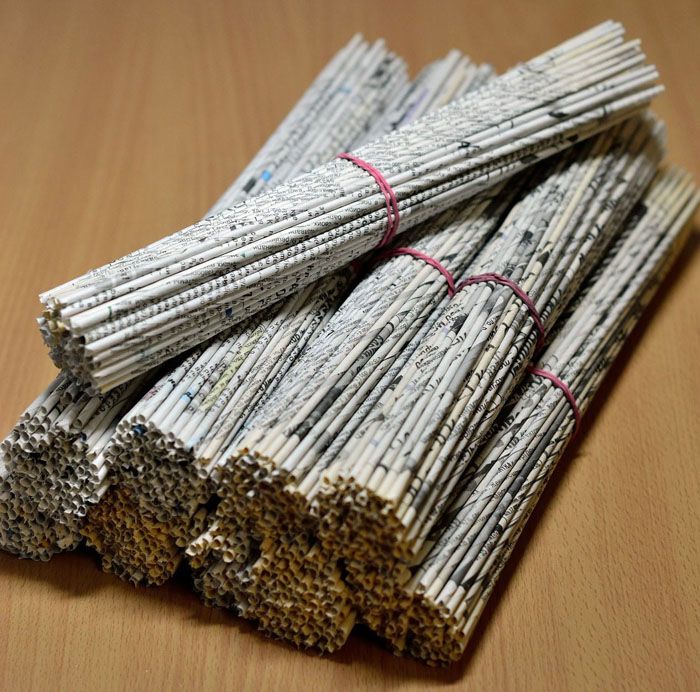
We will not explain the basics of weaving here, but we will show you how to easily and quickly make a wonderful frame for a picture or photograph from newspaper tubes... We take a heap of newspapers, PVA glue, a thermal gun, acrylic paints or gouache of the color in which you want to see the frame and the frame itself (you can use cardboard).
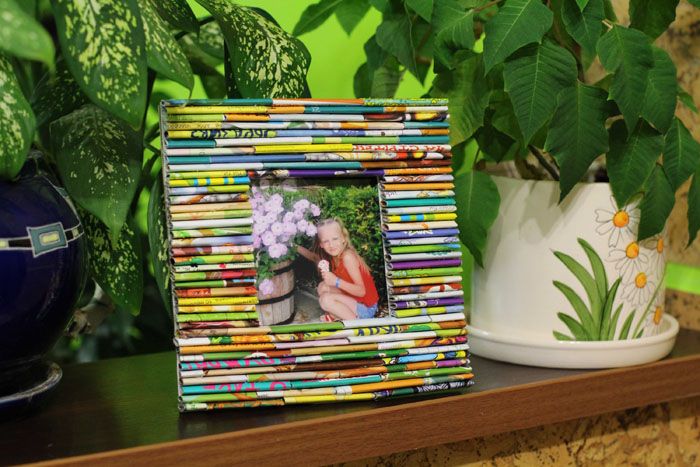
Nuance! Magazine pages are too bright for pictures in color, but perfect for black and white. It is better to either paint or simply varnish newspaper tubes.
Manufacturing instruction
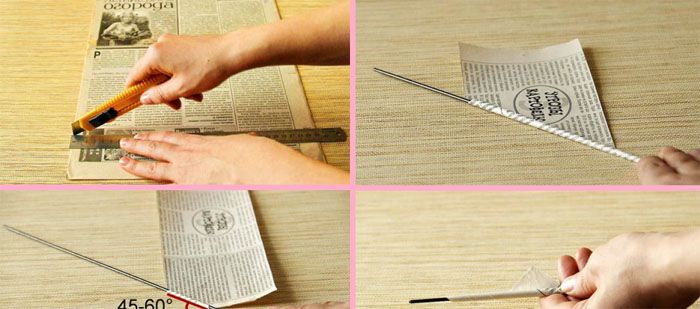
We cut newspaper sheets in this way:
- Each strip is laid on a thin knitting needle (in its absence, an electrode, which must first be tapped, or a strong thin long wire equal in length to the knitting needle) will do at an angle of 45 ° and begin to wind almost to the end of the strip. The tip of the strip is greased with PVA glue and rolled to the end. The tube is removed from the needle and coated with PVA entirely. In this way, several dozen tubes are made (if the volume of the frame is large). As soon as the products are dry from the glue, you can paint them in any color.
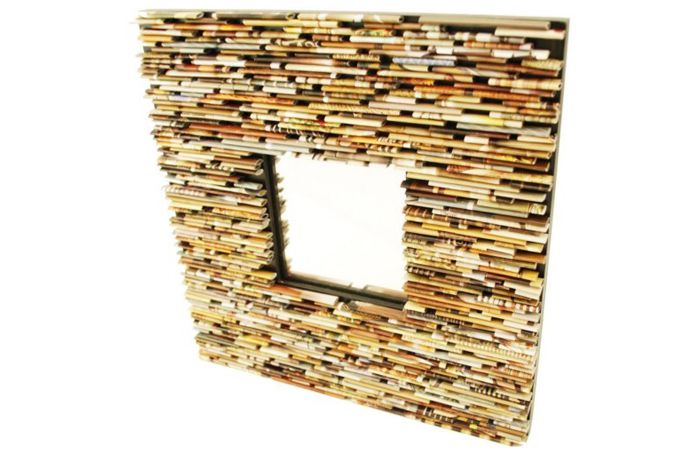
- The dried tubes are laid out on a frame base and disassembled in accordance with their own wishes for the composition. You can lay them vertically, horizontally, obliquely.
- At this stage, we decide how long each tube should have: it is better to cut off the excess immediately.
- We put the tubes on a frame smeared with glue (or alternately with a heat gun) and tint the cut edges.
The dried frame is ready to accept and decorate any picture!
It's easy to create. The main thing is to find inspiration and start! We wish you both inspiration and time for your own creativity.


