Realistic drawing of a picture from wool: mastering the basics under the guidance of professionals
Not everyone can work with paints and pencils: some do not like holding a brush in their hand, who are afraid to ruin the drawing - there can be as many personal reasons as you like. But what is the reason to deny yourself to your beloved and not draw pictures of wool, if it is simply impossible to spoil the drawing? homemaster.techinfolux.com/en/ magazine is eager to talk about the intricacies of working with colored wool and show readers popular master classes on the topic.
The content of the article
What tools and materials will be needed to create a wonderful painting from wool
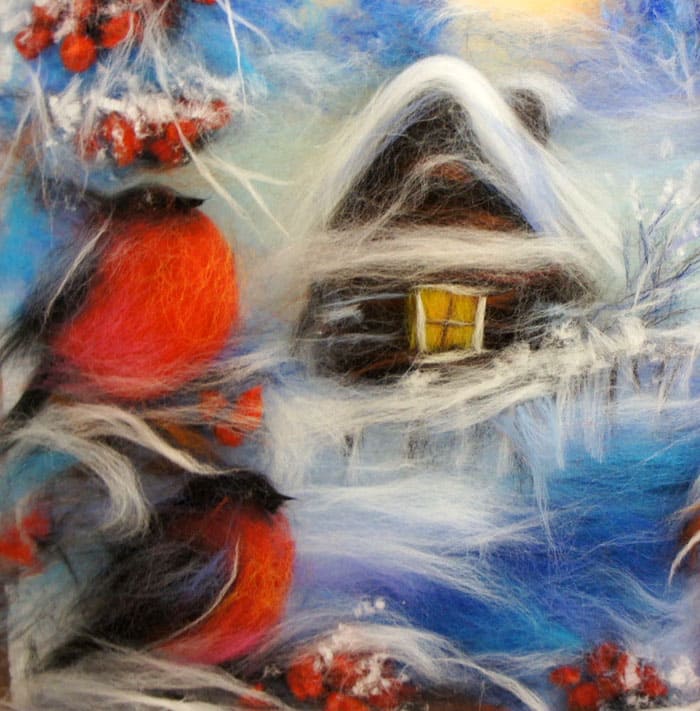
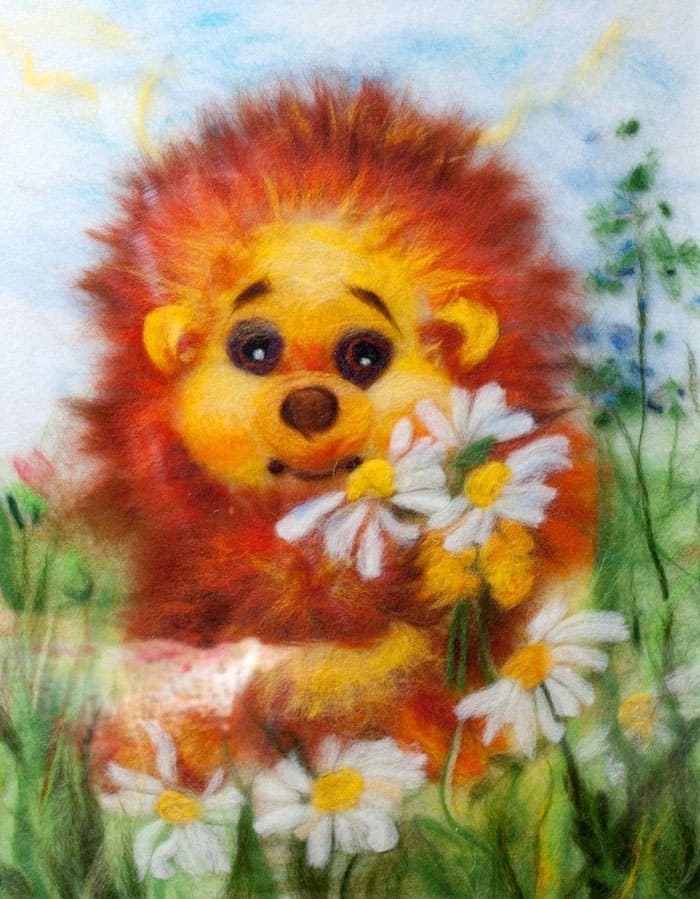
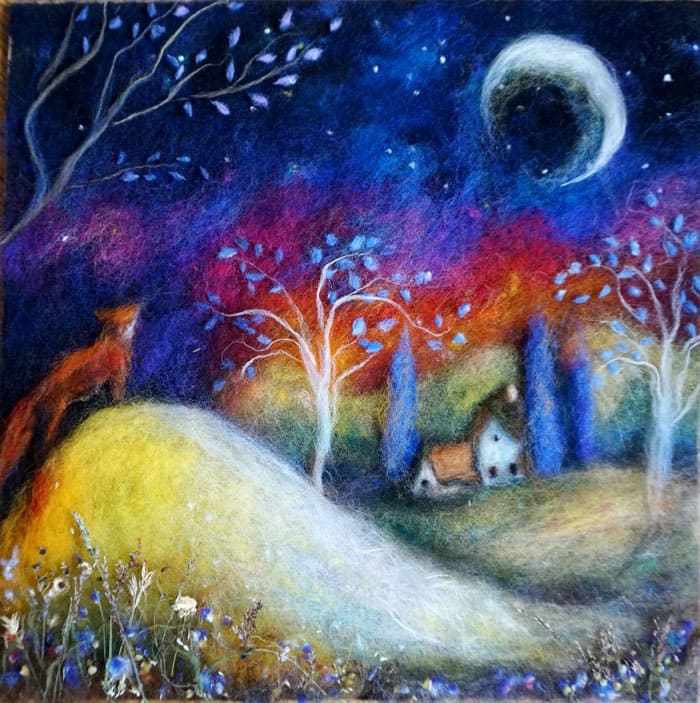
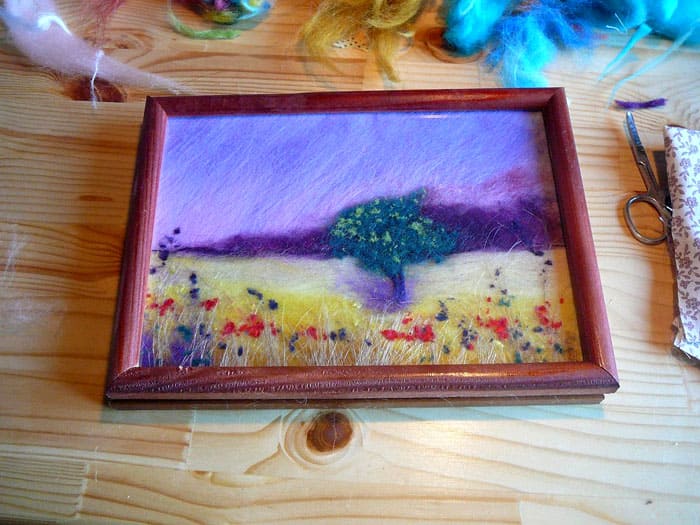
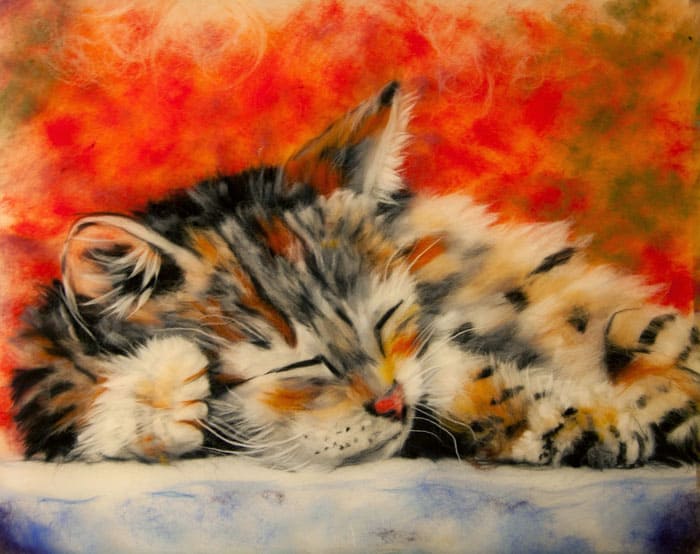
What is considered to be painting with wool? This is a layering of fibrous material, resulting in an image of multi-colored strands. Work in the technique of drawing with wool is carried out in stages, starting from the background and ending with the nuances of the foreground.
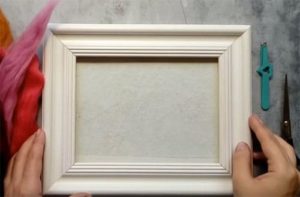
Fiberboard (hardboard) with a fabric base is suitable for the backdrop. Ready-made clip-frames are sold, usually used for photography, and include glass, hardboard and clips.
Woolen artists require a number of materials and tools:
- selection of the plot: depending on the theme of the future drawing, they choose the colors of non-spun wool;
- comfortable small scissors;
- regular tweezers;
- glass, backdrop or finished clip-frame;
- non-woven or fleecy fabric on a backing.
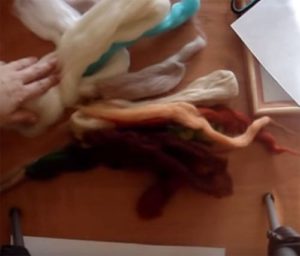
Wool is very docile and does not require special skill, as it might seem when considering beautiful works. Fiber skills are developed very quickly.Wool is obtained in the form of ribbons or carded.
A ribbon, or tops, is nothing more than already combed wool, with all the fibers arranged in one direction. Carding can be described as wool wool: the fibers bend in any direction, outwardly resembling a fleece.
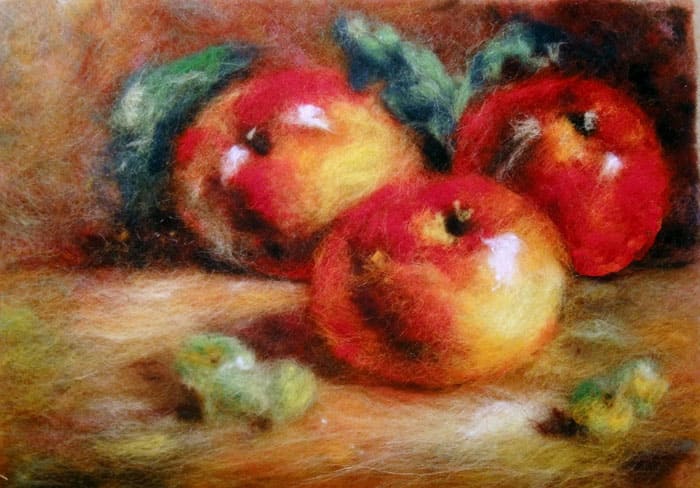
In addition to the desire to create and the above indicated tools, you need to allocate a little time for your creativity
In what ways can you work with wool
There are three main methods for drawing with strands: pulling, pinching and cutting.
Pulling
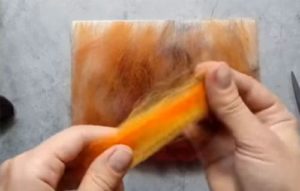
It is most convenient to work with a combed (combed) ribbon: strands are easily pulled out of it. Moreover, the thickness of the strand will be what the author needs: thin, not covering the previous layers, dense, capable of overlapping the background.
The tape is clamped in the left hand, and the strand of the desired thickness is easily pulled with the right.
Important! Hands should not be strained, everything should happen as if by itself - the process does not become a torment, it is a real pleasure!
Pinching
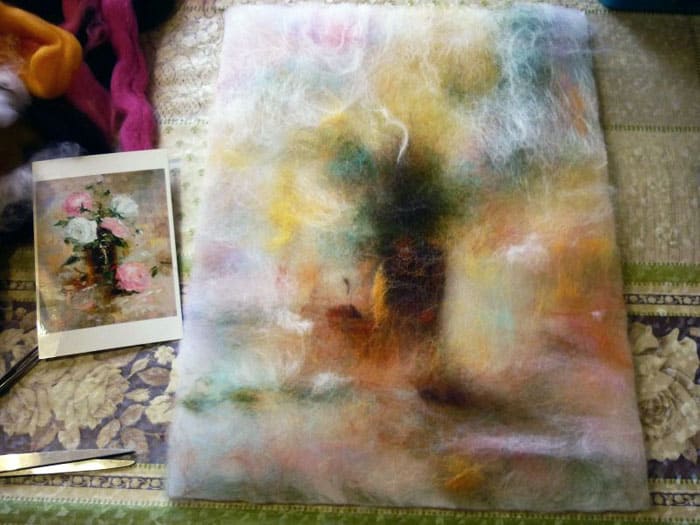
Pinching creates small cobweb-like lumps. The fibers are bent in different directions. Small clumps help create smooth transitions between colors and shades.
If you use this method in the background, you get watercolor tones.
With the left hand (for right-handers), take the tape, forming a fold. The fingers of the right hand pinch the fibers at the fold. Movements should be small and frequent. Fluffy lumps of different density are obtained, therefore, they will each overlap the layers in their own way.
Important! The lumps should be homogeneous, do not worry if the loops come out the first time - adjust a little, and it will go!
Advice! If there is a card of the right color, then the pinching method is not useful.
Trimming
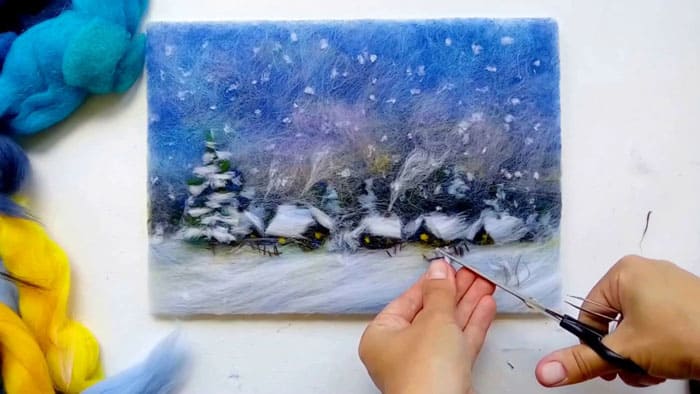
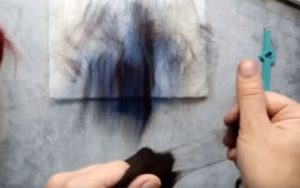
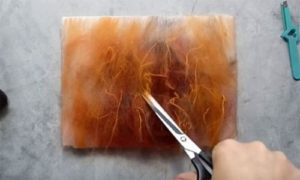
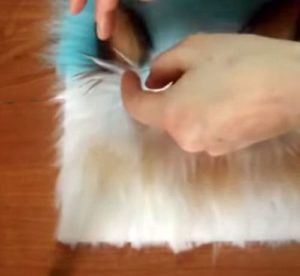
Scissors are needed for the clipping method: the strands are clipped onto a canvas with a pattern over the place where a fluff of a certain size and shape is required. Cutting can be done with hands and tweezers.
Additional nuances of work
The beauty in artistic designs comes from the mixing of colors: wool blends beautifully too. To do this, take 2-3 different colors and shape into a strand. Already with this order they work with any of the listed methods or their combination.
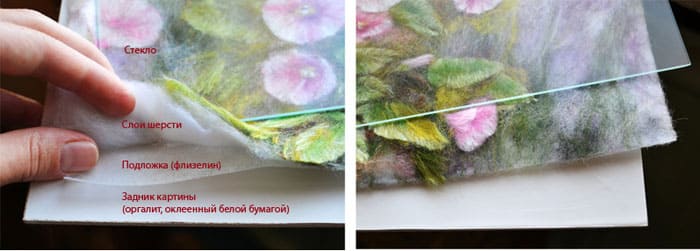
Any painting is a combination of basic techniques for working with wool fibers. As a result, we observe a certain number of layers, a base, fiberboard and glass
How to make a painting from wool: what we can recommend for beginners
The first time, and several subsequent times, you need to be patient: it will be better to master the process gradually, and not strive to complete everything in one sitting. In any case, attention will be strained and fatigue will take its toll, which will lead to negligence and low performance. Remember: work pleasure should come first!
Since the result will be observed under glass, the result can be adequately assessed only in glass. It will reveal flaws and shortcomings that will need to be corrected immediately.
If you do not apply glass, you may find that those parts of the picture that seemed thin, suddenly turned out to be too large.
We remember that the ratio of dark and light is responsible for the visual volume, so we try to make the drawing full-color
We do not skimp on creating highlights on a flower vase using white and do not forget to add dark tones where the shadow should lie.
What if something went wrong? Remove the layers in reverse order and redo the mistake - it will be an irreplaceable experience, it doesn't even make sense to get upset.
Preparing the base
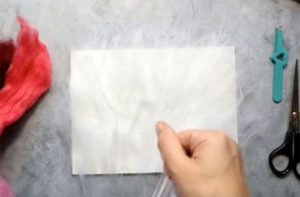
On the fiberboard, you need to lay a commensurate piece of non-woven or flannel. Since the process consists in layering from the background to the foreground, we do not deprive the very first layer of attention. Sliver fibers (undyed unbleached wool) are laid in a fairly dense layer.
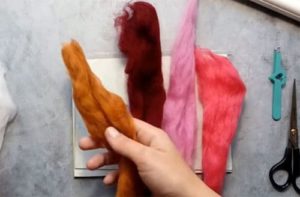
We select the desired type and color of wool
The first works should not be difficult - let it be a simple and accessible plot. In accordance with the chosen plot, colors are selected:
- the warm band is ideal for autumn landscapes, skin color, flowers;
- the cold group is suitable for winter landscapes, marine themes, night views;
- mixed shades of each group are used at their own discretion;
- white color creates highlights, emphasizes individual elements, is used as a basis for snowy landscapes;
- black is responsible not only for dark elements, but also for creating depth and shadows.
Making the background
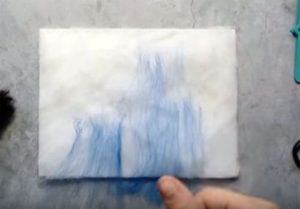
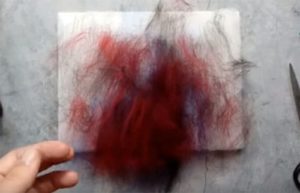
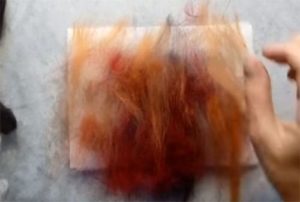
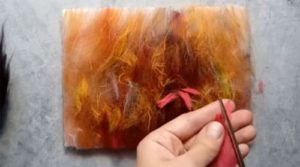
To paint the background, you need to successively lay several layers of strands by pulling the fibers.
Someone who is an ardent opponent of the sliver and immediately starts working with a colored background - this is the personal choice of each master. The background is rarely monochromatic, usually a combination of several layers, differing in thickness and color. At this stage, too, there is no need to rush anywhere, you need to carefully select shades.
Laying out the picture and decorating the picture in a frame under glass
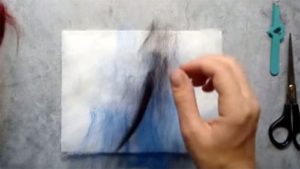
The drawing is laid out on the finished background. Start with larger or background elements. At this stage, they actively use all methods or their combinations.
At the end of the work, it is covered with glass, the excess wool is cut off along the edge, and it remains to insert everything into the baguette.
Master classes for making paintings from wool
General recommendations have been received, it's time to see how the masters create their works and learn new things from them.
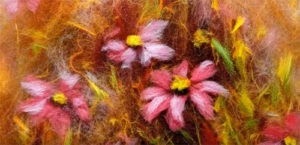
Painting "Flowers in the meadow"
The author demonstrates the process of creating a colorful and delicate picture. If you want to start somewhere, why not beautiful flowers?
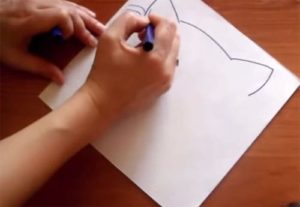
Painting for beginners on paper, not on fabric
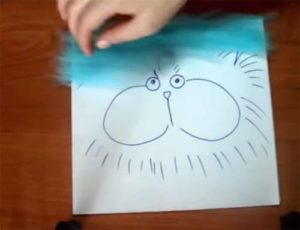
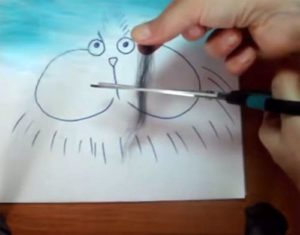
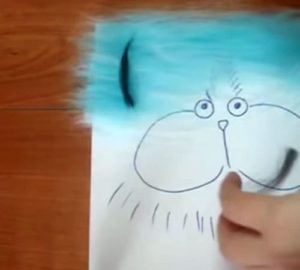
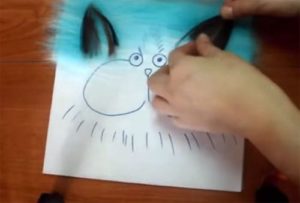
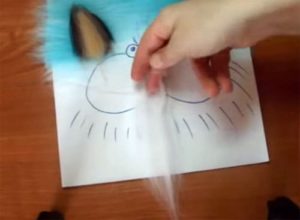
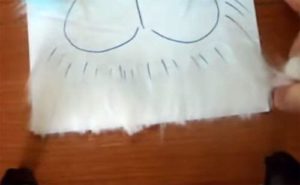
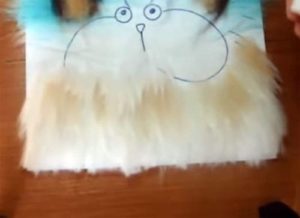
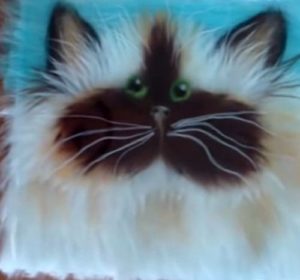
An interesting option for creating a cat's face will appeal to many. The creative author used watercolor paper instead of a fabric base, which itself is moderately rough.
When the work is completed, you can hide it under the frame. We admire our creativity and come up with various interesting subjects for woolen painting!


