And again in fashion: we make a Russian kokoshnik with our own hands for any occasion
The Russian kokoshnik has always been the main attribute of folk costumes. Where could such a headdress be seen today? That's right, on the notorious Snow Maiden and girls doing folk dances. Such a copy is easy to make with your own hands. The editors of homemaster.techinfolux.com/en/ will consider in detail the instructions for creating it with precise patterns and templates.
The content of the article
- 1 Do-it-yourself kokoshnik for Russian folk costume: the use of textiles
- 2 Autumn kokoshnik made of cardboard
- 3 Kokoshnik-rim on a paper stencil: instructions for creating with a diagram
- 4 How to sew a kokoshnik with your own hands for girls: a children's option
- 5 Decorating a kokoshnik with beads: features and options for patterns
- 6 How to make a kokoshnik for a doll: video instruction
Do-it-yourself kokoshnik for Russian folk costume: using textiles
Making a hat with your own hands is not difficult if you have the skill and the necessary materials. Most often, this option is made from a fabric base. There is a special pattern for such models.
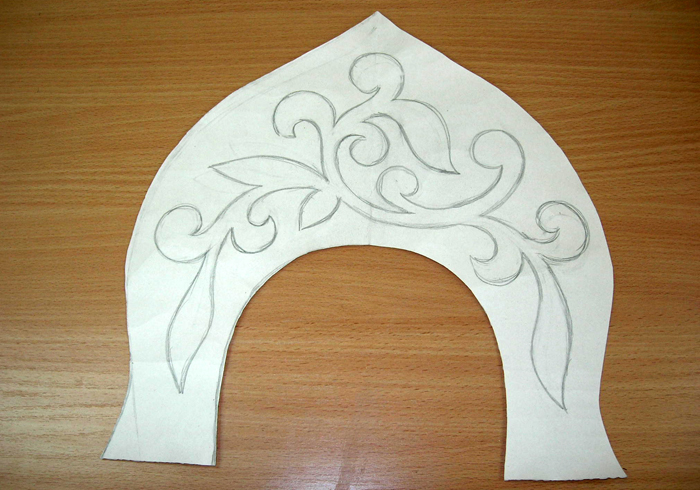
Detailed do-it-yourself Russian folk kokoshnik pattern
There are several types of patterns, according to which this headdress is subsequently sewn. Let's try to make the simplest curly model, for which the skill of professional sewing is not even required.
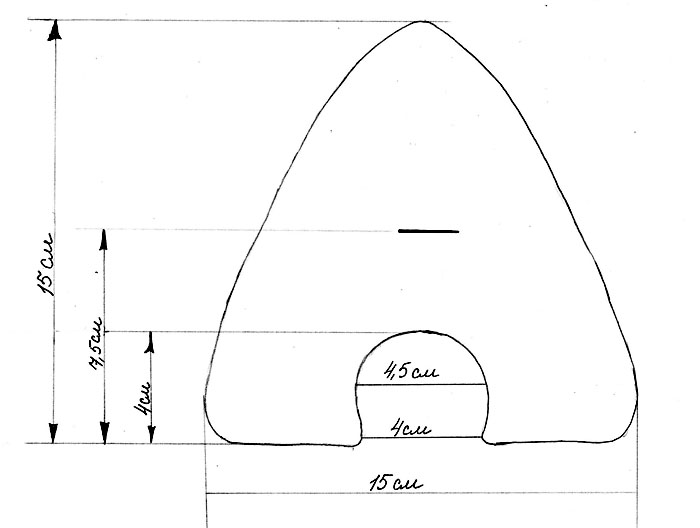
Christmas decorations on the headdress are suitable for winter holidays
PHOTO: westwardnadia.blogspot.com
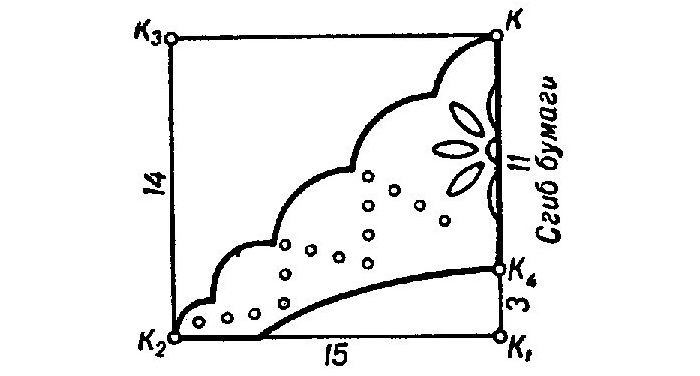
Straight or curly version of the pattern depends on the purpose of the Russian folk costume
PHOTO: pinme.ru
In order to make the correct pattern, you need to download or cut out a suitable template from cardboard yourself. It will also become the basis for the future female crown.
How to sew a kokoshnik with your own hands according to a pattern: step by step photo instructions
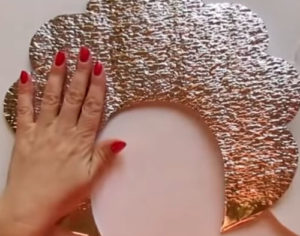
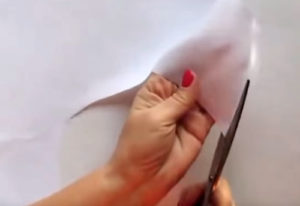
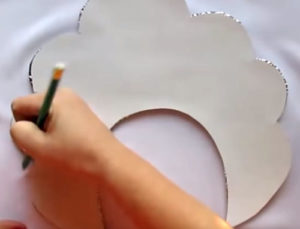
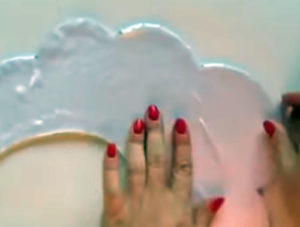
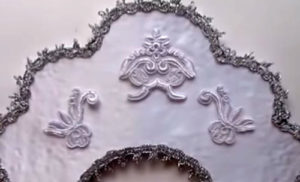
Depending on what celebration the costume is preparing for, the dressiness of the headdress depends. For example, a lot of beads, sequins and themed decorations will be required for the New Year.For a simple dance, a pretty fabric decoration is enough. Let's take an example of how to correctly make a kokoshnik for a Snow Maiden with your own hands. Below is a step by step guide.
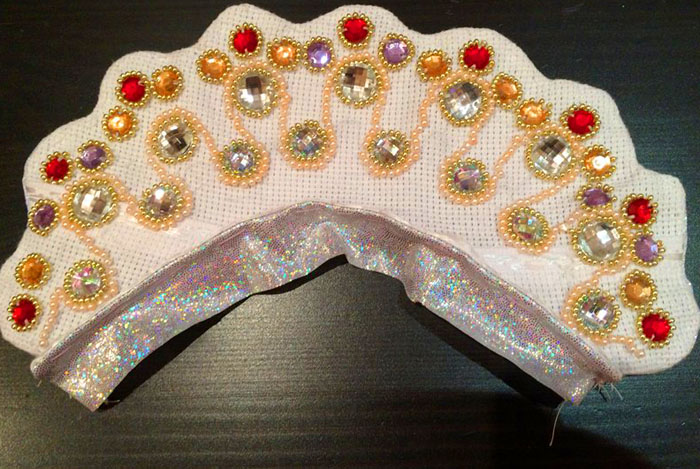
The kokoshnik is ready. It can be additionally decorated with rhinestones or semi-beads. They are usually attached with hot melt glue. After the work on the hat is over, you need to attach the elastic between the two inner edges. With the help of it, the product will be held on the head.
On a note! Patterns of Russian folk kokoshniks can be borrowed from houses of culture or local theaters. You can also create a duplicate of such an interesting headdress.
Autumn kokoshnik made of cardboard
At any holiday at school or in kindergarten, a kokoshnik will be an original and rather winning headdress. It can be made in a variety of ways. The most budgetary option is considered to be made of cardboard.
DIY kokoshnik template made of cardboard with dimensions
To make a blank, you need strong cardboard and colored paper... Some patterns involve cutting out patterns and covering them with ordinary women's varnish or silver paint. This idea is also very successful.
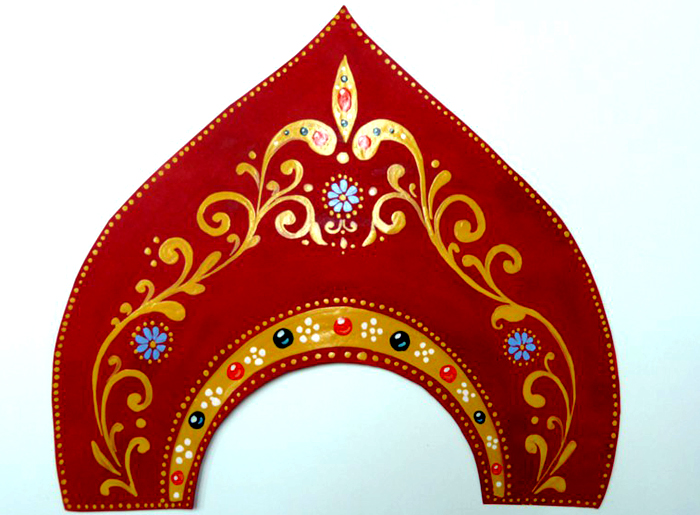
Manufacturing can be from a starched cut napkin. However, such work can only be done by an artist.
PHOTO: culture.ru
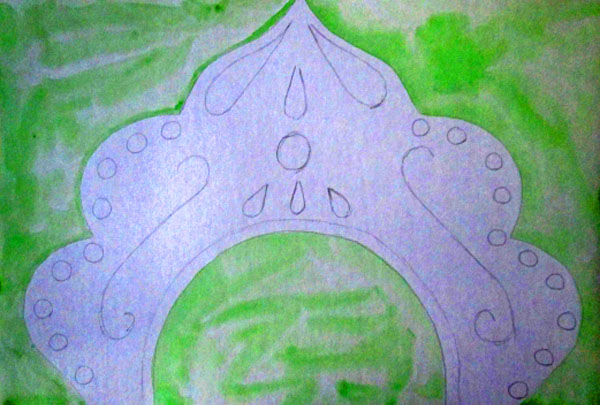
The patterns on the kokoshnik can be painted with gouache or bright watercolor paint. Usually, hand-painted options are not decorated with anything. A life-size kokoshnik pattern can be printed out, easily found in the public domain.
A kokoshnik template made of paper can be printed or drawn with your own hand. At the same time, you can create individual patterns, monograms and paintings.
how make a cardboard kokoshnik with your own hands step by step
Cardboard hats also look very impressive. They, in fact, are disposable, nevertheless, they deservedly attract attention to themselves. Consider how to make Russian folk kokoshniks with your own hands according to the instructions.
- Preparing a template, making it to fit the head of the future actor. In order not to suffer with painting, choose colored cardboard (red or gold).
- Further, the ornament and curly lines are performed, they are painted with persistent paints or bright markers. It is allowed to cut out the corresponding details from new colored paper.
- We glue a wide elastic band to the inner surface on both sides. It can also be threaded through pre-made holes (but this is a less reliable option).
- If necessary, decorate the headdress with rhinestones and a glue gun. The border can be made from ruffles or colored paper.
This type of headgear will be ideal for school events with a folk dance performance in appropriate costumes.
Kokoshnik-rim on a paper stencil: instructions for creating with a diagram
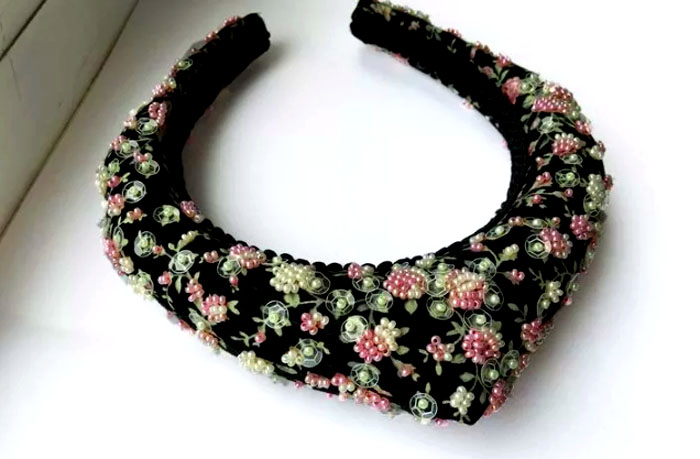
It is easy to make an incredible masterpiece in the form of a kokoshnik from an ordinary wide rim. It can be worn not only with national costumes, but also, depending on the color, put on daily with a suitable outfit.
Do-it-yourself kokoshnik stencil made of paper
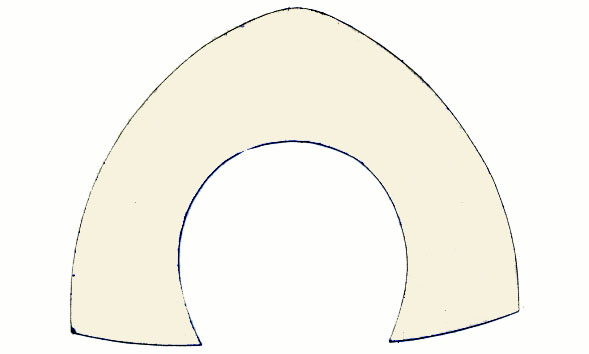
To create a head hoop in the folk style, you need an ordinary crown-shaped drawing. You can draw it yourself. For this, a ready-made wide rim is outlined on a sheet of paper. A stock is added to its main width and height. This is necessary in order to cut the fabric to the desired size.
Only the height and width of the base can differ. Also, a ready-made template for cutting a kokoshnik can be printed on a printer.
Step by step instructions for sewing
When you have read the recommendations on how to draw a homemade kokoshnik, you can start sewing. To do this, it is worth studying the following algorithm.
- Take the usual smooth, unadorned bezel. We carefully unfold it so as not to break it, we circle it on all sides on a white sheet of paper. We leave stocks on all sides.
- Fold the prepared template in half. In the same way, we roll up the fabric and circle the workpiece on it.
- We cut out a textile blank without unrolling the fabric. You should get a symmetrical pattern.
- We make exactly the same detail from the same matter. We fold them right side to each other and pin them with pins.
- Sew only the top edge. Additionally, we sew the upper corner so that the parts hold well when filling.
- From the bottom edge, we make a line only along the edges. We introduce a filler (synthetic winterizer) through the upper part, then insert the hoop and stitch it.
If necessary, you can decorate the product with beads.
How to sew a kokoshnik with your own hands for girls: children's version
To sew a children's kokoshnik with your own hands, you just need to take off the dimensions of the child's head, use a hoop or reduce the proportions of an adult template. For this purpose, there are many instructions, but the most suitable option is a do-it-yourself master class of the Russian folk kokoshnik. You can watch it in the video below.
On a note! A do-it-yourself kokoshnik made of cardboard for children will turn out to be more expressive and interesting if you come up with sequin patterns for it or cover it with an old veil.
Decoration kokoshnik beads: features and options for patterns
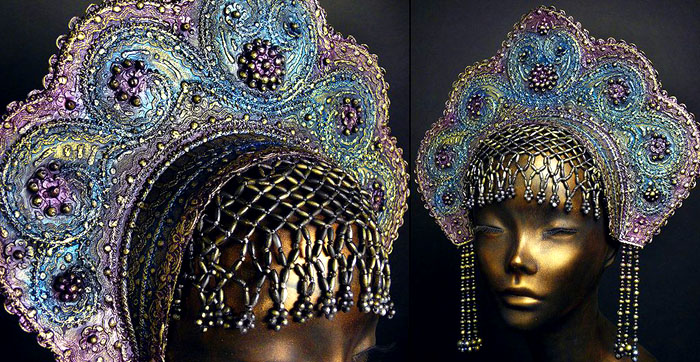
A do-it-yourself kokoshnik for children made of cardboard or textiles can be supplemented with various accessories. Beaded embroidery will be especially interesting. The best models are shown in the photo below.
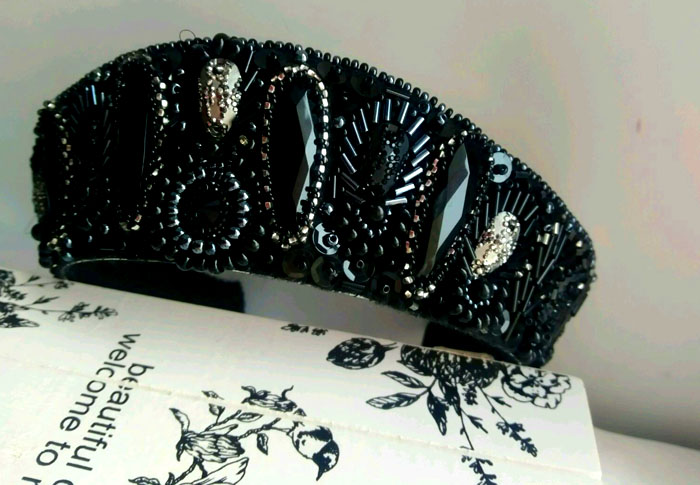
The product can be fastened not only with an elastic band, but also with a wide tape
PHOTO: livemaster.ru
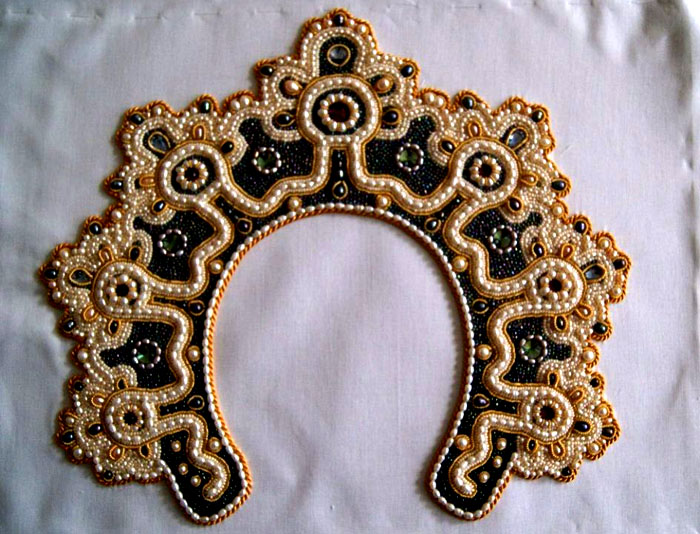
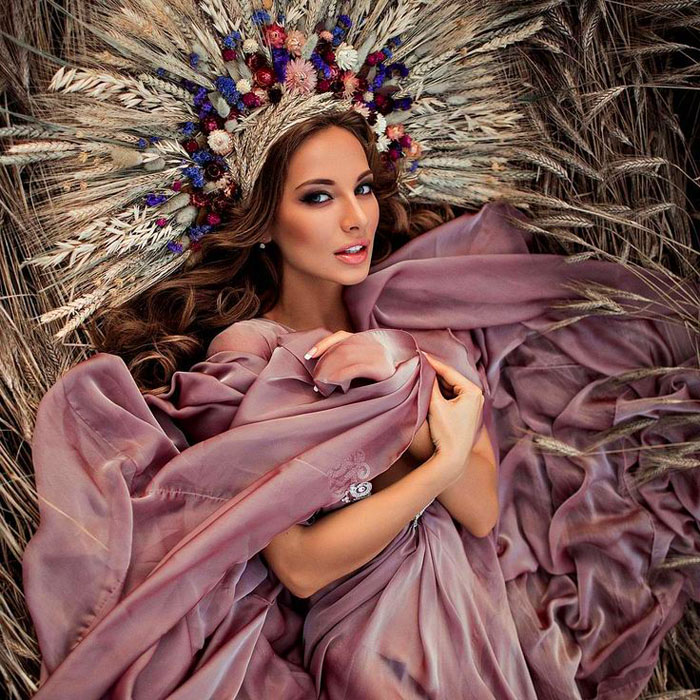
Folk hats may not be decorated with anything. For such options, a variegated fabric is selected.
PHOTO: pinterest.ru
How to make kokoshnik for doll: Video instruction
How to sew a kokoshnik with your own hands for a doll, the proposed video will tell in detail. This is, in fact, a miniature specimen. It will take a lot of time to make such a copy.
Dear readers and novice needlewomen, be sure to share your opinion in the comments under the article, and also ask questions.Our team is always happy to receive feedback and will definitely answer you. Also, don't forget to rate the post.


