Volumetric and flat felted wool decorations for beginner needlewomen
Felting wool for beginners is one of the most interesting tactics used for unusual organization of decor... This type of handicraft has been known for a long time, and today it has been patented as a unique opportunity to complement the interior clothing design and much more. The homemaster.techinfolux.com/en/ editorial staff will consider in detail the basics of cultivation and interesting master classes.
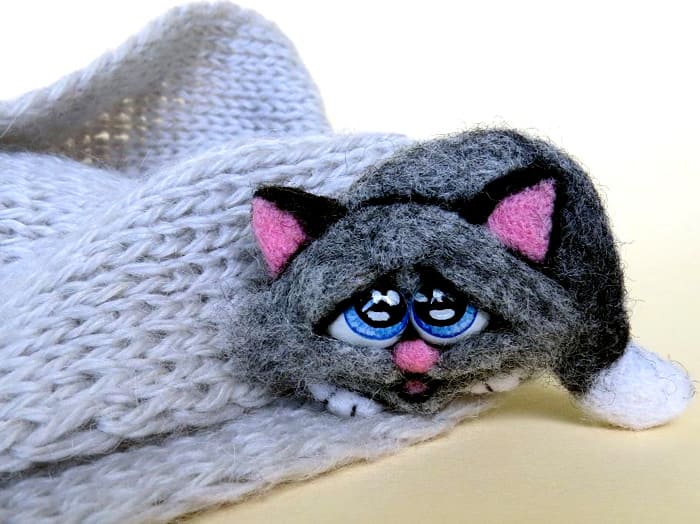
In order for a souvenir to be "alive", it is necessary to choose the right material in terms of quality
PHOTO: kitchenremont.ru
The content of the article
Basic wool felting technique for beginners
Felting is an interesting opportunity to create lush accessories, additions to toys and decoration options for clothes, and much more. At the moment of wool felting, the fibers adhere to each other due to the scaly structure, and a dense felt is formed. The felting technique is usually divided into two types: dry and wet.
Dry felting
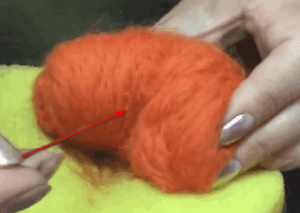
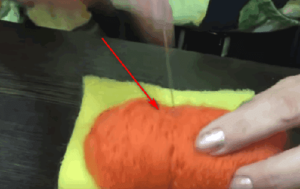
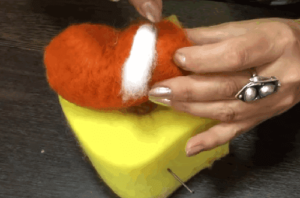
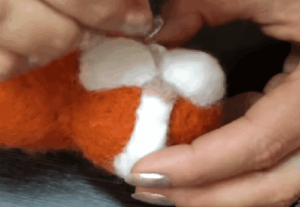
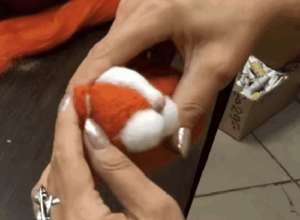
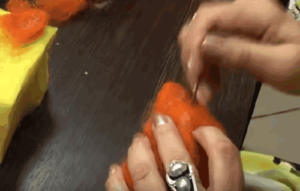
During dry felting, it is possible to prepare a voluminous base for toys and various accessories. This technique is best suited for novice needlewomen... It consists of several stages.
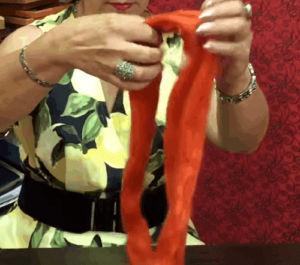
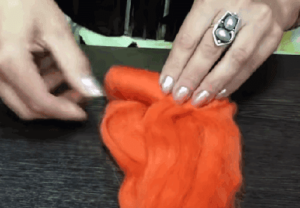
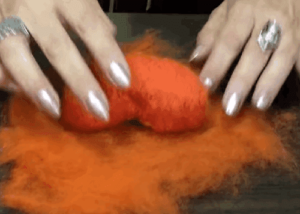
- Separate a small part of the non-woven wool from the main ribbon, then three of it between the palms. This will allow the fibers to become tangled faster.
- We fold the workpiece into a cylinder. Make sure that it is as elastic as possible.
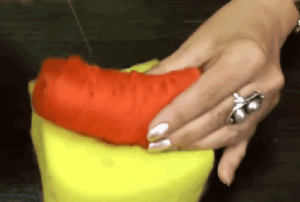
- Then, we stick a special needle for felting into the middle and begin to turn it evenly to get a round shape of the workpiece.
- As soon as the product becomes sufficiently elastic, it is necessary to change the needle to a thinner one.
It is impossible to determine by eye whether the workpiece is dense enough, so you need to press it a little. If after a few seconds the original form returned, then the process was carried out correctly.
Wet felting
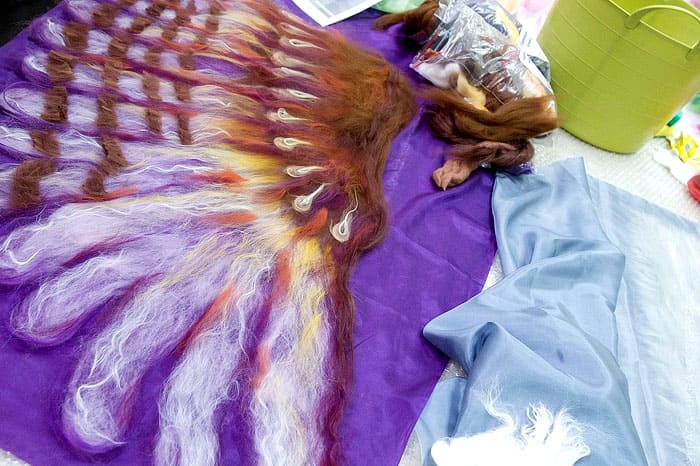
Wet felting technology is very successful in our time. It is used to create paintings and warm clothes. In other words, it is used exclusively on dimensional things. The process itself consists of a few simple steps.
- We take a small piece of wool and moisten it in a previously prepared soapy solution (solid and liquid soap is suitable for this).
- Gently fold this piece in our hands. We give it the shape that is needed.
- You can continue rolling in your hands, for example, to get a volumetric workpiece or go to flat felting.
- The wool can be spread evenly on the bamboo mat. Do not forget to soak in soapy water.
- Then you should cover the workpiece with cling film and roll it into a roll. It is necessary to roll for a long time, gradually increasing the pressure.
As a result, you can get a subtle matter, made with a smooth transition of shades. Usually, this felting method resembles a marble structure. After preparing the base, you can sew interesting accessories, slippers, bags and wallets from it. In a word - what is enough imagination.
Mixed felting technique
Dry and wet felting can be used to produce any accessory. In this way, finishing accents in toys are often made. For example, flat ears, cheeks and more are attached to a voluminous body. When using these techniques together, the result is the most effective. An ordinary accessory turns into a masterpiece.
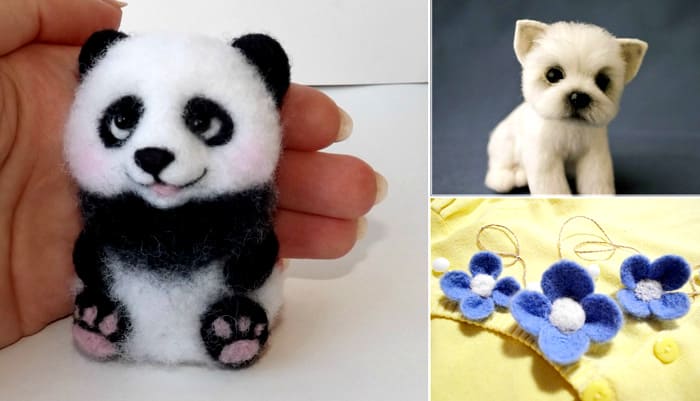
It is important to be able not only to play wool, but also to fantasize about creating
PHOTO: decormania-spb.ru
Modern technology: felting in the washing machine
To create such blanks, all that needs to be prepared is pieces of non-woven wool and nylon socks (tights are also suitable). This option is more suitable for creating voluminous accessories.
- We take pieces of wool of the required volume.
- We push them one by one into the nylon stocking, after which we tie a knot.
- We do this with each piece of wool.
- We throw everything into the washing machine, together with the blank, you can throw a terry towel.
- We choose a half-hour mode and set the temperature to 50ºС. This will be enough for the fibers to hold together.
The result is a significantly reduced model of the parts. Therefore, if you want a medium chunk size, you should use twice as much raw material.
Related article:
Wool paintings: the necessary tools and materials, methods of drawing with wool, additional nuances, tips for creating paintings from wool for beginners, detailed master classes - in our publication.
We do wool felting with our own hands: master classes for beginners
Before proceeding with the chosen technique of this art, having the appropriate scheme, you should choose the right set, which is different in the way of felting.
Preparing inventory
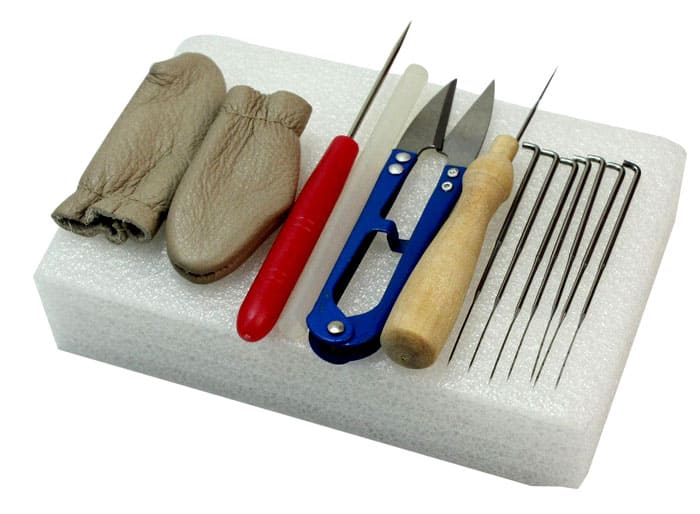
Usually, tools are used only in the dry felting technique, but sometimes also in the wet method, when you need to wrap something. The creative kit consists of:
- needles (this includes various numbers that differ in size, section and shape);
- a folding machine (it is not always included in the kit, but it significantly reduces the processing time for wool. However, you need to get used to this device);
- substrates (such components come in the kit without a stock, and if they are completely leaky, you can use an ordinary dish sponge or small fragments of foam rubber).
When all the materials are at hand, you can start creating interesting crafts. Let's consider several options with a step-by-step description.
On a note! Woolen needles can be replaced with a set of awl.It is much more convenient to use such tools.
Toys
How else to please a child, if not a homemade toy. You can always be sure of the safety of its composition, since only natural raw materials were used during the production.
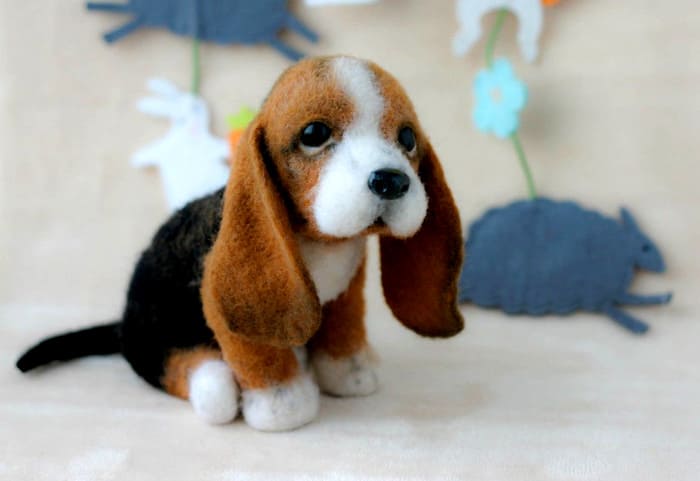
Children like woolen toys very much, they are often used to attract kids to creativity
PHOTO: acicularis.com
Sleeping cat
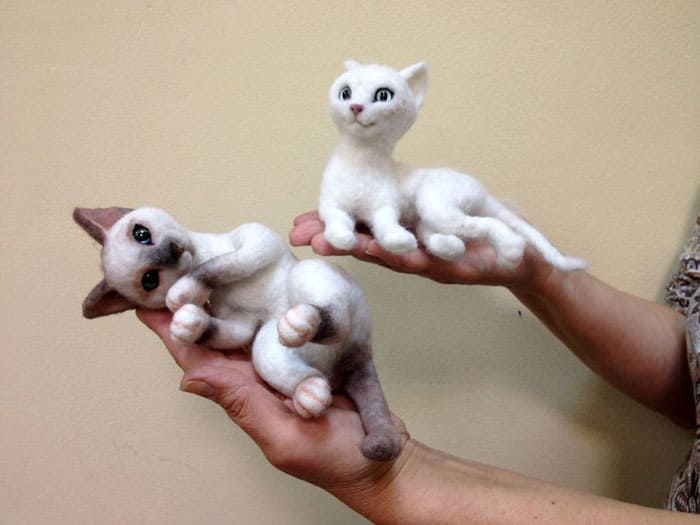
The toy will require two types of wool: combed and carded. We also prepare a sponge and two special needles in advance.
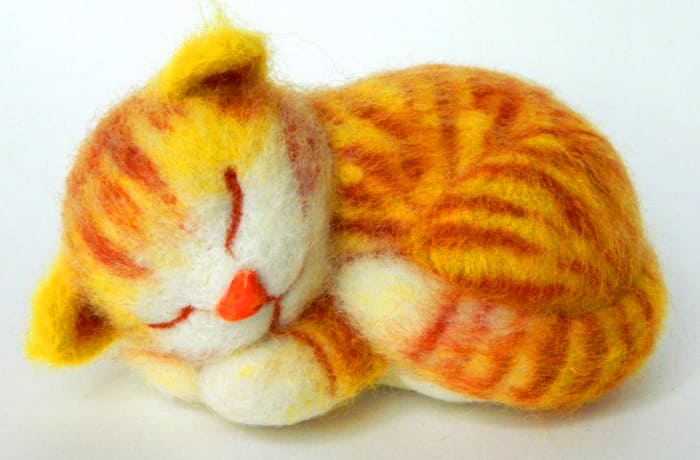
The striping of a decorative cat can be made by alternately adding woolen cloths of different colors
PHOTO: yandex.uz
Any animal can be done this way, the main condition is to use the right tools.
Hedgehog
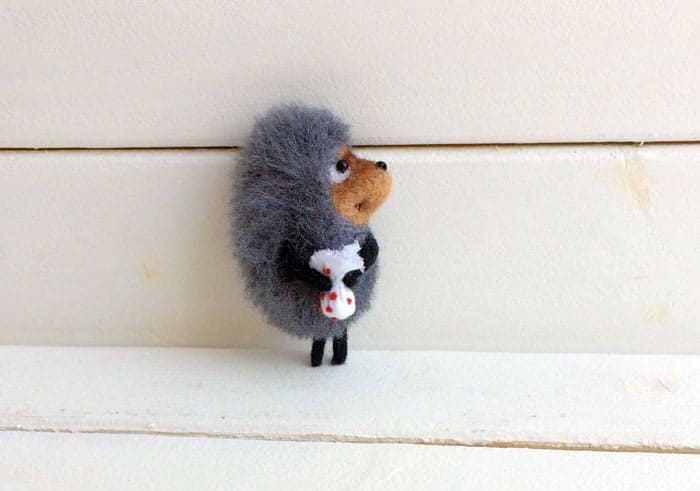
Instead of a gray tone, brown can be used for the hedgehog's face. It will be even more original
PHOTO: livemaster.ru
To create this toy, you can use both dry and wet felting in combination. Let's look at step by step instructions.
- Prepare wool in three colors: gray, black and white. Take a black piece and form the legs using the wet felting technique. You need to do 4 things, then rinse and leave to dry.
- In the meantime, we take a larger piece of black wool, lay it in an oval shape on a backing, and begin to roll it to a sufficient density.
- Then we process the top layer in the same way, using gray wool. It is best to use a thin diameter needle at this stage.
- We are engaged in a spout. Take a piece of gray wool and form a triangle out of it. Roll gently.
- We form a felted circle out of white wool and attach two petals of the same shade to it on top.
- We fasten the bridge of the nose, roll up a black lump and make a nose. We attach the finished "travel knot" of white wool to the hedgehog's body.
- We attach the arms and legs by gently pushing the fibers with a thin needle.
- We make the eyes with beads or use black and white pieces of wool.
We process the finished product from all sides with a needle with reverse petals. This will help form thorns on the animal's back.
Souvenir crafts
Many young needlewomen try to make souvenirs that have a protective effect. There are many such accessories, and for beginners, we will consider a few simple master classes.
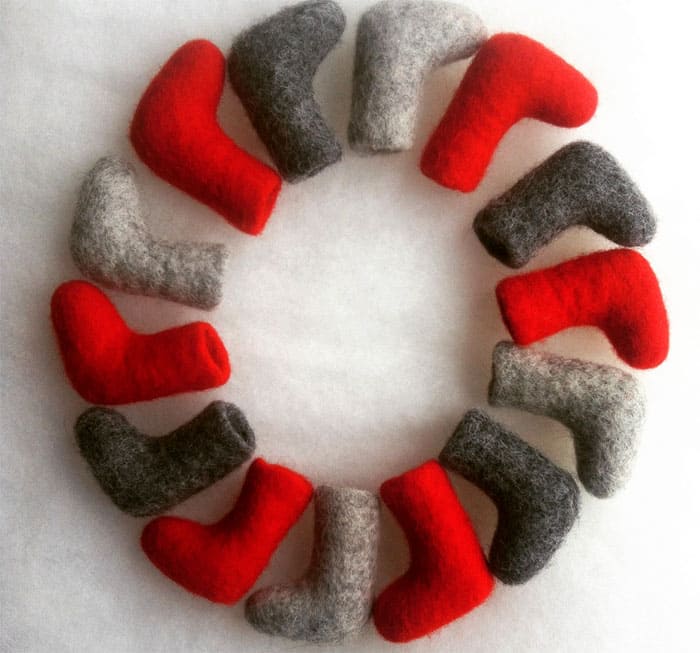
When doing voluminous crafts with wet felting, you should use the correct templates
PHOTO: teplyystanmedia.ru
Felt boots
This product requires wool, bubble wrap, soapy water, scissors and decorative consumables.
- We create a template for felt boots on a protective film, cut it out and fold it in half.
- We put oilcloth on the table, then lay the template and take several layers of wool the size of the diagram.
- We moisten with soapy water and gently crush the woolen fibers through the mesh, forming the shape of boots, and then wrap them in a template.
- It is better to spread the next layer of woolen material across, in the same way.
- We take orange carded wool and make the final wet felting.
- We wrap all protruding ponytails on the opposite side of the template. We cut the workpiece in half.
- As a result, we get voluminous felt boots that can be painted and additionally decorated.
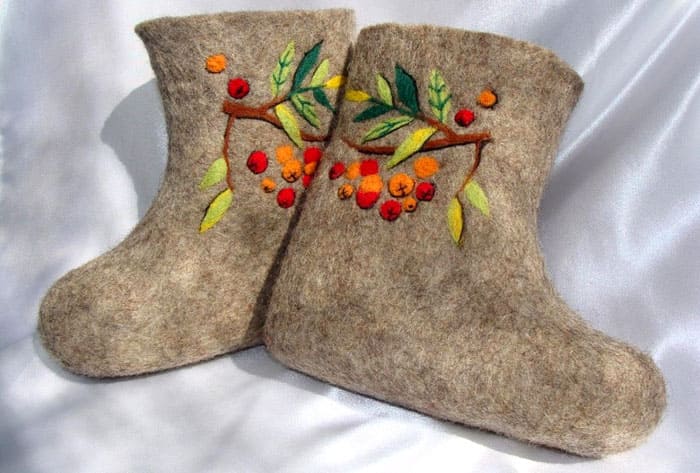
Wool shoes can be real. Often, boots and slippers for children are made using a similar technique.
PHOTO: kitchenremont.ru
You can put up such souvenirs for sale or just decorate your home (corridor or kitchen).
On a note! You should not overload your home with felted accessories. They are very good dust collectors.
Video: how to make a brooch clip
For work, you will need to prepare decorative elements, wool for wet felting in different shades, but of the same color. A pin, a needle and thread, scissors, and soapy water are also useful. We offer a detailed master class in the video below.
Decorations
Various decorations for clothes or interiors can also be made using the technique of one of the options for felting wool. Often, novice craftswomen create chic jewelry, which we will just talk about in this section.
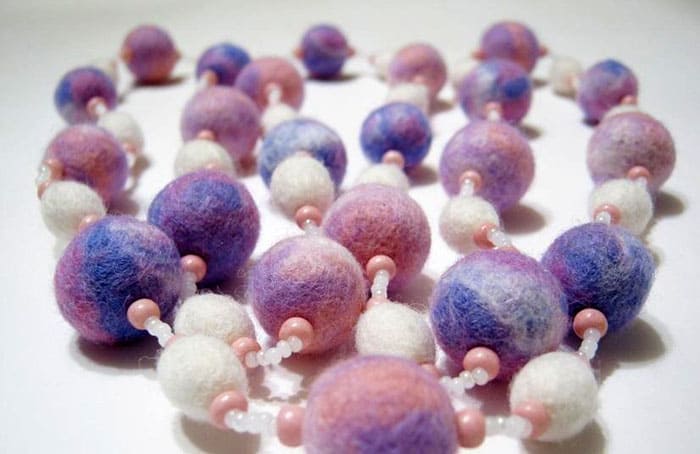
Women's beads
Beads have always been considered a symbol of elegance and femininity. Hand-Made jewelry deserves a lot of attention. The list of tools and materials remains the same. Let's take a closer look at the creation instructions.
- Take a few balls of wool, intended for wet felting. It is desirable that their diameter is 5 cm.
- Let's roll them up into balls, and then start to play with a needle. It is worth making punctures carefully so that the distance between the holes does not exceed 2 mm.
- Now you can add a plain ball with wool of a different shade. Next, wet your hands and balls in soapy water.
- We put them on a bubble wrap and begin to gently crumple, giving a more complete roundness.
- All that remains is to rinse the beads under running water and then dry them.
At the final stage, you need to thread each bead with a needle and strong thread (you can use a thin tape), and then attach the fastener. The beads are ready to use.
Jewelry for lovely ladies
The dry felting technique is no less in demand. By combining different shades of wool, you can create the most unusual accessories for clothes, handbags and just elements of budgetary but interesting jewelry.
For more information on how these pieces of women's wardrobe are created, see the video.
The felting technique is very popular among teenage girls. Young women of fashion will be able to independently diversify their style of clothing, emphasize a romantic image.
Dear readers, do not forget to rate the publication and leave comments. We would be very glad to hear your opinion, so we will answer you quickly. Share your experience of what you did in the felting technique.


