Basics of patchwork technique (patchwork sewing): beautiful patterns and patterns, easy master classes for beginners
Decorating your home environment in the Hand-Made style, many people pay a lot of attention to the patchwork technology (patchwork). All diagrams and templates will help to get involved in the process of this interesting art form beautifully and easily for beginners. Experts emphasize that using this method of manual work, it is possible to significantly reduce the cost of purchasing raw materials for master classes. The homemaster.techinfolux.com/en/ editorial staff offers the reader the most detailed instructions for work, will allow you to learn and master the basics of needlework, even for those who have practically no skill.
The content of the article
- 1 The main points in the patchwork technique (patchwork): useful techniques with schemes
- 2 Patchwork master classes for beginner needlewomen with schemes
- 3 Patchwork lesson for beginners on making jeans with their own hands
- 4 DIY patchwork quilt with photo options
- 5 Video: a variety of patchwork sewing techniques from eastern countries
- 6 New patchwork ideas and original projects in the photo: what else can you do with this technique
Highlights in technology patchwork (patchwork sewing): useful techniques of implementation with diagrams
This type of patchwork sewing is based on somewhat unusual rules. Moreover, this technique provides some more secrets that will help make the little thing really useful in the household. More about them.
Rules for the selection of material for the implementation of technology
In order for the product to receive recognition as a result and become an occasion for discussion among your neighbors and friends, it is important to monitor the quality of the fabric used.It is clear that the remains of various fabrics are used, however, they should not crumble, crumble, be leaky and dirty.
- Since all products are made according to the mosaic principle, it is important that the textiles are non-slip, dense, preferably cotton. However, these types of materials should not be ignored: jeans, silk, linen or wool. Some even use drape.
- As for the size of the fabric, there is no need for specific parameters of the canvas, the main thing is that it is enough for the intended number of patterns and future flaps.
- You should not dwell on one type of textile. To make the work look as original as possible, you need to try your luck in combining various textures with each other.
- The density of the material is determined depending on the purpose for which it will be used. For example, too thick canvases are not suitable for night curtains, but for do-it-yourself patchwork bedspreads, capes and bedding, novice craftsmen should choose thicker textiles.
Remember that the size of all the flaps must be the same, and no change in the shape of the pieces that fit together is allowed.
How to choose templates, make up schemes and cut out patchwork
A lot of bloggers who willingly share master classes and training videos provide an opportunity to buy or download special templates. The only drawback of the download is that they then need to be printed, cut and glued on thick cardboard. However, there is always the opportunity to purchase this material from hardware stores.
Each needlewoman can make such an option on her own. This will require cloth, paper or cardboard. It is better to make several templates in order to immediately attach to the fabric and cut the required number of pieces.
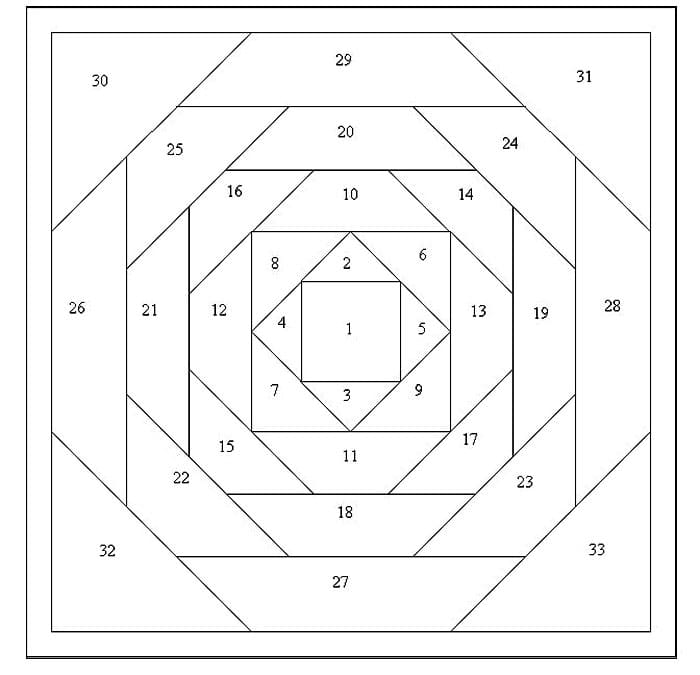
All details in the figure can be marked with numbers, and then the tissue flaps can be numbered
PHOTO: pinterest.ru
If the diagrams are drawn manually, then the base is pre-selected (you can make a drawing directly on it). If you are afraid to ruin something, it is better to do the rough work on a large piece of Whatman paper. The drawing indicates the estimated pattern or ornament, the required number of parts, possible fabrics and colors in case there is a risk of confusion.
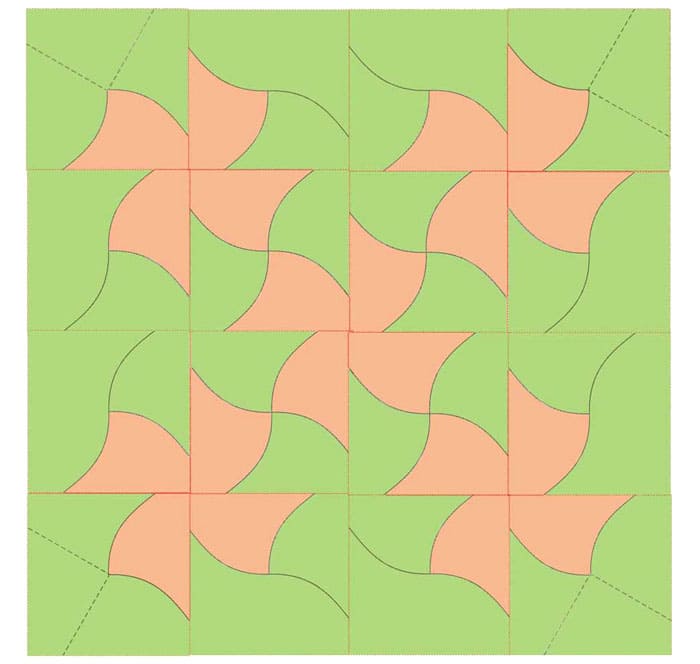
When downloading from the Internet, it is better to choose templates that clearly show every detail in color.
PHOTO: liveinternet.ru
Patterns are cut with scissors along the indicated dotted line. Please note that many templates do not have any seam patch margin. Therefore, the hostess must calculate this moment on her own.
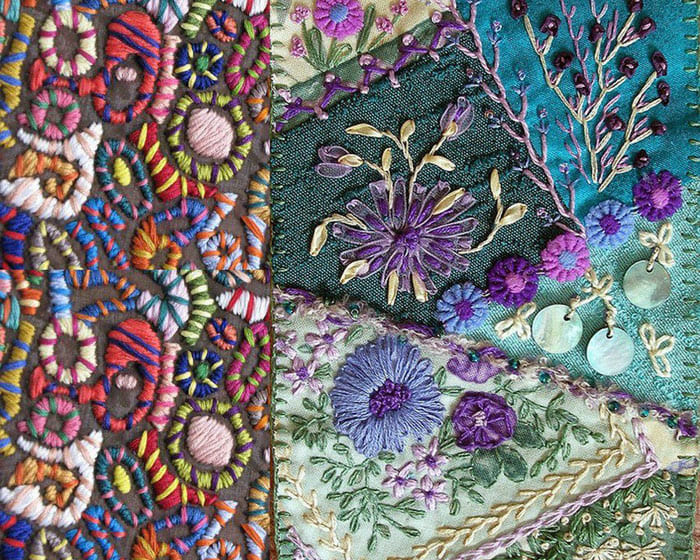
So that over time the product does not disperse at the seams, the amount of material per line should be at least 1-1.5 cm
PHOTO: liveinternet.ru
What are the techniques for joining cut flaps into a whole canvas?
Today, two patchwork sewing techniques are used: American and block. The first method involves attaching the same shapes to each other using paper templates. Next, a seam allowance for a turn-up is performed, and then it is applied again.
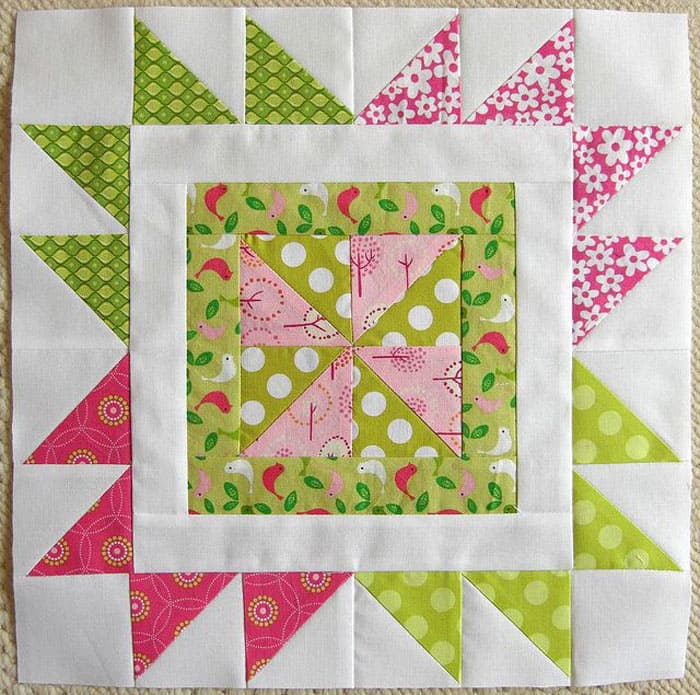
Block tactics are considered modern. It can be used by both experienced craftswomen and novice mistresses. The technology is as follows: pieces of a triangular or square shape are connected into blocks. After that, they are already sewn to the base, creating a specific volumetric pattern.
Patchwork master classes for beginners needlewomen with schemes
It is very difficult for beginners who are just mastering the basics of patchwork sewing to get into work and perform some fragments at high speed.To quickly get a taste and get the elementary skills of creating homemade masterpieces, our editorial team recommends studying several useful mother classes.
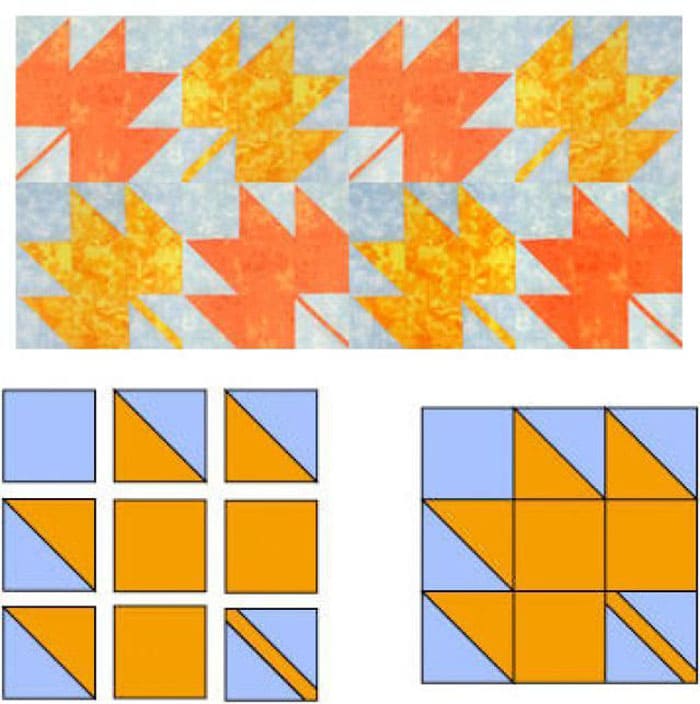
DIY patchwork for beginners: making an autumn leaf with a finished scheme
In order to get ready for work and not miss a single step from the video, you should prepare the material in advance. To sew a canvas, you will need:
- 2 white squares with a side of 6.5 cm;
- 4 white squares with a side of 5 cm;
- 3 rectangles - 5 × 9 cm;
- 1 square with a side of 6.5 cm;
- 1 rectangle - 2 × 9 cm.
Products will be made of colored fabric, so you can not limit yourself in imagination and select an interesting palette in the technique of sewing from patches for beginners. Nevertheless, in order for the pattern to turn out natural, it is better to give preference to autumn tones. Then we do everything according to the instructions.
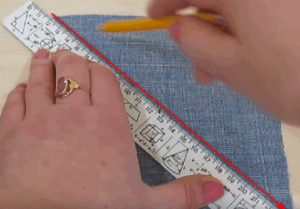
- Take three white squares and draw a diagonal along them from two parts to the upper right corner, and from one to the lower right corner.
- Then we take the rectangles and apply them to the squares.
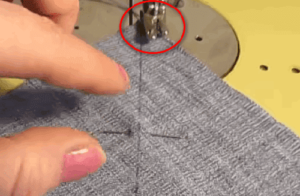
- We put the combined parts under the needle of the sewing machine and strictly follow the line.
- Then we take white and colored squares of the same size. Draw a diagonal line on white.
- We sew on both sides of the line at a distance of 6 mm.
- We have one white square left. It needs to be cut diagonally.
- Sew a thin strip of fabric between two parts of the square.
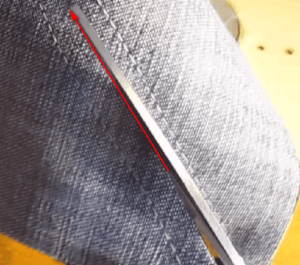
- We cut off all the combined parts at the ends on the side where there is a white square. We cut off one part exactly diagonally.
- Cut the square with the handle along the edges so that it is two inches in size. All squares should be the same size.
- We lay out all the details and sew them together. As a result, we get the Maple Leaf block.
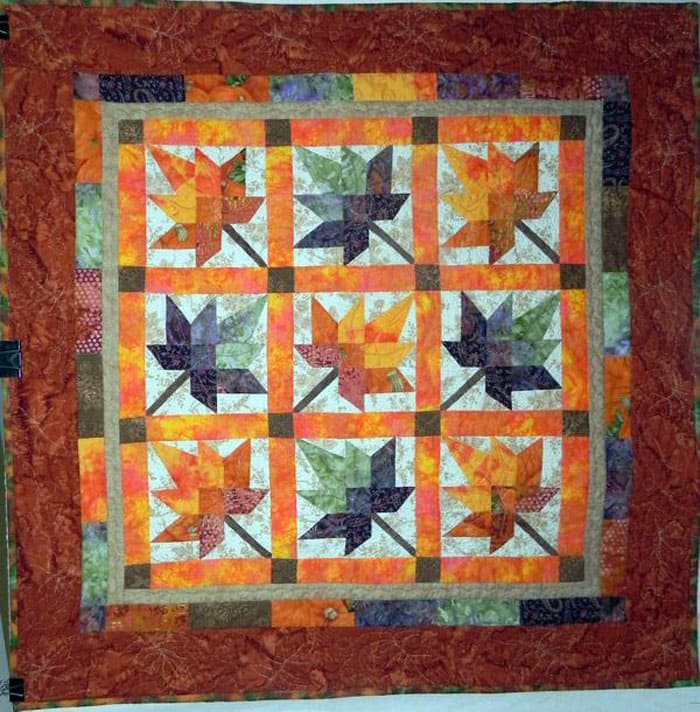
If you make many of these leaves, then you can create an entire path or rug.
Patchwork master class with rose pattern
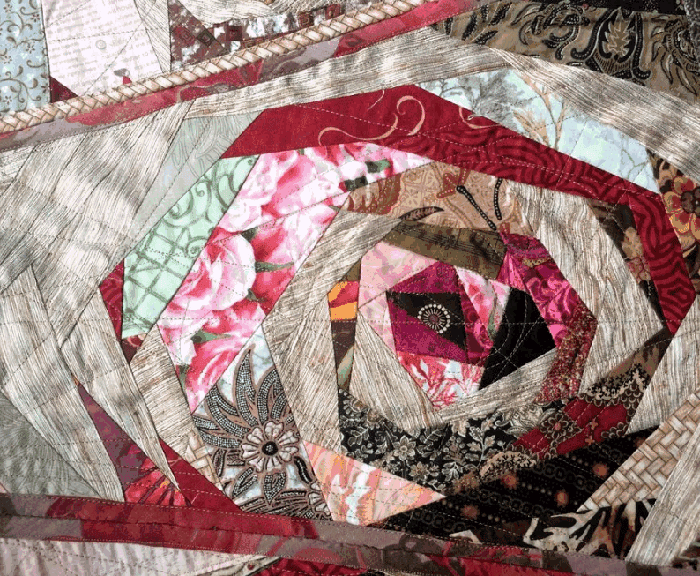
In the patchwork technique, a combination of bright and dull materials is allowed in one ornament
PHOTO: goddees.livejournal.com
Whatever inspires you for creativity: mood, memories or weather, you need to approach it very responsibly. Why not try your hand at such a stylish direction as patchwork, using the following master class presented in the video.
Patchwork lesson for beginners DIY out of jeans
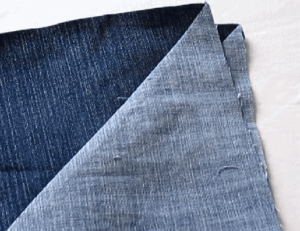
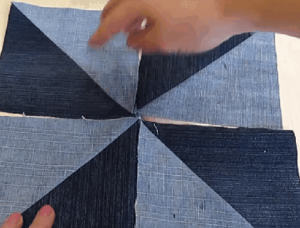
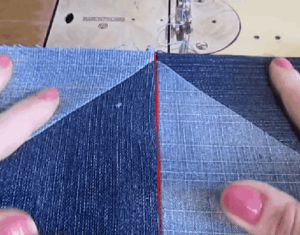
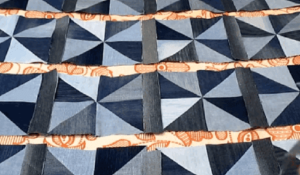
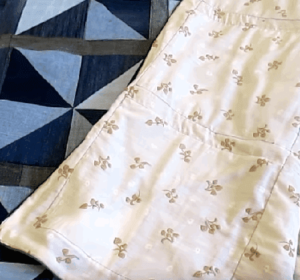
When you are tired of wearing denim pants or sundresses, or they become small, they can be turned into a really useful and interesting product. In this lesson we will make a bedspread using sewing from rags, scraps of different fabrics.
As a result, an original blanket is obtained, which is suitable for decoration, and can also be used for other purposes.
DIY patchwork quilt in style patchwork with photo options
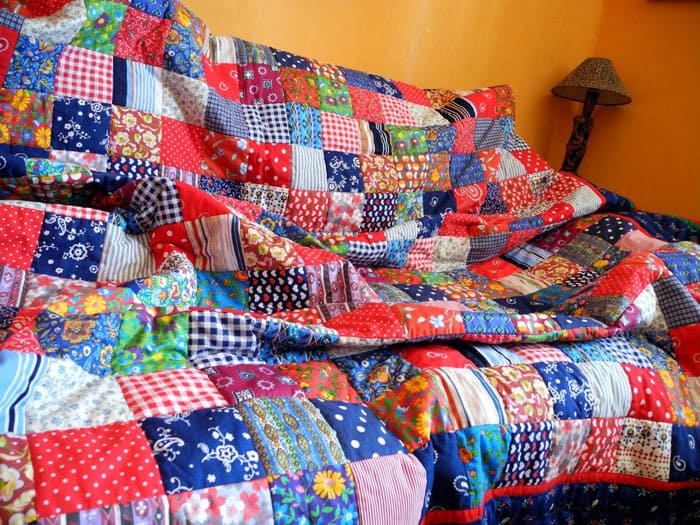
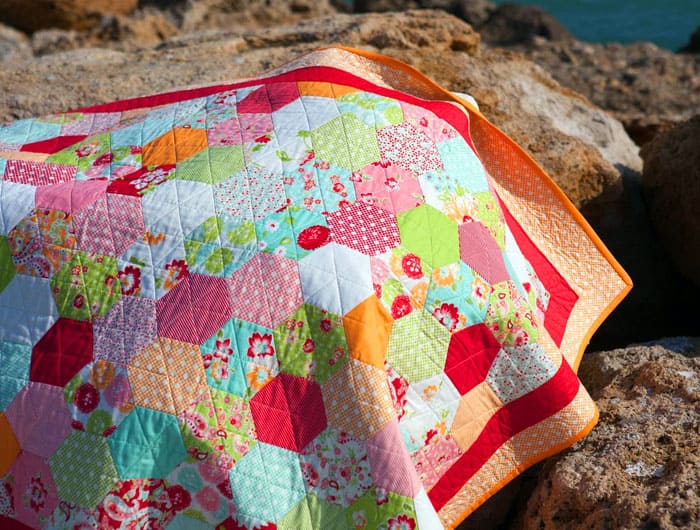
So many women who are serious about patchwork practice different things in sewing and know how to sew a patchwork quilt and give tips for beginners. One of the most interesting and quite time consuming are blankets. It takes a very long time to produce such options, nevertheless, the final beauty is worth it. Our editorial staff offers several interesting models with a description.
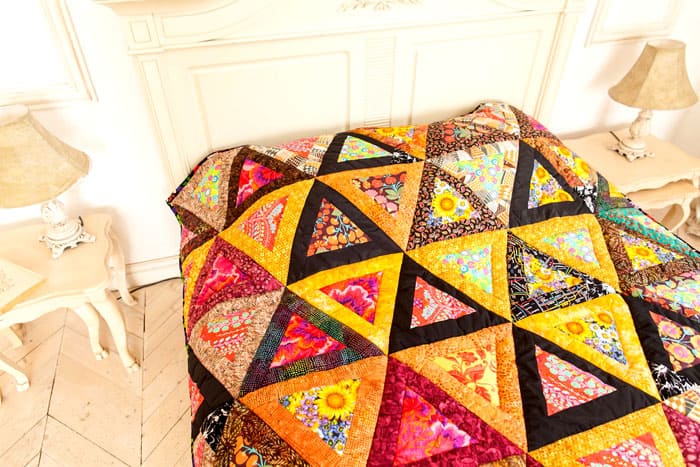
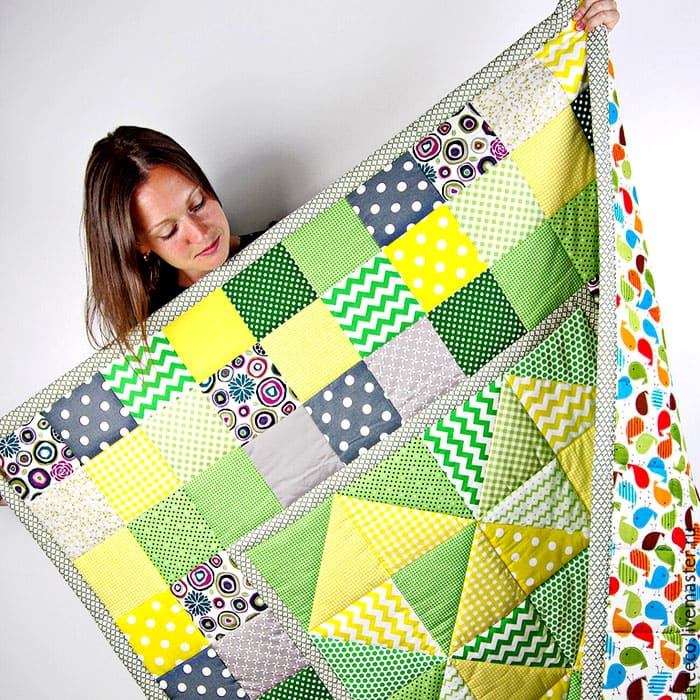
Triangular Fragment Model
The base of a do-it-yourself quilt for beginners is done in a similar way. Please note that the pattern is repeated in some areas around the product. Such a blanket can be hemmed with cotton or linen, then the Hand-Made version can be used in a children's bed.
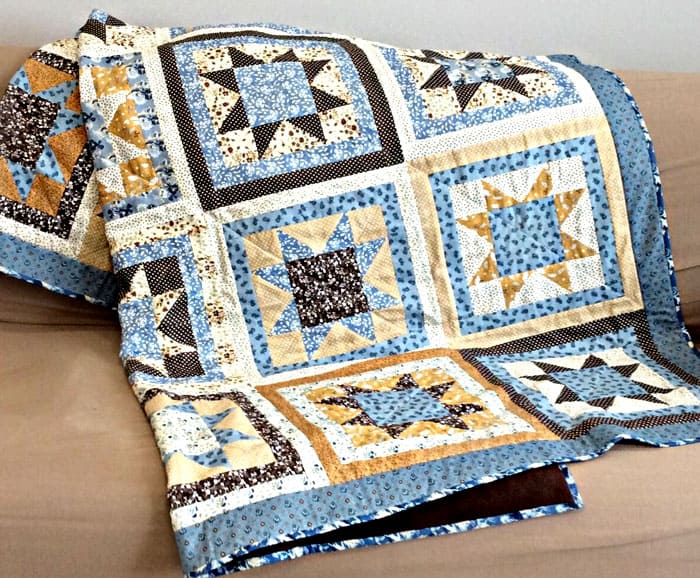
Model of square and triangular modules
Sewing a patchwork quilt with your own hands for beginners requires obligatory edging and the creation of sufficiently strong seams. The ornament around the entire perimeter of the product can have different designs. For example, as in the photo: the middle is made in a diagonal projection, and the edging has a right angle. In the patchwork technique for beginners, it is important to follow the step-by-step photos in order not to miss an important seam.
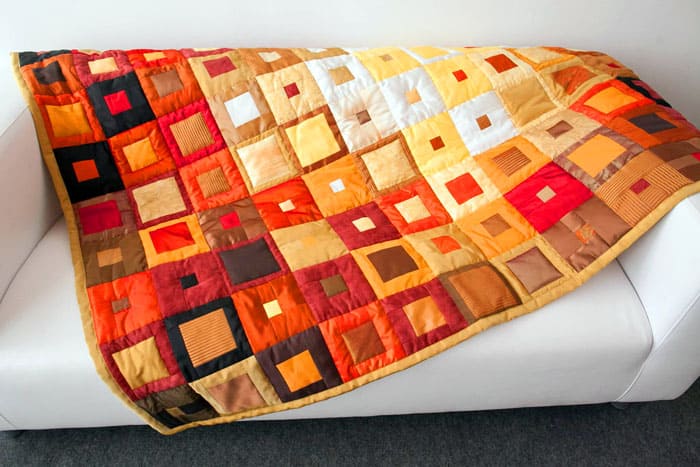
Using thin stripes to make colorful blankets is considered a relatively new idea.
PHOTO: shopandshow.ru
Japanese patchwork for beginners: step by step diagrams various products
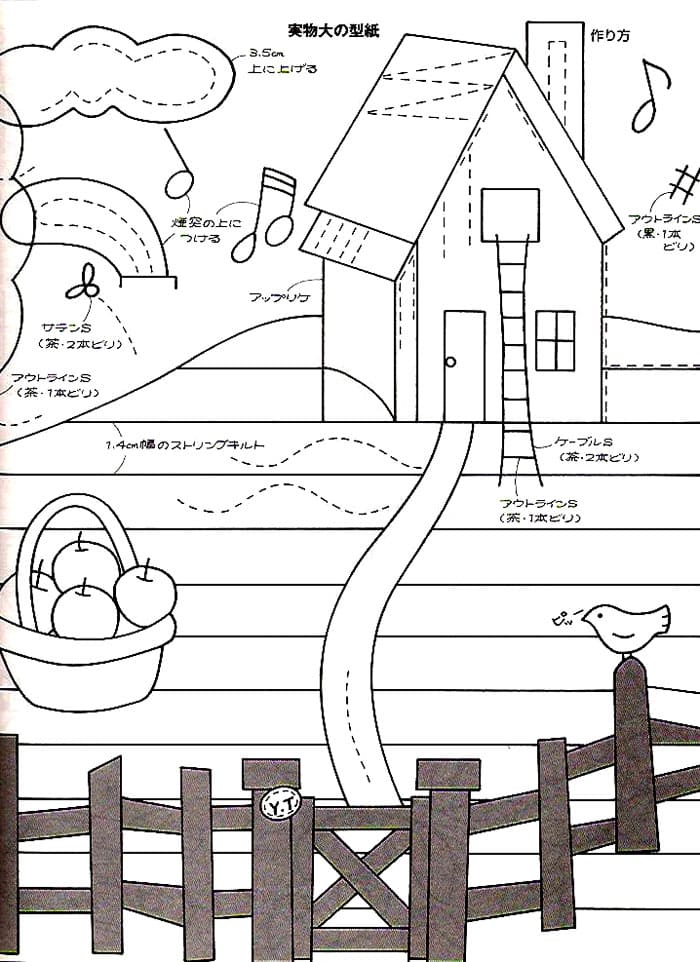
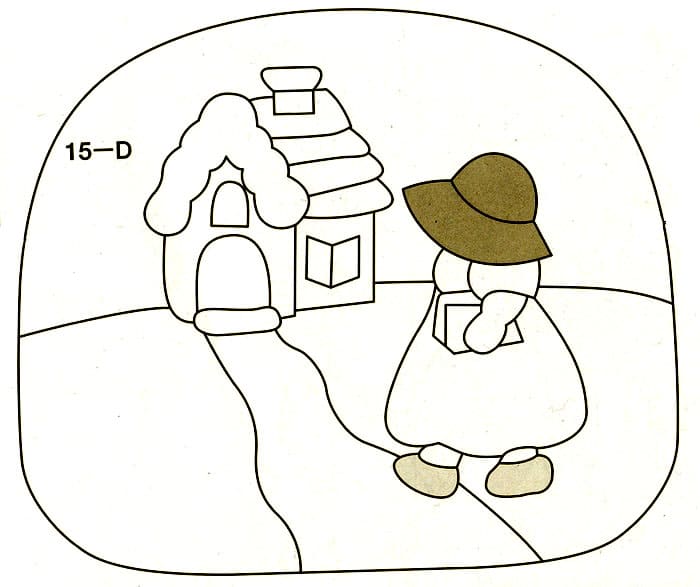
Japanese technique is used not only for dimensional textiles, but also for sewing bags, accessories and even paintings. Even a patchwork of clothes is possible. Today, this technique is popular even in industrial production. It can even be combined with quilting.
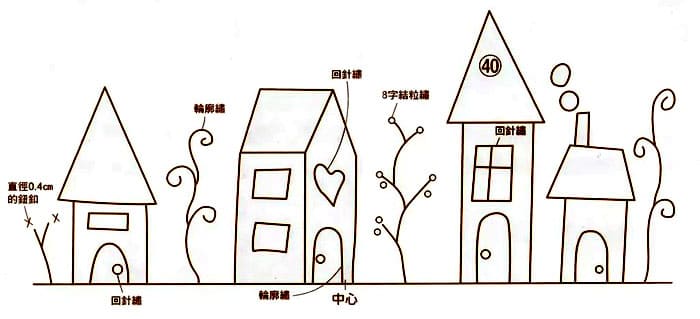
Interesting drawings with children's motives can be used for sewing paintings and carpets in the nursery
PHOTO: pinterest.ru

Many drawings are created by hand, which is why the product is valued much more expensive
PHOTO: mir-handmade.in.ua
Video: a variety of patchwork sewing techniques from eastern countries
New patchwork ideas and original designs in the photo: what else can be done with this technique
Every year new ideas are formed that are applicable for DIY patchwork sewing. Consider a photo of possible ideas for using this technology with your own hands.
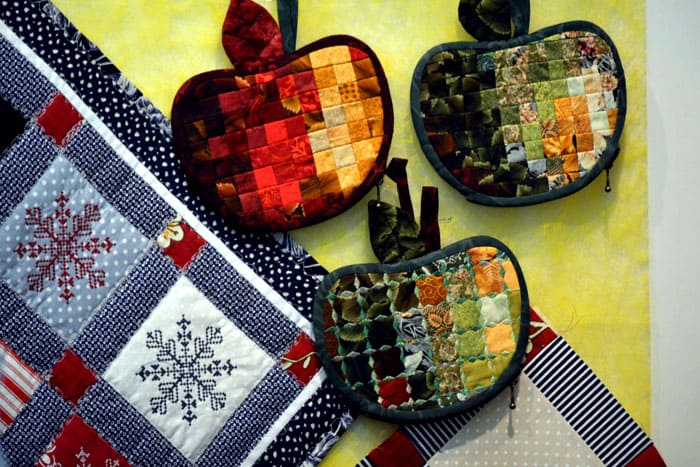
Sewing with the use of small square patches starting from 2 cm in size has become relevant
PHOTO: pinme.ru
Dear users, share your comments regarding today's publication. Do not forget to rate the article and ask questions, we will be happy to answer them as soon as possible.


