An original element in the interior with your own hands: an amazing and beautiful chandelier
DIY items are gaining popularity. This is understandable: ideas are usually not only aesthetic, but also utilitarian in nature. What could be more practical than a DIY chandelier? The homemaster.techinfolux.com/en/ editorial board offers different options for making a lamp for the home from improvised means. It turns out that it is not so difficult to make the necessary and beautiful thing!
The content of the article
- 1 Important nuances: before starting work on the lamp
- 2 How to make a glass chandelier with your own hands: use jars and bottles
- 3 DIY chandelier making: practical plastic
- 4 Discs: what has already served, but shines like the sun
- 5 Interesting ideas: what materials at hand can be used to make a cool chandelier
- 6 Video: DIY chandelier ideas
Important nuances: before starting work on the lamp
On the Internet, it is easy to find a photo of any DIY lamp and be inspired by the excellent result. But inspiration is inspiration, and one should not rush. If the type of chandelier does not match the style of the interior, the craft will fit as a gift for the person who has a suitable environment at home. So, first of all, you need to look around and understand what type of lamp is suitable for your interior.
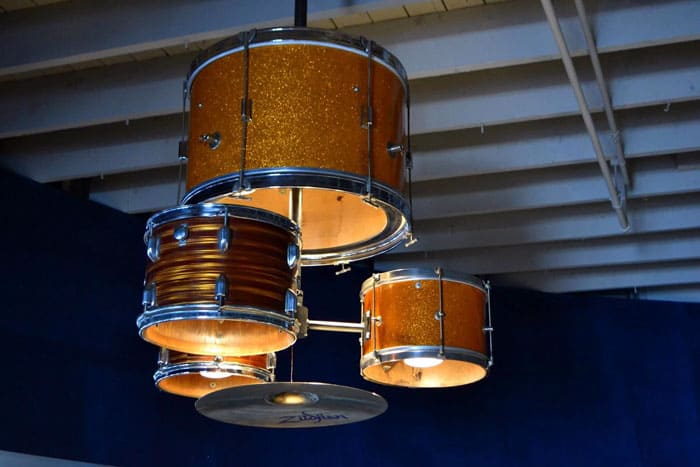
Execution should evoke positive emotions, otherwise there is little sense in the craft
PHOTO: happymodern.ru
After that, you can already look at several options to your liking and prepare everything you need for work. The process of manufacturing a lighting device requires attention and time, therefore we plan everything so as not to stretch the manufacturing for months.
The requirements for the future product are simple: aesthetics and safety. Even cardboard can be used in work to make a lampshade, but the material should not be located close to the lamp.
So, remember about safety and get started!
Related article:
DIY lampshade... In the article, we will look at what you can make a frame for a lampshade, how to make a lampshade with your own hands from paper, cardboard, paper plates and what other ideas there are for creating lampshades from different materials.
How to make a glass chandelier with your own hands: use jars and bottles
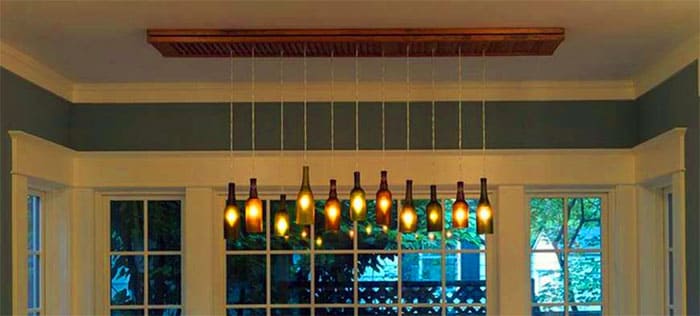
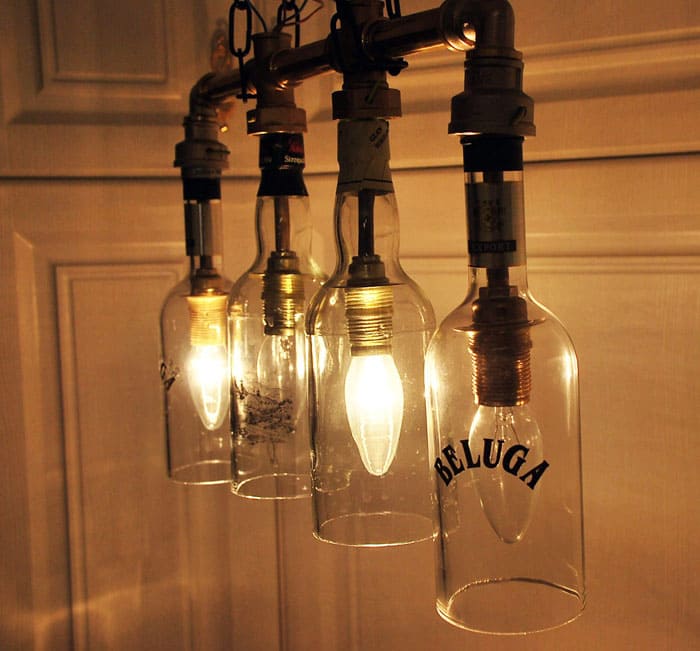
It's nice that the material, which decomposes for hundreds of years, will not be thrown into the trash as unnecessary, but will find a second life. We offer to assemble a glass ceiling lamp: we look after jars and bottles.
Glass bottles in the case
Not the easiest option for a person without experience in such a business, however, if you go in stages, everything will work out!
The job will not be easy.
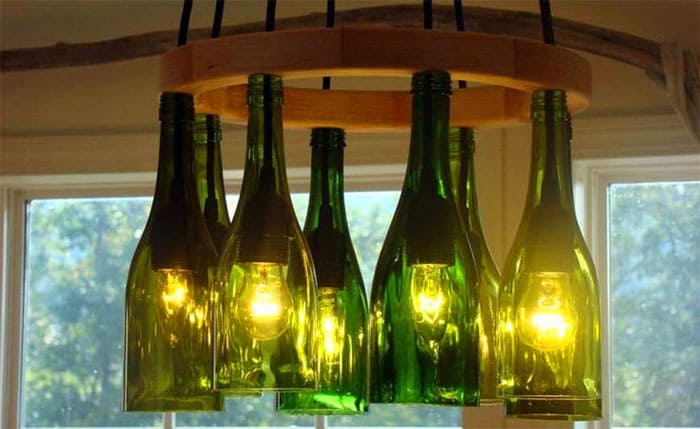
We take glass cutter, bottles, sandpaper, sockets for light bulbs, a wire for conducting electricity, a frame made of wood or metal and a rim
PHOTO: novate.ru
The first thing to do is to process all the bottles. Their number depends on how the future owner sees the chandelier. For starters, it's worth trying to work on one bottle.
We draw a straight line where the plafond should end. We draw a glass cutter along the line and cut off the bottom. Do not put the bottle aside - take sandpaper and sand the sharp edges.
We repeat the action with other bottles.
Pull the wire through the neck and mount the cartridge from the bottom. We attach the plafond itself to the frame for the wire. Now it's time to decorate.
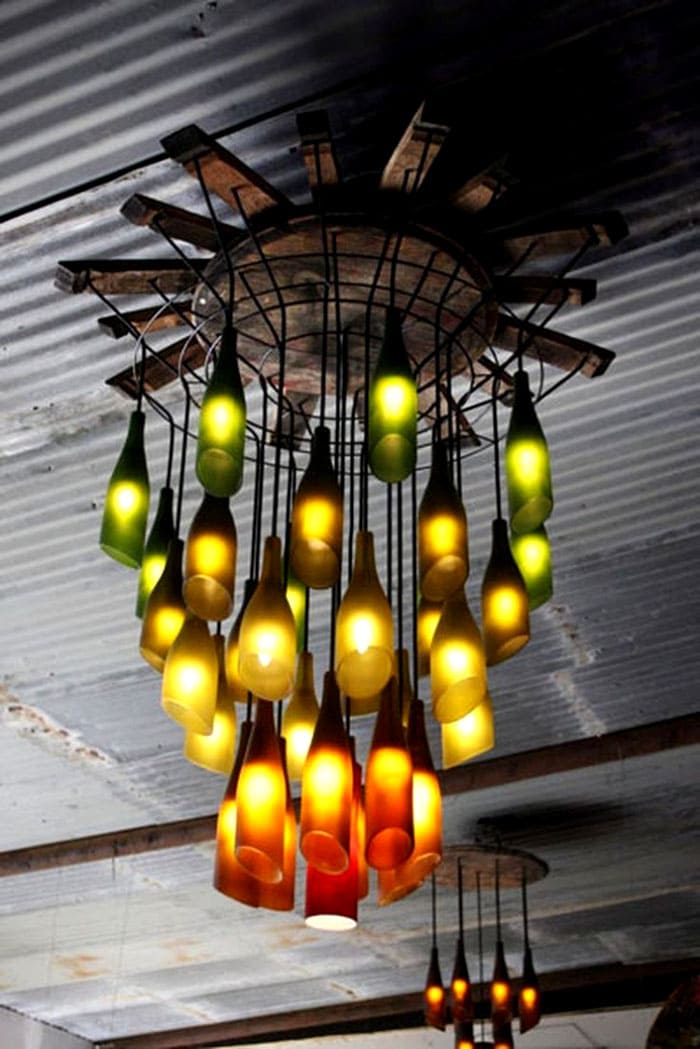
If the ceiling height is suitable, then the product can be huge, which is impressive
PHOTO: stroy-podskazka.ru
Related article:
Loft style lamps: feature, what they are made of, varieties, selection criteria, loft-style lighting in the kitchen, living room, hallway and bedroom, we make a loft lamp with our own hands.
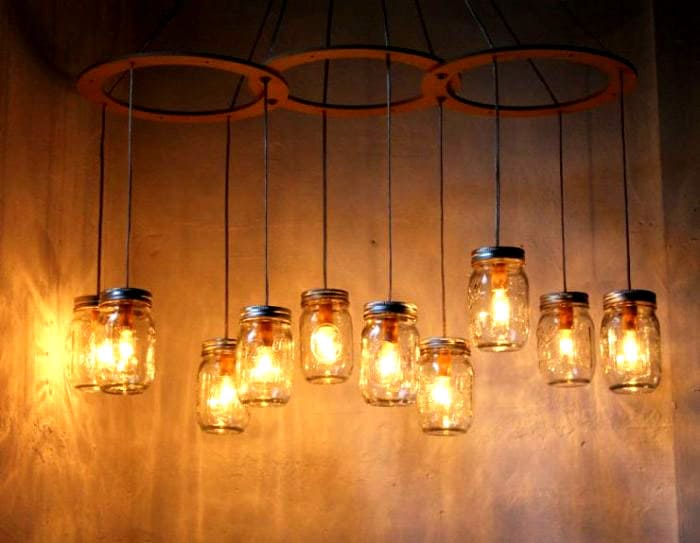
Banks as a plafond
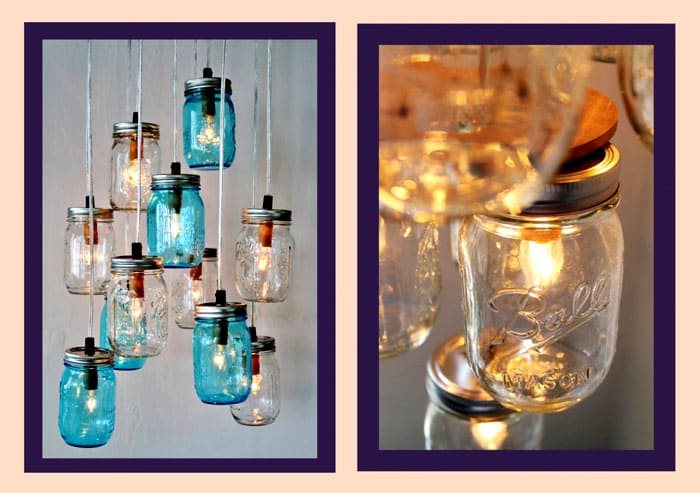
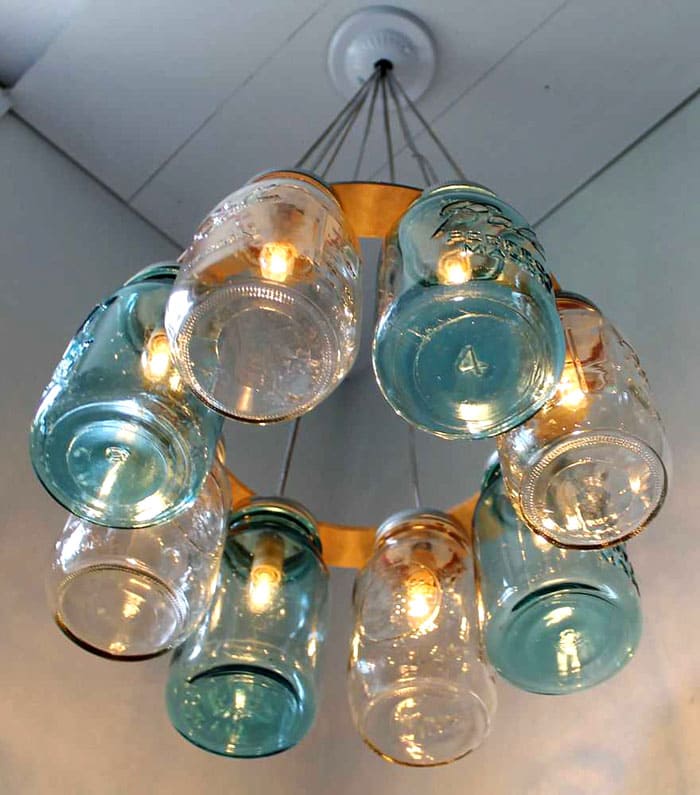
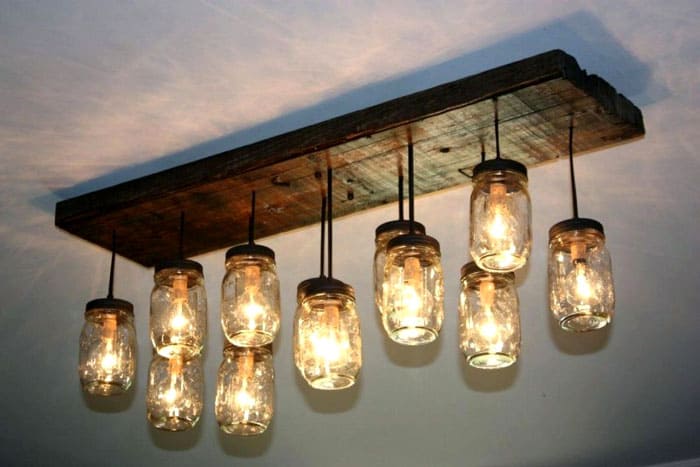
Banks produce different ones: this is not just a container for jam and pickles. There are jars of different shapes, their design prompts creative thoughts. If you have in mind beautiful jars, and at the same time they have been empty for a long time, make a chandelier out of them.
From the materials you need to find a strong hard wire, jars, cartridges of a suitable size, light bulbs, a knife. Jars should be taken with screw caps. The base is preferred E14. For suspension, we take a ceiling hook, a dowel (8 mm), a drill and a hammer drill (let's make our neighbors happy).
We remove the caps from the cans, and release the cartridge from the fastening ring. We apply it to the lids and draw a circle inside. Along the line of the circle, we drill a lot of holes with a drill with a drill for metal with a diameter of 4 mm.
We extract the inner part of the circle, but extremely carefully: the edges are sharp! It is necessary to make several holes with the same drill to remove heat from the bulbs.
Insert the cartridge with the cable into the prepared hole on the lid and fix it with a fastening ring. The plafond is ready. We do the same with the rest.
We make a hole in the ceiling with a puncher and insert a dowel with a diameter of 8 mm there, screw a hook there and hang a brand new chandelier.
DIY chandelier making: practical plastic
Plastic products are most often thrown into the trash. Yes, this is not the most durable and beautiful material, especially if these are household items for single use. We are talking about spoons and bottles. We're used to putting them in the trash can, but again, let's think about the environment. Let for a while, but we will postpone the release of harmful material, and during this period, maybe they will learn to process it much better?
Let's try to make a lamp from spoons and bottles, it's an interesting job!
We ate, but we didn't throw out the spoons
It is no longer known who was the first to come up with the idea of using disposable spoons for crafts, but thanks a lot to him: the material is not capricious at all. Even a schoolboy can do the job.
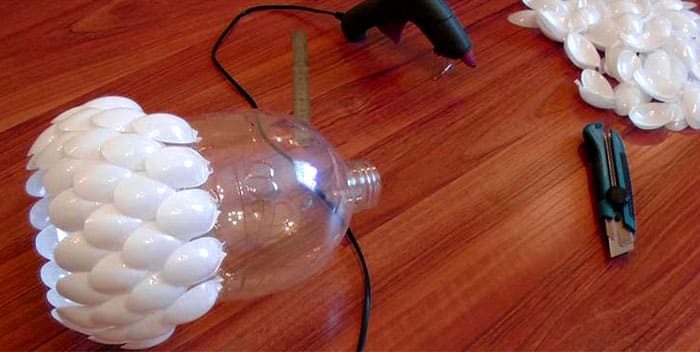
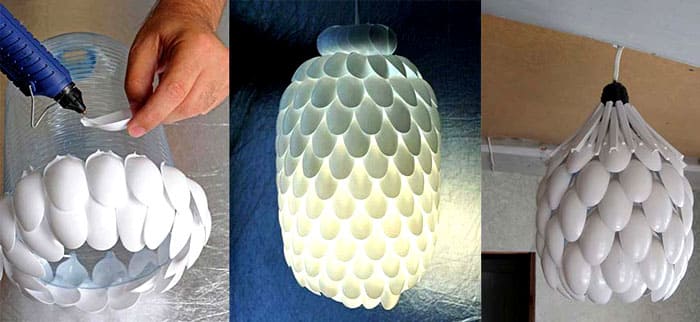
We get a five-liter water bottle, a bunch of plastic spoons, glue for plastic, a lamp holder and a good knife.
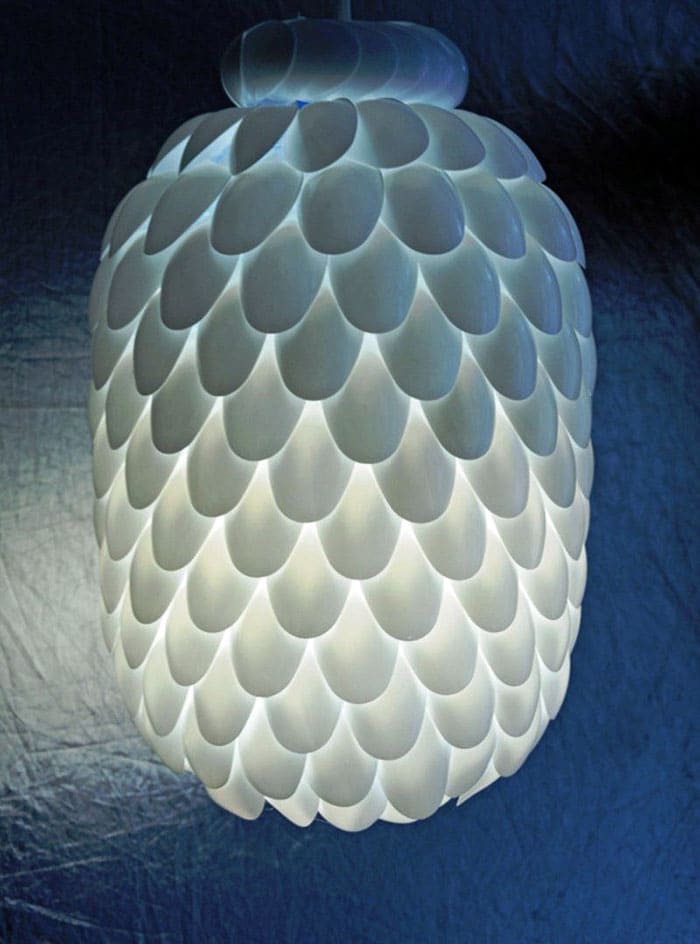
You can save up spoons if you use them often, or buy a couple of packages at once
PHOTO: sdelajrukami.ru
We wash off the label from the bottle, cut off the bottom and dry. This is the base for the plafond. While it dries, cut off the handles at the spoons, leaving 2 cm at the scoop. The process consists in gluing the scoops to the base: we apply glue to the left tails and attach the scoop with the convex side to ourselves. We cover the base in a circle, and then go to the second row.
Advice! The second row should be staggered, this will eliminate the appearance of unnecessary windows. Do the same with each subsequent row.
The work has been completed. It's up to the suspension and connection.
Bottle lamp
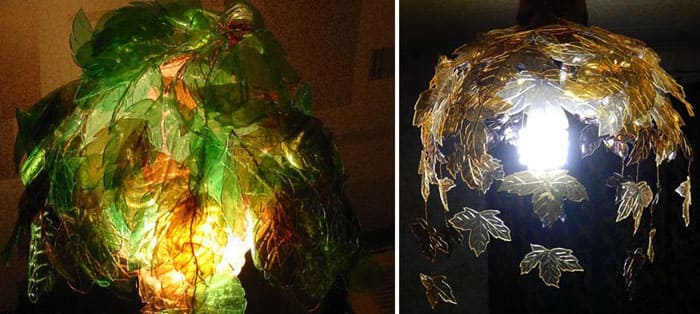
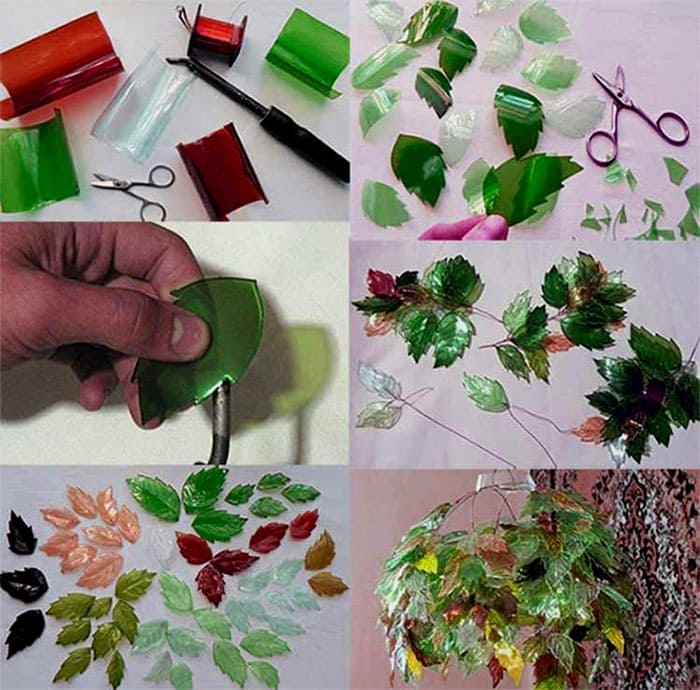
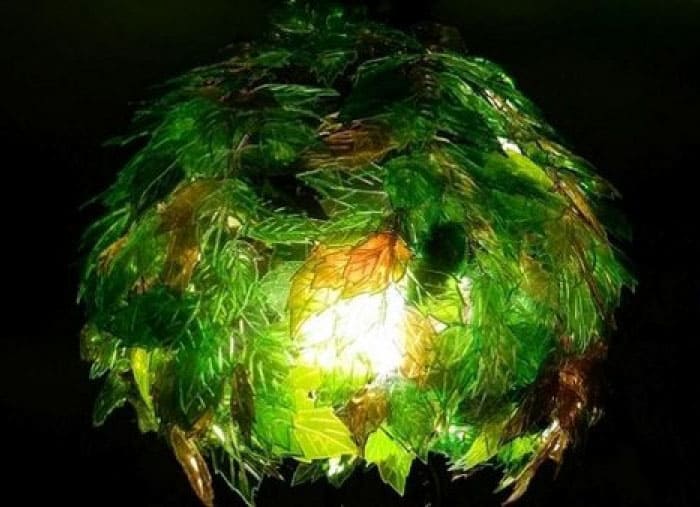
Creative work, but rather troublesome. The result will be impressive, but the process takes a lot of time. We don’t throw away empty plastic bottles of different colors, we need green, blue and yellow. The more colors we combine, the more beautiful the lampshade will be. The instructions are simple, readable and workable.
Materials and tools for the job include bottles, soldering iron, scissors, frame and suspension.
We cut the plastic into blanks with scissors, from which we will make leaves. In order to end up with leaves, we will work with a soldering iron with a one-sided bevel: they need to melt each leaf, observing its shape.
The process is not at all fast, the more interesting the shape of the sheet, the more effective the result of labor will be. The first few leaves can be spoiled, so we make blanks with a margin. We also make the veins with a soldering iron, lightly passing them in the right places.
Now put on the gloves and take the darning needle and candle. We heat the tip of the needle over the flame of the candle and pierce the base of each leaf with it.
We form twigs with a thin wire and leaves, and we already screw them onto the frame. As a frame, you should take steel wire, forming from it a decent basis for such a "natural" lampshade.
Discs: what has already served, but shines like the sun
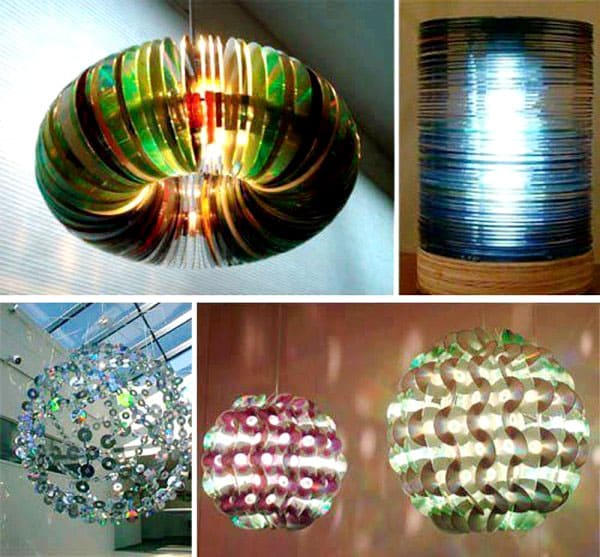
Many people have countless CDs, MP3s, DVDs left in their homes. We are in no hurry to carry them to the trash heap, they are still beautiful! We select those that have no visible scratches and are not afraid to act.
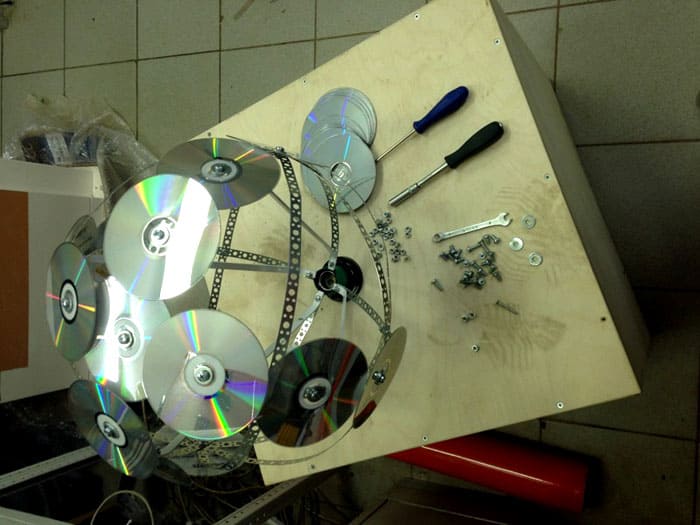
There are several options for making a disc chandelier. Each has its own master class. For example, a modern pendant lamp is made of two round wooden planks that are larger than the discs. For the frame, we need metal or wooden racks; as a light source, we buy a fluorescent lamp with a magnetic starter.
That plate, the thickness of which is greater, fits under the upper base: we make a hole in it and install a starter with a switch, attach a lamp, and string discs onto it. We close the structure with the second plank.
Other manufacturing options involve a rigid wire frame: the discs are strung on the wire, and the lamp holder is placed in the center of such an impromptu lampshade. In the photo, such lamps look stylish and youthful, in life they are even more impressive products.
Interesting ideas: what materials at hand can be used to make a cool chandelier
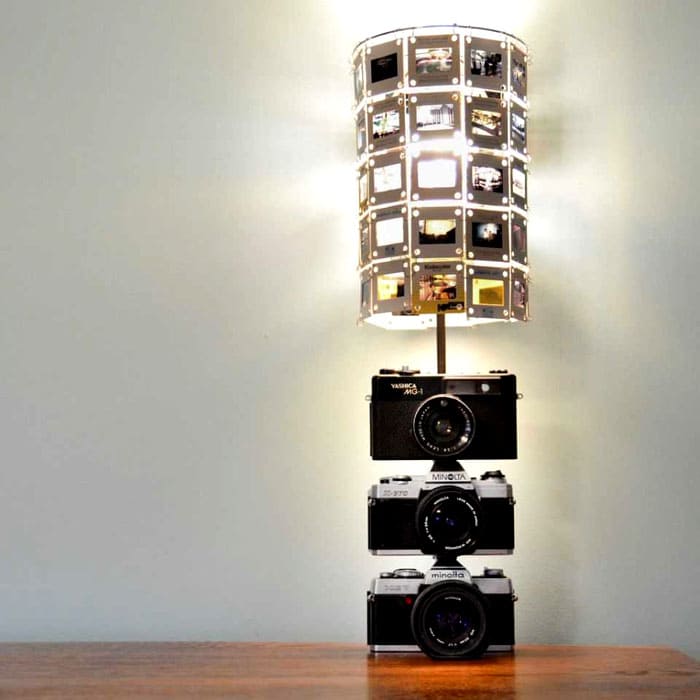
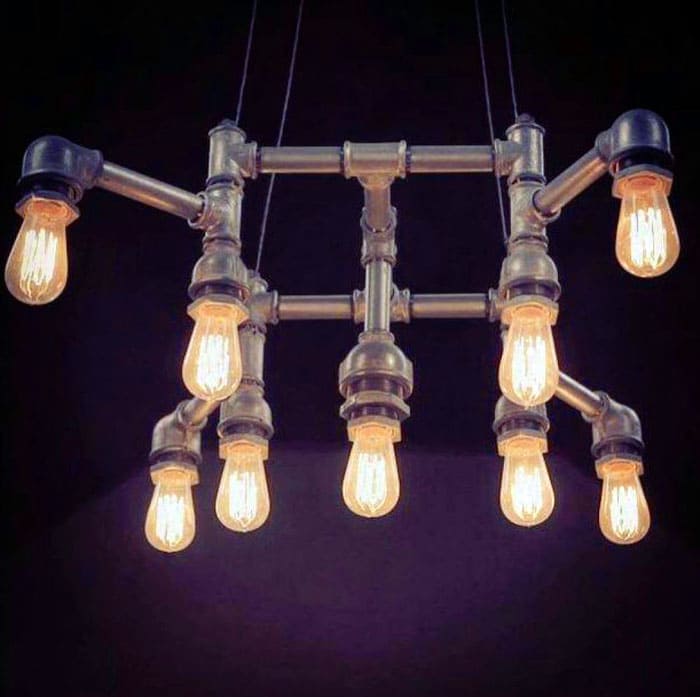
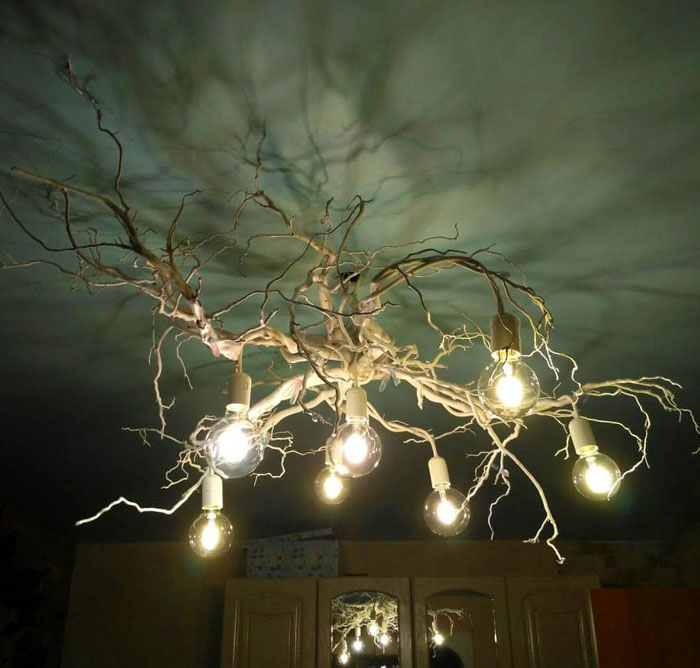
What is suitable for creating a ceiling chandelier with your own hands: twigs, wood, plywood, cardboard, beads and wire, disposable plates, paper. For one material, you need superglue, for another, a welding machine, if we are talking about metal. In any case, the idea should be appropriate in the room.
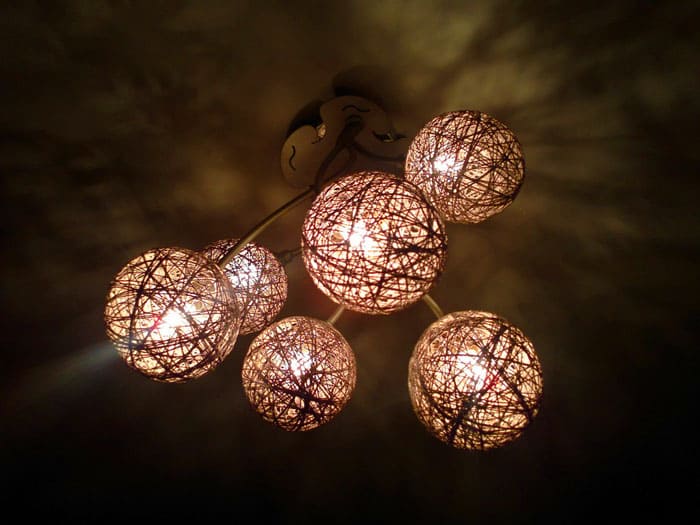
Threads and balls have long been helping in the design of a room as shades for a lamp. This is an excellent and affordable option for everyone.
PHOTO: mydesigninfo.ru
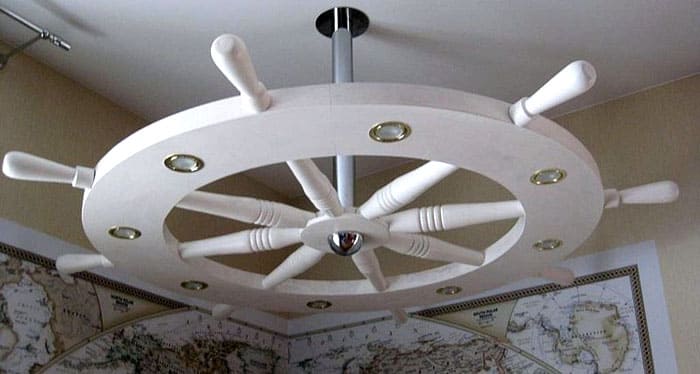
Anyone who adores marine style and knows how to work on a lathe may be tempted by such a miracle
PHOTO: stroy-podskazka.ru
We wish you some creative inspiration to create the best ceiling light!
See if your idea is here.


