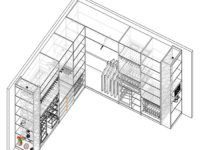
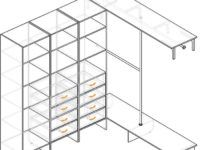
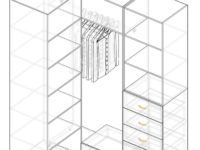
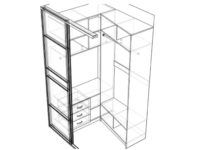
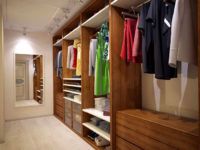
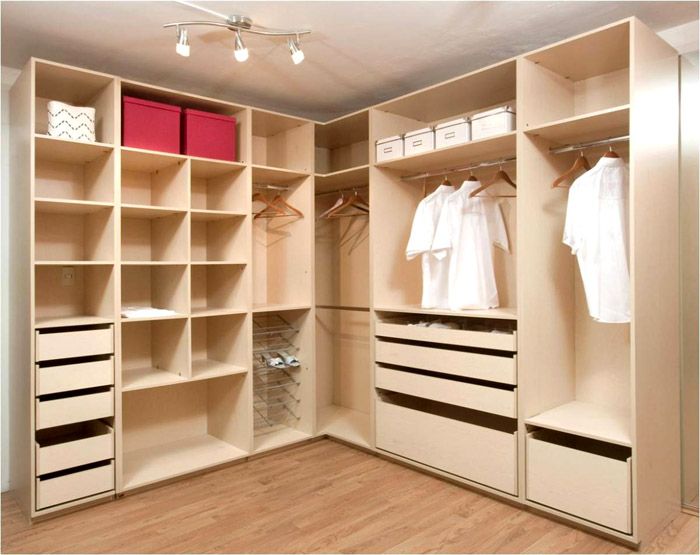
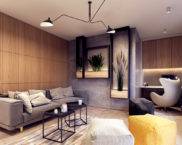
Do-it-yourself wardrobe: photos, drawings and diagrams of interesting solutions
Every woman dreams of having her own dressing room. Here you can hang all your clothes, arrange your shoes and place other things. In private houses, even at the stage of project development, an appropriate room of the required area is provided. Those who live in a modern apartment can also boast of having such a room. If it is absent, it is not difficult to correct the situation. For those who have photos, drawings and diagrams, a dressing room with their own hands will appear in the near future. We invite you to get acquainted with popular solutions and their possible implementation.
The content of the article
- 1 Rules for organizing storage of things: basic provisions to help equip space
- 2 Layout diagram of the dressing room with dimensions
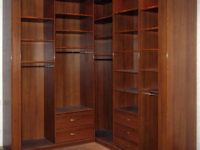
- 3 Corner wardrobes in the hallway
- 4 Wardrobes in the bedroom
- 5 The device of the dressing room from the pantry in the Khrushchev
- 6 Correct lighting of the dressing room
- 7 Ventilation requirement for dressing room
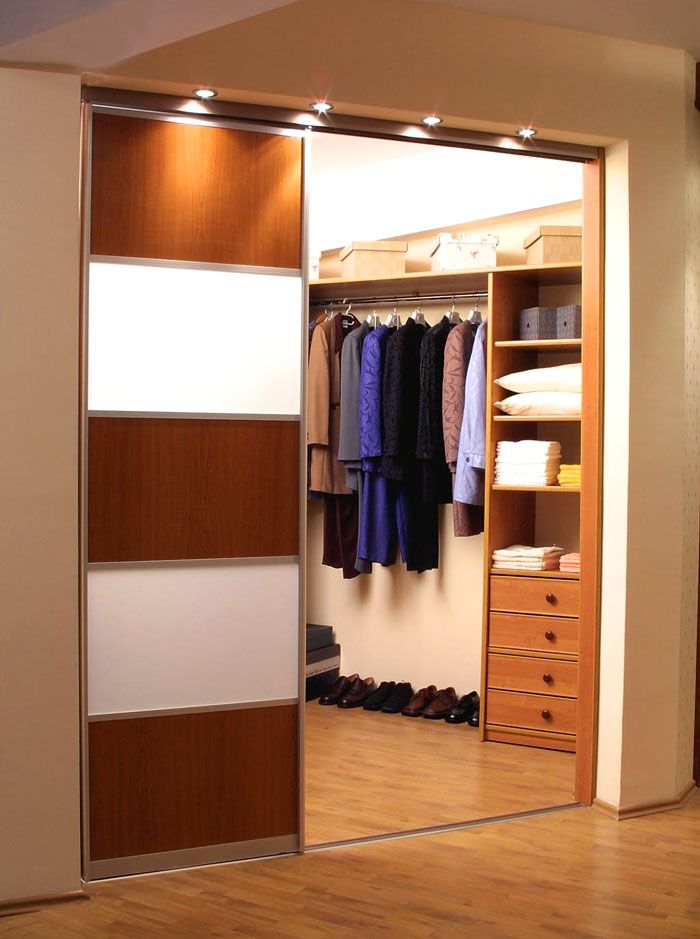
- 8 Wardrobe doors
- 9 Storage systems in the dressing room
- 10 DIY dressing room device: diagrams, drawings and photos
- 11 Dressing room design projects: photos of interesting ideas
- 12 Video: everything about dressing rooms and storage rooms
Rules for organizing storage of things: basic provisions to help equip space
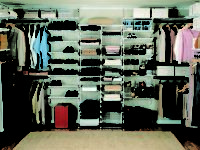
The order of placing things in the dressing room largely determines the convenience of using the room and the service life of all installed elements. That is why the literacy of the organization of the inner space of the dressing room should be given special attention. For this, a diagram and a drawing are developed in advance, in which zones are allocated for storing certain things or objects.
The mounted system should be divided into functional areas, highlighting:
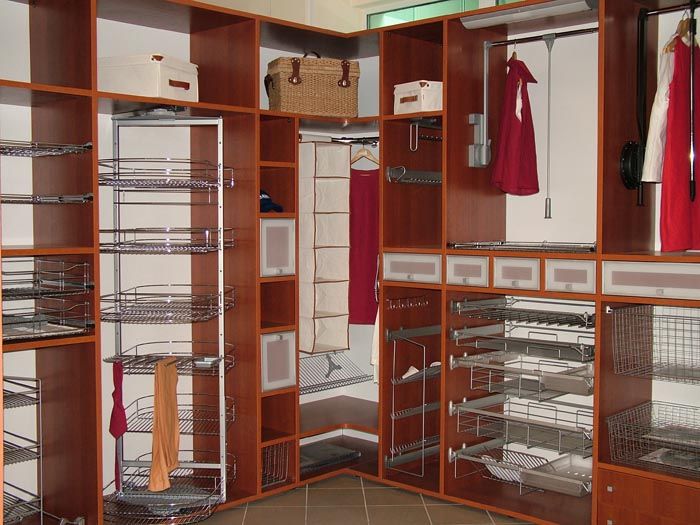
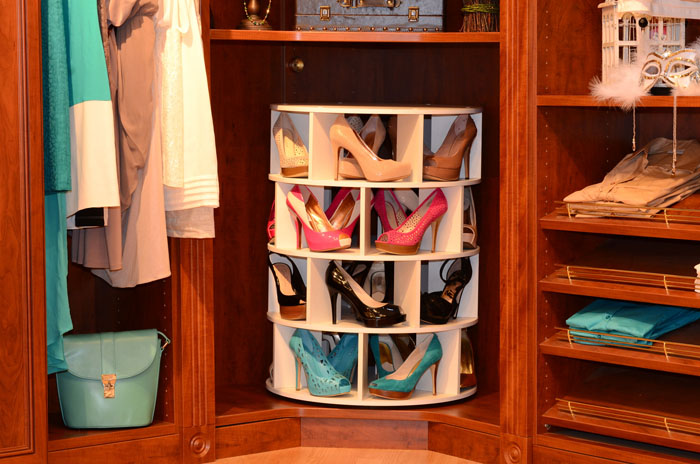
- Lower compartment for shoes, small accessories (umbrellas, bags) and trousers. The height of this section should not exceed 70-80 cm. Special inclined sliding shelves should be provided for shoes.Their height will depend on the destination. For summer shoes, the height should be about 30 cm, for winter shoes - 40-45 cm;
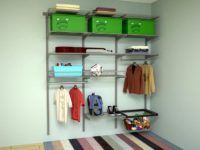
- The middle compartment for your most used belongings. In this area, pantographs, rods, as well as pull-out shelves are provided on which small toilet items can be placed. The height of the middle zone depends on the length of the items. Average dimensions are in the range of 1.4-1.7 m. To accommodate jackets and shirts, it is enough to provide a compartment with a height of 1 m. For knitted items, it is worthwhile to provide boxes and baskets that can be placed on shelves;
- Top compartment for seasonal items and bulky items. On such racks you can place pillows, blankets, suitcases, bulk bags, household and sports equipment.
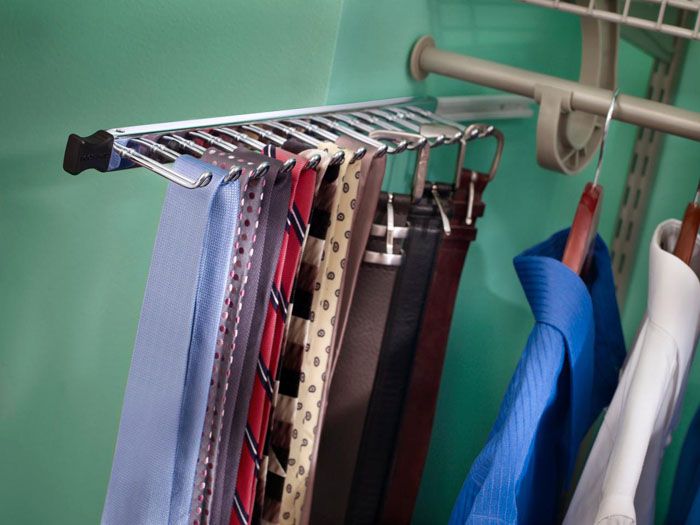
When working on the design of a dressing room, it is worth taking care of the availability of innovative components. With the help of special holders, you can place trousers, skirts, belts, ties, scarves, boxes for various little things and much more.
Layout diagram of the dressing room with dimensions
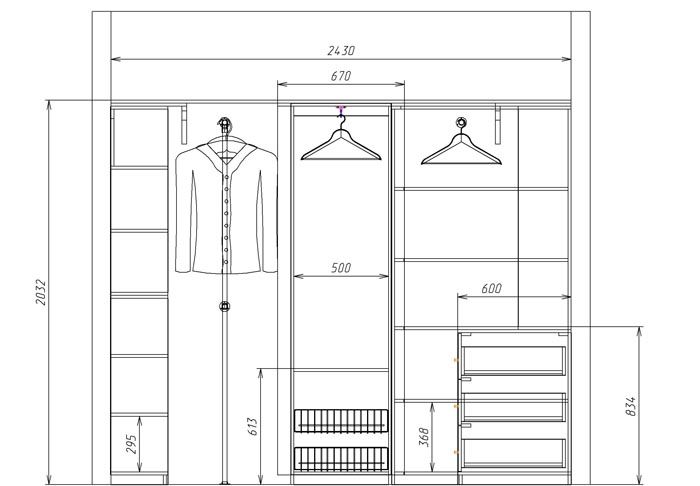
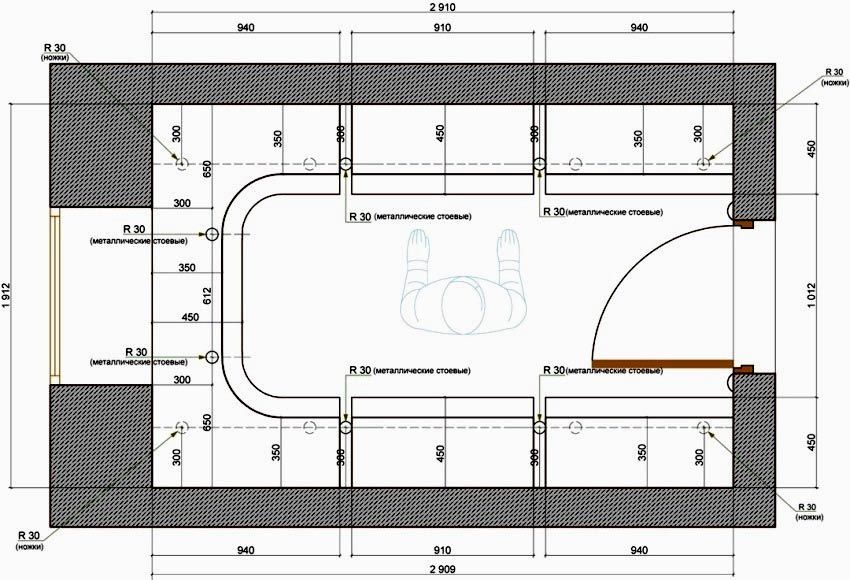
The scheme of the future system is developed before the start of work. Before the drawing is prepared, it is worth deciding what the layout of the dressing room will be (with dimensions and to scale).
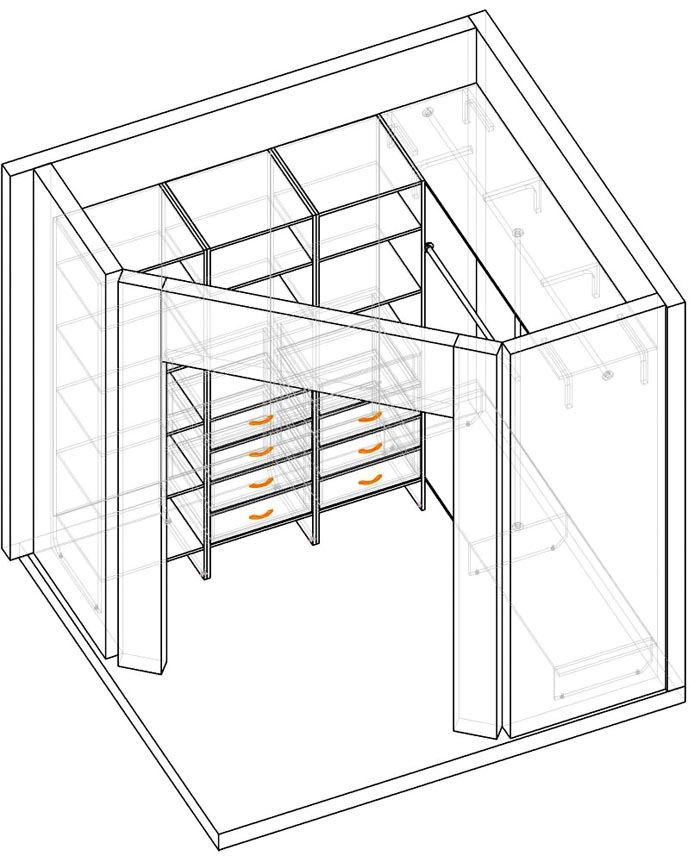
Special attention is paid to the possible filling for cabinets and dressing rooms, depending on the number of people living and the allocated area. An example of drawings and diagrams of ready-made solutions.
Corner wardrobes in the hallway
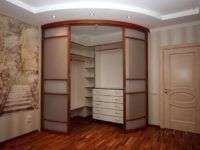
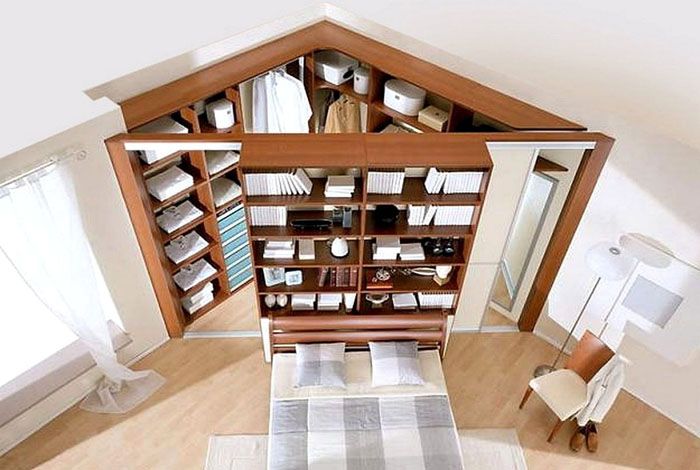
When arranging a dressing room in hallway it is worthwhile to rationally dispose of the squares that have. By giving preference to the corner layout, you can use those places, access to which is difficult or not rational. For example, a corner adjacent to a window and doorway is often left unused. If you place a dressing room in this place, it will be possible to effectively dispose of the existing square.
Depending on what area it was decided to allocate for the dressing room, the layout of the elements of the mounted system and the order of their separation from the main space may vary. With a large squaring, you can develop a drawing and mount plasterboard partition... If the space is relatively small, you should pay attention to the open storage system... Instead of a small separate dressing room, you can install a corner cabinet. Photos of structures assembled with your own hands can become a good example when developing your own drawings.
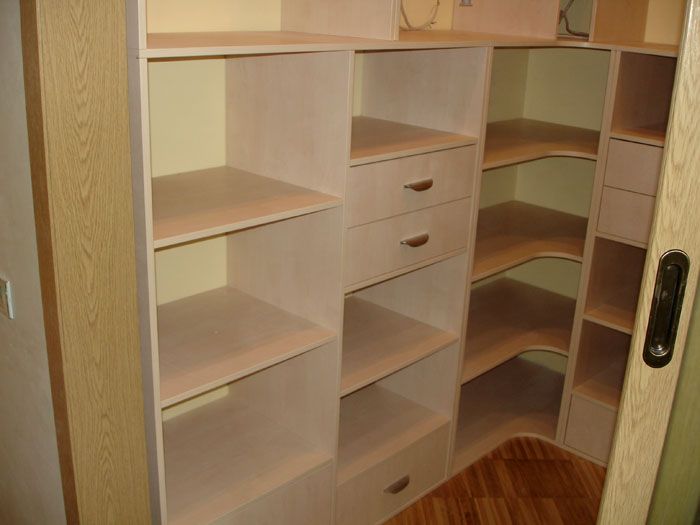
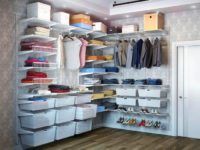
The inner filling of the dressing room, separated from the main space, can be done in different ways: along one wall or along both walls at once. The first solution assumes a compact arrangement of all structural elements along one wall. Shelves and racks for more economical disposal of the area, they are performed open. Free space is sometimes used as a fitting room.
If you want to achieve maximum roominess while being relatively compact, it is worth using two walls, which is optimal for a family of several people. A set of corner components will provide sufficient ergonomics of the mounted structure in a limited space. However, it should be noted that using such a dressing room as a fitting room will not work.
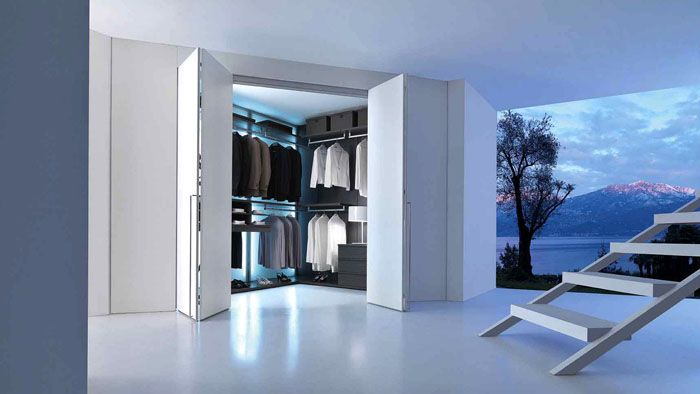
Attention! The mounted structure can be fenced off from the rest of the space by installing doors.
Linear type of dressing rooms
Such projects are quite popular due to their ease of execution and compactness. The set is located along one wall, allowing you to allocate the minimum possible, but sufficient space for placing furniture. The following photos will help you understand the essence of the linear dressing room and the features of the development of diagrams and drawings.
To hide an installed structure, they often use doors... It is enough to move the canvases to the side or open them to gain access to things. Photos of possible solutions:
In linear type wardrobes, pull-out hangers are often provided. It is enough to make a simple movement so that the things stored inside the structure are in the accessible area.
Parallel type
Parallel planning is in demand due to its ease of implementation and functionality. To create a wardrobe of this type with your own hands, it is enough to have a divided headset available and partition... Despite the seeming simplicity, this solution is not always optimal. In some cases, it should be abandoned if, for example, the layout of the structure in a deaf room is being worked out. For such a room, the best option would be a U-shaped layout, which allows you to more rationally dispose of the available area. But for a walk-through room, the parallel type is preferable.
When developing a drawing and a diagram, the geometric parameters of the future dressing room should be taken into account. The distance between the walls should not be less than 1.6 meters. The smaller width will create serious difficulties in using the room.
Attention! The distance between the mounted sides should not be less than 0.8 meters.
Installing end hangers will allow you to make optimal use of the available space. Installation is also possible dressing table and mirror.
L-shaped dressing rooms
L-shaped layout is specific. When installing dressing rooms according to this scheme, you can refuse to install any partitions, since the racks are actually part of the room in which they will be located. Considering that the cost of building partitions often amounts to 50% of the total cost, giving preference to this type, you can significantly reduce your costs.
You should pay attention to such a layout if you need a dressing room of 2 sq m. A photo of finished projects indicates that open shelves are most often chosen in order to rationally dispose of the available space.
U-shaped
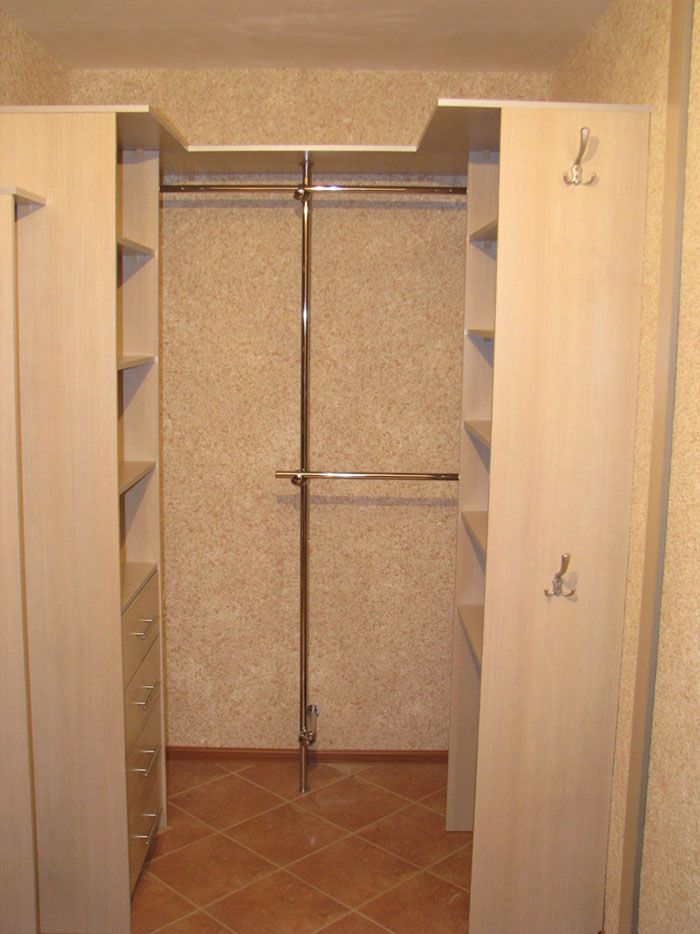
Most refuse to install a dressing room in the shape of the letter "P" in a typical apartment, believing that such a scheme can be implemented only in large rooms. However, with the right approach, the development of a drawing and a diagram, you can competently dispose of even a relatively small space by forming a storage area in the corner of one of the rooms.
Perhaps such a solution will add extravagance to the created interior, but it will fully meet the requirements of ergonomics. The headset itself is made monolithic. To ensure sufficient functionality, it is worth providing closed boxes, hangers, special sections.
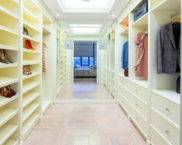
If it is decided to allocate a whole room for arranging a dressing room, and not just a part of it, you should pay attention to a rectangular room. The elongated shape will simplify the process of developing a diagram and drawing, as well as the subsequent installation of a structure with your own hands.
Wardrobes in the bedroom
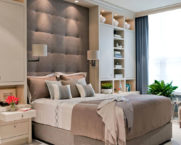
When starting the development of drawings and determining the location of the dressing room, most often they pay attention to bedroom... This place for storing clothes can be safely called the most successful. That is why the photo of ready-made solutions most often shows the dressing room in the bedroom.
How rational such a solution is for a particular room can be determined at the stage of developing drawings after calculating the area of the sleeping area. If the dimensions of the room allow you to install a bed of the desired size, and there is still room left, you can safely take on the installation work with your own hands.
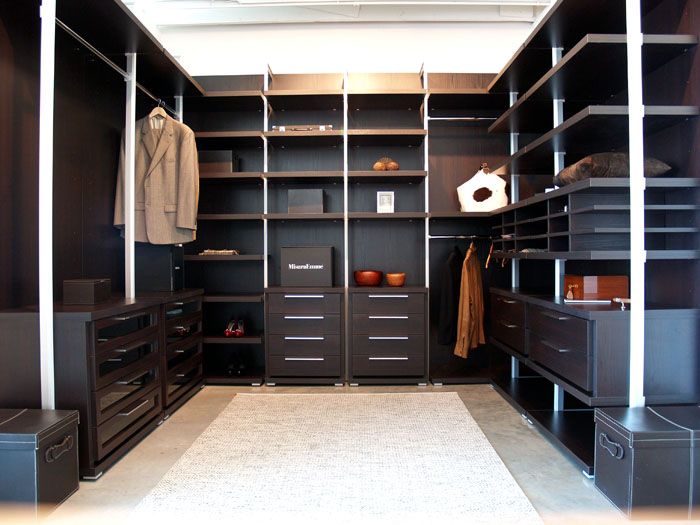
Which scheme for organizing the internal space will be preferred is decided at the stage of developing the drawings. The best option is considered to be U-shaped, which allows you to fill the shelves as much as possible and allocate enough space for movement. However, L-shaped or parallel is often found.
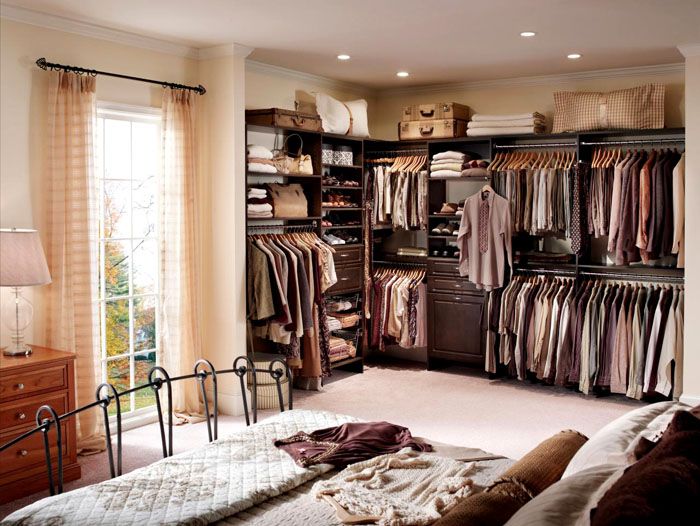
The design of the corner dressing room in the bedroom deserves special attention. A photo of ready-made solutions shows that for its implementation it is enough to install a partition at the head of the bed and separate a small corner. However, this solution is only suitable for large rooms.
Related article:
Dressing rooms: design projects, photos... A special publication provides advice on how to design dressing rooms and examples of successful layouts.
The device of the dressing room from the pantry in the Khrushchev
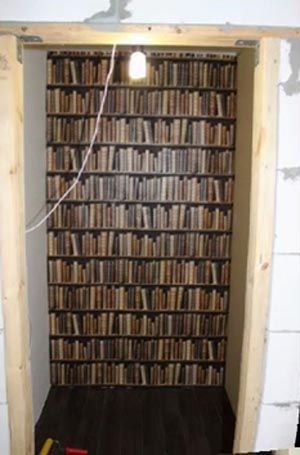
If we compare the pantry and the dressing room, then the main difference will be in the storage organization system. The latter provides mezzanines, shelves, hangers, drawers and other components designed for convenient storage of things for various purposes. Thanks to a well thought-out layout, all things are accessible and visible. The placement option depends on the budget and floor space.
In order for a small dressing room from the pantry to turn out to be comfortable and functional, you should first familiarize yourself with the possible planning solutions that are relevant for a small room. Using the latest technology, it is easy to become the owner of the optimal storage system that can harmoniously fit into the available space. Focusing on the photo of ready-made solutions, it will be possible to initially develop a diagram of the future dressing room, and then a detailed drawing. After that, it will be much easier to assemble and assemble the structure with your own hands.
We suggest that you familiarize yourself with the photo of the dressing room with your own hands from the pantry, which have already been implemented:
Correct lighting of the dressing room
Lighting should be good. However, direct sunlight may discolor the fabric. It is worth abandoning natural sources in favor of artificial ones. Don't be limited to one ceiling lamp. Its luminous flux will not be enough.
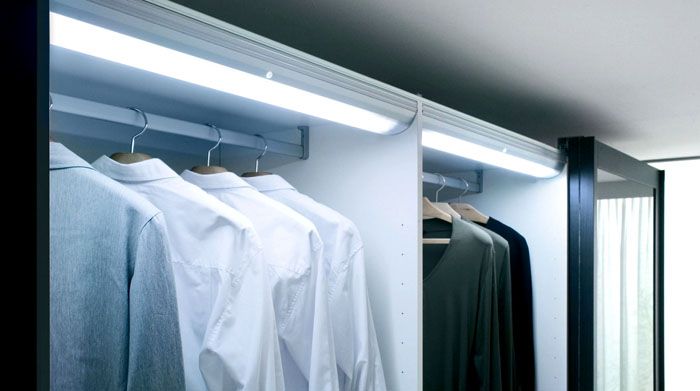
The best solution is to install a suspended ceiling with spot lighting or the installation of a large number of small lamps located around the perimeter of the installed structure. In the photo of the dressing rooms, you can see fluorescent lamps fixed on the partitions, which allow you to ensure the proper level of illumination.
Ventilation requirement for dressing room
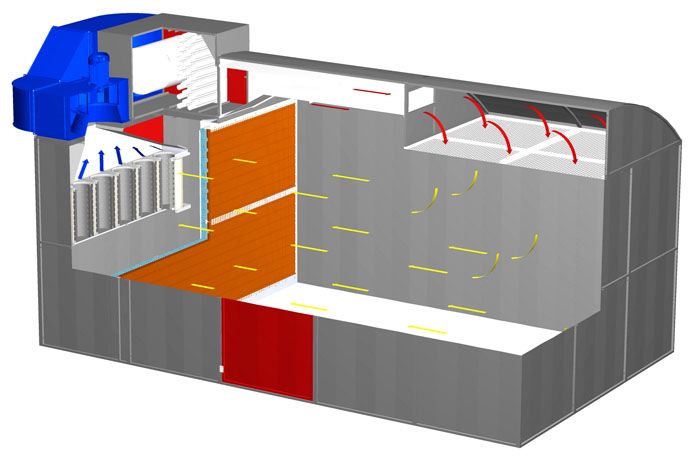
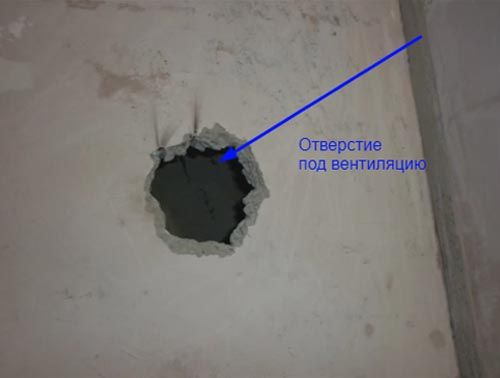
In order to prevent the appearance of a musty smell, good air exchange is organized in the storage areas. For this, not only natural, but also forced ventilation is provided. The first ensures the movement of air due to physical processes, suggesting that the cold air entering from below rises up. For its implementation, an inlet opening should be provided in the lower part, and an exhaust outlet in the upper part.If the ventilation duct runs close to the installed system, it is worthwhile to provide a branch to the exhaust outlet.
The disadvantage of natural ventilation is the low rate of air exchange. Installation helps to correct the situation supply system, involving the installation of fans in the inlet or outlet. However, most often, preference is given to forced extraction with a natural supply of fresh air.
To ensure that enough fresh air enters the room, the size of the air inlets is determined based on the speed of movement of air masses and the dimensions of the room. In accordance with regulations, a single air exchange must be ensured.
Wardrobe doors
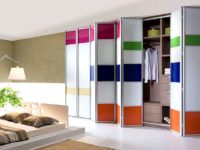
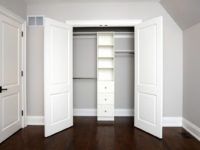
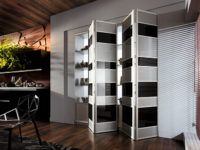
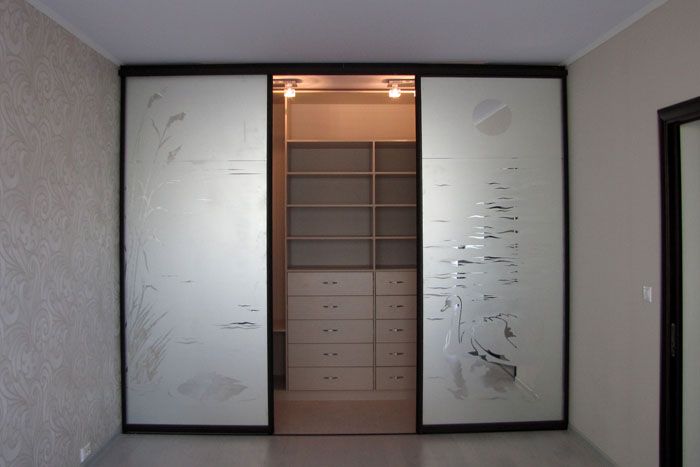
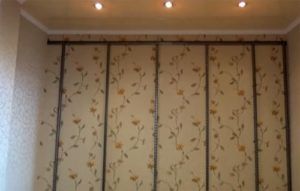
Getting started with the installation with your own hands, it is worth deciding on the type of doors to be installed. Their dimensions can be calculated from the drawing. The choice can be made in favor of sliding, type "coupe", accordions, hinged, hinged. Sometimes you can do without them. Photo of dressing rooms for curtain will tell you how you can implement this option.
When choosing doors for a dressing room, you should focus on opening width and general stylistic design of the room. The structure to be installed must harmoniously fit into the space. The width of the sashes and their design is selected individually.
Storage systems in the dressing room
The storage system should be chosen carefully. Not only the arrangement of things in the storage process depends on this, but also the convenience of using the structure. Photos, drawings and diagrams of dressing rooms with their own hands indicate that there are a large number of ready-made storage systems that you should get acquainted with when starting to develop documentation.
Clothing storage systems
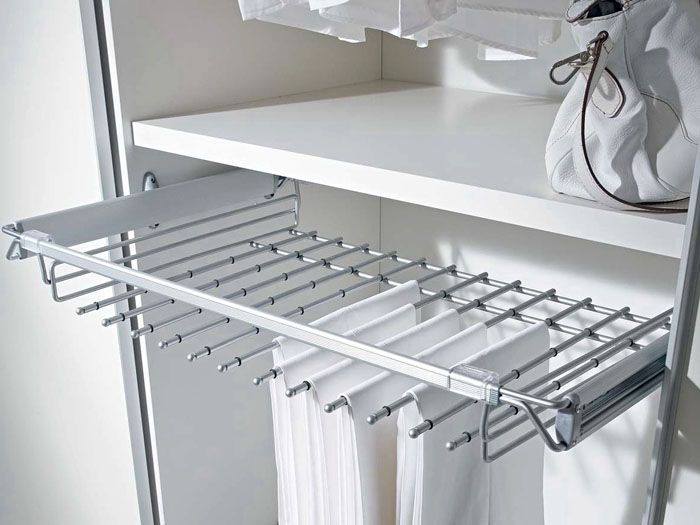
For the orderly storage of clothes, you can use not only boxes or shelves, but also special systems. The choice can be made in favor of skirts or trousers: special guides with transverse slats on which the named item of wardrobe can be stored.
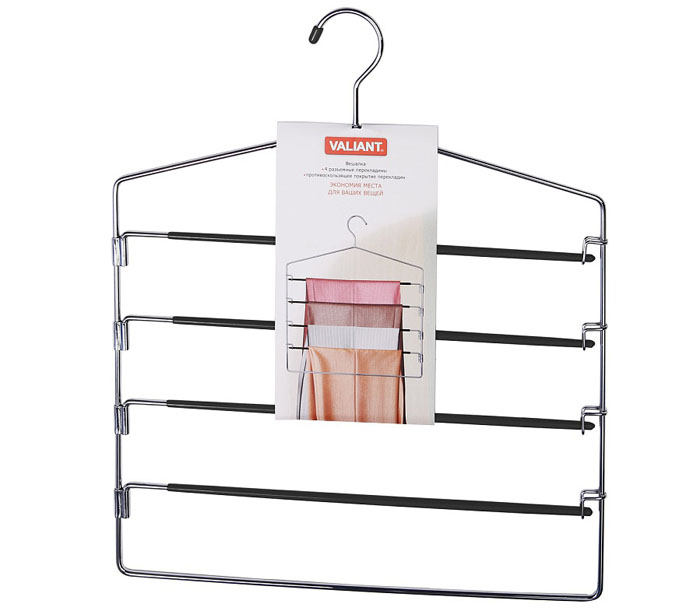
An alternative to a skirt girl can be a hanger with several crossbeams located one above the other. It may not be very convenient to use, but it costs much less.
Men who prefer a business style will be interested in the design for storing ties.
Related article:
Storage systems for the dressing room. From this review, you will learn what types of structures exist, options for filling, the nuances of the correct choice, how to calculate and independently manufacture storage systems.
Shoe storage systems
Various systems are intended for storing things. The choice can be made in favor of:
- Pins with shoe modules;
- Mini dressers;
- Hanging organizers;
- Special nets.
Attention! The choice of system depends on the type and size of the stored shoes.
Description of structures
The main designs can be divided into:
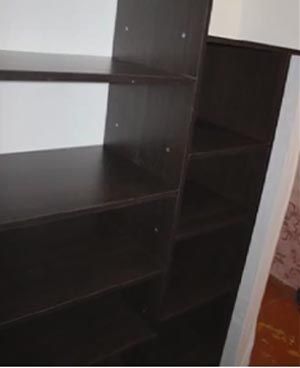
- Hull. In the photo, do-it-yourself wardrobe systems are modular. These include side, top and bottom walls. The sections are located close to each other. Budget solution;
- Panel. The basis is a decorative panel rigidly fixed to the wall, on which various storage elements are attached. An expensive option;
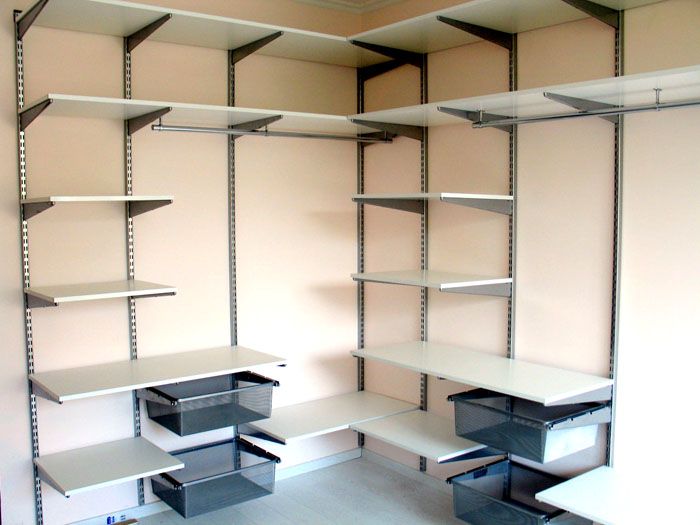
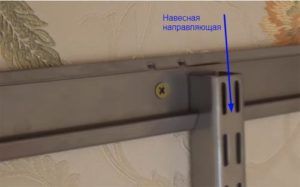
- Wireframe. Consist of metal guide racks on which various fasteners are located to hold the storage containers;
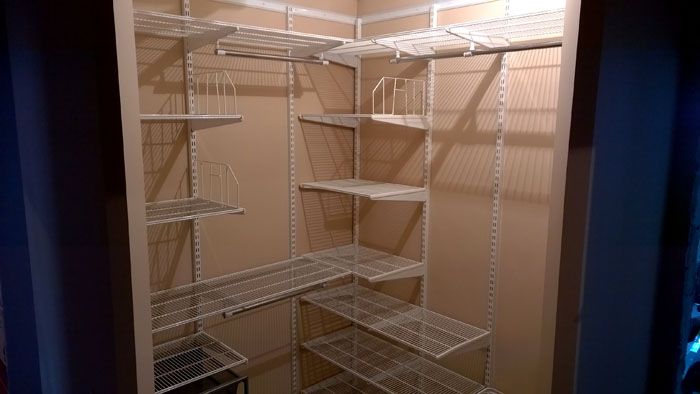
- Mesh (cellular). Universal type. The base is made up of a horizontally located support rail, to which guide rails are attached, designed to accommodate shelves, baskets or hangers.
Where to buy: prices for popular models
Before purchasing ready-made systems, we suggest you get acquainted with the average prices for the most popular models:
| Photo | Model / manufacturer | Average price, rub. |
|---|---|---|
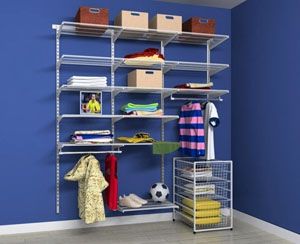 | Children's / ELFA | 43300 |
| Photo | Model / manufacturer | Average price, rub. |
|---|---|---|
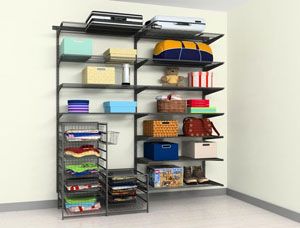 | Pantry / ELFA | 55800 |
| Photo | Model / manufacturer | Average price, rub. |
|---|---|---|
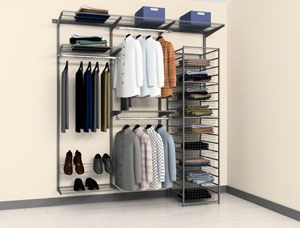 | Wardrobe / ELFA | 47400 |
| Photo | Model / manufacturer | Average price, rub. |
|---|---|---|
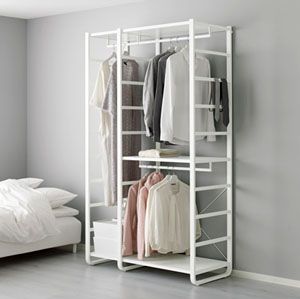 | Elvarli / Ikea | 20950 |
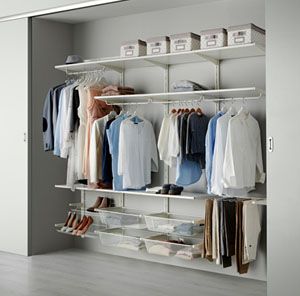 | Algot / Ikea | 15420 |
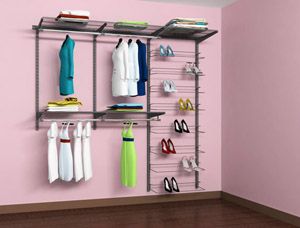 | Cloakroom number 34 | 20200 |
Self-installation
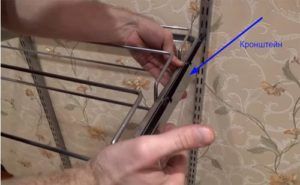
The order of installation work depends on the features of a particular design. The ELFA system can be installed in the following sequence:
DIY dressing room device: diagrams, drawings and photos
Ready-made design projects for dressing rooms may not always fit into the allotted space. In this case, the required system can be assembled with your own hands, having previously prepared the necessary tools, materials, as well as developing a diagram and drawings.
How to make a dressing room with your own hands: detailed instructions
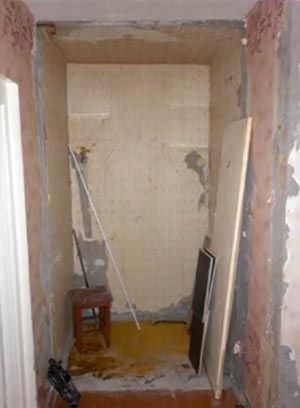
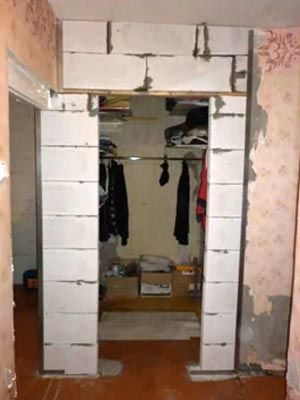
To become the owner of a unique system, it is better to do all the work yourself. How to make your own dressing room from the pantry, increasing the area? You can follow the instructions below:
Dressing room design projects: photos of interesting ideas
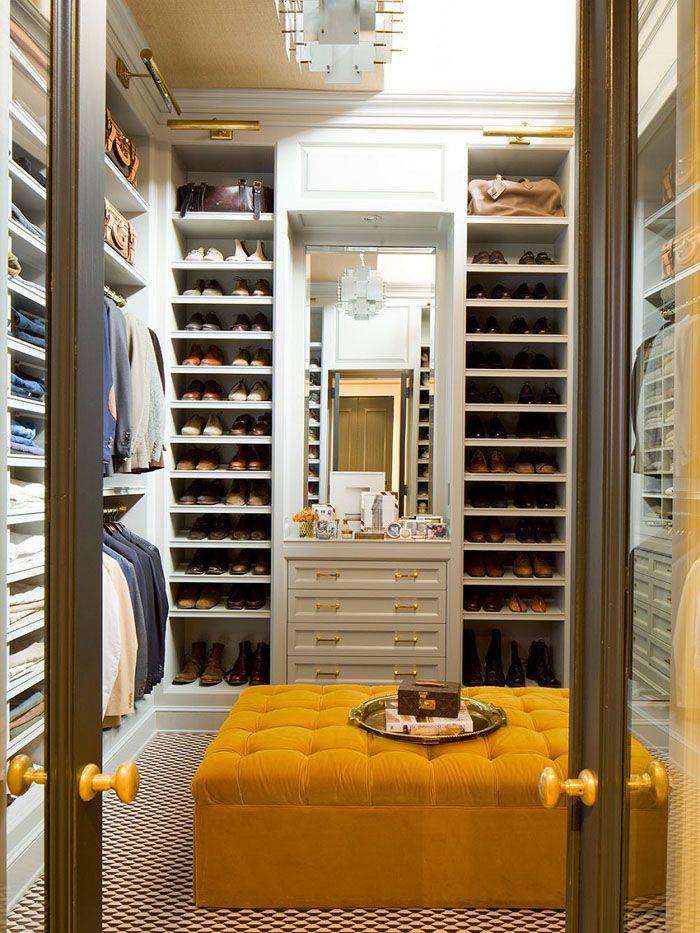
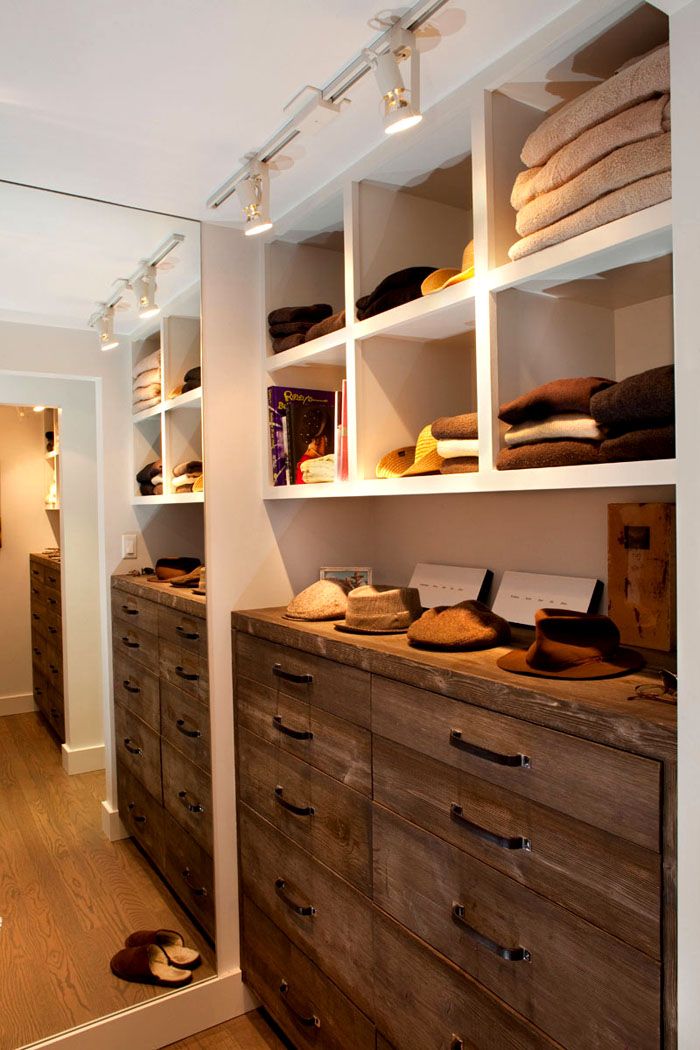
When you independently develop a design project for a dressing room, photos of ready-made solutions help you find a suitable option. The main thing is to decide which system will be mounted, and for storing what things it will be used for. We suggest paying attention to the following photos, which can be used as an idea when developing a drawing or diagram:
Video: everything about dressing rooms and storage rooms


