We breed chicks at home: what should be the right incubator built by our own hands
If you keep poultry, then you know how difficult it is to get offspring from it. Geese, ducks or hens are creatures with a delicate nervous system; they can refuse to incubate for a long time or abandon the clutch for various reasons. For guaranteed offspring, an incubator is needed on the farm. It is not difficult to make such a device with your own hands at home. Today, in this review, the homemaster.techinfolux.com/en/ editorial staff will tell you the basic principles of the incubator, design features, and also give recommendations for assembling homemade devices from improvised material.
The content of the article
- 1 How an egg incubator works: principle of operation and device
- 2 How to make an incubator at home: we study important nuances
- 3 DIY incubator at home: temperature conditions for poultry of different breeds
- 4 How to make an incubator from the refrigerator with your own hands: simple instructions
- 5 The nuances of making a DIY foam incubator
- 6 DIY plywood incubator for eggs: video instruction
- 7 A few tips on how to use a homemade incubator
- 8 Price issue: buy or make your own automatic incubator for eggs
How an egg incubator works: principle of operation and device
In order for a chicken to hatch from a chicken egg, special conditions must be created:
- temperature - 37.5 ° С;
- humidity - in the range of 60-65%;
- regular change in the position of the eggs;
- high quality ventilation.
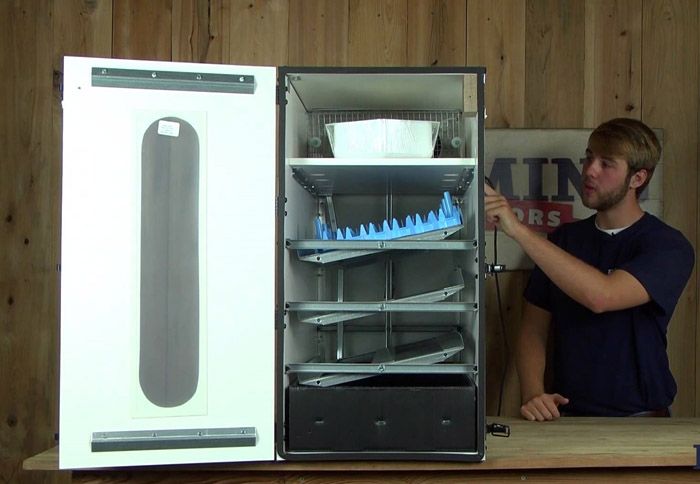
The incubator can have one or two chambers. Single-chamber designs can "incubate" many eggs, but it is more difficult to maintain the correct temperature regime in them. In two-chamber devices, the water and heating device are located separately from the egg tray.The humidified and heated air is blown in with a fan. Factory models have temperature and humidity control sensors, a system for automatic egg turning. The electronic adjustment system allows you to select different modes for breeding chickens, geese, ducks, turkeys or quails.
How to make an incubator at home: we study important nuances
Factory-made models are, without a doubt, convenient and practical devices, but not everyone can afford such an expensive pleasure. Making a simple incubator for quails or chickens with your own hands is not so difficult. Its main components are: body, heating and ventilation system, coup device. Let's consider the basic requirements for them.
Incubator enclosure requirements
The most important thing is that the body of the structure must maintain the temperature regime necessary for hatching chicks. The second essential point is ease of maintenance. From time to time you need to open the device, check the operation of heating elements, ventilate the masonry.

The horizontally located body is very convenient in this regard: the lid opens upward, freeing access to all parts of the structure
And the last requirement for the body is suitable dimensions. Eggs should not lie tightly, the distance between them should not be less than a centimeter. This arrangement of the masonry provides good ventilation and uniform heating.
How to heat masonry and control the temperature
Only the optimum temperature guarantees the emergence of chicks. Even small deviations can ruin everything, which is why it is so important to choose the right heating element for the incubation structure.

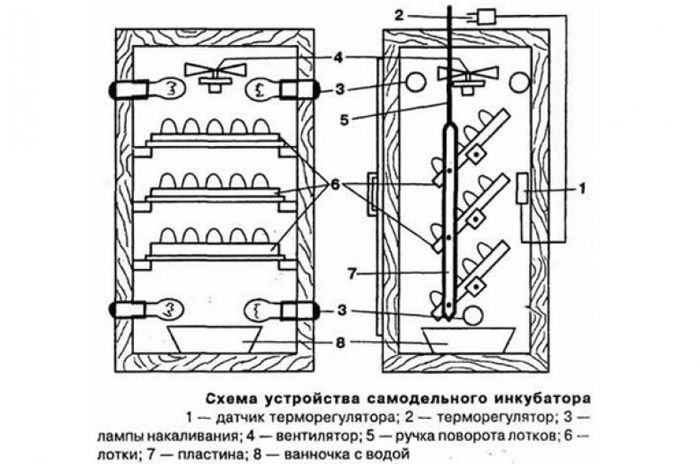
The heater can be mounted above the egg tray, under it, or around the masonry. It should work smoothly and warm up the tray evenly
What heating elements can be used for the incubator:
| Heater type | Features of use | Average price (as of July 2018), rubles |
|---|---|---|
| Lamp | The lamp is easy to replace and install, such devices are always available in the household. A significant drawback of this element is uneven heating. Constant light is an unusual condition for hatching. | Incandescent lamps - 45. Ceramic lamps - 650. |
| Heating element | Built-in heating element evenly distributes heat in the cavity of the incubation device. The disadvantage of this heater is that it is difficult to replace and the need to specially keep a spare on hand if a breakdown occurs. | 400 |
| Infrared | This is the most economical type of heater. The infrared film distributes heat evenly over the tray. It is not easy to change such heaters and it is better to invite a professional for this task. | 900 per sq. m. |
How to ventilate your incubator
Good ventilation ensures an even heat distribution throughout the incubator. In stagnant air, the eggs overheat, and the embryos die from lack of oxygen.
Note! On the sixth day of development, the chick embryo begins to breathe in the egg. Oxygen enters through the microscopic pores of the shell. On the fifteenth day, the chicken needs at least 2500 ml of air, and on the nineteenth - 8 liters.
Ventilation in the incubator can be continuous or intermittent. In the first option, heat is evenly distributed throughout the tray.

To accomplish this task, you do not need a powerful fan; for home purposes, a fan for an incubator can be made from a regular computer cooler with a diameter of 80 mm
Advice! Install a mesh filter in front of the fan. It will protect the blades from fluff.
Egg turning mechanisms
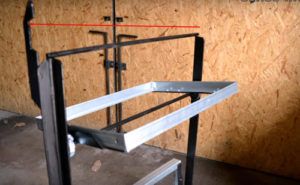
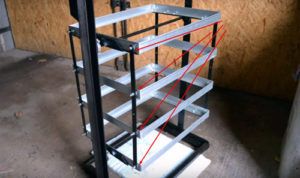
The bird in the nest periodically turns the eggs over. This should also be done in the incubator to ensure that the embryos develop evenly and fully. As a rule, eggs should be turned over every 3 hours.In a small incubator for a hundred eggs, this can be done manually, and in devices with 200 or more eggs, an automatic rotary mechanism for the incubator must be installed.
Automation for this purpose can be frame or inclined. A frame system is preferred for medium-sized setters: it is easy to operate and economical. But it should be remembered: with sudden movements of the frame, the eggs can be beaten.
But such devices consume more power and require complex maintenance. They are installed in large incubation stations.
Optimal dimensions of a home incubator for eggs
The dimensions of the incubation structure directly depend on the tasks that you are going to set for it. For a small farm, it is optimal to focus on a design for 100-120 cells. You can use all of them or only part of them depending on your needs.

The diameter of the cell for each egg is 4.5 cm. The height of the cell is at least 6.5 cm. It is convenient if the rack can be changed for larger or smaller eggs.
Related article:
How to build a chicken coop with your own hands for 10 chickens. We will talk about this in the article, and we will consider not only schemes and materials, stages of construction, but also the needs of the bird and the optimal conditions for its maintenance.
DIY incubator at home: temperature conditions for poultry of different breeds
Incubation temperatures are slightly different for different poultry breeds.
| Breed | Picture | Day / degrees |
|---|---|---|
| Chickens |  | 1-2/39 |
| Ducks |  | 1-12/37,7 13-24/37,4 25-28/37,2 |
| Indo-women | 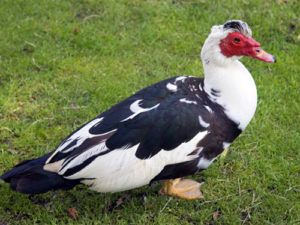 | 1-30/37,5 |
| Geese |  | 1-28/37,5 |
| Turkeys | 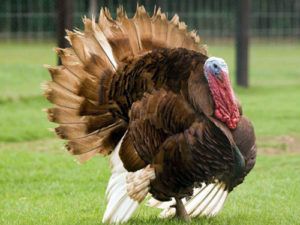 | 1-25/37,5 25-28/37,2 |
| Quails |  | 1-17/37,5 |
How to make an incubator from the refrigerator with your own hands: simple instructions
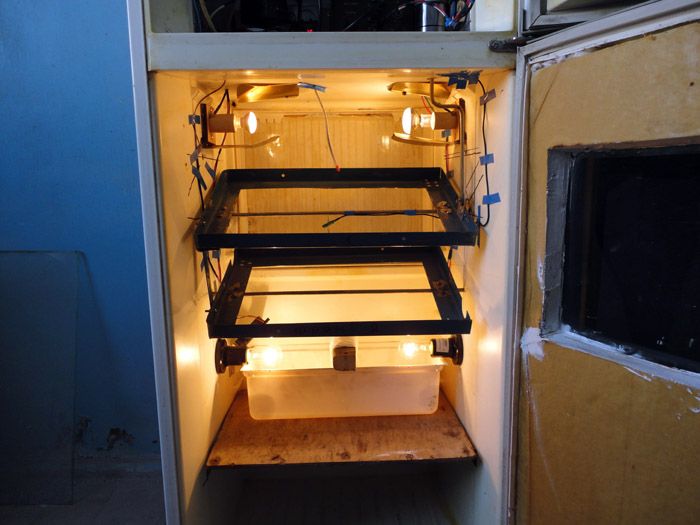
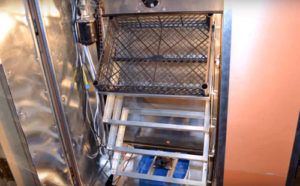
An old refrigerator is an excellent base for making an incubator. It is roomy enough to provide a small breeding farm. In addition, the refrigerator is a sealed structure in which the temperature and the required microclimate are ideally maintained. So, how to make an incubator from an old refrigerator.
Materials and tools for work
In addition to the refrigerator itself, you will need egg trays, a suitable thermostat, a fan, 100-watt incandescent lamps, and a metal grate. Of the necessary tools - a drill, a screwdriver and a construction knife.
How to properly prepare the refrigerator body
Remove all internal shelves and drawers from the refrigerator. All parts of the refrigeration unit can be removed to facilitate construction. After that, the body of the device should be thoroughly washed using a disinfectant solution. Bacteria that grow on the walls of an old refrigerator can lead to pestilence among chicks.
Ventilation system installation
To move air inside the incubator, you need to install a fan in one of the walls of the refrigerator. The fan motor is mounted externally. Fresh air will enter through the openings in the door and be drawn out by the ventilation device. If you do not know how to make ventilation in a homemade incubator, turn to the diagram.
Heating and humidity control system
The thermostat can be made by yourself. We will tell you in detail how you can make a simple device for an incubator using the example of different types of thermostats.
| Thermostat type | Manufacturing principle |
|---|---|
| Electrical contactor | It is based on a simple mercury thermometer with an electrode soldered into a tube. Mercury, moving along the scale tube, completes the circuit when it reaches the electrode. This signal turns off the heating system. |
| Bimetal sensor | Cheap, but not the most reliable option. When heated to a certain temperature, the plate changes its shape and closes the circuit. |
| Barometric system | For this sensor, a soft metal air-tight cylinder must be used. When heated, the walls of the cylinder bend and close the electrode located a millimeter from the bottom. |
All these systems can be made by hand, but it is better to purchase a ready-made device that guarantees strict control over the temperature regime in the chamber.
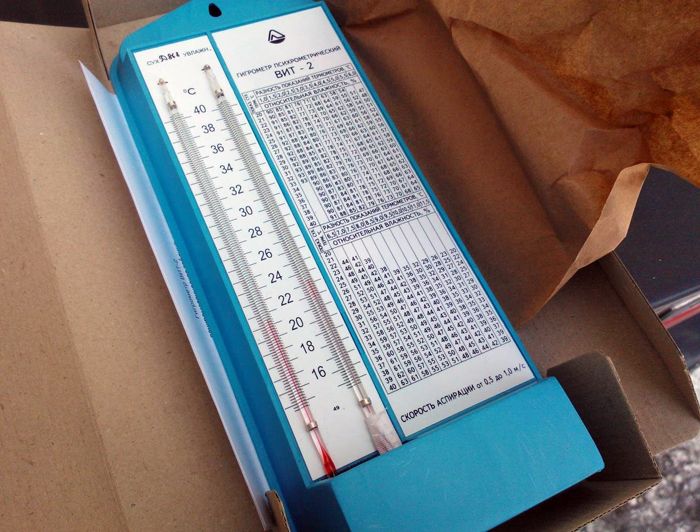
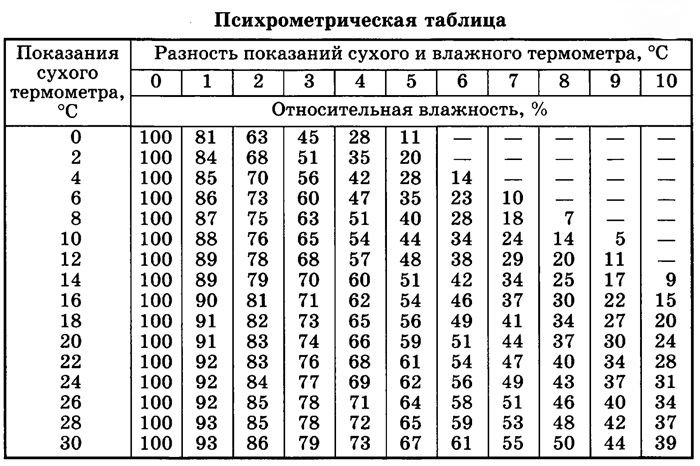
To control the level of humidity, it is also better to buy a ready-made device - a psychrometer. You can find it at pet stores, veterinary pharmacies, or hardware stores.
But if you fundamentally decide to do everything yourself, take two ordinary thermometers. Wrap the nose of one of them with gauze, and release the other end into a jar of distilled water. The second device is a control one, it is fixed next to it.
How to DIY an incubator with an automatic flip
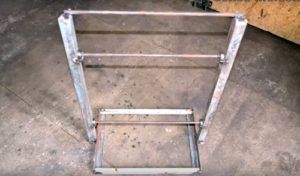
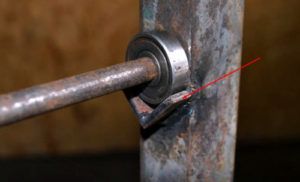
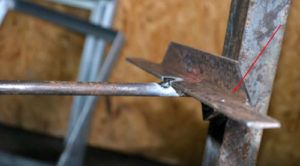
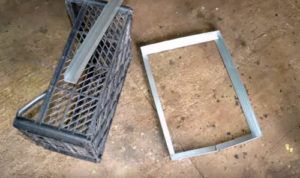
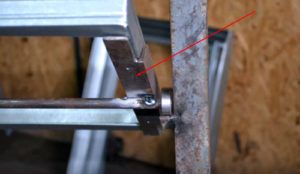
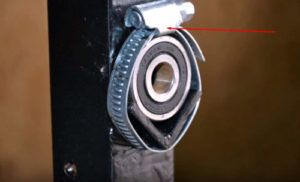
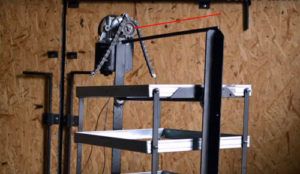
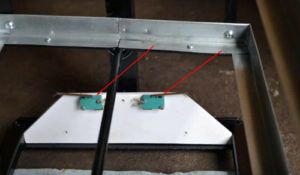
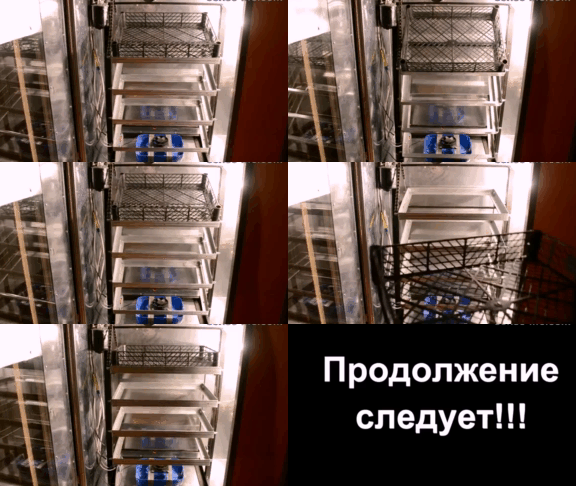
Egg turning automation is a complex system, you have to tinker with it. You will need to prepare a gear motor, a metal profile and a corner, plastic vegetable boxes, bearings, a chain, an asterisk and clamps.
In addition, a video instruction on how to make an incubator from the refrigerator with your own hands.
Related article:
DIY winter chicken coop for 20 chickens: the necessary conditions for keeping birds, drawings of structures, how to build it yourself, an overview of finished models, heating a chicken coop in winter - in our publication.
The nuances of making a DIY foam incubator
Polyfoam is a material that keeps temperature very well. It's affordable, inexpensive, and lightweight. A very small incubator can be made of foam, for three dozen eggs or a solid structure, on a metal or wooden frame. Interesting experience in this plot:
DIY plywood incubator for eggs: video instruction
Plywood, or OSB plate, is a good basis for the body of the incubator. For thermal insulation inside, you need to use insulation, for example, isolon. A detailed description of this design is in this video.
Note! Drawings and diagrams for making incubators with your own hands are easy to find on the net.But before taking one of them as a basis, carefully read the reviews from users who have tried the model in practice.
A few tips on how to use a homemade incubator
The editors of the online magazine homemaster.techinfolux.com/en/ recommend adhering to the following rules:
- After each removal, the entire structure must be thoroughly disinfected. All parts of the device are wiped with a sponge with a bleach solution.
- After disinfection, the incubator is dried and ventilated.
- The incubator should be located in a place protected from drafts and temperature drops.
- Remember to add water to the evaporating tray.
- Make sure that the temperature sensors are located in the area of the trays.
- Before laying eggs, turn on the incubator for a day and check the stability of its operation.
Price issue: buy or make yourself an automatic egg incubator
How much does a home incubator cost? Let's see the prices for popular models, according to Yandex.Market.
| Model | Picture | Specifications |
|---|---|---|
| Cinderella | 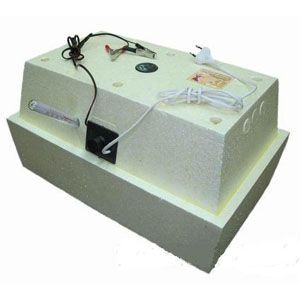 | Number of eggs: 45. Powered by 12V: yes. |
| Model | Picture | Specifications |
|---|---|---|
| Ideal brood hen | 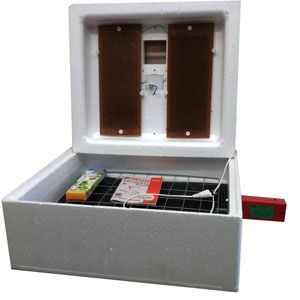 | Number of eggs: 63. Flip: automatic. Powered by 12V: yes. |
| Model | Picture | Specifications |
|---|---|---|
| Sititek | 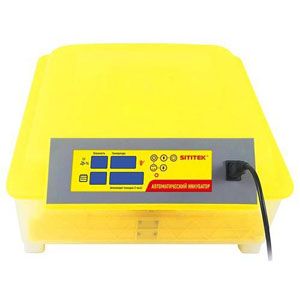 | Flip: automatic. Number of eggs: 48. |
| Model | Picture | Specifications |
|---|---|---|
| Blitz | 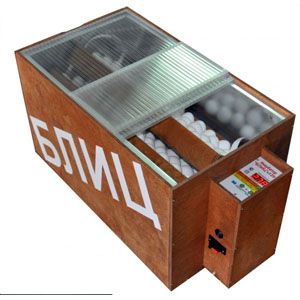 | Flip: automatic. Number of eggs: 120. |
As you can see, a device for 100-150 eggs will cost you like a new refrigerator. So it is much more profitable to use an old refrigerator or plywood box.
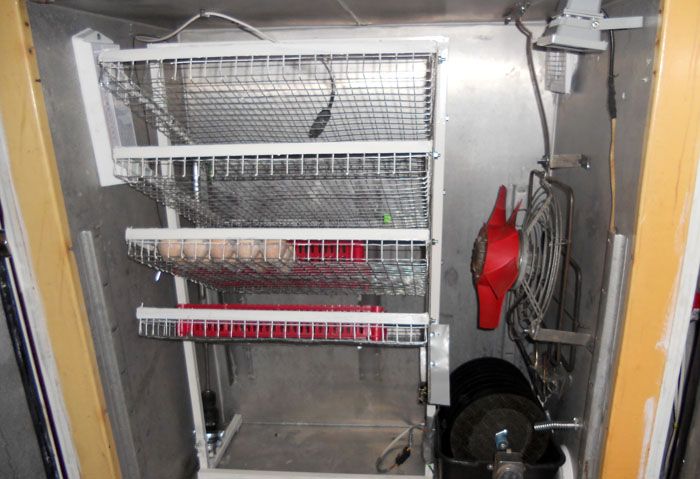
Even with the purchase of all sensors, such a design will cost you three times cheaper than a factory-made model.
If you have experience in making and operating a homemade incubator, share it in the comments!


