How to make a self-leveling floor with your own hands: step-by-step instructions with photos and videos
Self-leveling floors have recently become very popular in construction due to their relatively affordable price and simple installation process. In addition to high performance, this material is distinguished by its aesthetic appearance and style. He can transform the interior of the room beyond recognition in a short period of time. A significant advantage of this system is that it can be used almost everywhere: in garages, offices, apartments and even on sports grounds. Also, a great advantage is that it is quite possible to mount a self-leveling floor with your own hands, step-by-step instructions will be described below.
The content of the article
- 1 Briefly about the material
- 2 What tools do you need?
- 3 How to prepare the correct solution?
- 4 Calculator for calculating dry mortar for self-leveling floor
- 5 Do-it-yourself self-leveling floor: step-by-step instructions for preparing the base
- 6 Self-leveling floors with your own hands: video, instructions, pros and cons
- 7 Price per bag of self-leveling floor, consumption
- 8 Price per square meter of self-leveling floor
- 9 Self-leveling floor 3D: photos, prices and examples of implementation
- 10 Video: 3D coating installation technology
Briefly about the material
Self-leveling floor is a seamless polymer material that is applied directly to cement screed, wood or concrete, as well as to ceramics. As a rule, in premises intended for housing, a polyurethane type of coating is used. This is due to the fact that this type is the warmest, lightest and most beautiful (it has different colors, therefore it will fit any interior). There are 4 groups of self-leveling coatings:
- Polyurethane... It is used most often in industrial facilities and manufacturing. Differs in high resistance to chemicals, temperature changes, easy to clean.
- Epoxy... Differs in shock resistance and resistance to high humidity.
- Epoxy-urethane... It has all the properties of the previous two, as well as abrasion resistance. It is used in parking lots and metro platforms.
- Methyl methacrylate... It does not have high performance characteristics, but this coating can be used already 2 hours after pouring.
In order to properly arrange a self-leveling floor with your own hands, the step-by-step instructions should be clear, therefore, this article will describe all the steps for installing a self-leveling floor in stages.
What tools do you need?
To make quality installation, you will need not only construction skills, but also special tools. To get started, you need to prepare:
- building level;
- needle roller;
- roulette;
- trowels;
- putty knife;
- drill with attachment;
- container for mixing concrete.
If you decide to use a self-leveling coating for your room, then you will not need to make any special efforts on your part, since it will independently evenly spread around the entire perimeter of the surface. But this does not mean that you do not need step-by-step instructions on how to make a self-leveling floor with your own hands. You still have to follow some recommendations to make the floor even and beautiful.
How to prepare the correct solution?
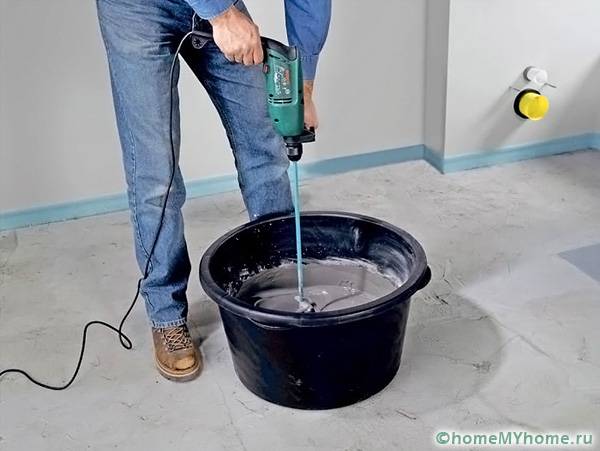
During the preparation of the solution, it is necessary to correctly determine the consistency. If you fully adhere to the manufacturer's recommendation, you should get the right consistency. First, you need to pour water into a deep container, then the dry mixture will be poured there. The resulting solution must be mixed for ten minutes, the easiest way to do this is with a construction mixer.
To determine the quality of the spreadability of the solution, you need to conduct a simple test. To do this, take a plastic ring, the diameter and height should be five centimeters. You do not need to buy a specially made plastic ring, if you have a can of shaving foam at home, you can use the lid of the can. The bottom of the lid must be cut off and then placed on a table or floor. Next, you just need to pour the solution into the lid and raise it so that the mixture spreads over the table surface. If the consistency has spread by more than 18 centimeters, this is good, when less, water must be added to the solution.
Do-it-yourself self-leveling floor: step-by-step instructions for preparing the base
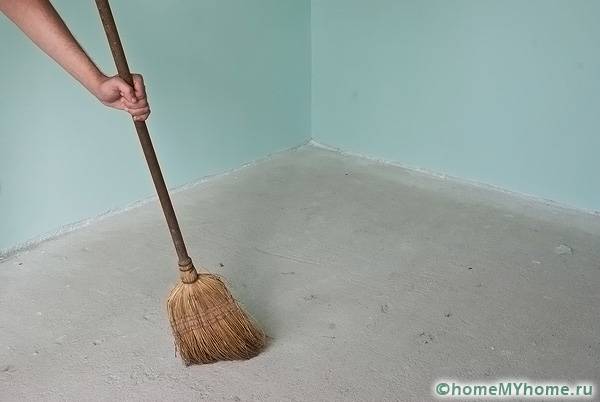
Before work, it is necessary to prepare the surface, it must be absolutely flat. To level the surface, you need to use a level and check the horizontal in all directions. In no case should deviations exceed 4 cm.
How to equip a concrete pavement?
Be sure to keep the substrate moisture content below 4%. You can measure it using a special device - a moisture meter. If you are doing work on a fresh foundation, then at least thirty days should pass. If you are going to work with an old floor, then it must be cleaned of the old coating - paint and glue.Use in your work a special solution in the composition of which there is resin, with it you can easily repair small chips and cracks.
The nuances of preparing a wooden floor
Check the moisture content of your wood floor, it should not exceed 10%. If everything is fine, then you need to remove further skirting boards, you do not need to save them, since you will not need them in the future. Clean the surface from glue, varnish and old coating.
Next, you need to clean everything with sandpaper or grinder, remove dust vacuum cleaner and degrease the entire surface with ordinary cleaning powder. Chips must be repaired with mortar; it is advisable to level it with a cement screed.
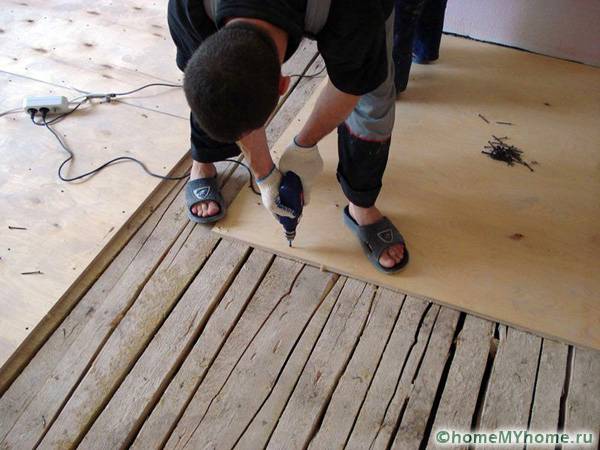
Before installing the self-leveling floor, you can lay plywood with the subsequent sealing of the joints with mortar
How to prepare a ceramic surface?
You will not have any special problems with the ceramic surface; it will be enough to check the reliability of the plates fastening, dismantle the poorly adhered and putty voids. Next, it remains to degrease the surface and cover with a solvent, then simply apply a primer.
We ground the base
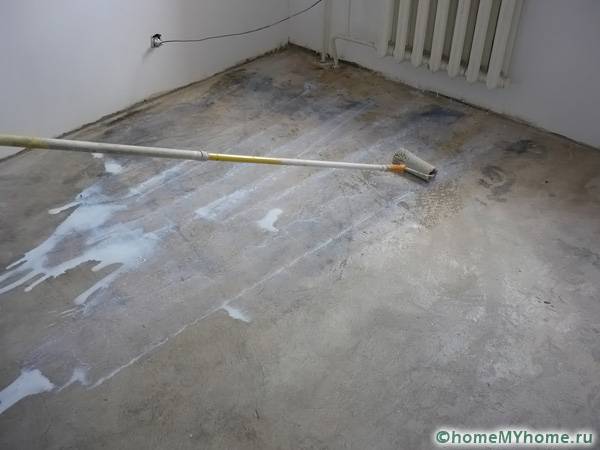
The primer should be applied to improve adhesion, in addition, the primer promotes good flow of the material.
Useful advice! It is better to prime porous and too dry surfaces in 2-3 coats until all pores are completely closed. In this case, the floor surface will be smooth and it will be easier for you to work.
It is best to use a roller, paintbrush, and a wide brush to apply the primer. The second coat of primer can only be applied if the first is completely dry. A good primer is the key to a good result for your work. It is not recommended to allow dust to settle on a freshly primed surface, therefore it is advisable to apply a self-leveling floor already on the second day.
Self-leveling floors with your own hands: video, instructions, pros and cons
To make it easier to perceive the information, we will describe all the work in stages:
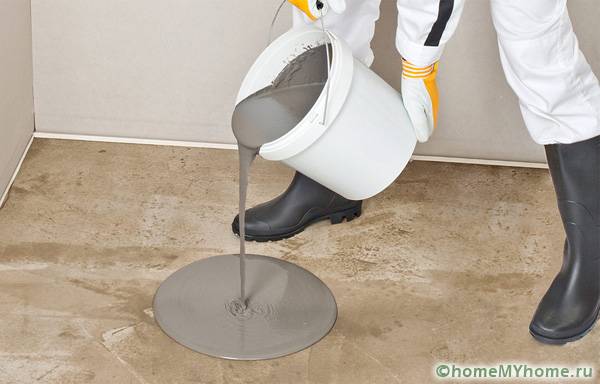
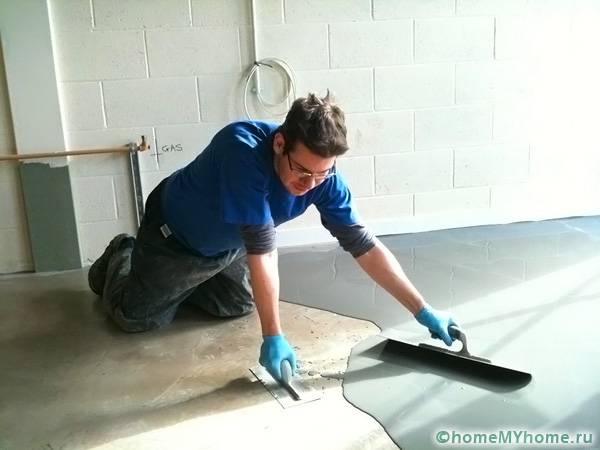
- Pour the prepared solution onto the floor surface. In order for the composition to be evenly distributed, you need to use it in work wide spatula.
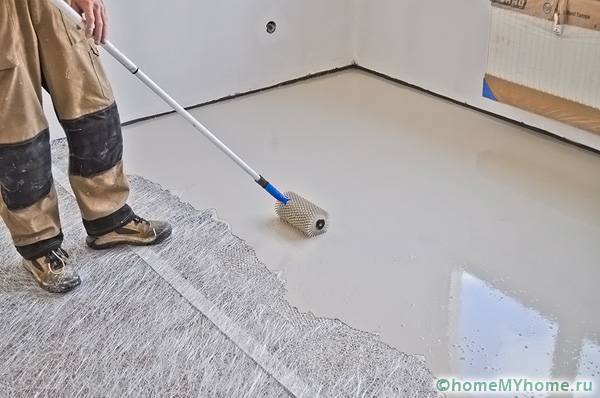
- After applying the composition to the floor, it must be carried over the surface with a needle roller.
- Pour the next portion of the prepared solution, smooth it and roll it.
- Cover the floor with plastic wrap. So, you will avoid uneven solidification of the solution.
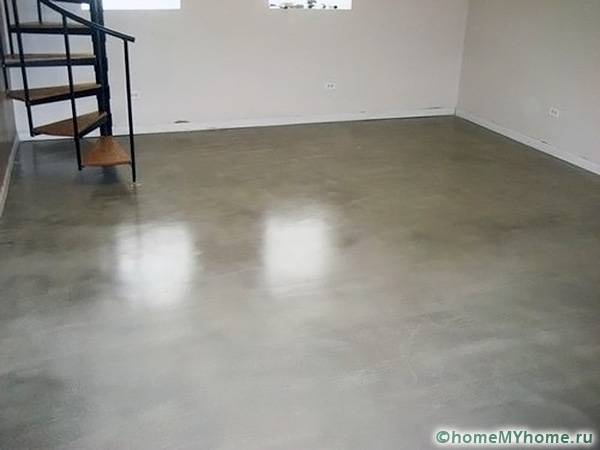
- It is recommended to apply polyurethane varnish to the coating to be beautiful and shiny.
Helpful information! It is better to start pouring the floor from the far wall located from the entrance.
To make it easier for you to understand this issue, we recommend watching this video:
Price per bag of self-leveling floor, consumption
First of all, the price of the mixture depends on the manufacturer, the type chosen and other factors. If you intend to make colored flooring at home, then the price for a bag of self-leveling floor will naturally be higher. In this case, it is better not to save money, since the cost of the material, as a rule, determines the quality.
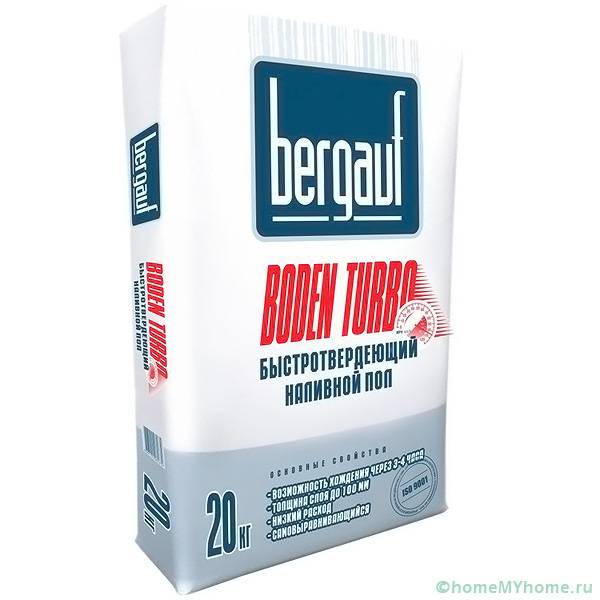
According to experts, in the field of construction today, the price for a bag of self-leveling floor is still quite democratic, the costs are not as high as some think (about 300-500 rubles for a bag of composition weighing 20 kg). In this case, the average consumption of material with a layer thickness of 10 mm is 10-15 kg / m2.
Price per square meter of self-leveling floor
Unsurpassed quality and affordable price per meter of self-leveling floor gives everyone the opportunity to give a "zest" to their home.But, of course, not everywhere the price will be low, the closer to the capital, the higher the cost of work. The average cost of work on the installation of one-color self-leveling floors together with the material in Moscow is from 4000 rubles / m2. As a rule, the larger the area, the more discount firms give.
Self-leveling floor 3D: photos, prices and examples of implementation
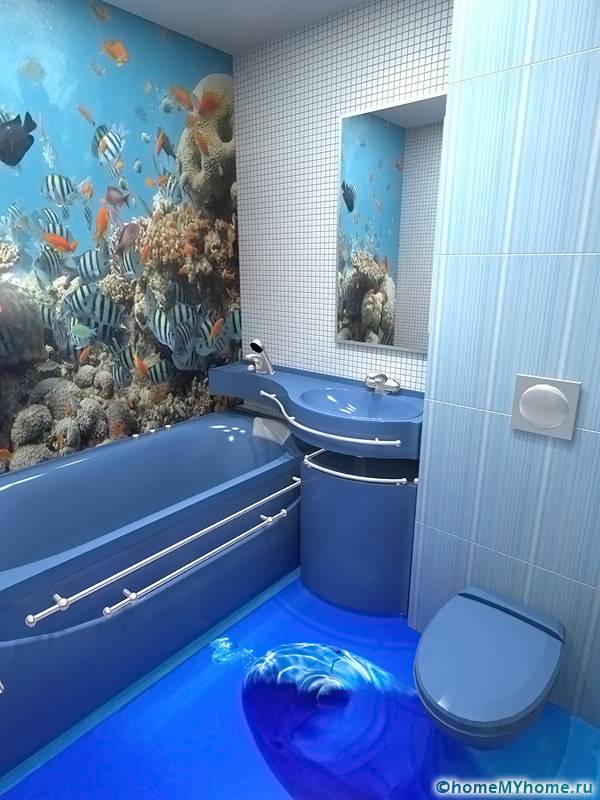
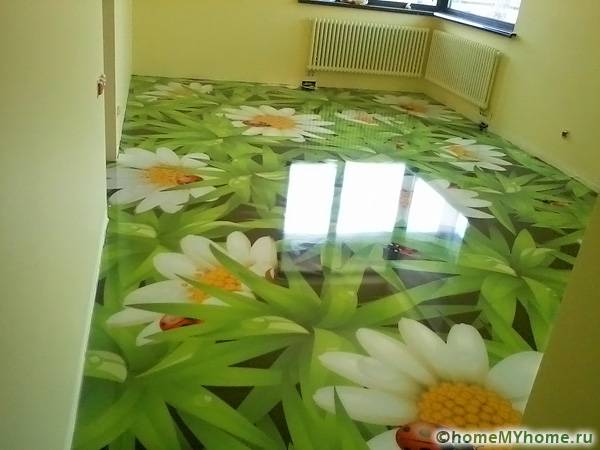
Self-leveling 3D floors are very common today in the design of premises. Such coatings are beautiful, reliable and aesthetic. With the help of a 3D printer and a professional builder, you can get a real work of art.
The materials used in the work are resistant to abrasion and temperature changes, they are absolutely harmless to humans. The coating does not slip, it is fireproof, durable and most importantly seamless. But, as in every material, it has its own small flaws: care is very expensive, the price of the material is also not cheap (5,000 thousand rubles per meter), it dries for about seven days.
The most interesting thing is that 3D coating can be used in any room: schools, boutiques, hospitals, restaurants, apartments, offices, bedrooms etc. To give an individual style to the room, some people decide to apply 3D drawing not only on the floor, but also on the walls and furniture.
If you decide to make repairs at home, contact only a trusted company and look at the 3D self-leveling floor section on their website: photos, prices and customer reviews. Remember that the price of a material directly depends on its quality. The cheaper you look for options, the more likely your flooring will last you less!
Video: 3D coating installation technology


