Interior transformation: learning how to glue non-woven wallpaper
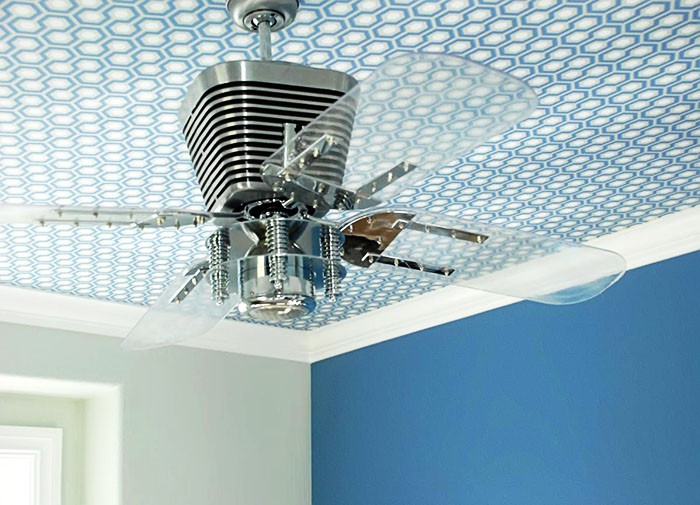
By choosing finishing material for walls, many people opt for non-woven wallpaper, and it's clear why. This type of coating is able to well mask many surface defects, simply hiding them and making the walls decorative in one day. The homemaster.techinfolux.com/en/ editorial team will tell you how to glue non-woven wallpaper according to all the rules of experienced craftsmen.
The content of the article
How to choose a material and calculate its quantity: we don't make mistakes
The whole selection process consists in finding the right wallpaper and the necessary glue for them.
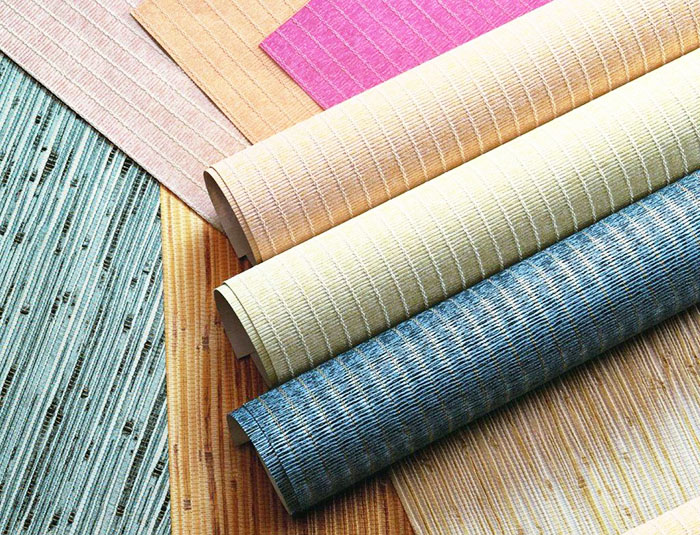
Non-woven wallpaper: what are
There are two types of non-woven wallpaper:
- the canvas is entirely of non-woven fabric;
- non-woven and vinyl.
Both types are quite popular.
The choice of such a coverage has its own reasons:
- this wallpaper has a high level of durability;
- they will not fade from sunlight entering through the window;
- canvases help keep warm;
- this is an additional layer of sound insulation;
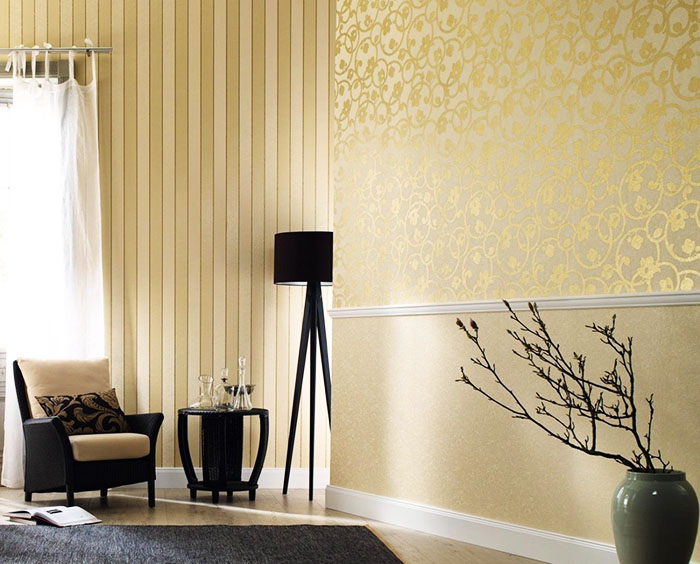
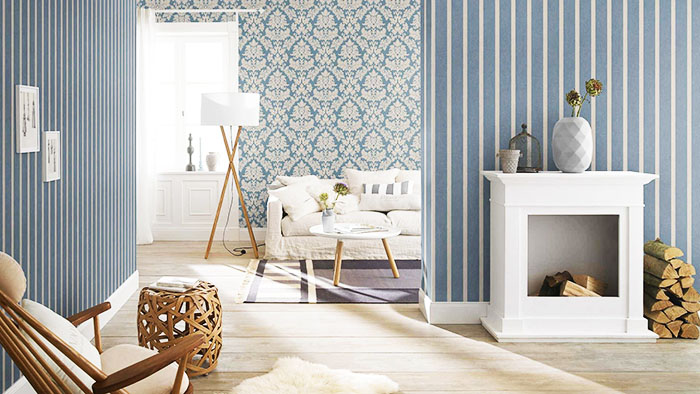
- a huge selection of designs for every taste and wallet;
- they are easy to clean and practically resistant to moisture.
It remains only to understand the issues gluing a similar coating.
Related article:
Wallpaper for walls: photo catalog interesting solutions for the living room, bedroom, children's room, kitchen and corridor. The basic rules for the selection of paintings and recommendations of designers - read our review.
Finding the right adhesive
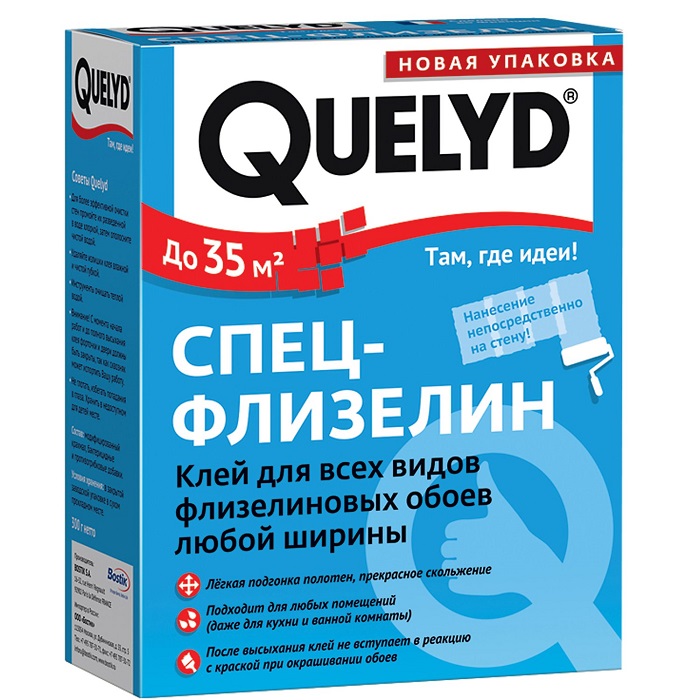
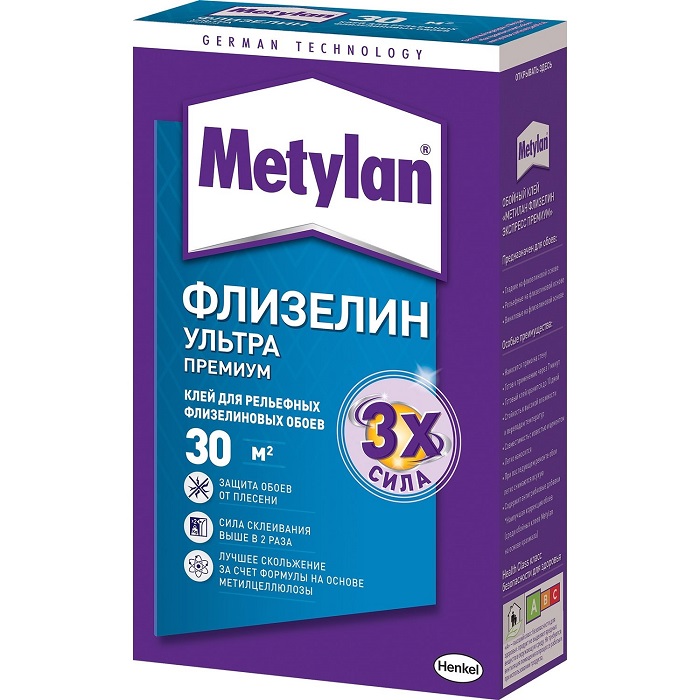
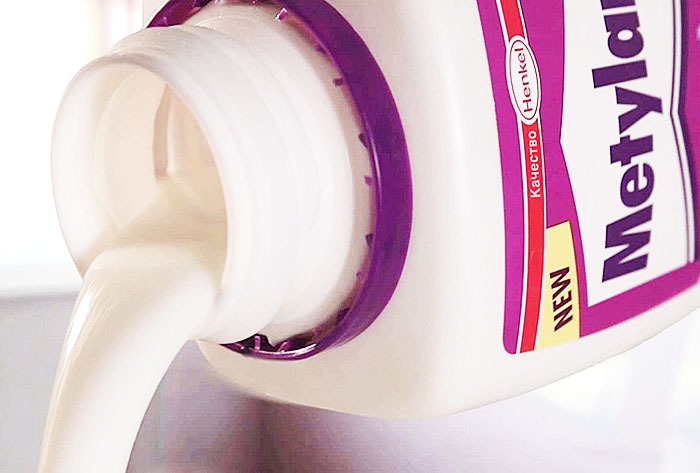
You can't take the first one you come across wallpaper glue and expect that the result of gluing will be excellent in any case, because non-woven wallpaper is a high-quality and durable product, therefore, a special glue is required for pasting, the characteristics of which are suitable for the selected type of coating.
You don't have to invent anything, you just need to buy non-woven glue. In hardware stores, such a product is always available.
What preparatory work needs to be done before gluing non-woven wallpaper
Theoretically, everyone knows how to glue wallpaper, but when faced with this in practice, many questions arise.
In this case, it is better to rely on someone else's positive experience and not make those mistakes for which you will later be ashamed - sloppily glued wallpaper is always striking.
The first stage of pasting is preparatory: you need to purchase not only the rolls themselves, but also glue with tools for work, clean and, if necessary, level the walls, cut the strips and dilute the glue.
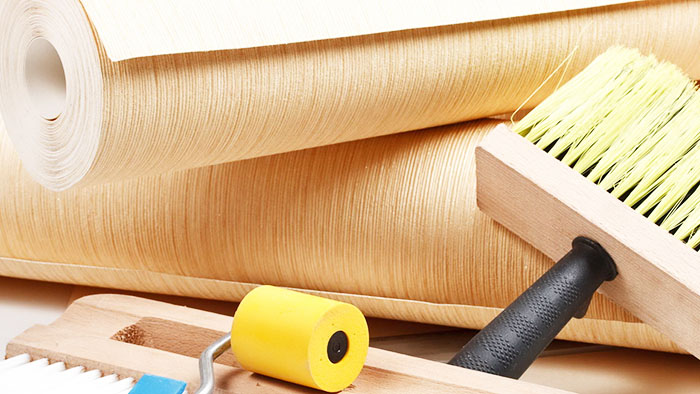
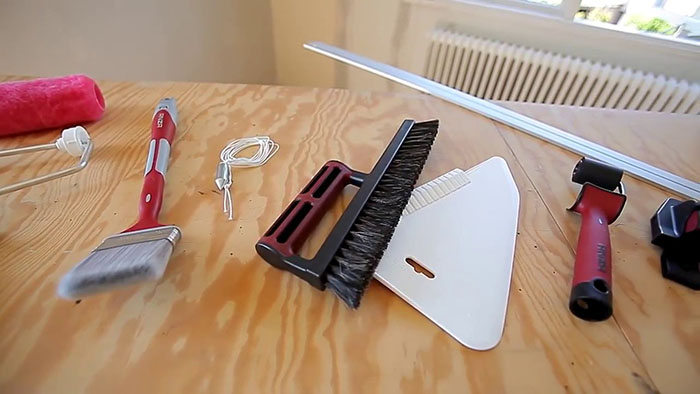
Cooking tools and materials
Absent working equipment is always easy to repair, therefore it is advisable to prepare everything in advance in order to work without interruptions.
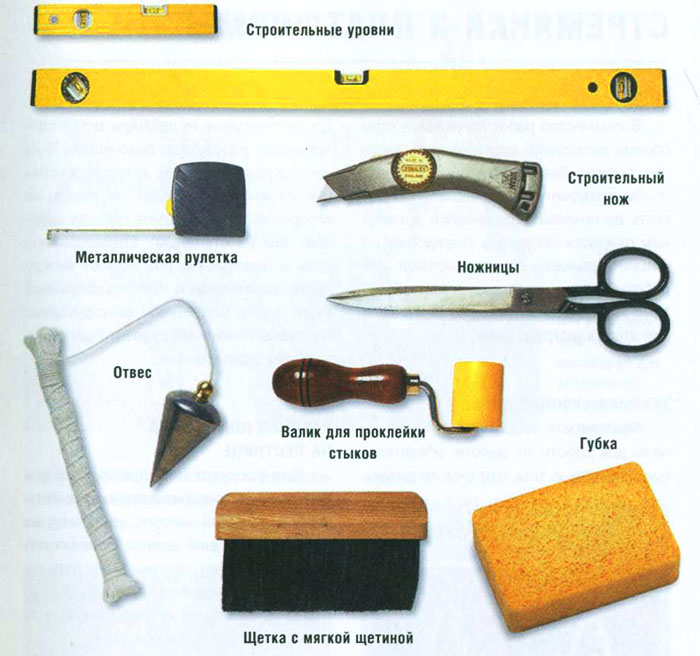
To glue the strips under the ceiling and on the ceiling, you need to get a stepladder. The glue is diluted in a bucket, a container with clean water is prepared next to it - a sponge will be washed in it, which will rub off any excess glue that has come out.
You will need a supply of dry, clean cloth to straighten the stripes. For the same purpose, take a clean roller or brush.
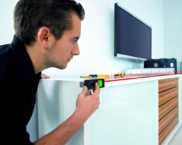
To measure and check the evenness of gluing, use a plumb line and a ruler. The strips are cut with a wallpaper knife or sharp large scissors.
Preparing and marking the walls
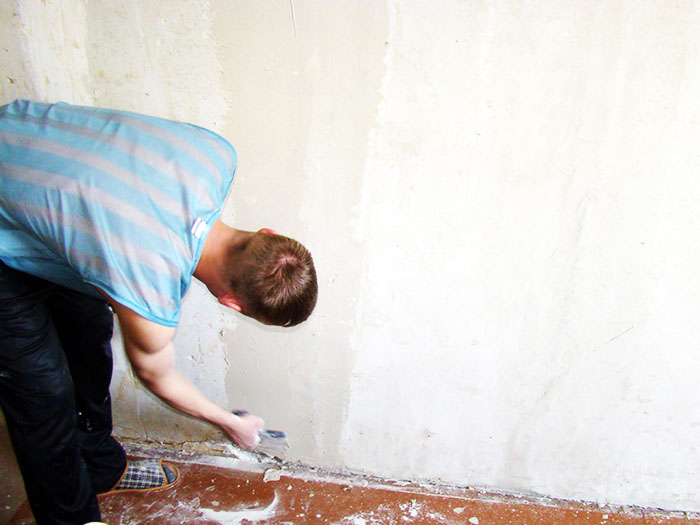
For an impressive result, you need quality preparation. The old coating is removed. If this is wallpaper, then there is no need to suffer, there is a special tool under the working running name "for wallpaper removal." Its price is ridiculous, and it solves the problem quickly and completely.
So that nothing interferes, it is better to remove everything from the room, then calmly remove the old finish. If the walls are uneven, this serious defect will need to be corrected.
Important! You should not neglect good-quality cleaning after removing the old finishing material, you hardly need excess construction dust and dirt on new wallpaper!
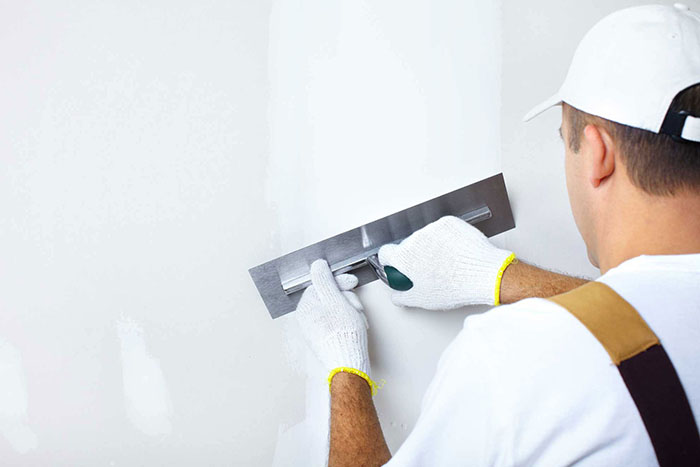
The composition must be applied to a clean surface and leveled with a rule and a spatula.
How to cut wallpaper strips
The standard width of non-woven wallpaper is 1 m, with this parameter it is quite easy to follow the gluing technology. There are also wide strips, they also have their advantages, but it is more convenient to glue a smaller format.
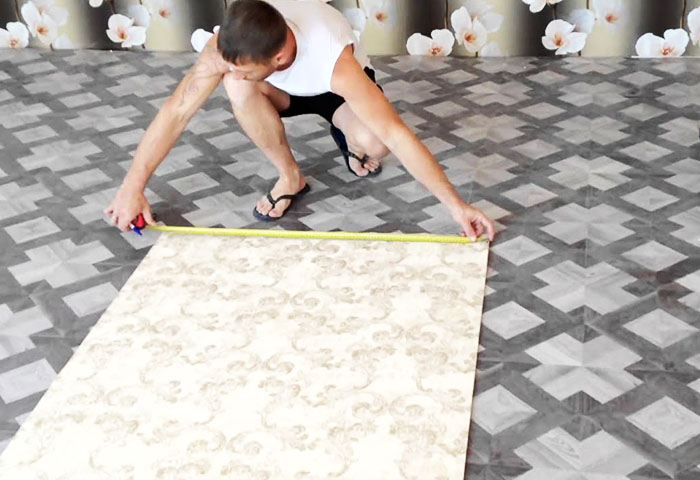
In order to properly cut the web of the roll, you need to accurately measure the height of the walls (together with the dismantled skirting board).
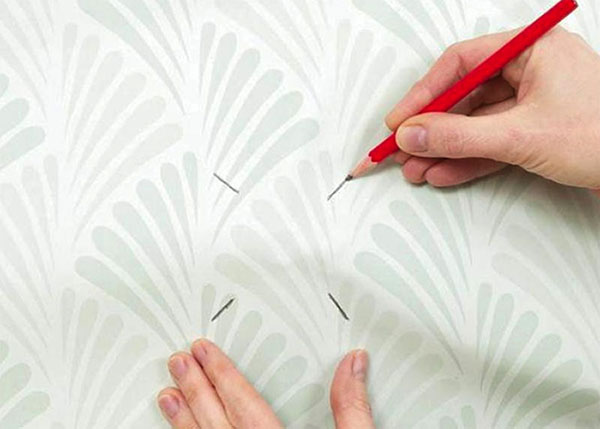
The roll can be cut into strips, taking into account the height and an allowance of 5 cm. This applies to cases with a single-color version, which is not particularly demanding to fit the pattern. You need to stand on a stepladder, attach the edge of the roll to the joint and unwind it. With a wallpaper knife or pencil, make a note below, along which the cut is made.
Another option involves matching the pattern. The excess on the top and bottom is removed with a knife after gluing the strip.
It happens that the drawing is divided into two parts from the edge of the strip, it is important to be able to distinguish between the right and left canvas when cutting and pasting.
We breed glue
Pour cold water into the bucket in the amount indicated on the package. Stir the solution with a wooden stick, creating a circulation. Glue is gently poured along the edge, continuing to stir.
The solution swells up to 15 minutes, the exact time will be indicated by the manufacturer. It is important that there is not a single lump, because the glue is stirred until the last lump dissolves.
Instructions from the masters for gluing non-woven wallpaper
A number of simple tips will help you to stick the wallpaper on a non-woven base correctly and evenly.
Applying glue to walls
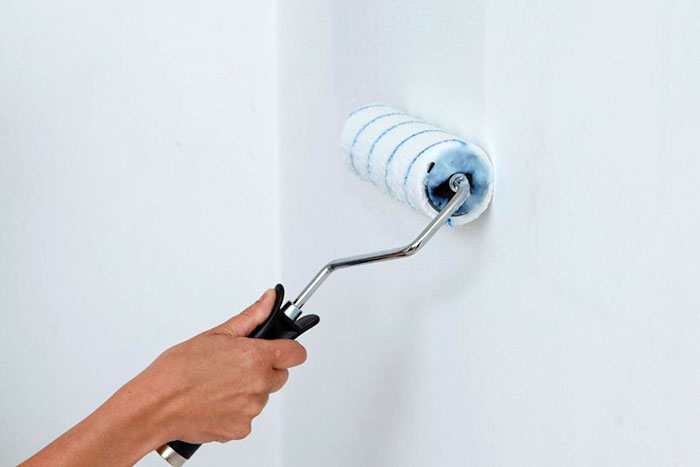
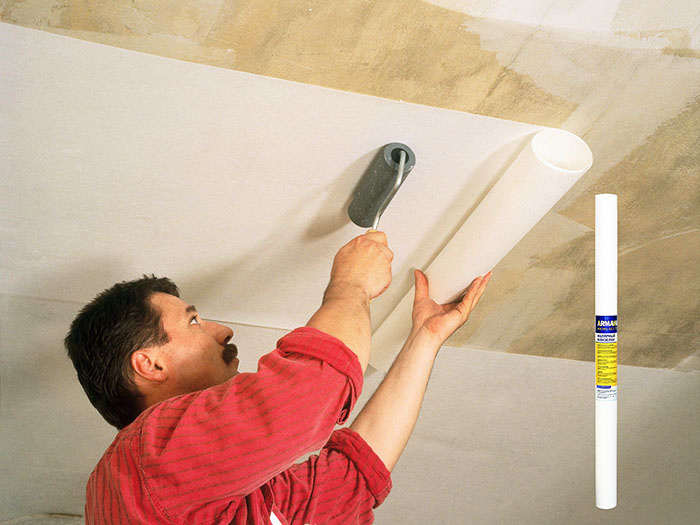
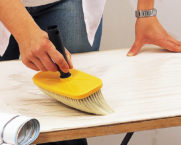
When gluing non-woven fabric, glue is applied only to the walls. This is undoubtedly a convenient way. It is important to miss every centimeter without missing anything. They always process an area slightly wider than the glued strip, this will avoid lagging joints.
Sticking the strip and smoothing it
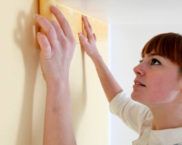
The first strip should lie perfectly, the evenness of the rest of the work depends on it. The vertical must be flawless!
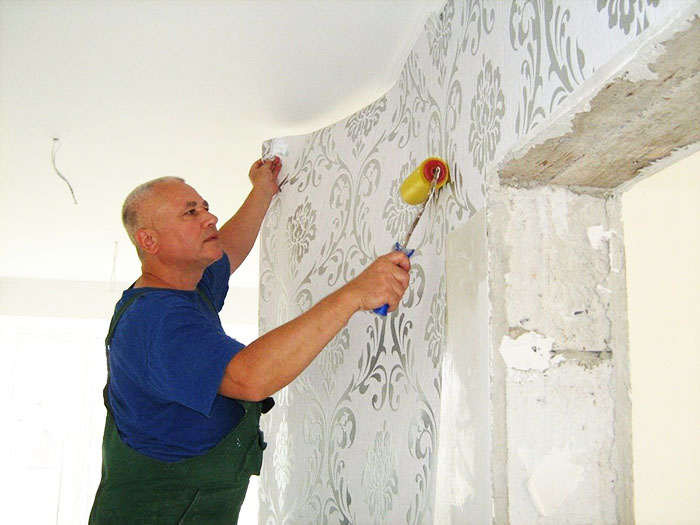
The sheet is placed on top of the ceiling, gradually stretching it down. The connection can be improved by running with a trowel, squeezing the excess adhesive against the empty wall. If the texture of the wallpaper is deep, use a roller.
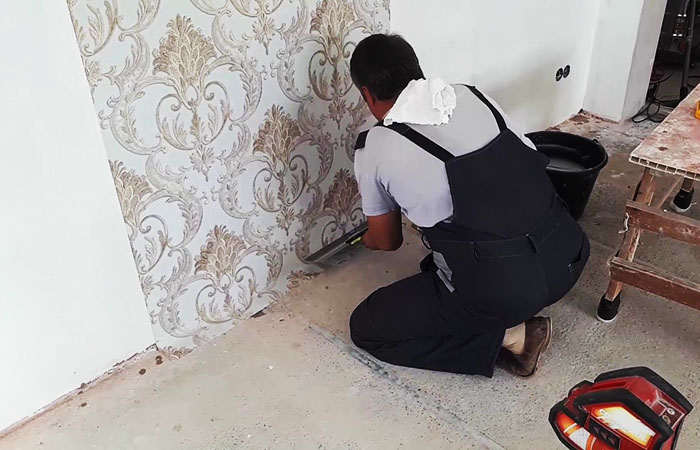
The remains from the bottom must be cut off, remembering that the skirting board will hide 3-4 cm. Excess wallpaper under the ceiling is also cut off, with some margin for the ceiling skirting board.
Important! The wallpaper is cut evenly by pressing the trowel against the corner. The knife cannot be torn off from the cutting line, only the spatula is moved.
Bonding the next strip
Excess glue is removed with a damp sponge. The fillet weld should be rubbed especially carefully.
You can stick the second strip, butt to the already glued one. The interlining does not shrink after the glue dries, there will be no gaps. The joints are pressed with a roller.
Features of gluing wallpaper
The main thing is to maintain a strictly verified vertical, for this a plumb line is used. The wall is smeared with glue vertically, taking into account the width of the strip with a margin of 10 cm, and dry wallpaper is pressed against the wall.
The sockets must be de-energized before the start of the process, the covers are removed from them. The web is cut crosswise, the center of the slits is the center of the box. The edges of the slices should be brought inward, they will stick to the walls. It remains to screw the socket cover.
In the corners
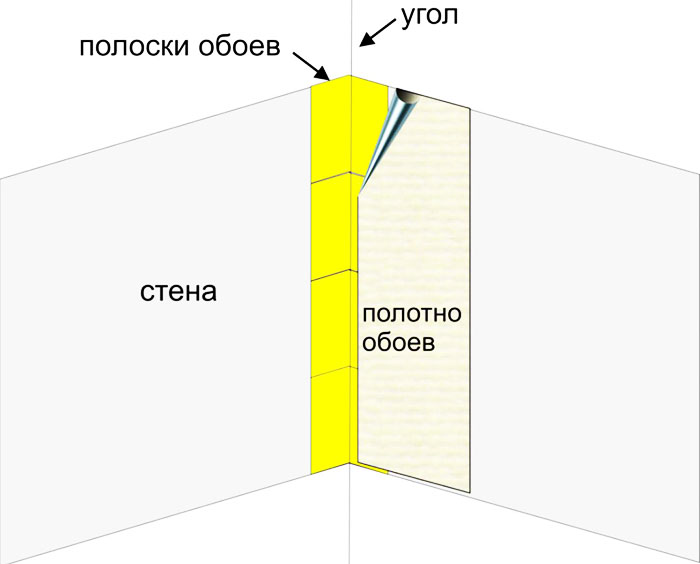
In the corner of the panel, an overlap is glued, which is 2-3 cm, therefore it is better not to use a whole strip for this. The next strip is placed on another wall, and the overlap is cut with a knife along the vertical corner.
Related article:
How to glue paper backed vinyl wallpaper. Features of working with this material, criteria for choosing high-quality glue, nuances of wall preparation - read our publication.
How long does non-woven wallpaper dry
When starting a renovation, I want to know what time frame to focus on. It takes a day to dry non-woven wallpaper. Therefore, there should be no drafts in the room for 24 hours.
The final result of drying is influenced by the humidity in the room, how much the walls absorb moisture, and other factors. It will be better if the rush is eliminated and wait 48 hours. After this period, the walls are touched with their hands. A wet surface indicates that the coating is not ready.
Apply the wallpaper correctly, admiring your work afterwards!
Related article:
How to paste wallpaper on wallpaper. Option for gluing non-woven, liquid and vinyl coatings; what kind of glue is better to use, how to prepare the surface, how to glue the canvas to the ceiling, how to handle corners - read our publication.


