Inlet valve into the wall: principle of operation, features of installation and operation
Modern technology makes our home more and more airtight. Reinforced plastic windows, laminated surfaces and stretch ceilings impede natural ventilation, which is why dampness and mold develop in houses. Households suddenly begin to suffer from allergies and frequent respiratory illnesses - this is also a side effect of completely sealing the house. Stagnant air is replete with allergens, pathogenic bacteria and microorganisms actively multiply in it. That is why it is important to install a supply valve in the wall, which will provide access to outside air into the room and at the same time prevent drafts.
The content of the article
- 1 What is it for and how does a wall inlet valve work?
- 2 Advantages and disadvantages of a wall inlet valve
- 3 Types of ventilators
- 4 Air exchanger selection
- 5 Prices and popular models
- 6 Features of air duct installation
- 7 How to make an inlet valve into the wall with your own hands
- 8 A few tips
- 9 Outcome
- 10 Video: installing the supply valve into the wall
What is it for and how does a wall inlet valve work?
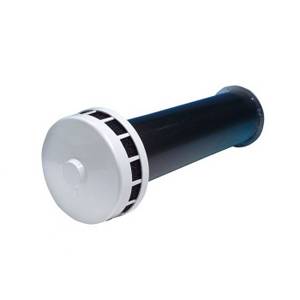
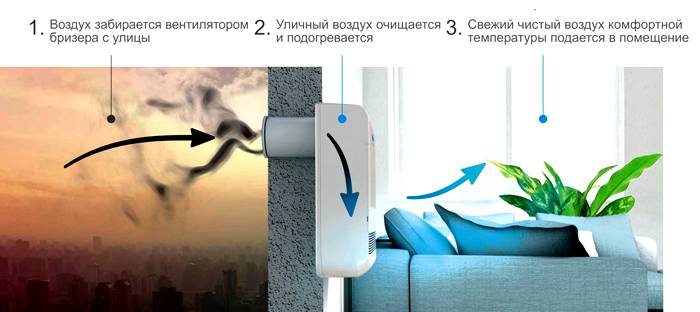
The main purpose of the supply unit is to provide fresh air access to the room. Under the condition of normal operation, the supply unit allows an average of up to thirty cubic meters of air per hour into the room, which corresponds to the physiological needs of one person.
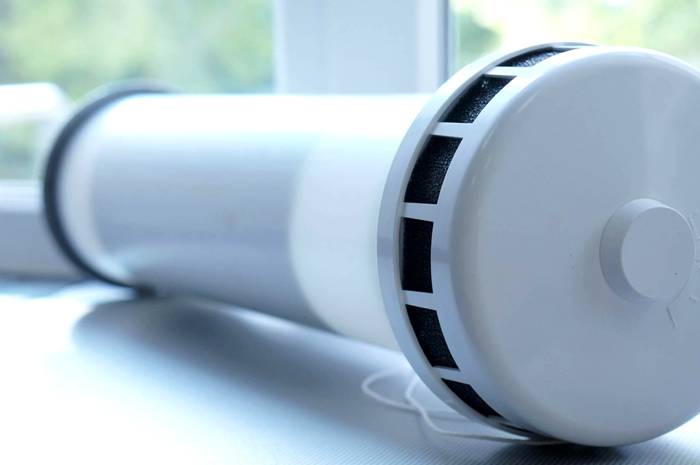
The device consists of several elements:
- Duct tube. Usually this part of the device is made of plastic.
- Grille (metal or plastic) to protect the outside of the duct.
- Inner insert with cap and air filter.
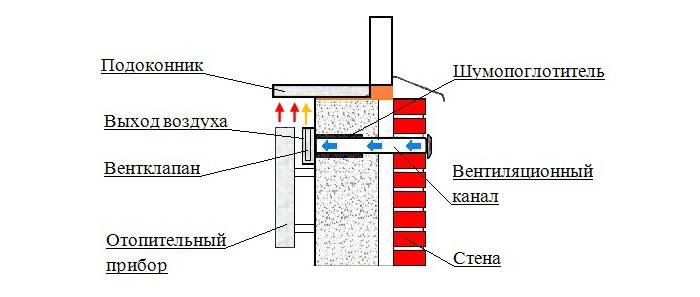
Some devices are additionally equipped with a noise isolator and insulation. These additional elements prevent the supply ventilation valve in the wall from freezing in severe frosts and block street noises.
The hygro control system automatically opens the valve if the room exceeds the standard humidity readings.
The supply and exhaust valve can also be additionally equipped with:
- fan;
- temperature sensors;
- air recovery system;
- remote control.
Advantages and disadvantages of a wall inlet valve
Like any device, the ventilator has its own undoubted advantages and disadvantages, which must be mentioned. First, about the good:
- With the use of the device, the need for constant opening and closing of windows is significantly reduced. This saves time and saves the window mechanisms.
- The device acts as a noise isolator and filters the air from toxic urban impurities.
- The device has regulation functions, it can be customized to the needs of a particular home.
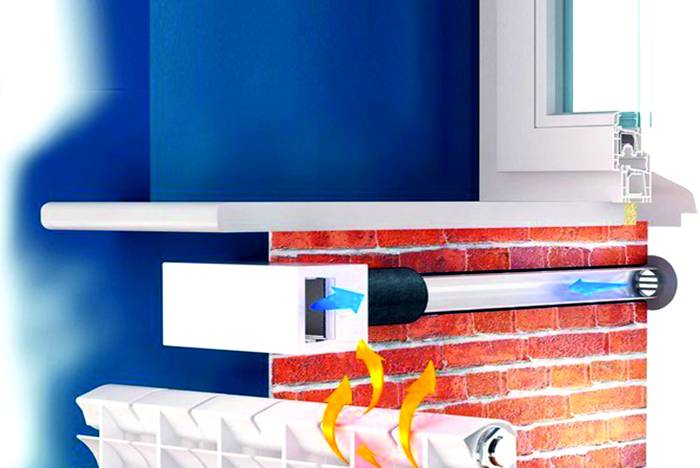
- Installation of the ventilator in the area of operation of heating devices significantly saves heat loss.
- The device is small, practically invisible on the wall and does not interfere with the placement of furniture.
- The device has a relatively low price, is easy to assemble and can be manufactured and installed by yourself.
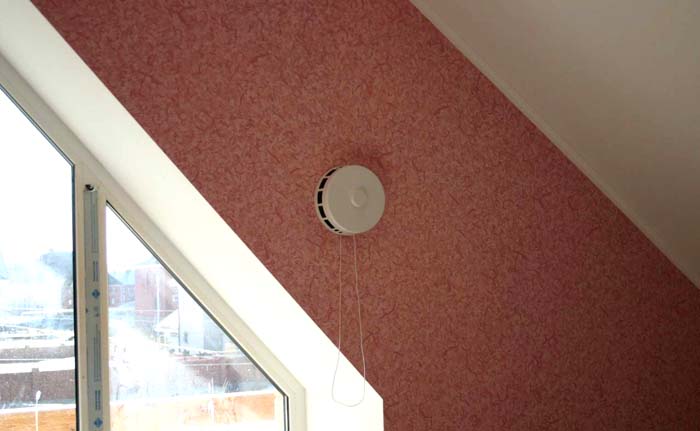
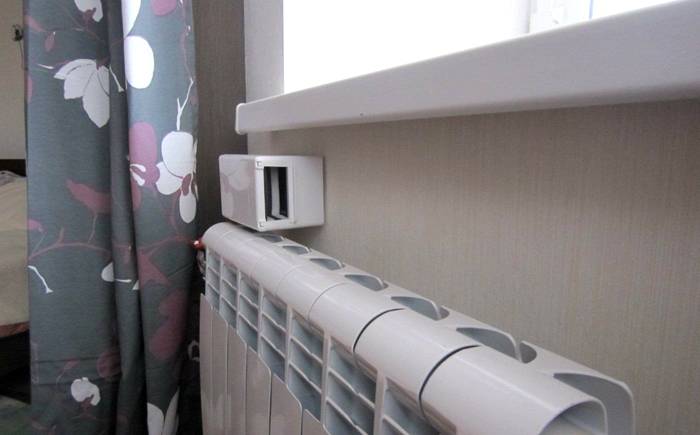
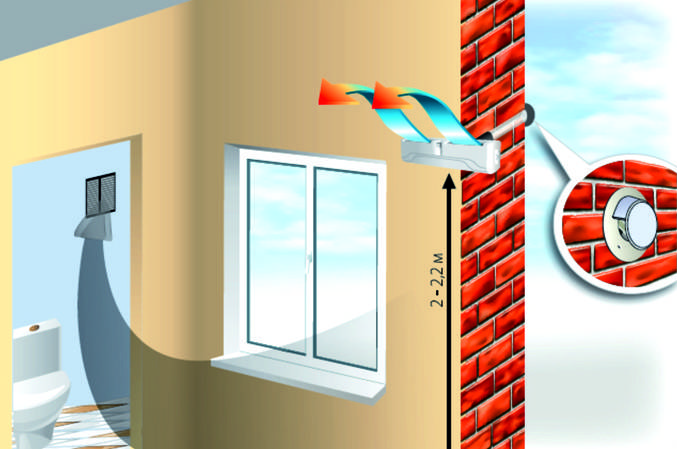
Helpful information! Installing a supply unit in the area of the battery will lead to the fact that the cool air from the street will be heated by the heat of the radiator when it enters the room. The second option for installing the device is in the upper part of the wall, where the incoming air masses will mix with the heated air of the room.
Cons of using the device:
- To install a ventilation valve, a hole must be made in the wall, that is, in some way, its integrity must be violated.
- Incorrect installation of the device can cause the wall to freeze.
- In northern regions, in winter, the ventilator can help the room temperature drop to uncomfortable values for humans.
Types of ventilators
Supply devices differ in the following parameters:
- the presence of air flow control (mechanical or automatic);
- the presence of a sound insulator and insulation;
- the presence of additional elements;
- the possibility of complete insulation of the duct;
- in size and appearance.
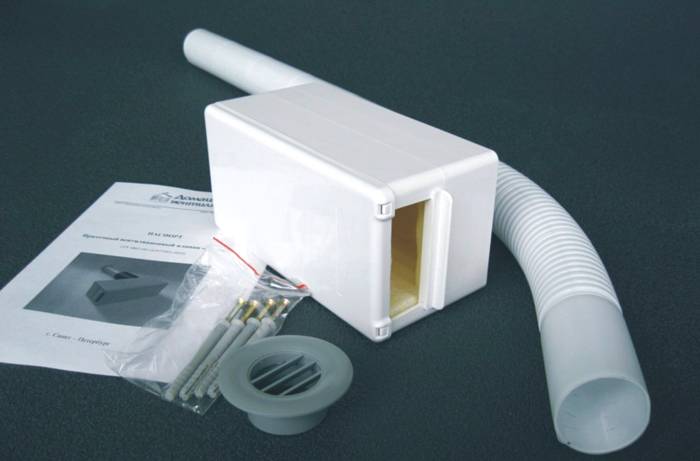
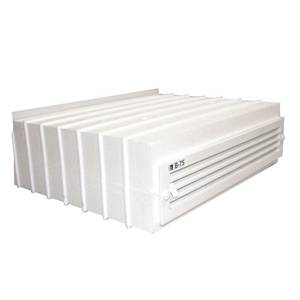
Some devices may differ in the material of manufacture. There are plastic, metal or polystyrene foam models
Air exchanger selection
Before buying a wall-mounted supply valve, you need to check it for compliance with some important criteria:
- The device should not be too cheap, a high-quality device, equipped with the required number of functions, costs at least a third of the average cost of a metal-plastic window.
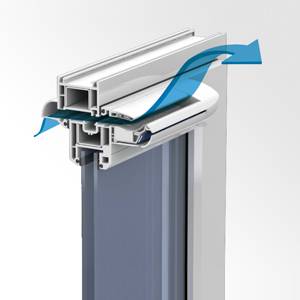
- The valve should be installed directly in the window frame or in the wall next to the window. It is important to check the possibility of such an installation.
- It is necessary to decide on the type of ventilator control - mechanical or automatic. The automatic machine will greatly simplify the need to control the optimal temperature and humidity in the house.
- Attention should be paid to the level of noise protection of the device.
- The ability of the valve to withstand the temperature regime of the region.
Prices and popular models
Ventilation devices with a minimum set of functions are relatively inexpensive. The simplest model can be purchased for five hundred to eight hundred rubles. But the most effective are models in the price range of two to four thousand rubles.
Table 1. Average cost of wall inlet valves
Features of air duct installation
Before installing the valve, you must decide on its location.The best place for this purpose is considered to be a place near a heating radiator on a load-bearing wall.
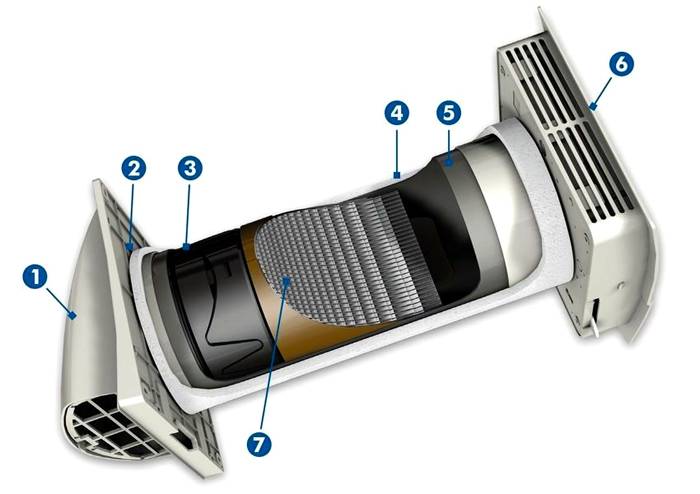
Supply unit device: 1 - outer casing; 2 - fan; 3 - filter; 4 - insulated casing; 5 - adjustable body; 6 - decorative panel with a switch; 7 - ceramic element
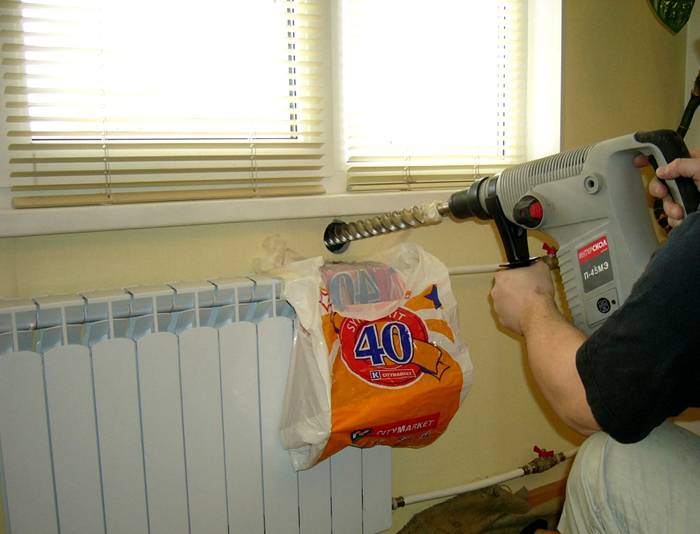
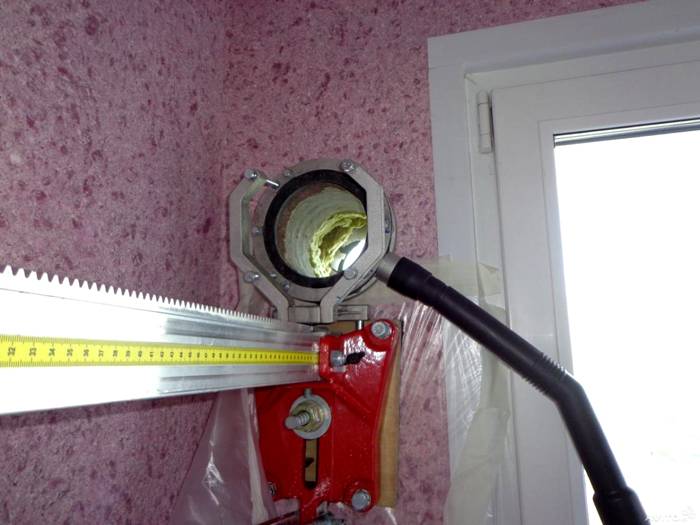
- Step 1. Drilling a hole to install the air exchanger. The hole diameter should be slightly larger than the valve tube. This will allow the device to be correctly positioned and securely fixed in the wall.
- Step 2. Outside on the wall in the area where the device is located, it is necessary to provide protection from rain. If it is not possible to do this (the valve outlet will be located in a place inaccessible for work), the hole must be made with a slight slope towards the street. This prevents raindrops from entering the appliance.
- Step 3. Install the supply valve into the wall and fix it with construction foam.
How to make an inlet valve into the wall with your own hands
To make a simple device you will need:
- bathroom grill or shells;
- filter (a piece of foam rubber);
- insulation;
- plastic pipe;
- valve.
The plastic pipe will be an air duct, the piece should correspond to the thickness of the wall (a small margin can be provided). The optimal tube diameter is 10 - 12 centimeters.
- A grating is fixed on one side of the tube; this will be the outer part of the device.
- A rolled-up insulation (mineral wool, expanded polystyrene) is inserted inside the tube. For this purpose, you can use pipe insulation. The thickness of the layer should be about two centimeters, this is enough to prevent freezing.
- Next, a foam filter is inserted into the tube.
- The last step is to install the valve. You can make it yourself or purchase a finished product at any ventilation equipment store.
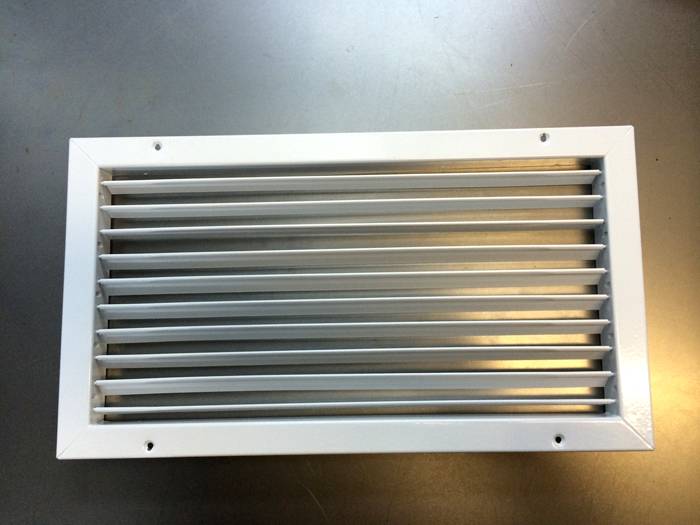
A grill with movable blinds can become an alternative to the ventilator. They can be manually closed and opened if necessary
Related article:
Supply ventilation in the apartment with filtration. In our review, you will learn the principle of operation of the device, varieties, step-by-step installation technology with photos and videos, useful tips and tricks.
A few tips
- The installed device must be cleaned periodically. It is especially important to do this for the owners of city apartments, where the soot and dirt of the street will inevitably settle on the filter of the device.
- Work ventilation must be checked regularly. For this purpose, you can use a candle flame or paper cut into thin strips.
Outcome
To create a healthy climate in your home, you need to install a supply valve in the wall. This simple device will provide filtered air to the room and prevent mold and mildew from forming on the walls and ceiling.
Making a supply valve with your own hands is not difficult using affordable and inexpensive materials. Installation of the ventilator is also not difficult and can be done by a novice technician.


