Original and functional: how to make a wooden table with your own hands
Not everyone likes to buy finished products for home use. The soul of some people requires creative and practical self-realization. The editors of the online magazine homemaster.techinfolux.com/en/ invites everyone to find out how to make a table out of wood with their own hands, what is required for this, and whether there are pitfalls in such work.
The content of the article
- 1 Ideas for making a wooden table with your own hands with photo samples
- 2 How to choose material for self-manufacturing of a wooden table for home and garden
- 3 What tools are needed to make a wooden table with your own hands
- 4 How to make a wooden table with your own hands - step by step instructions
Ideas for making a wooden table with your own hands with photo samples
Our step-by-step recommendations are unlikely to be useful to professional carpenters, but advice to novice amateurs will come in handy. First, let's consider what products you can make with your own hands from wood.
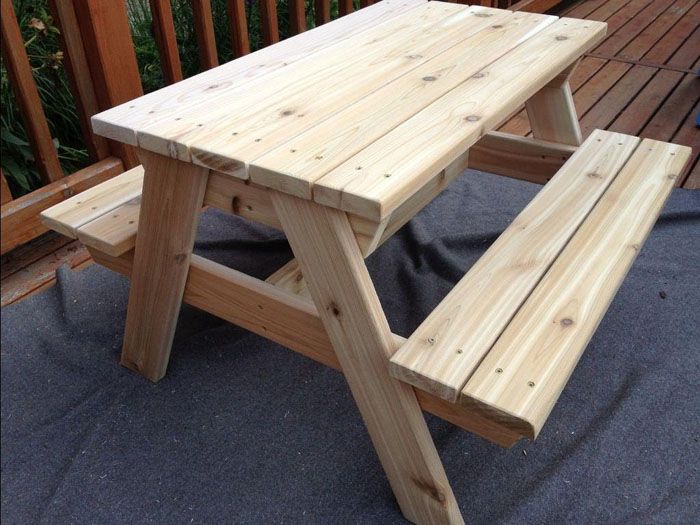
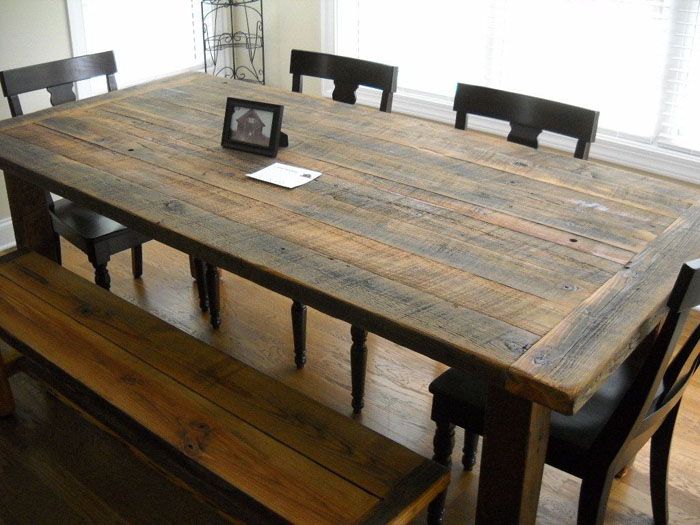
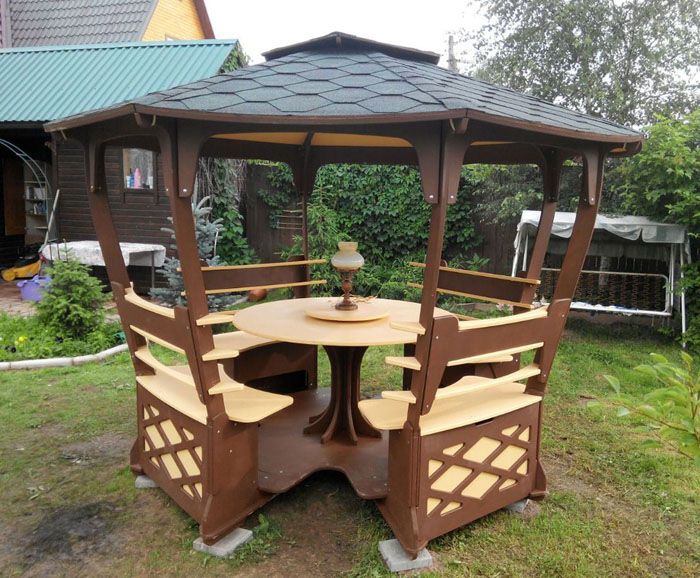
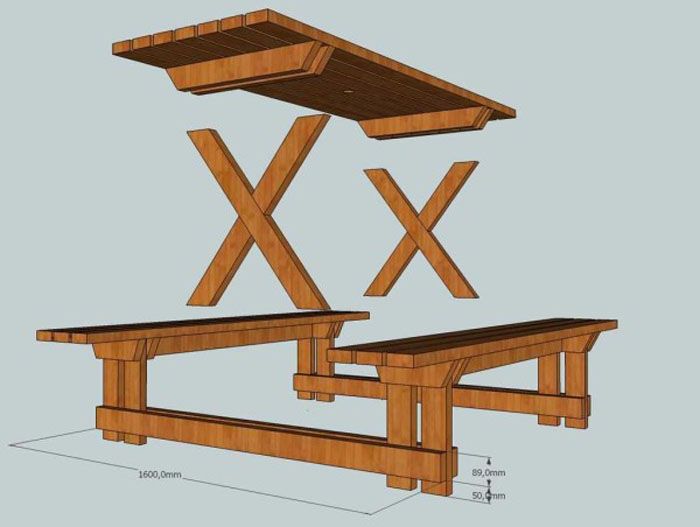
To make such a garden table out of wood with your own hands, it will take more time, since it comes with benches
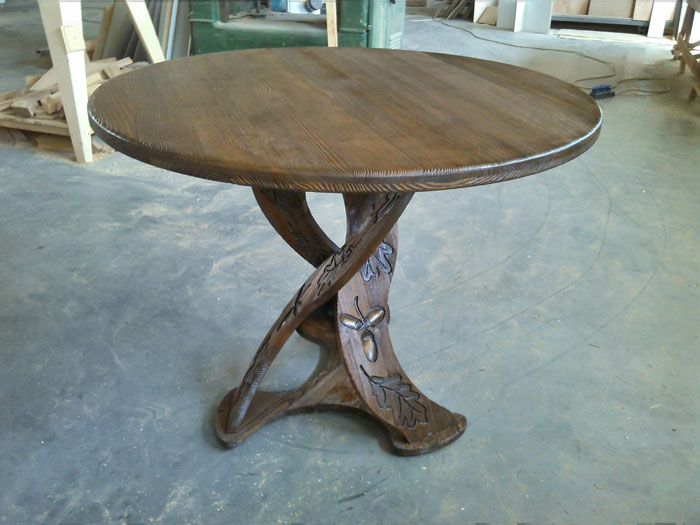
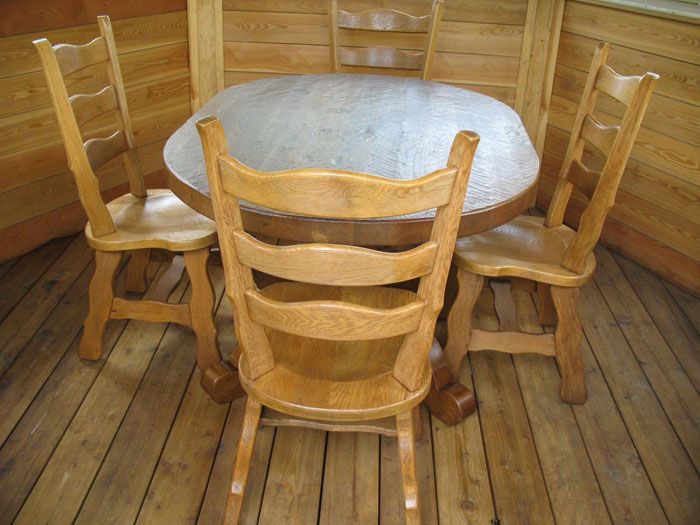
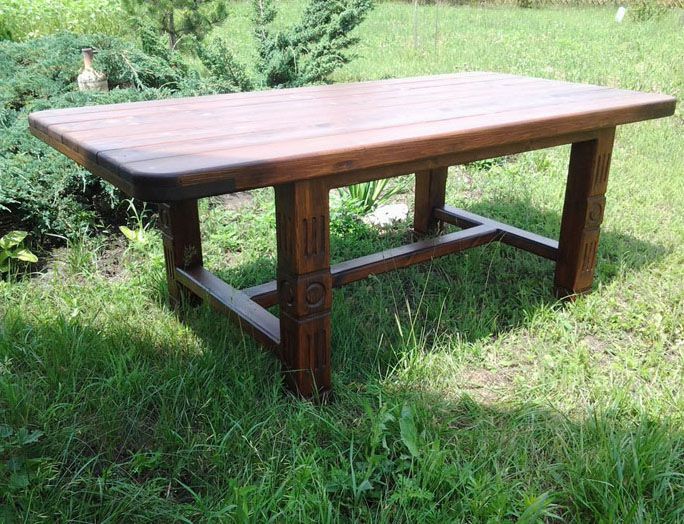
The usual round table top, but the legs are not simple. For the manufacture of such a model, beginners should not undertake
Of course, the more skills a person has, the more difficult the model he can make. But to build a table with your own hands from wood, there are ready-made drawings and photos to help beginners.
How to choose material for self-production of a wooden table for home and garden
What to make a dining table with your own hands? Best of all - from wood. The most pliable for the newly-minted master will be a pine.Poplar products will look more solemn. For the street, you can take mahogany.
If you want an option for home and easier, then you should consider laminated chipboard with an optimal thickness of 25-35 mm. On the countertop, you can take wooden boards, birch plywood with a thickness of 35 mm. The legs can be made of metal or timber (about 50 mm thick).
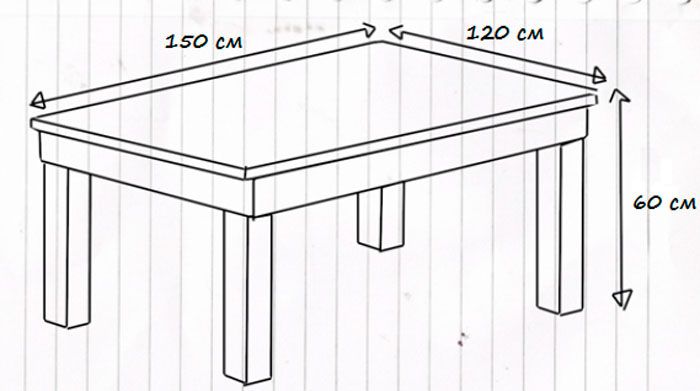
In order not to be mistaken with the amount of material, a preliminary drawing of the future structure is made with exactly the specified dimensions.
Advice! Suitable product heights vary between 750-800 mm.
Related article:
DIY wood furniture: for a garden, a nursery, a kitchen, a bath, a garden, a gazebo; how to restore pieces of furniture, useful tips and advice from experts - read our publication.
What tools are needed to make a wooden table with your own hands
It doesn't matter what shape the future table will be: a certain set of tools is required to work with wood. You cannot do without a jigsaw, and it will be much easier to work with an electric model. To fix all structural elements, use screwdriver or a drill with a multistage drill for holes, self-tapping screws or confirmations. To polish a product to perfection, you need Sander or a special drill bit.
For greater fastening strength, wood glue is included in the tools.
How to make a wooden table with your own hands - step by step instructions
We have selected four types of structures that you can make on your own, even with a minimum of carpentry skills. We invite you to learn about the stages of making a round and rectangular table, a coffee table and a model for a garden gazebo.
Making a wooden round table
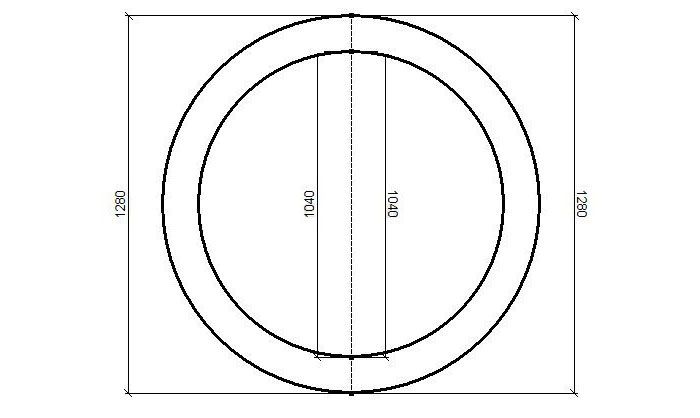
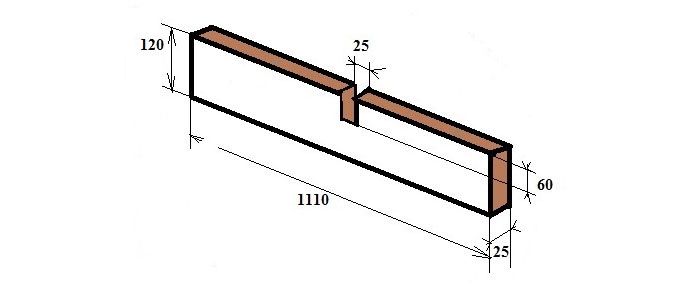
The easiest way to make a round top and a tie ring is from plywood or Chipboard dimensions 1500 × 1500 mm and 1280 × 1280 mm. You will also need two laminated chipboard strips (1110 × 120 × 25 mm). We will make the legs from four wooden blocks measuring 120 × 50 × 750 mm.
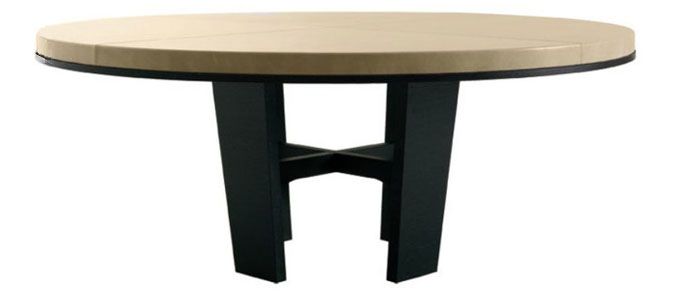
Round models are perceived differently due to the difference not only in the table top, but also in the legs.
How to make a countertop
How to draw a circle perfectly straight? On a sheet of plywood in the center, place your own thumb with a string and a pencil attached to it. The length of the rope from the base to the top should match the radius of the future tabletop. Holding your finger in one place, draw a circle around the full length of the rope. It remains to cut it out with a jigsaw.
The circle underframe is cut out in the same way.
Next, the strips are cut out, as in the photo below:
Making legs
A round table made of wood or chipboard will look charming if you do everything consistently. You won't have to bother with the legs if there is no excessive originality in the plans. The bars are divided into 4 parts according to the desired table height minus the thickness of the table top. First, one leg is cut off, and the other three are already aligned along it.
All processing by the grinding machine is carried out immediately.
Advice! You cannot rush to sanding, since the first varnish will reveal all the flaws.
Assembly of the structure and processing of the finished product
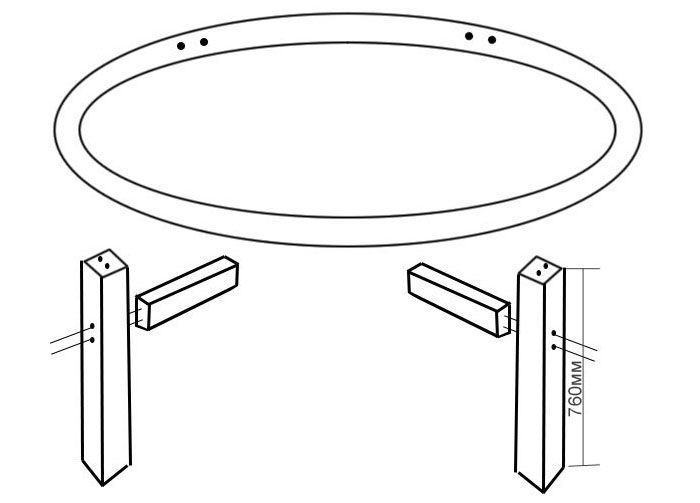
The assembly is carried out in stages. First, the strips are aligned groove into groove. Then the crosspiece of the slats is connected with the legs with confirmations, as in the figure below:
If you want to make the structure stronger, before connecting the legs to the table top, their upper base is coated with glue.
Advice! Nails are not used in such work: you can unscrew a self-tapping screw or confirmat without problems, and the connections will be much stronger.
Making a rectangular wooden kitchen table
The rectangular design is classic and very useful in everyday life: it is convenient to cook on such a table and you can comfortably dine at it.
How to make a countertop
The table top made of wood for the table is made either from a whole sheet of plywood, or from separate edged boards processed to perfect smoothness.
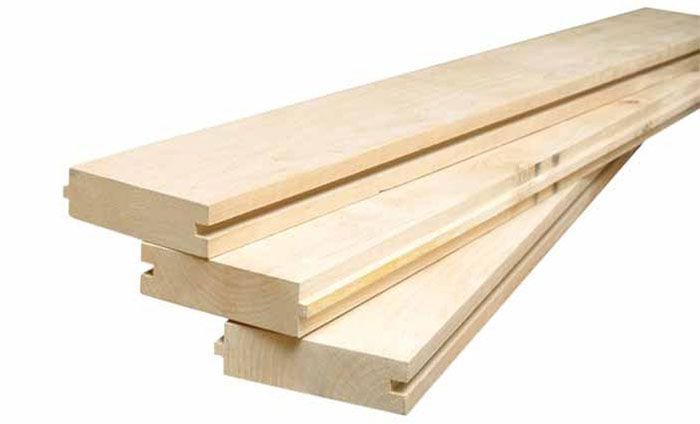
The ideal solution for assembling a tabletop with your own hands from wood will be tongue-and-groove boards with ready-made grooves and ridges
Having fastened the boards with screws and glue, they begin to make the frame.
Making wooden legs for the table and frame
At the heart of the quadrangular models is the wireframe. It serves to securely fix the legs, ensuring the stability of the entire structure. Turn the tabletop over, measure 3-4 cm deep on each side and transfer the measurements to the boards. As a result, you will need two boards of shorter length and two more.
The frame is made of four elements: according to an approximate ratio, these are two boards of X cm and two of 2X cm. They are connected to each other with an overlap alternately, building a rectangle. In order not to violate the angle of 90 °, any board is used while working with a screwdriver: they press the structure with it while tightening the screws.
As soon as the frame box is ready, the legs begin to be made. You can take ready-made balusters for the table, buy metal supports, or cut them out of bars according to the desired length according to the drawing.
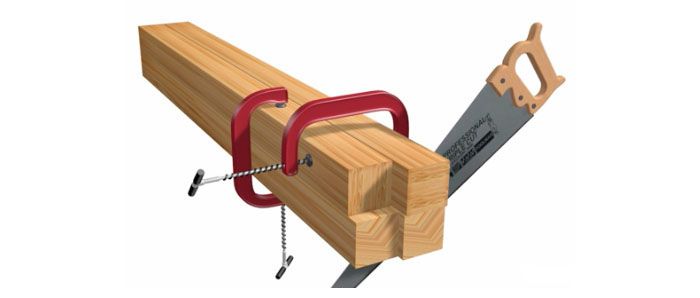
All legs should perfectly copy each other. For greater accuracy when sawing, they are held together with clamps.
Both the frame and the legs must be carefully polished!
Product installation and final finishing
The frame is screwed to the tabletop with glue or self-tapping screws. Then the product is turned over and the legs are attached.
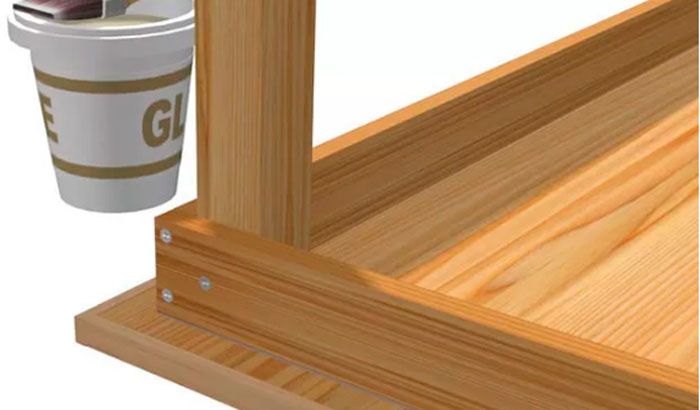
Since the frame of our table is ready-made, the leg should be fixed inside one of its corners. The lower cut is placed on the countertop, and the two sides will abut against the frame. All places that come into contact with the frame are coated with glue and connected with confirmations or fastening screws
Important! Better to make the screw holes well in advance. This eliminates the possibility of tree splitting.
Why not use nails and a hammer? Not everyone knows the skills of working with a hammer - here it is dangerous not only to tap on the finger. Excessive zeal can easily damage wood by splitting it. Confirmates and screws hold the tree much stronger.
As soon as the leg is fixed, the angle is immediately checked: there should be no deviation from 90 °. The operation is repeated with other legs. You can attach the legs directly through the countertop, but this will affect the aesthetic component of the product.
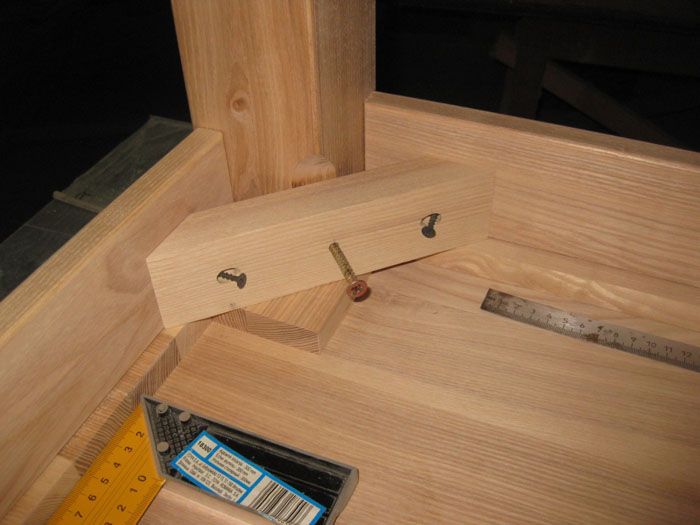
Another way to assemble the frame and attach the legs. The frame does not cover the entire space, but only connects the legs together. Both are durable and comfortable
Related article:
Pallet furniture: photos of the best ideas. What can be made from pallets for an apartment, office and summer cottage; rules for the selection and handling of pallets; master classes on making a table, sofa, bench, armchair and shelving - read our publication.
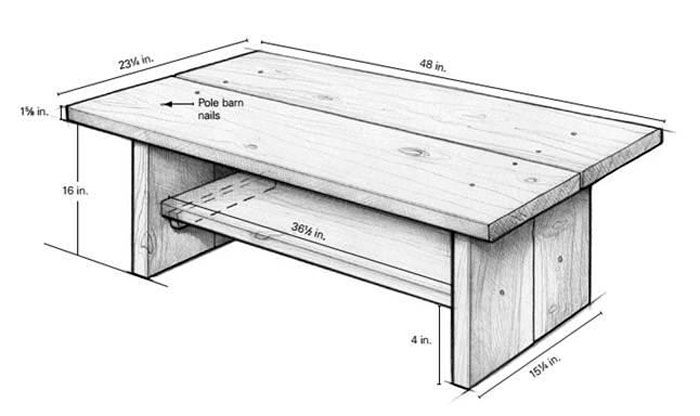
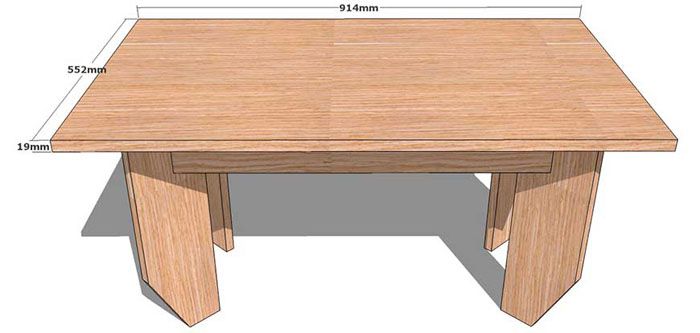
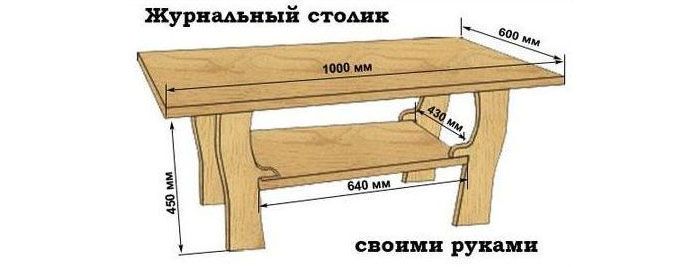
DIY wood coffee table
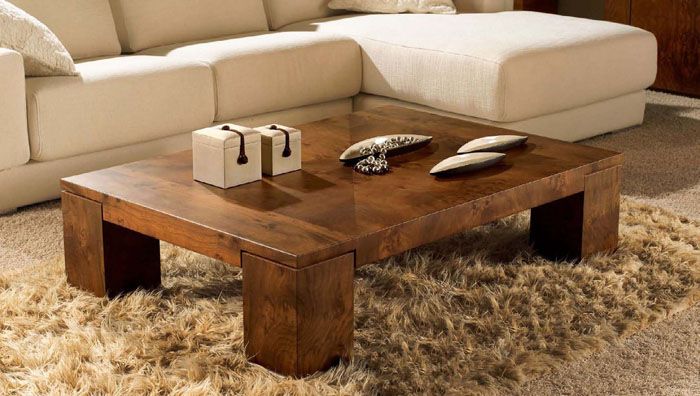
Coffee table - not only a beautiful element of the interior, but also a useful one. No need to look for where to put a book, gadget, glasses, TV remote control in a prominent place. Such necessary structures are made from different materials: metal, glass, plastic, laminated chipboard, wood. But let's leave the other materials alone and concentrate on working with wood.
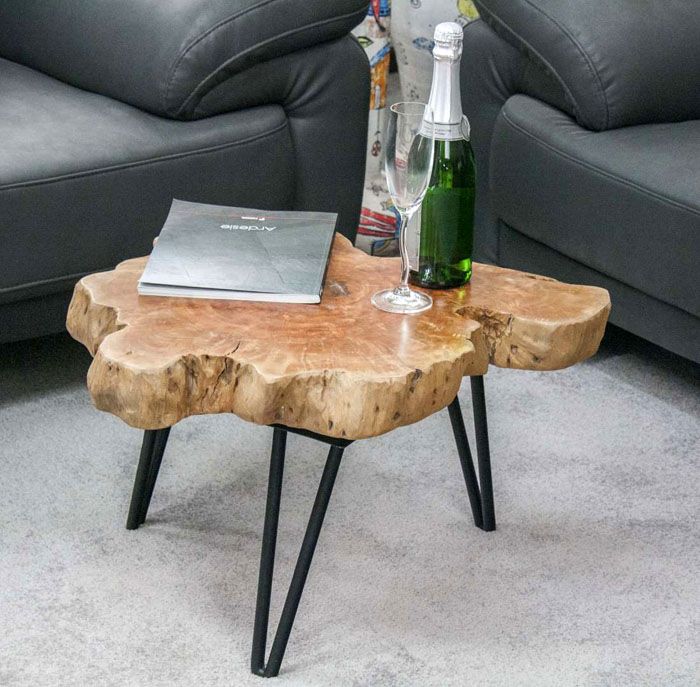
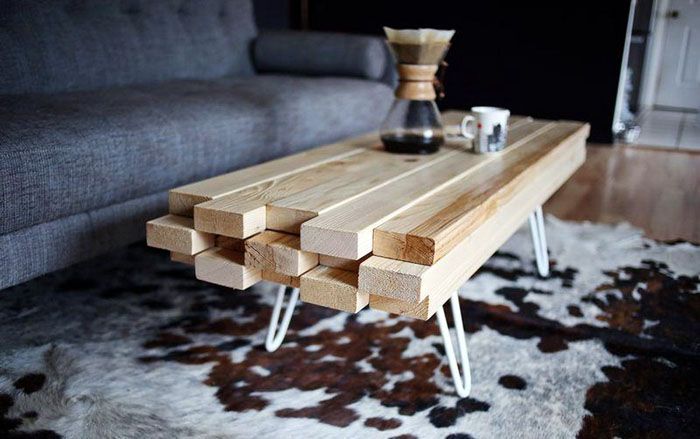
If you take metal legs and a saw cut from a large tree, you can add an interesting twist to the living room. This is not the most difficult option for making a table.
The choice of a wooden table top for the table depends on the expectations of the owner of the product.Someone wants something massive, while others prefer light options. Let's dwell on a simple solution.
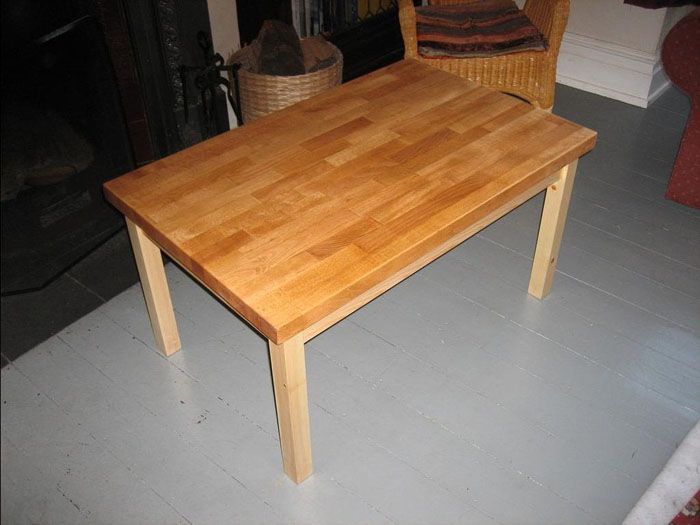
We buy five boards of 30 × 150 mm and process them to perfect smoothness. We immediately saw off the desired length on the countertop: you should get 6 identical canvases. We take four bars on the legs, 6 sheets of shorter length on the lower tabletop, 4 narrow slats for the frame.
We begin the process of assembling a small table with our own hands from wood.
- The lower and upper countertops are laid on the work surface with the wrong side facing you. Boards are stacked tightly to each other, gluing them together. As soon as the boards grab, the slats are attached to the top tabletop. They will serve as a frame and fastening element. They can be glued or screwed on with self-tapping screws. A self-tapping screw is screwed in the center of the rail into each of the boards.
- The legs are screwed to both the tabletop and the slats. You can use the furniture corners.
Video: the process of making a coffee table from wood
DIY wood table with benches in the gazebo
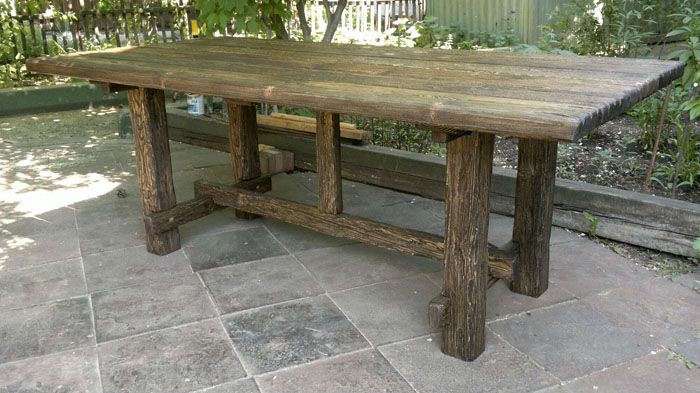
It's time to set aside time and build a wooden garden table.
It is best to take boards of standard sizes. Studs (suitable with a length of 16 cm), washers (24 pieces) are purchased at a hardware store. Long nails (8 cm) will do for a garden gazebo.
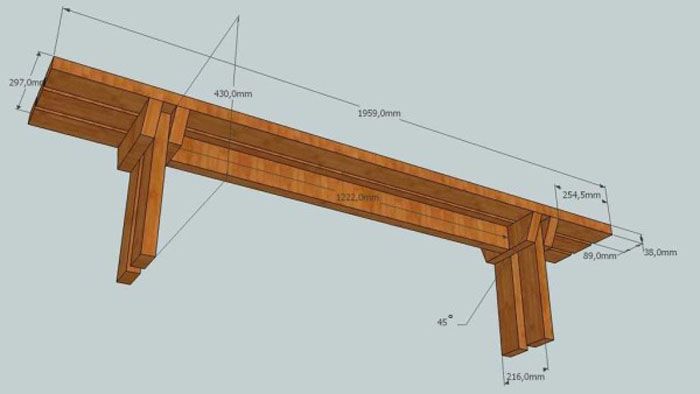
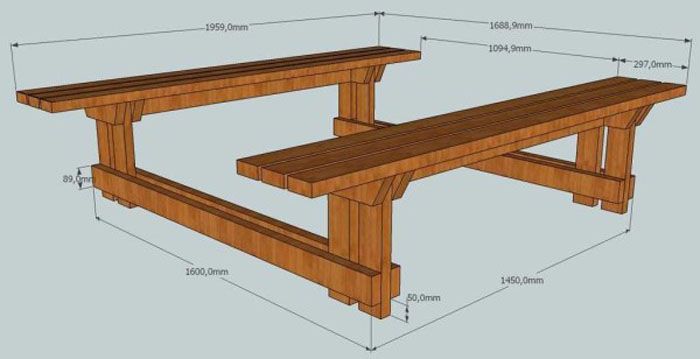
- We prepare the boards according to the drawing. Bench boards are prepared in double size. All parts must be sanded, especially the ends.
- To make the benches collapsible, it is better to fasten their elements with washers and nuts. In this case, the kit is perfectly disassembled and hibernates in a compact form in a garage or shed.
- The short pieces that are used to hold the three seat planks together must be sawn off at a 45 ° angle at the edges. We lay out three boards with a gap of 5-10 mm and, stepping back from each edge by 370 mm, we attach a fastening element to them. Then we nail the legs with nails and close the structure with another such short element. For stability, everything must be pulled together with studs and bolts.
- At this stage, you need to fasten the benches to each other using four boards (160-165 cm).
- Unlike the fastening elements under the benches, at the table they are cut at an angle of 52 °.
- Each table board is held together by two finishing nails.
- To make the cruciform legs, you need to take two boards and cross them so that there is 64.5 cm between their ends. It is better to mark the intersection with a simple pencil. To connect, you need to create a groove: the thickness of the board is cut in half to the size of the second board. The same groove is needed on another board. You need to fix everything with four nails. The legs are attached to the benches, calculating an equal distance from each. The assembled cross elements are attached to the table top.
Painting a product or simply varnishing is a matter of taste.
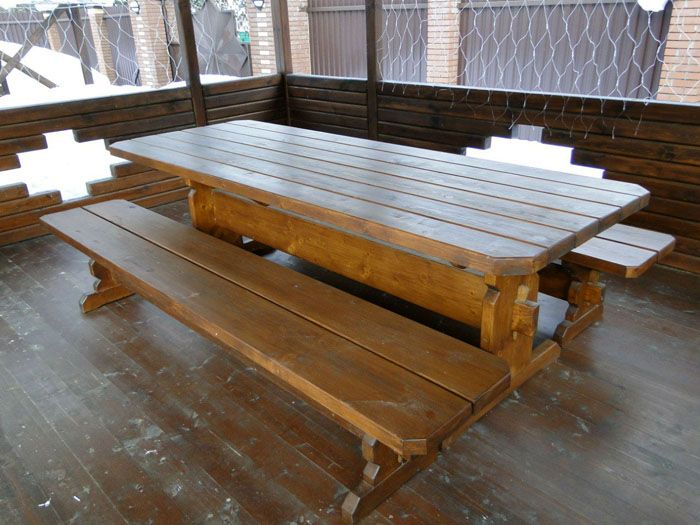
To create a table with your own hands from wood for a summer residence is not only work, but also pleasure. You will rightfully feel proud when you look at your work.
To some, such simple instructions for assembling a table may not seem enough. If you're new to carpentry, don't try to make something amazingly beautiful right away. It is better to master the principles of work and do a solid thing than spoil the material and waste time. And having assembled your own simple furniture, you can already master new techniques for working with wood and become famous as a jack of all trades.


