DIY paving slabs laying video: step-by-step instructions and expert advice
Trotary tiles are an excellent solution for decorating paths in the garden, in the country or in a personal plot. This is a very durable material that can withstand both difficult weather conditions (heat or cold) and high mechanical loads: for example, you can safely put a car on the surface. Such tiles do not slip when there is ice on the street, do not fade, do not lose their visual appeal, plants do not grow through them. This material is relatively inexpensive and very easy to install, for which a video of laying paving slabs with your own hands can be useful. Step-by-step instructions are given in our article, and after reading it, you can learn how to perform this type of work yourself.
The content of the article
Types, pros and cons of material
Before laying paving slabs and spending money on their purchase, you need to find out what types the market offers and decide which option is right for you.
Usually, two types of such products are distinguished, differing in the type of creation:
- Vibration casting: during manufacture, a special container is poured with concrete, after which vibration is turned on. The task of this process is to expel excess air from the mixture. The result is a product with a smooth, even surface.
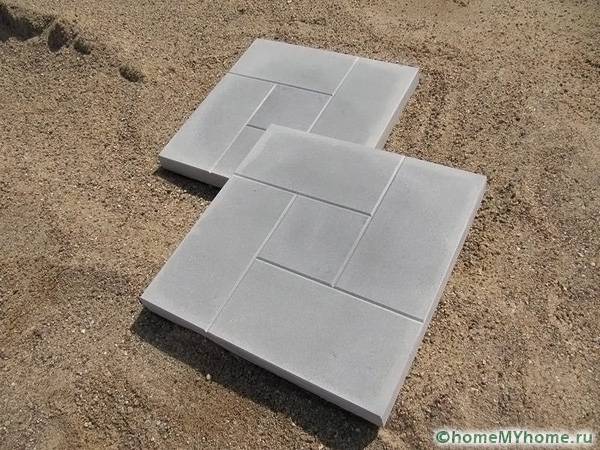
- Vibration pressing: such a tile is also made of concrete, but it is tamped with press... The product is obtained with a rough surface, but does not slip and is not afraid of low temperatures.
The advantages include the following qualities:
- No special equipment is required for laying. This can be done independently using a constructively simple tool, which makes it possible to significantly save money on installation. A video of laying paving slabs with your own hands in the form of step-by-step instructions allows anyone to deal with the nuances.
- The service life of the product is over 30 years. Having laid the material once, you will forget about repairing tracks in your possession for a long time.
- The tile is not afraid of the influence of the environment; it can be washed with various chemicals. Large physical exertion is not terrible either: the surface can easily withstand the weight of a truck.
- Products of this category are made from natural materials, therefore they are completely safe for people and animals. They do not emit harmful vapors and other hazardous substances.
- The material does not burn and is not afraid of high temperatures, does not heat up in the heat.
- You can buy products in various colors, while the surface will not fade over time. The paint does not wear off during the operation of the coating, since pigments are added during the production process directly to the concrete.
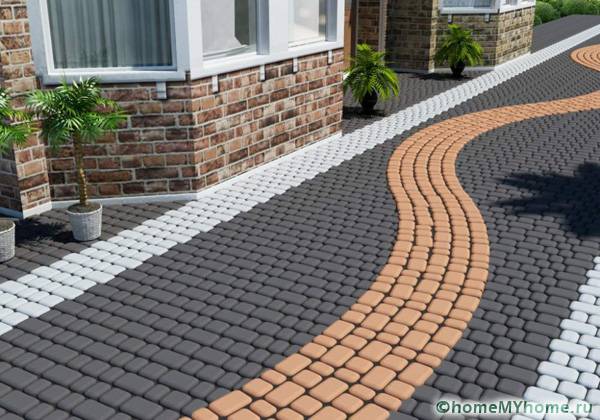
- The variety of shapes allows you to use a design approach in the design of the site.
- You can arrange a crushed stone base or make it out of concrete.
Related article:
Paving slabs for paths in the country, prices. Varieties of tiles for paths, photo examples and prices for laying and material in a separate publication of our portal.
Laying paving slabs with your own hands: step by step instructions
Before you start laying the material, you need to get the products themselves. There are various ways to do this, and the simplest but costly option is to go to the store and purchase the products you like. However, you can make the material at home.
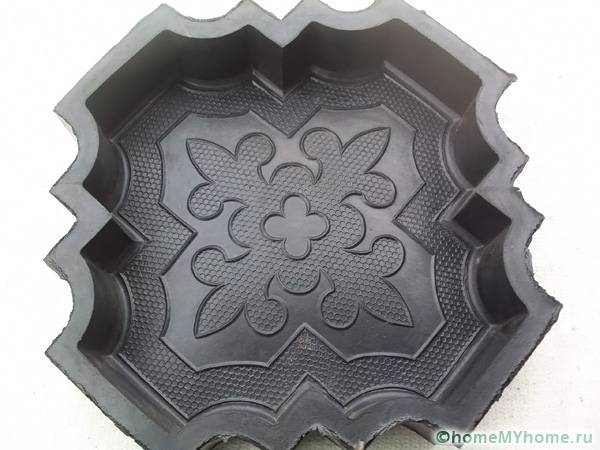
To get started, you need to purchase a casting mold. This is a special item made of plastic or rubber that is sold in hardware stores. These forms are inexpensive, and they are enough for about 450 castings. This is enough for homemade small batch production. If the mold is plastic, its resource is slightly less - about 250 castings, but the price is half as much. If you are planning to create wide paths, it is better to get a large shape that will cover about a square meter of area: this will save manufacturing time and labor costs.
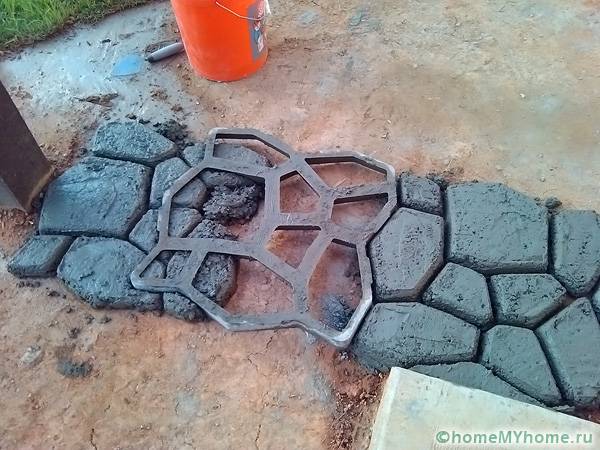
In order to get the tiles, the mold is placed on plywood sheet or any other material that has a flat base and does not adhere to concrete. The molds themselves are lubricated with a specially made compound, at home you can use motor oil diluted with water, vegetable oil, laundry soap diluted with water.
Concrete mix
To make the tile durable and of the desired color, you need to add a plasticizer and pigment of the color you need to the concrete. The plasticizer should not amount to more than 3% of the total mass of the mixture. For example, to prepare 40 liters of concrete, only 200 grams of such a substance is required. It is diluted in hot water in small portions and added to the mixture gradually. The dye is also pre-mixed in 3 liters of water with a temperature of at least 40 degrees and not higher than 50.
Wet concrete is used for manufacturing. To create a mixture with the desired properties for 3 buckets of cement with a plasticizer, use 2 buckets of water. You need to start with water, then a dry mixture of cement is gradually added to it. After that, the dye and plasticizer are poured into the already mixed composition. You should get a homogeneous mass, resembling a thick porridge. There should be no lumps, you can mix it both with your hands and with a concrete mixer.
The composition must be in the form until completely solidified. This usually takes about a day. Then the product is carefully taken out of the mold, which is then cleaned, oiled and a new portion of concrete is poured into it, if necessary.
Helpful information! There are also some small tricks.If you have a wide track and you use a large form, then you can pour it on the spot, then you do not have to lift the resulting rather heavy concrete mass.
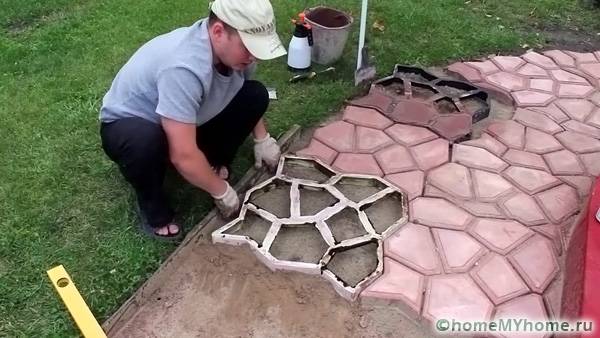
To do this, you need to prepare an even sandy base. The form is placed face down. A small layer of gravel is poured through the holes and then poured with a concrete mixture. In order for the surface to turn out smooth, it is necessary to let the mixture dry well, otherwise the edges may turn out to be torn. The form should be placed as tightly as possible to the finished tile. You can use several forms at once.
To understand in more detail how do-it-yourself paving slabs are laid, the video can be viewed below:
Related article:
Paving slabs in the courtyard of a private house: photo. Many examples of paving slabs and installation options in a special publication of our portal.
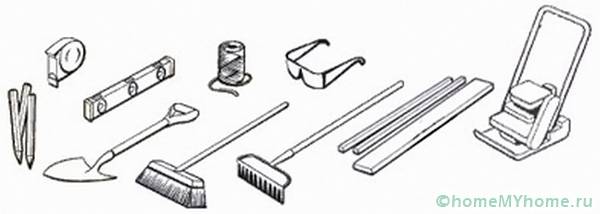
When the material is already there, you can proceed to the rest of the stages of activity. It is required to collect the tools in advance. To work you will need the following items:
- Manual rammer.
- Hammer with rubber tip.
- Cord.
- Pegs.
- Building level.
- Pipe (section is not important).
- Spray hose.
- Sand.
- Cement brand M300.
- Garbage broom.
- Rake.
How to make a garden path with your own hands: video instruction
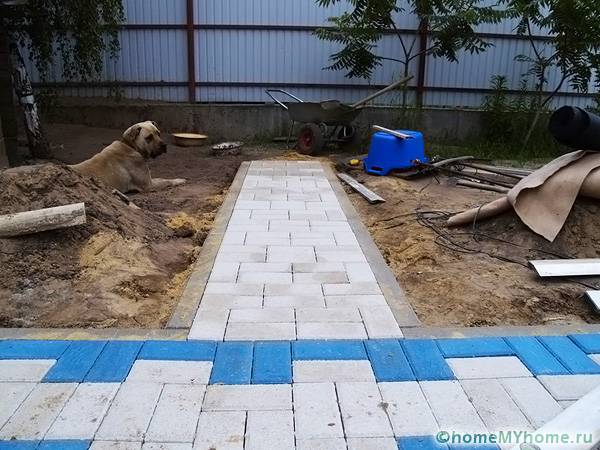
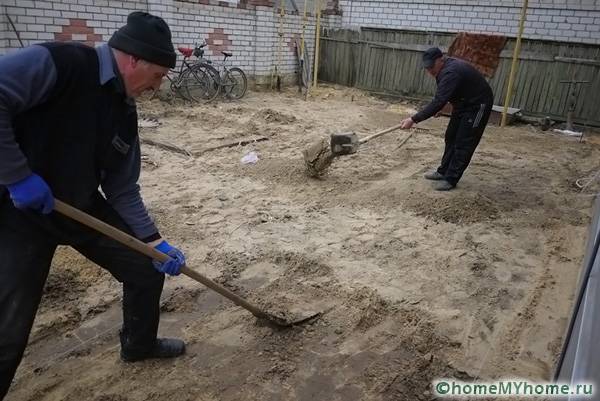
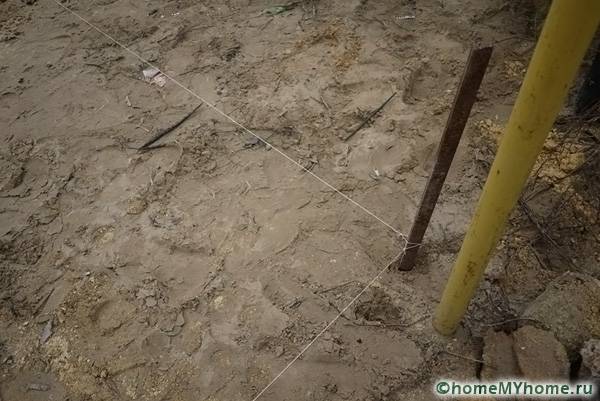
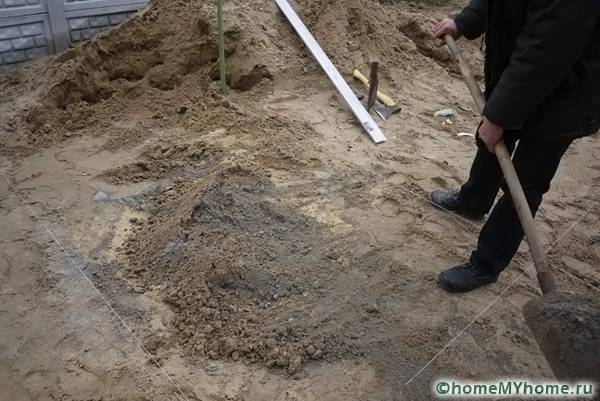
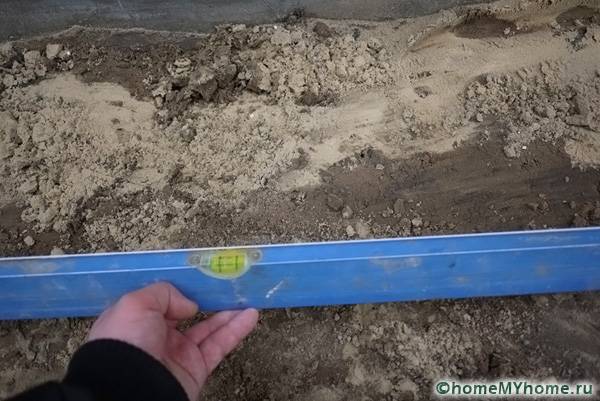
Choose a place where the future track will be located; it should be borne in mind that it should have a slope of approximately 0.5 cm per meter. This is necessary in order for the water to go to the lawn. Having chosen a place, you need to start equipping the base. To do this, place the stakes at a height of 5-7 cm, pull the cord. Sod, debris and excess stones must be removed, and it is desirable to get rid of the grass.
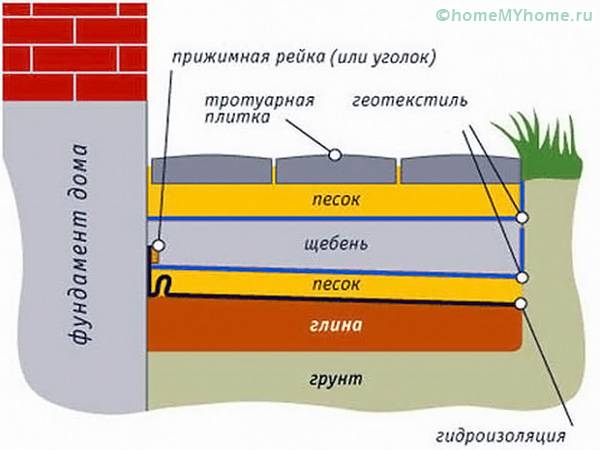
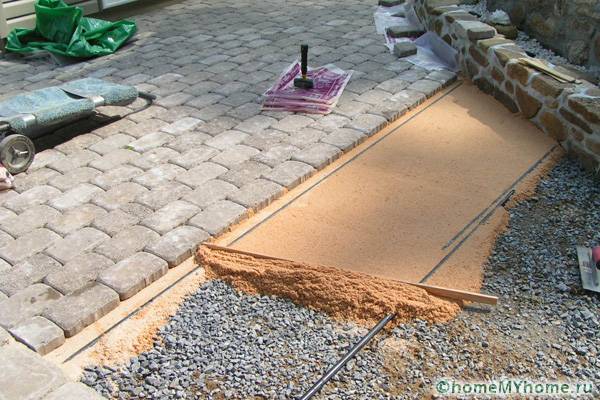
Before starting work, you need to make the site level. Remove excess soil with a shovel, fill the holes and straighten them with a rake. If the soil is soft, it is moistened with water; small irregularities will help remove sand. The base should be about 3 cm deeper than planned, as the soil will shrink under the weight. When the soil is ready, sand is poured onto it. A lot of this material will be required: the layer should be at least 20 cm. The sand needs to be well leveled and tamped: you can watch the preparation process in the video of laying paving slabs with your own hands (step-by-step instructions for the process).
The slope is best done longitudinally transverse. If you plan to lay any communications, they must be carried out at this stage of work. In order for weeds not to germinate between the fragments, it is necessary to lay a layer geotextile... In order for the sand to turn out smooth, it can be rolled using a prepared pipe. The tamped layer is rolled out like dough. In order for the future sidewalk to become stronger, the base must be covered with crushed stone or filled with cement mortar. A mixture of sand and cement is used for this procedure. After that, the crushed stone is covered with an additional layer of sand, which also needs to be tamped.
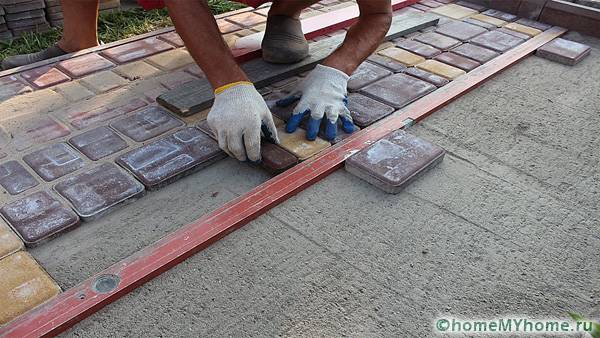
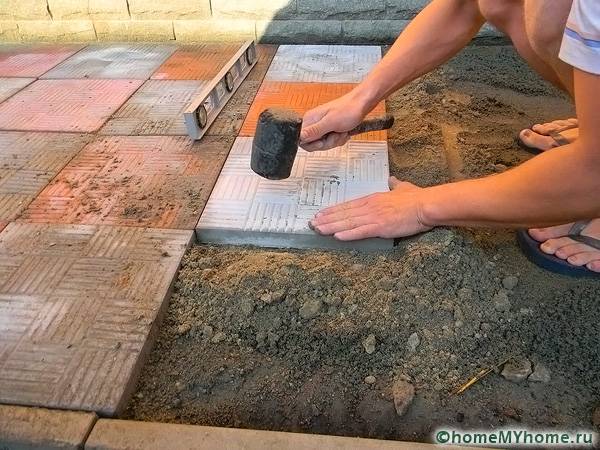
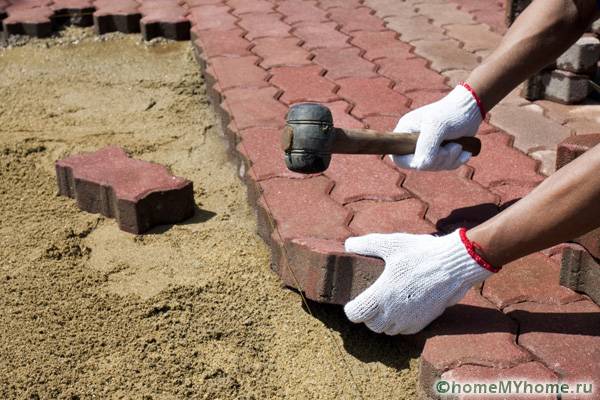
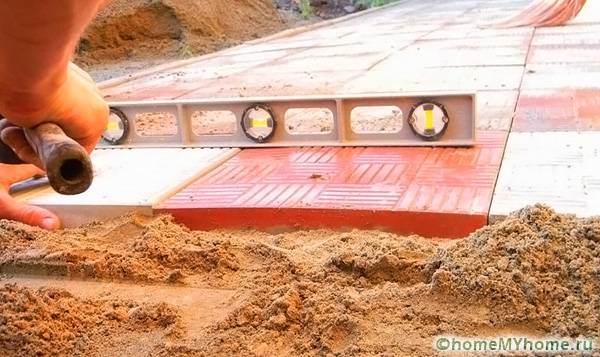
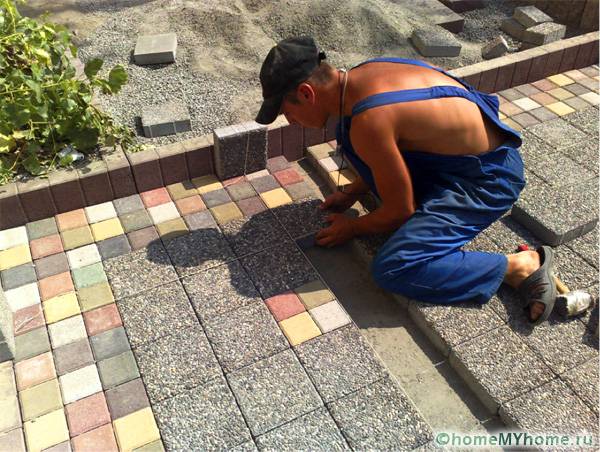
Then lay an even layer of dry mixture on the base. It is advisable to strengthen it with a channel. In order for the tile to lie flat, it must be laid along a cord, and so that the seams are of the same width, you can use special crosses for laying the tile.
You need to level it by hitting the product in the right places with a rubber mallet.
After the tile is laid, all the seams between the products are covered with a cement-sand mixture and poured over with water.The excess is removed: this allows you to create a beautiful monolithic structure. If the coating has extra edges, they can be removed with a grinder. After the track is ready, you need to install a curb on the sides: it is fixed with a cement mixture. For those who need to visually see how paving slabs are laid with their own hands, a step-by-step instruction in a video format will help to understand the nuances of the process:
Expert advice and recommendations
When working, it is worth considering a number of features:
- If the scale is colored, the cement can leave a white coating on the surface. To avoid this, you can fill the joints with clean sand.
- Get started with everything you need ready in advance. Calculate the amount you need, and if you fill the mold on the spot, take your time to remove it.
- If you make a path with a slope, then the yard will seem larger.
DIY paving slabs laying video: step by step instructions
It is quite possible to lay the material with your own hands without much experience. This requires only:
- The tile itself;
- Building materials and tools;
- Strict adherence to instructions.
You will be able to improve your yard or garden without the extra costs of craftsmen. If you need to know how to make a garden path with your own hands, the video presented at the link below will allow you to see the process in detail.
Video: creating a garden path


