DIY garden paths at low cost: photos, ideas, advice
Tit is hard to imagine a well-kept garden without garden paths that bend flower beds and gazebos... Originally designed, they not only fulfill a utilitarian function, but also form part of the landscape. The coating can be very diverse, the main thing is that it is not difficult to care for it, and it is strong enough to last for more than a dozen years. The task of any summer resident is to make garden paths with their own hands at low cost, but with an optimal result.
The content of the article
Do-it-yourself garden paths at low cost: varieties
When choosing a trail style, you need to consider site landscape and the overall design of the residential complex. Garden paths can be classified according to the material used:
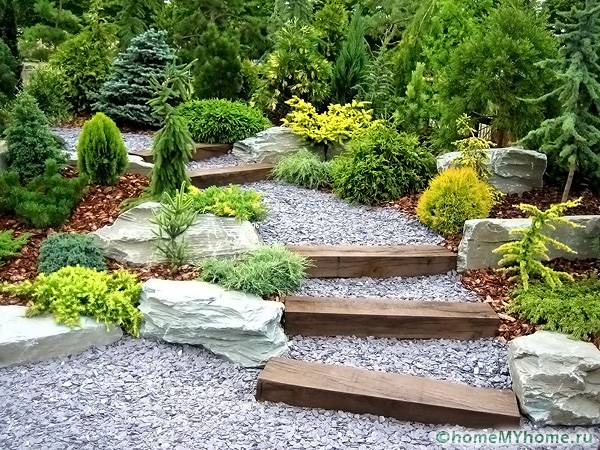
- Gravel. Significant disadvantages are hidden behind the simple structure and attractive appearance of such a coating. Such coatings are difficult to clean of foliage and snow, they will not tolerate the arrival of equipment.
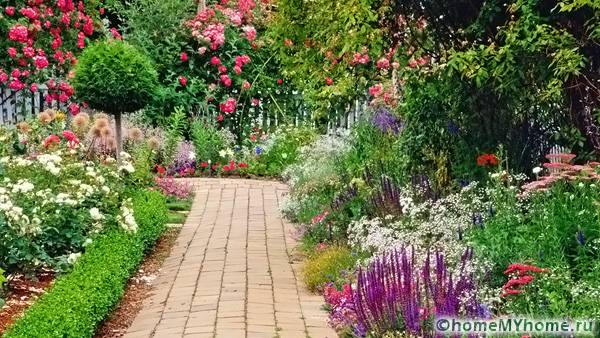
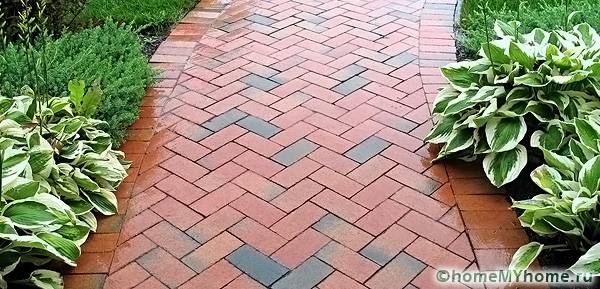
- Brick. Such a coating is not expensive, it can be laid without special skills. If you use not a simple solid brick, but a clinker material, the track will last a very long time.
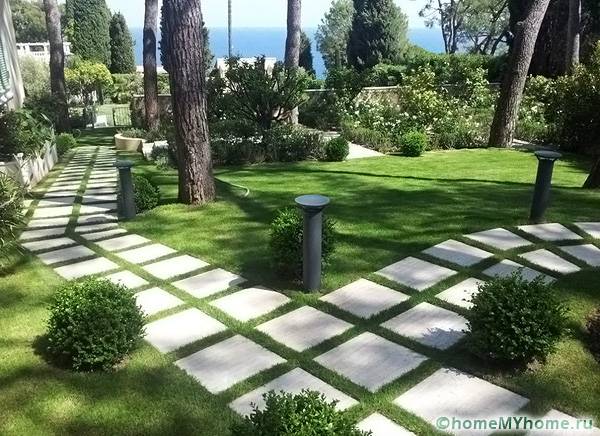
- Concrete. Making a concrete walkway in the country with your own hands is not as difficult as it seems. Materials for work are affordable. If you tint the concrete and use curly shapes, you can achieve great results.
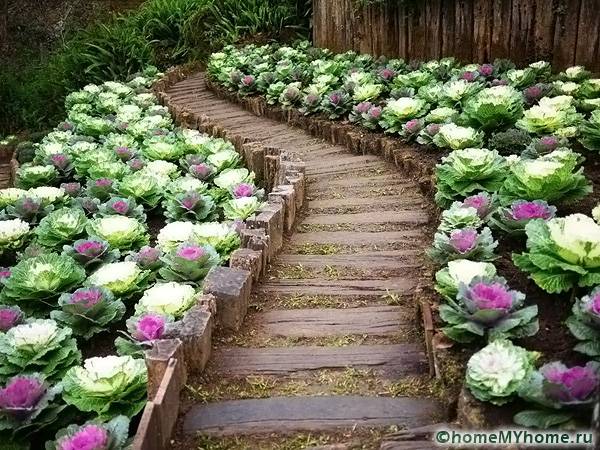
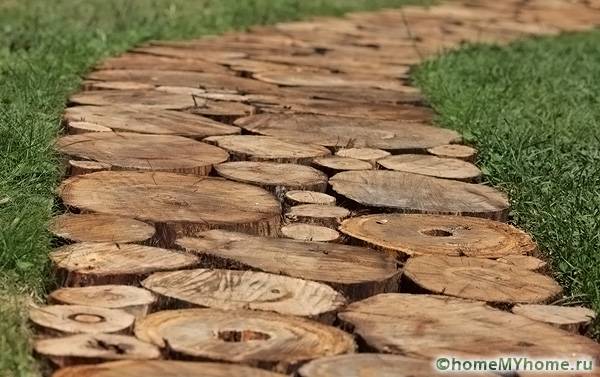
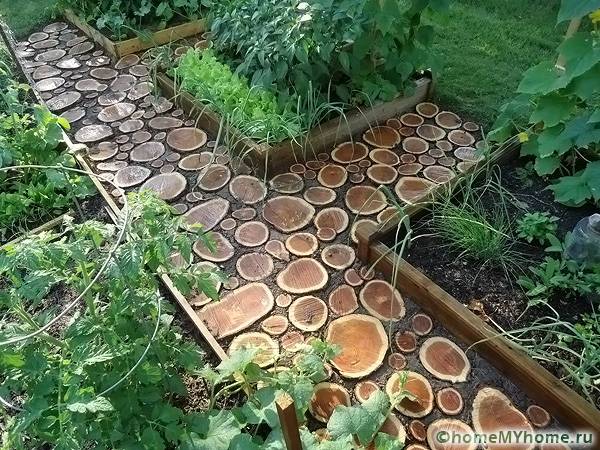
- Wooden. The paths made from tree trunks look very original. If the wood is treated properly, it will not decompose for a long time.
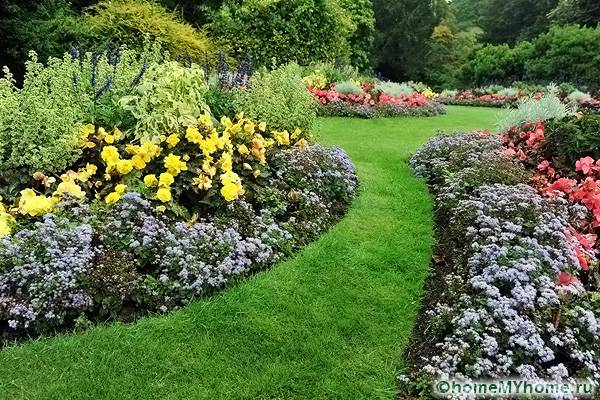
- Herbaceous. Green paths require careful maintenance. They need to be cut regularly, watered in dry conditions and planted. But on the other hand, they fit perfectly into any country landscape.
- Ground. This option is only suitable for temporary use. In wet weather, dirt will stick to your shoes, they can be overgrown with weeds.
Related article:
Paving slabs in the courtyard of a private house: photo. Lots of examples paving slabs and styling options in a special publication of our portal.
Forms for the manufacture of concrete garden paths
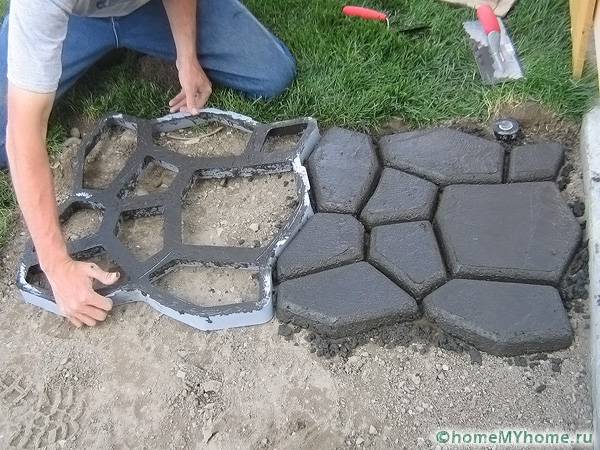
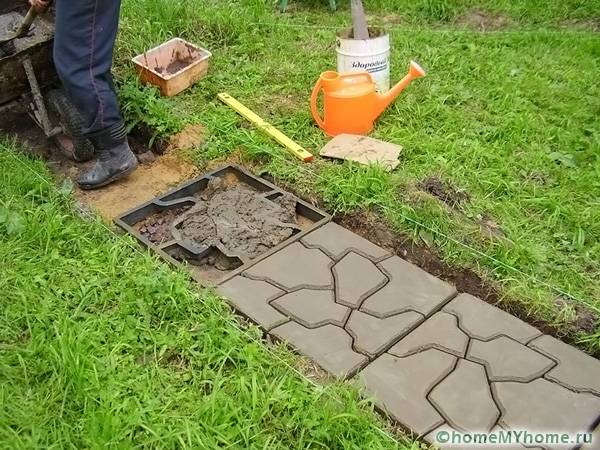
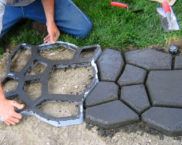
One of the most affordable options is paths created using a mold for making garden paths. Such a coating is capable of withstanding a solid load, for example, driving a tractor. Plastic molds can be bought in a store, their average cost is about 900 rubles. Working with them does not require special skills.
Before you start pouring, you need to remove the topsoil by about ten centimeters and prepare a sand and gravel pillow. After that, the form is installed and poured with concrete. After 10-15 minutes, the form is removed and rearranged to another place. You can use such a sidewalk for its intended purpose in five days. Dyes can be added to the cement composition.
Important! It is necessary to pour concrete on a damp base and, after pouring, during the hardening period, moisten it, preventing cracking.
The mold for concreting can be made independently from boards or iron. After the formation of the solution, sand is poured into the gaps between the tiles.
Sand and gravel paths
Do-it-yourself garden paths with low costs can be made from crushed stone, gravel or special colored backfill. Such sidewalks, among other functions, will also play the role of a security alarm; it will not be possible to walk silently along them.
Helpful information! Gravel paths can only be laid on level areas; on slopes and depressions, gravel will roll and collect.
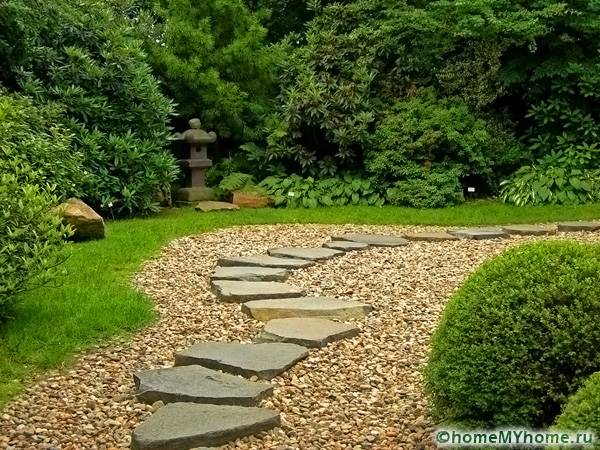
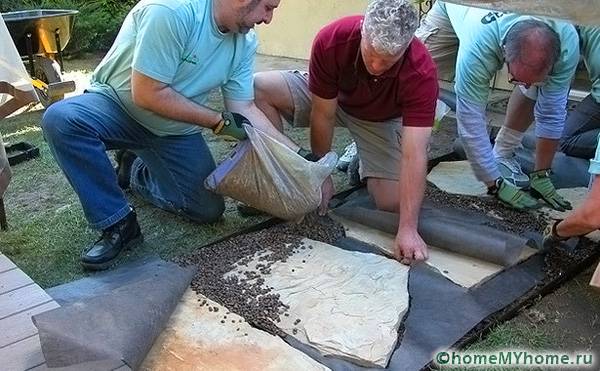
Backfill surfaces do not tolerate straight geometric lines. They should be curvy and curly. The topsoil is selected along the contour of the future path. Geotextiles must be laid at the bottom of the trench, it will not allow the material to "go" into the ground. The edges are fixed border tape or laid out with pebbles. You can place large flat stones among the gravel.
DIY brick paths: photo of masonry options
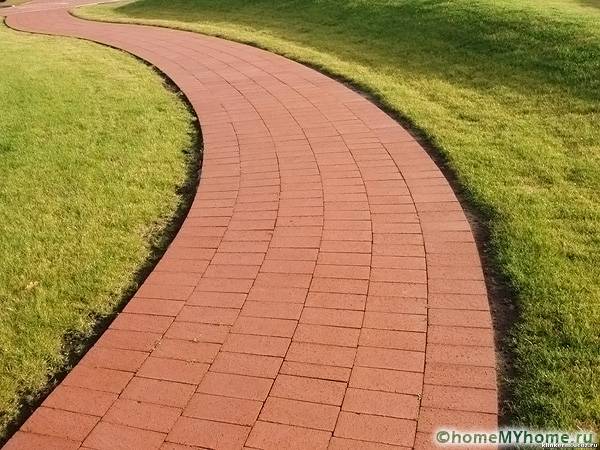
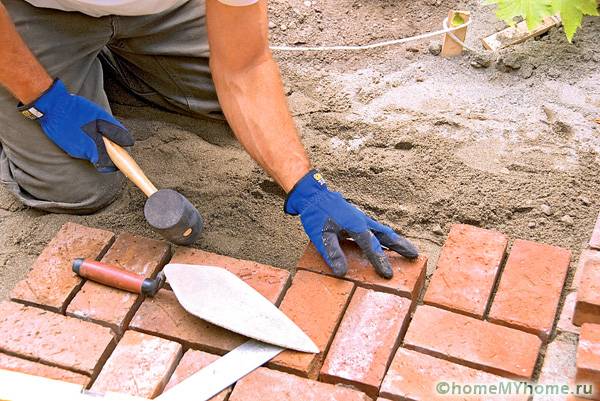
Often on a suburban area after construction or repair work, a simple brick remains, which can become an excellent material for paving. For work, you will need a shovel, a building level, a rubber hammer, hand tamping, sand and cement. As with any coatings, it is best to strip the topsoil about fifteen centimeters away. A cushion of gravel and sand is placed on the geotextile. The following do-it-yourself brick track photos show different versions of the pattern:
Having decided on the pattern, the curbs are first installed. Their role can be played by the same bricks placed on the edge or ready-made elements. Then bricks are installed on a flat surface (this must be checked with a building level). There should be a small distance between them, which will later be filled with sand. During installation, the bricks are lightly knocked together and leveled with a rubber mallet.
Wood and other materials
A colorful and unusual version of garden paths - from wood cuts. Hardwoods are particularly durable. Cuts from oak, acacia, beech are the best choice.
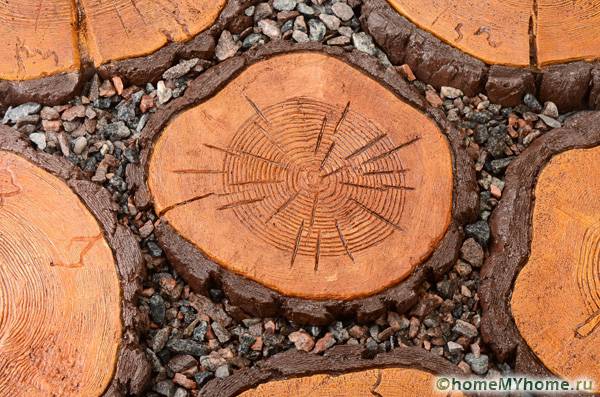
The tree trunk is cleaned of bark and cut into dimes 10-15 centimeters thick. Each element must be treated with linseed oil. If it is not at hand, you can use the usual practice.After the cuts are dry, you can start laying. The base is prepared in the traditional way, using geotextiles and sand and gravel mixture. Geotextiles will allow moisture to pass through, but will prevent weeds from growing through the cover.
The cuts are placed on the pillow. This work requires a certain diligence: each element is different in size and shape, you need to select them so that there are as few empty spaces as possible. Small spaces are filled with cuts of thick branches. You can use small stones and pebbles for voids. After a while, the tree on the path will darken, this is a natural process.
Useful advice! So that you can walk barefoot along the path, it is better to sand the top side of the cuts.
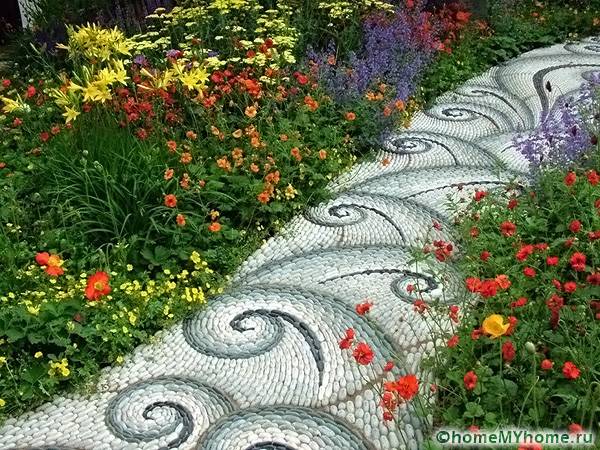
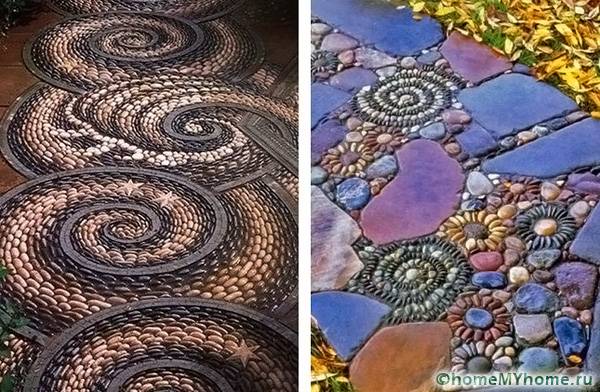
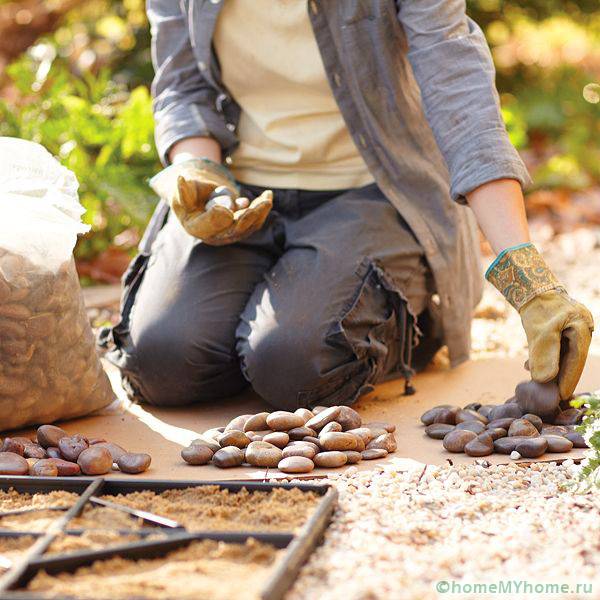
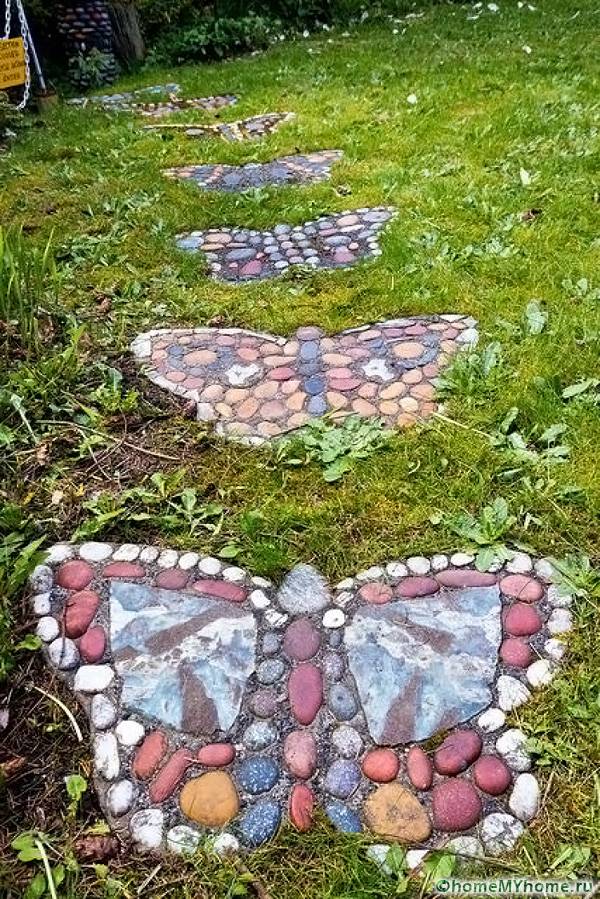
Natural stone paths will be a logical continuation of the alpine landscape. Large flat stones of different sizes and colors are stacked together with small ones. Special chic - paths of colored pebbles, laid with patterns. A garden path like this will take a lot of time and patience, but the results will be worth it. The stones are laid on a cement mortar. Such coatings are practically eternal, do not fade and do not need to be looked after. DIY garden paths, photos of pebble paths:
Do-it-yourself garden paths at low cost can be easily and quickly made from ready-made plastic modules. They are sold in garden shops and are relatively inexpensive. Items can be put away for the winter and washed as needed.
Related article:
Rubber tiles for paths in the country. Prices, manufacturers, types, photo examples of crumb rubber products in a special publication of our portal.
Secrets of the masters
- Small lawn grass can be planted between bricks or tiles. If you cut it in a timely manner, the tracks will look very colorful.
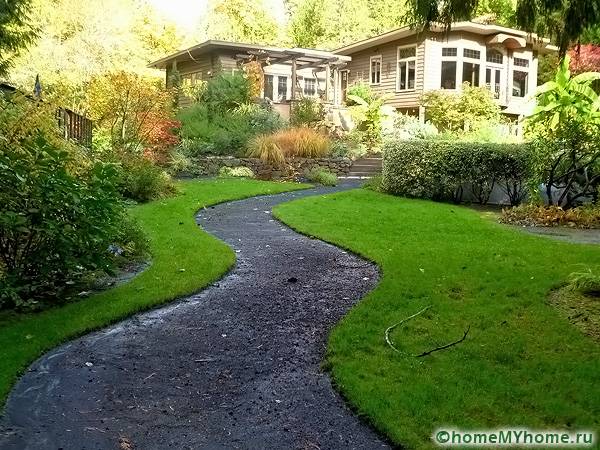
- Do not turn garden paths into straight arrows. Graceful twists and turns will add charm to them.
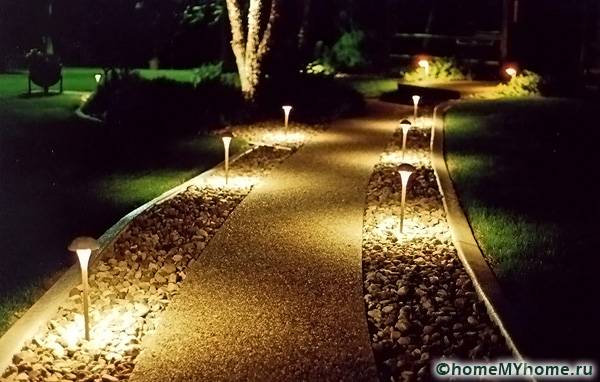
- In the evening and at night, it is better to illuminate the paths with garden lamps with photocells. It is not only beautiful but also safe.
- Wooden paths should be located in sunny areas so that they do not get damp.
- It is better to start work on arranging the paths in the autumn. During the winter, the paths will be compacted and settled.
DIY garden paths can be made from a variety of materials at low cost. The main thing is that they fit organically into the landscape and be comfortable and safe.
Video: tips for making tracks yourself in the country


