From manufacturing to installation: DIY paving slabs
Every year, concrete pavement pavement “conquers” new territories not only on city roads, but also in private estates. Therefore, home-grown owners, trying to cut costs, are looking for ways to independently lay paving stones. And for some, do-it-yourself paving slabs are the main article of budget savings. In today's review, we will tell you how to properly make paving slabswhat production methods exist, what tools, equipment you need for this. Along the way, you will learn about the manufacture of paving molds and find detailed step-by-step instructions for self-installation.
The content of the article
- 1 Which tile is better and more profitable - homemade or industrial
- 2 Paving Slab Production Methods
- 3 Making paving slabs with your own hands at home: step by step instructions
- 3.1 Equipment and tools for the production of paving slabs
- 3.2 DIY vibrating table making drawings
- 3.3 DIY molds for paving stones and paving slabs
- 3.4 Paving slab mortar composition - components
- 3.5 Working cycle for the production of paving slabs
- 3.6 Drying rules for paving slabs and paving stones
- 3.7 Features of demoulding finished products
- 4 How to check the quality of the finished tile
- 5 Laying paving slabs with your own hands - a short step-by-step instruction
Which tile is better and more profitable - homemade or industrial
Having set out to lay out the track on the site with concrete tiles, the questions of the benefits and quality of such products always arise: which is better and more economical - to do it yourself or buy? Let's consider this question point by point:
- concrete quality in any format requires constant control from the initial inspection of raw materials to testing samples at 28 days of age. In turn, the implementation of such processes requires certain knowledge and, of course, a considerable budget for laboratory tests. Without such analyzes, it is only by great luck that you can get a quality product from concrete. In production facilities, even small ones, such quality controls are mandatory;
- availability of equipment also affects both the quality and the cost of the final products. For the manufacture of any reliable and beautiful concrete product, high-quality vibration is required, which can only be achieved with the help of a vibrating table. Buying it is expensive, renting it is also not very profitable. Unless there is an opportunity to do it yourself. Do not forget, all this will affect the cost of products. In factories, however, such costs are paid off very quickly due to large volumes of manufactured products;
- product defect - the scourge of any production. Until the optimal selection of the composition is selected, until all the components are ideally matched to each other, until the best thermal and humidity regime is selected, and you never know what problems may arise in the first pairs. On an industrial scale, such troubles pay off pretty quickly and painlessly for the budget.
Attention! Often it is low-quality cement that can give rise to defects, as a result, it can only be thrown away, since it is not suitable for more similar products.
Are you ready for such risks? What if the investment in raw materials and manufacturing of the necessary equipment does not pay off? Where are you going to add low-quality paving slabs? These are the questions to ask everyone who wants to start producing paving slabs for their own needs. In most cases, it is more profitable to buy paving slabs and start laying it yourself. If this is not about you, read on and learn the secrets of concrete science.
Paving Slab Production Methods
There are several ways to make concrete paving. The characteristics and durability of products depend on the type of production.
Vibrocompression
A similar method of making tiles consists in hard compaction - pressing a semi-dry concrete mortar... At the same time, the minimum amount of water required for its mixing and hardening is added to the cement-sand composition. And, as you know, the less water in concrete, the better it is.
Products with a thickness of more than 35 mm are made in a similar way. It is these products that are called paving stones. Of the advantages, it can be noted:
- durability (but only subject to compliance with the production technology);
- good performance - if you have the necessary equipment, you can make up to squares or more at a time;
- availability of raw materials and their low cost - can be used sand with large inclusions;
- relatively low price on similar paving slabs.
It is for these reasons that city utilities opt for just such a sidewalk covering, turning a blind eye to the monotony of forms and the dullness of the color palette. The disadvantages also include the impossibility of making equipment from improvised means for the production of paving stones with your own hands and its considerable cost. So, if you have "laid eyes" on such products, you will have to buy them.
Attention! If a constant movement of machines is expected on the site, then it is best to opt for such small-piece products.
Vibration casting
Vibro-casting tiles are distinguished by their small thickness - from 10 to 35 mm, as well as by the variety of shapes with ornate patterns and unusual patterns. But, in comparison with the previous type, it has low strength and frost resistance. The process of making such products is a little more complicated and consists of the following stages:
- preparation of a solution, you can even do without a concrete mixer;
- its layout by shape and high-quality vibration;
- heat and humidity treatment - even in warm weather, without it, you can go anywhere, except that you can heat less and not so long;
- stripping;
- alignment of finished products.
This method is also used for the production of concrete facing stones for facades, fences, flowerpots, parebriks, overhead steps, balusters and borders.
Although there are many steps in one production run, it is not so difficult to reproduce them with everything you need. Therefore, we will consider home-made tiles using this technology. A small note, if you are planning to make ceramic tiles with your own hands, then you can forget about it, since the technology itself is so complex that some manufacturers cannot. And the raw material base for it is not as easy to get as for concrete products.
Related article:
Paving slabs in the courtyard of a private house: photo. A lot of examples of paving slabs and installation options in a special publication of our portal.
Making paving slabs with your own hands at home: step by step instructions
Where does any production begin - of course, with the competent arrangement of equipment and planning of the workflow. Let's consider everything in detail.
Equipment and tools for the production of paving slabs
What is required to start a "home" tile production:
- concrete mixer - an ordinary mobile one is suitable, even of a small volume;
- vibrating table;
- forms;
- a steaming chamber that can be replaced heated area in the garage, tightly curtained with a film (without steaming, there can be a lot of rejects when stripping);
- a barrel for washing molds from concrete (when re-pouring dirty molds, products are most likely to be defective).
Don't forget about inventory:
- buckets;
- shovels;
- trowels and spatula;
- volumetric dishes for plasticizer;
- electronic scales;
- small sticks longer than the size of the paving slabs (they will be needed if the product is to dry "on several floors", which only saves space);
- a place for stripping, and best of all, a comfortable metal table.
In principle, this is all that is required for the first batch. You will figure out what will be more convenient for you "along the way".
DIY vibrating table making drawings
As already found out, a vibrating table is needed for self-made tiles. Although it is not a tricky design, the assembly still requires special attention and care. The video below will tell you in detail how to do it better:
Also, our small selection of drawings will help technicians understand the structure of the sealing structure.
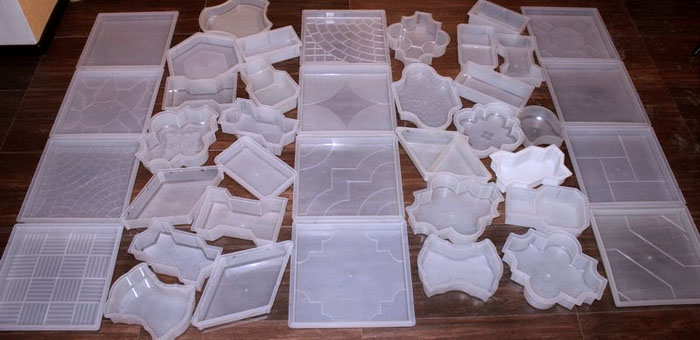
DIY molds for paving stones and paving slabs
Now the most exciting thing is the forms for the manufacture of paving stones, or rather, paving slabs. Today it is possible to purchase practically any standard size with any ornament. But you need to take into account the ratio of the shape perimeter and the thickness of the future product. The most successful sizes are considered to be 300 × 300 cm or less.

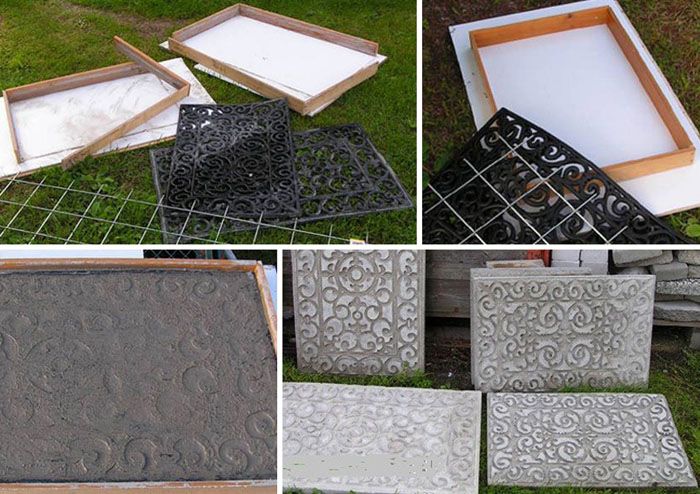
If buying forms for paving slabs is not your option, we offer a small video tutorial that will tell you how you can make them yourself, literally from improvised means:
Paving slab mortar composition - components
The selection of the optimal concrete composition of the working mixture for sidewalk products is not an easy task. But if someone succeeded, then why can't we? What you need to know about materials:
- the optimal solution grade is M300, M350, not lower in any way;
- cement is best to take M500D0, but you can do with M400D20, and only from trusted suppliers;
- river sand without large inclusions, clean, up to 2.5 mm;
- water can be heated up to no more than + 30 ° C;
- if necessary, masonry mesh, cut according to shape parameters;
- plasticizers for plasticity and strength, available in your region, just forget about detergents, otherwise you will end up with a marriage. The use of plasticizers is optional. But even with their use, the quality of products will noticeably improve, as well as the cost price;
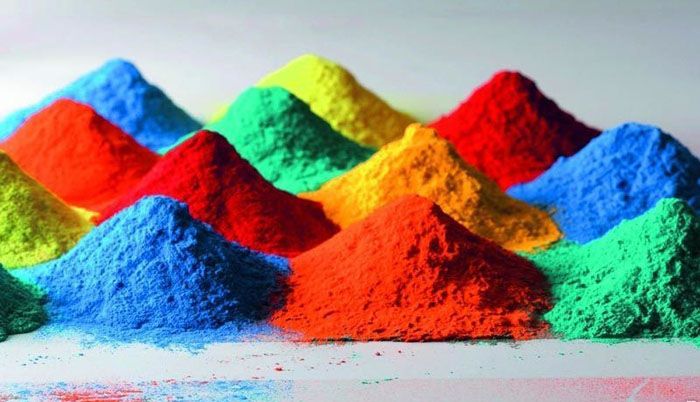
- for tinting, use special pigments, preferably organic.
The selection of the composition of this type of concrete is standardized by GOST 7473-94. But this does not mean that the main dosages are prescribed there. This technical document describes the general rules and regulations that M300 concrete must comply with. We also provide a rough selection of the squad. For each production, equipment and raw material, they are adjusted:
- the ratio of cement and sand is about 1: 3;
- water - the minimum amount for high-quality vibration;
- pigments are dosed no more than 4% of the cement mass, a higher content reduces the strength of concrete;
- the plasticizer is added by weight of cement, in accordance with the exact recommendations from the manufacturer.
Attention! Do not rush to make large batches and clog forms with them. First, run test checks in the lab. Only after confirming the good quality of the concrete obtained can it be launched into serial production. But the laboratory tests do not end there. To be sure of the quality of your products, bring concrete for inspection from each batch of purchased cement. But this is, of course, ideal ...
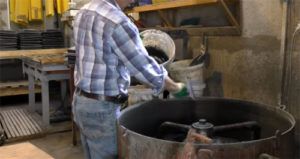
Working cycle for the production of paving slabs
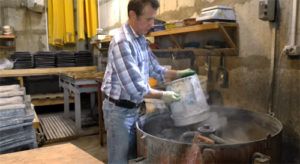
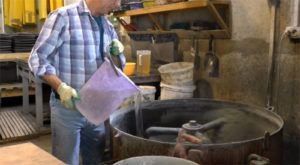
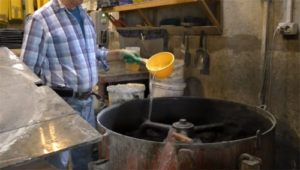
So how is paving slabs made with your own hands? Let's take a closer look.
Drying rules for paving slabs and paving stones
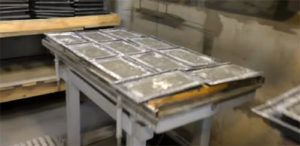
A good thermal and humidity regime is a guarantee of the quality of the future product. Of course, concrete can "reach" in natural conditions, but during this long period, which can take up to several days, concrete can erupt into the mold so much that when the formwork is removed, the front surface will be defective. Therefore, we provide room heating up to about + 40 ° C and cover the products with foil. After about a day, you can pull out the finished tiles, but only carefully.
| Photo | Stage | Description |
|---|---|---|
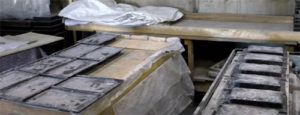 | After steaming | Products after aging |
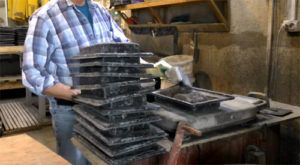
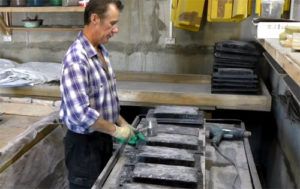
Features of demoulding finished products
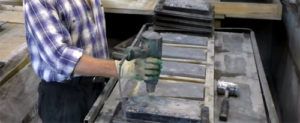
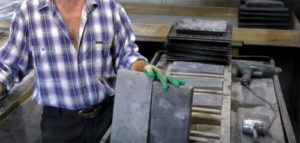
The stripping is carried out according to the following principle:
We leave the finished products to stand for about a week, and send the forms to the sink.
How to check the quality of the finished tile
So, the tile came out of shape without damage, but you still have doubts about how high-grade it turned out? There are several ways to check this, by the way, you can also apply them for purchased tiles (such methods do not apply to paving stones, only to vibrocasting products):
- Turn the tile over with the back side up and carefully examine it - gloss, porosity and peeling indicate an excess amount of water in the working composition, when a slightly bumpy surface shows a good quality of the mixture.
- Run the key along the face of the tile - if it is scratched easily and there are chips, then this is an indicator of poor quality.
- If possible, split the tile in half and look at the fracture, it should show a uniform concrete pattern, as well as a completely even paint.

Laying paving slabs with your own hands - a short step-by-step instruction
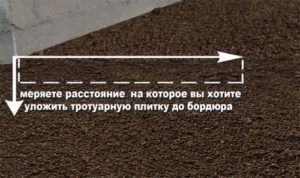
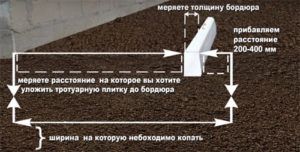
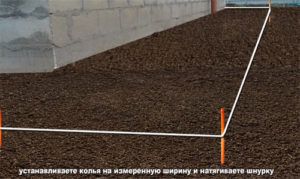
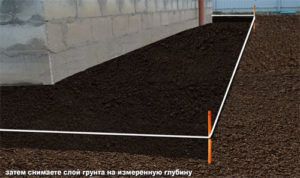
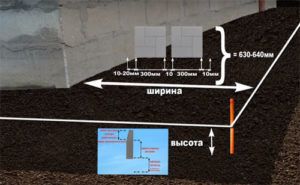
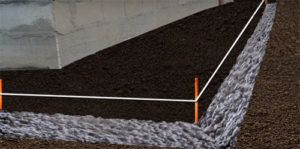
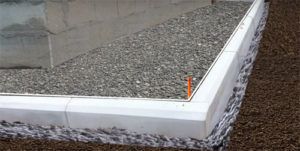
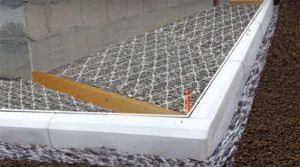
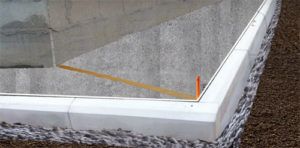
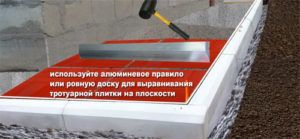
Laying technology paving slabs do it yourself is not difficult, although it requires accuracy and prudence. You also need to understand that laying paving slabs on sand thickness up to 3.5 cm is not performed, only for concrete mortar. Therefore, we will consider just such a technology:
Above is a brief instruction, but the video will tell you more about laying paving slabs.
Related article:
Laying paving slabs with step-by-step video instructions. A practical step-by-step guide to self-laying tiles in a separate material on our portal.
Video: DIY paving slabs
As you can see, there is nothing unrealizable in the independent production of paving slabs. You just need to carefully prepare and follow a rigorously verified technology. And then only high-quality products will turn out.


