Beds for the lazy: photos, ideas, ways to implement them
The dacha is not just a plot for growing and harvesting. For many, this is a favorite place to relax and implement ideas for arrangement and decoration of the territory... Often the method of planting vegetable crops is pushed into the background, but this is not correct, because the appearance of the entire landscape largely depends on their interesting location and attractive appearance. This article describes how it is most simple to make beds for the lazy in the country. Photos and descriptions of the most successful ideas, as well as ways to implement them, should help make your site comfortable and well-groomed.
The content of the article
Beds for the lazy: photos, general information
A garden bed is most often a fenced piece of land intended for growing a certain type of plant.
The main thing for a good harvest is fertile soil, the right planting time, and high-quality processing. However, in some cases, you should pay attention to other factors:
- Orientation to the cardinal points.
For most crops, this does not matter, but for example, rows of tomatoes and cucumbers for a good harvest must be located from north to south.
- Height.
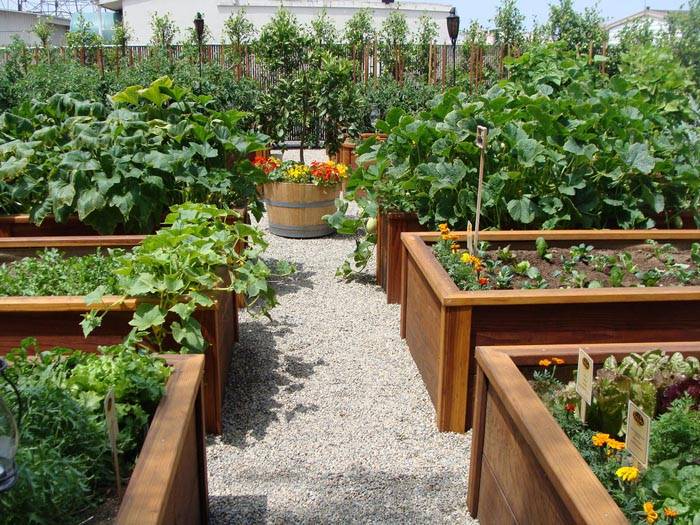
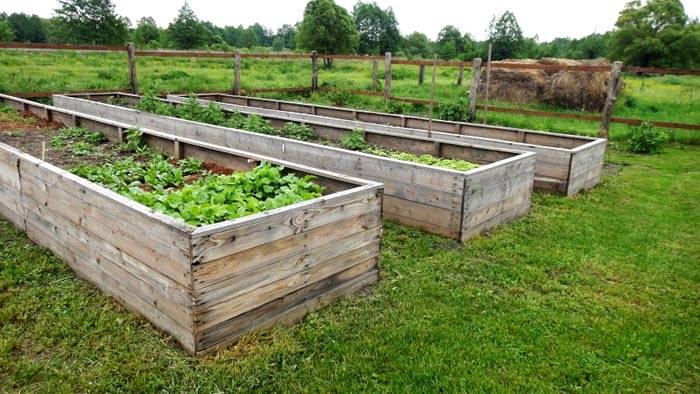
If you want to harvest earlier than usual, you should mount tall structures. It's easy to make them (for example, high bed from boards with your own hands you can assemble without special devices in a short period of time), and the earth in them warms up faster.
When planning future beds, you need to know several aspects:
- The yield of the selected crop (that is, how many plants grow per 1m2 area).
- Compatibility of plants that you plan to plant in the same area.
- Height of adult plants (tall ones should be located in the north of the site, so they will not block sunlight with low ones).
When arranging a vegetable garden, it is important to remember not only the quality and quantity of the crop, but also the future convenience of its processing. Therefore, it is important to make the right choice of the optimal size of the garden bed, its shape, filling (if you plant some crops too close to each other, it will be inconvenient to care for them) and materials for organization.
And if you can choose any shape (it all depends on the imagination and features landscape design of the site), then for each of the other parameters there are some rules and recommendations, so let's dwell on them in more detail.
How to make garden beds correctly - dimensions
So that the harvest does not disappoint you, and the processing of the site does not become an overwhelming work, it is necessary to select the optimal sizes of beds and row spacing. Convenient width - 60-100 cm, you can choose any length. Someone prefers short - 1-2 meters long, someone - long (8-10 meters). We advise you not to make the ridges too large, so that later you do not have to jump over them when you want to quickly move from one part of the garden to another.
In addition to the size of the garden itself, pay attention paths, do not make them too narrow to increase the planting area. The area will change slightly, and this will affect convenience, the optimal track width is 40-50 cm.
Mittlider method beds
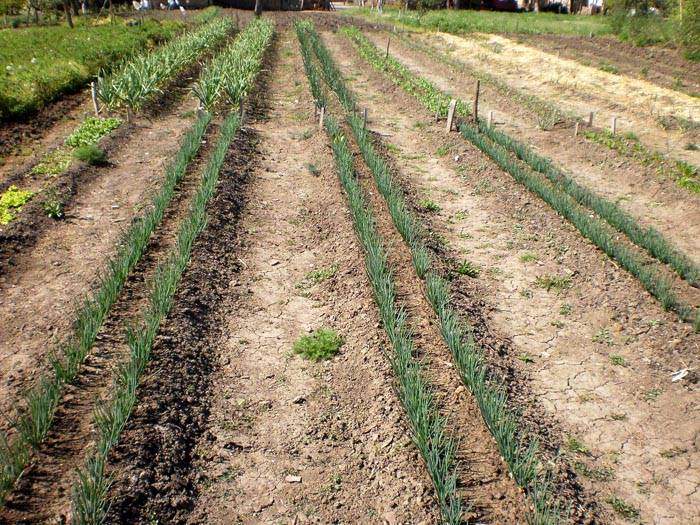
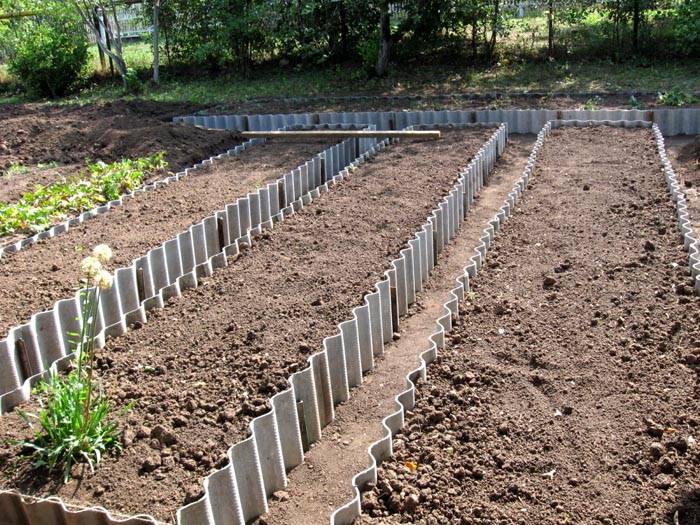
In recent years, narrow beds according to the Mittlider method have been gaining popularity. The peculiarity of this method is the formation of narrow rows with bumpers and wide row spacings. Mittlider came to the conclusion that there is no need to plow the entire garden annually, it is enough to process only the direct planting sites, and leave the paths untouched. This is possible only if there are wide passages between the ridges.
Ideal bed sizes for this method:
- Length - 90 cm.
- Width - 45 cm.
- Passage width 110 cm.
- Height earthen sides - at least 10 cm.
Thanks to this size, vegetable crops receive enough space and light, which will make the harvest more and better. Large passages allow not only to move freely, but also to move all sorts of devices (for example, a wheelbarrow) without hindrance. Another feature of this method is that vegetable crops are planted in two rows (so they do not interfere with each other).
The design of the beds is very simple. There is no need to build and strengthen the sides, because they are made in the form of a mound. It is enough just to correct them annually and, if necessary, to increase the height.
It is desirable that the aisles be covered with grass. It is able to retain moisture in the rows, preventing it from spreading along the paths. So with a minimum watering (in comparison with other planting methods) vegetables will absorb the maximum amount of nutrients.
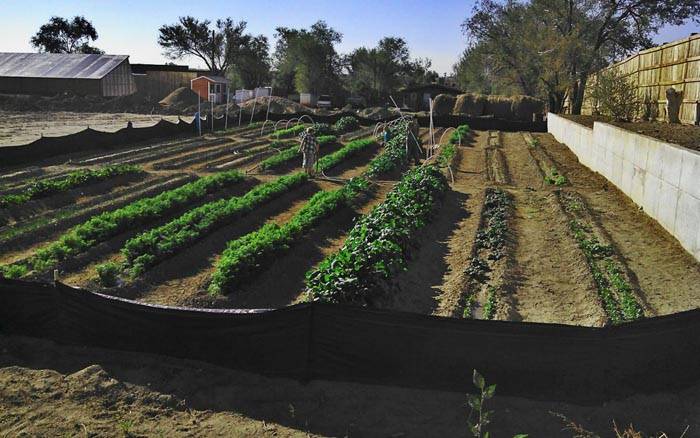
The main thing when arranging beds in this way is the strict horizontalness of the surface. Otherwise, the water will be distributed unevenly during irrigation, and the yield in different parts of the plot will be of different quality. Therefore, when marking the site, use the level, and if you find nervousness, correct them.
Remember! The author of this method himself warns that this method of planting is not suitable for areas on slopes, in lowlands and with groundwater passing under it.
If it is not possible to level the site, it is necessary to arrange more complex structures, many of which can be made by hand.
Possible options and photos of do-it-yourself beds from scrap materials
Before making the beds in the garden, first of all, it is necessary to make markings and grooves along the lines of 10-20 cm, while throwing the dug out ground to the center. Next, in the resulting grooves, we install sides that prevent water leakage and protect the crop from weeds and insects. They can be from the following materials:
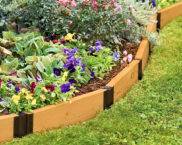
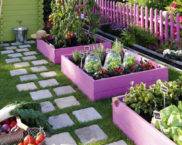
- Wood.
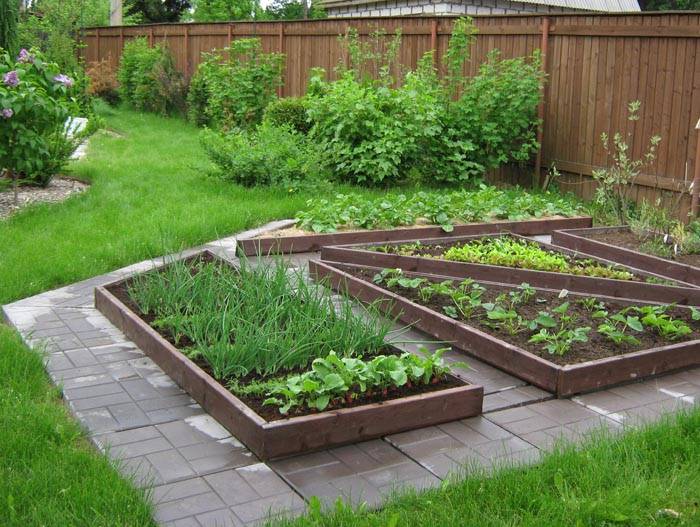
These can be boards or branches from different types of wood. In this case, the main thing is high-quality processing, since the tree in its pure form is very susceptible to moisture, and insects can quickly destroy it. Such sides can be painted in any color, but it will be more interesting if you leave the structure of the wood and only give it a shade that best suits landscape.
- Slate.
Usually, this material is used only if it is available (for example, it remained after roof repairs).
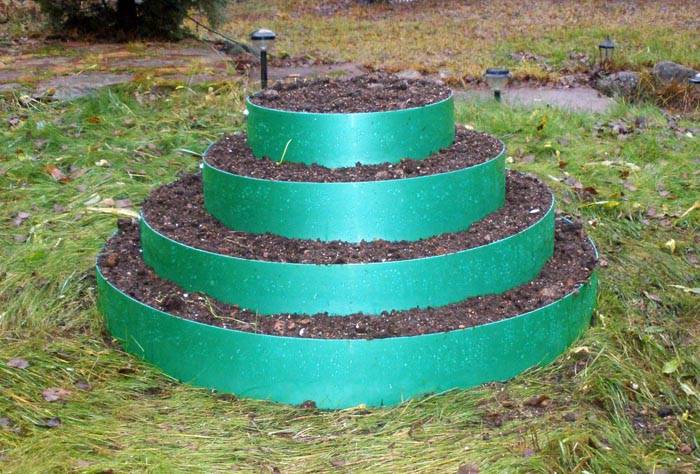
- Plastic.
The main feature of plastic is that it can be given any shape, so it is great for round or other curved fit options. In addition, it is not susceptible to precipitation and low temperatures, so it will last a long time without losing its original attractiveness.
An expensive and durable option.
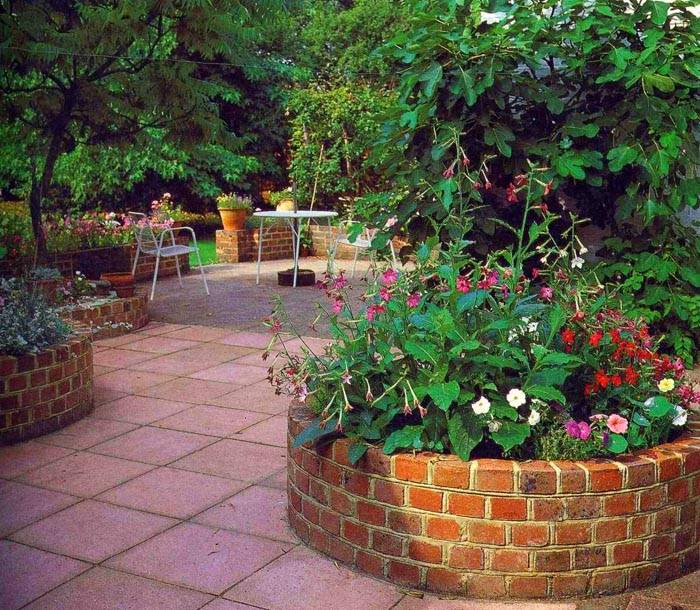
Brick sides are suitable not only for edging the planting site of vegetable crops, but also for decorating flower beds. Thus, the unity of the entire landscape can be achieved.
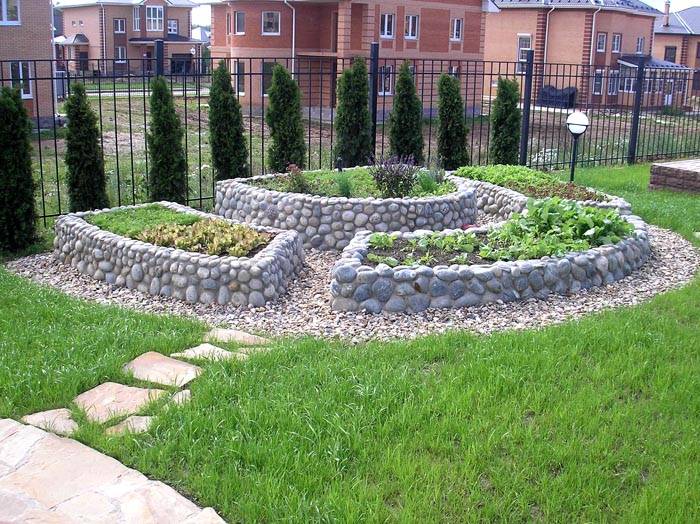
- A natural stone.
It makes the most spectacular sides that will last for many years. Unlike bricks, stones are irregular in shape, allowing for an eco-friendly landscape design. Disadvantages of stone sides: high cost and gradual withdrawal into the soil under its own weight, therefore, such a side must be periodically checked and corrected.
High quality DIY bed from scrap materials will serve for many years, but for a good harvest, its correct location is also necessary.
Placing beds in the garden: how to arrange, photos, tips
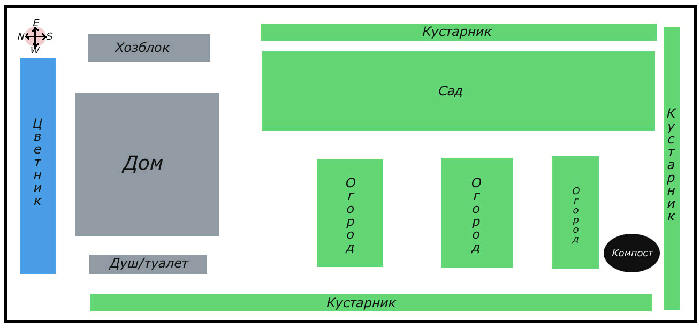
The quality and quantity of the crop depends on the competent location of the beds in the summer cottage, so this issue should be given special attention. First of all, you need to know the following:
- The beds located on the cardinal points (from north to south) are a good solution only for low plants on a flat horizontal area.
- If the parcel has a slope that cannot be leveled, the ridges must be across it regardless of orientation.
- It is desirable to make the rows of one plant the same size. This will make it easier to calculate the amount of fertilizer, the degree of watering and planting.
- If the site has slopes in different directions, choose the south side (the harvest will ripen faster on it).
In small areas, there is often a lack of free horizontal planting areas. If this is your case, try one of the following ideas:
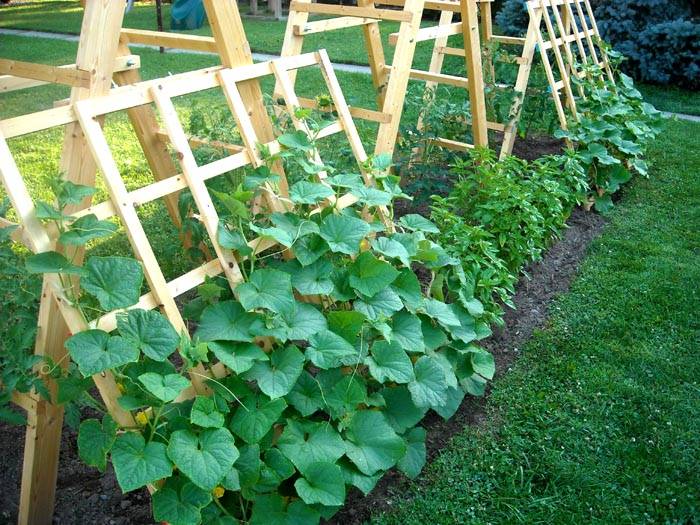
- Create vertical structures.
- Use unused items for planting plants (for example, a wheelbarrow, a barrel, and so on).
- Attach the bed to the recreation area.
How best to make the beds in the garden - options
The beds are classified according to their design features, with the following types:
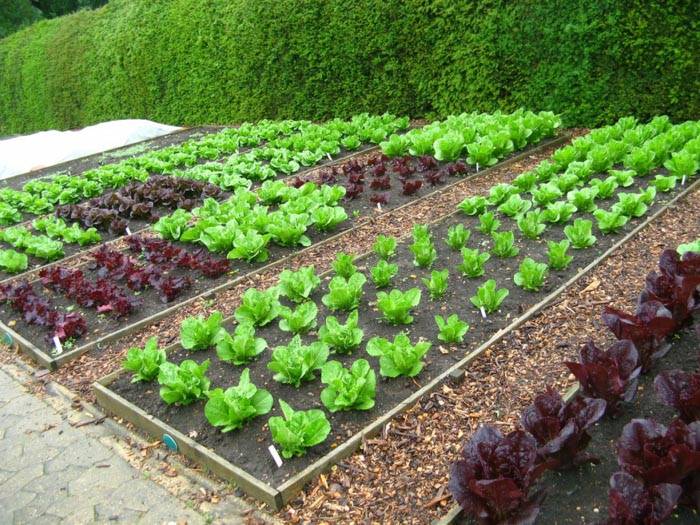
- Traditional (flush with the rest of the site, dimensions make it easy to reach the center from either side (right or left)).
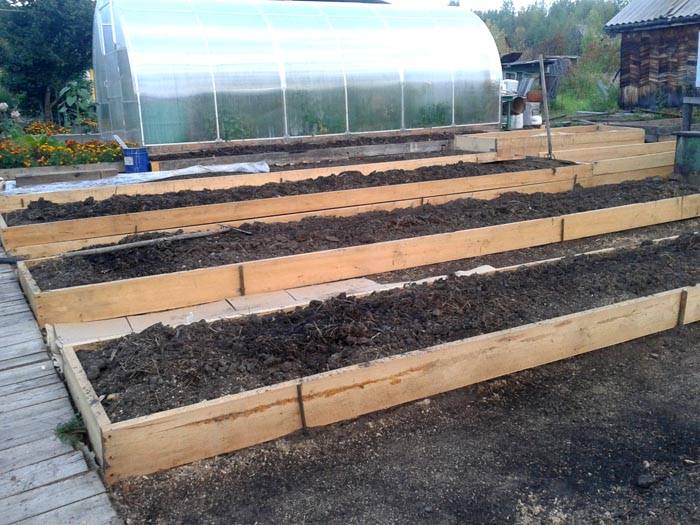
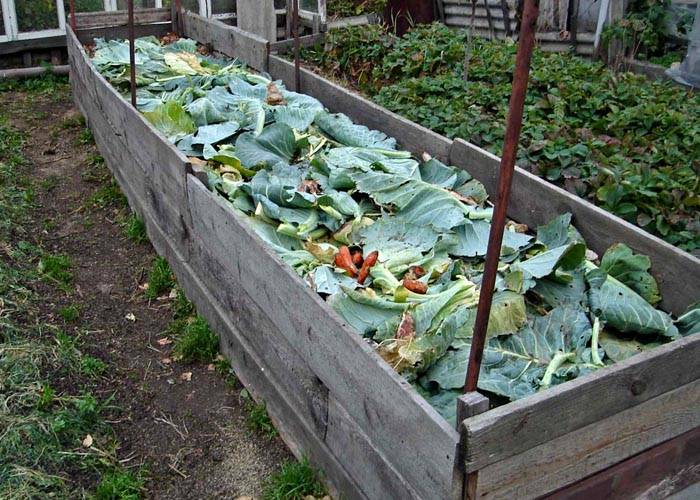
- High (30-40 cm above ground level, contribute to the fastest ripening of the crop).
- Deep (during the device, a trench 20-30 cm deep is dug, due to which the earth most often does not freeze, and the landing can be carried out earlier).
- Narrow (for example, according to the Mittlider method, detailed in the next chapter).
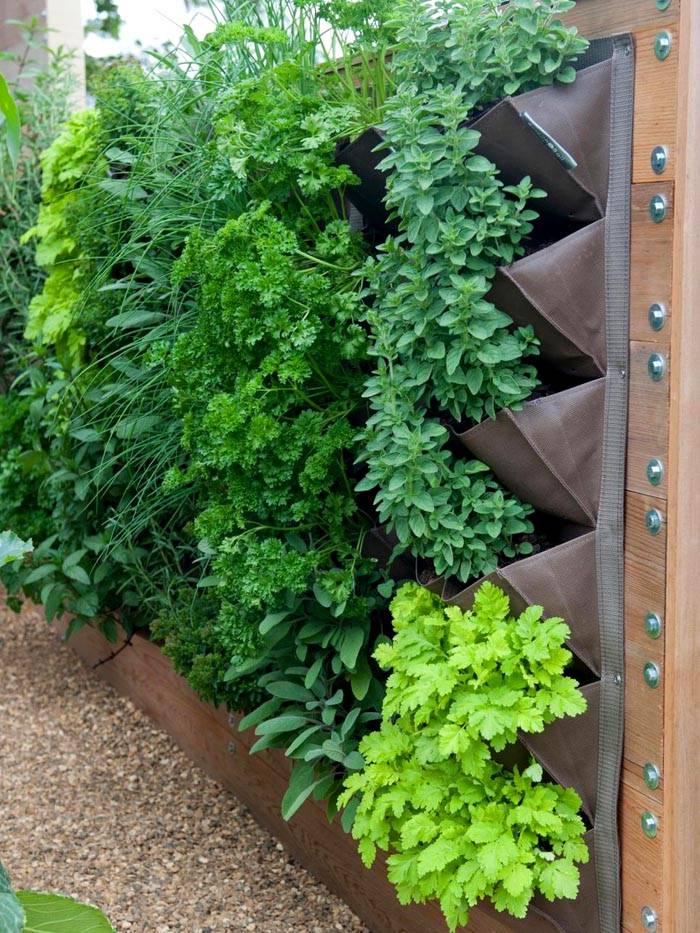
- Vertical (excellent solution for small areas, but not all plants can be planted this way).
Related article:
Do-it-yourself beautiful beds in the country. How to apply a scientific approach and build beautiful beds in the country with your own hands, a photo and a description of the processes - in this article.
How to make beds of boards with your own hands
Now let's look at how to properly make the beds in the garden of wood. This material is the most common when arranging beds. Plank constructions have the following advantages:
- Reliability.
The tree perfectly retains moisture within the row, and also does not deform for a long time.
- Low cost.
This material often remains after construction. If it was not there, you can buy boards at a fairly low price.
- Ease of installation.
The main thing is high-quality wood processing, if this is not done, insects and moisture will quickly destroy the structure.
- Attractive appearance.
Wood is an ideal material for eco-style beds.
The only drawback of board structures is fragility (in comparison, for example, with plastic or brick). However, the ability to change them quickly and at the lowest cost more than covers it.
How to make a bed of boards with your own hands: photos, sizes, installation sequence
If you decide to make a wooden structure, the first step is to choose the type of wood:
- Oak or ash - hard rocks, the boards of which are perfect in this case, but their price is quite high.
- Pine - cheap, but short-lived. It is possible to extend the service life of such a fence with the help of periodic chemical treatment.
- Cedar or larch - the best price-quality ratio. Due to the presence of resin in these conifers, there is no need to process them.
- Acacia - also a great option for arranging beds.
What are the optimal sizes of board beds? First, you need to decide on the height of the structure, which depends on the following factors:
- Features of the planted culture.
Some vegetables require a certain depth (for example, for potatoes, the planting depth should be at least 40 cm).
- Soil fertility.
If the soil is fertile, the sides can be made 10-15 cm high. If the filling of fertile soil is required - 30 cm or more.
- Garden type.
For example, for warm ones, a height of 50 cm is characteristic.
The length of the row can be any, but it is not recommended to make it too long for two reasons: it will be an obstacle to moving around the garden, the wooden structure will have to be additionally strengthened with oblique or vertical pegs.
The most important parameter when arranging beds in the country is their width, since ease of use largely depends on it. If you make it too wide, it will be problematic to reach its center. Therefore, the maximum width is considered to be 100 cm.
In most cases (if the planned structure is not too complex) it will not be difficult to make a bed of boards with your own hands. The size of the boards depends on the size of the future bed, but if you only have material of insufficient length at your disposal, it does not matter, several boards can always be spliced along the length.
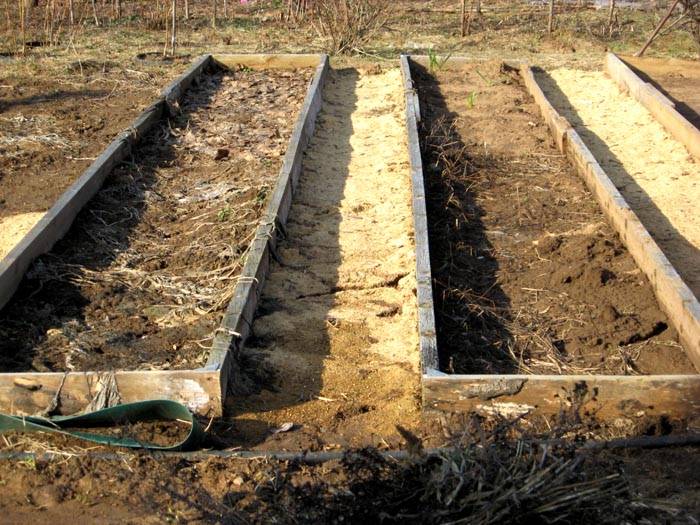
Procedure for constructing a wooden structure:
- Site preparation.
At this stage, it is necessary to level and dig in the site for the structure.
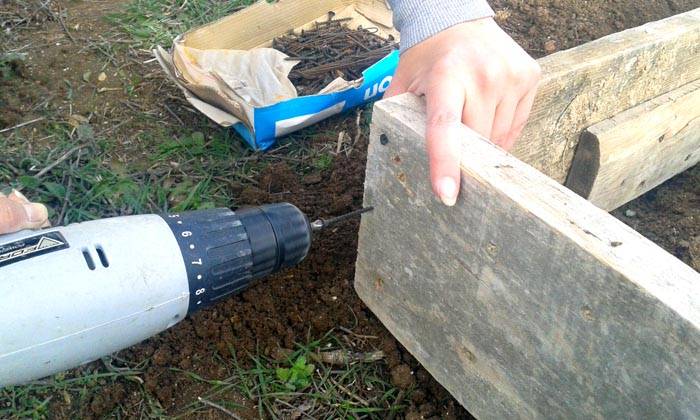
- Assembling a wooden box.
For a rectangular structure, it is necessary to connect 4 boards and attach support bars to them, which should be 20-30 cm longer than the future sides. They need to be slightly sharpened with an ax on the free side (to simplify entry into the ground).
- Installation of the structure.
We hammer the structure into the ground, while it is important to use a level to achieve maximum evenness of the structure.
- Surface treatment of boards.
First of all, the surface is primed (to protect it from moisture and pests), then covered with oil paint (optional, you can leave the color of the tree).
- Backfill.
The composition depends on the type of construction and the chosen culture. But in all cases drainage should be the first layer.
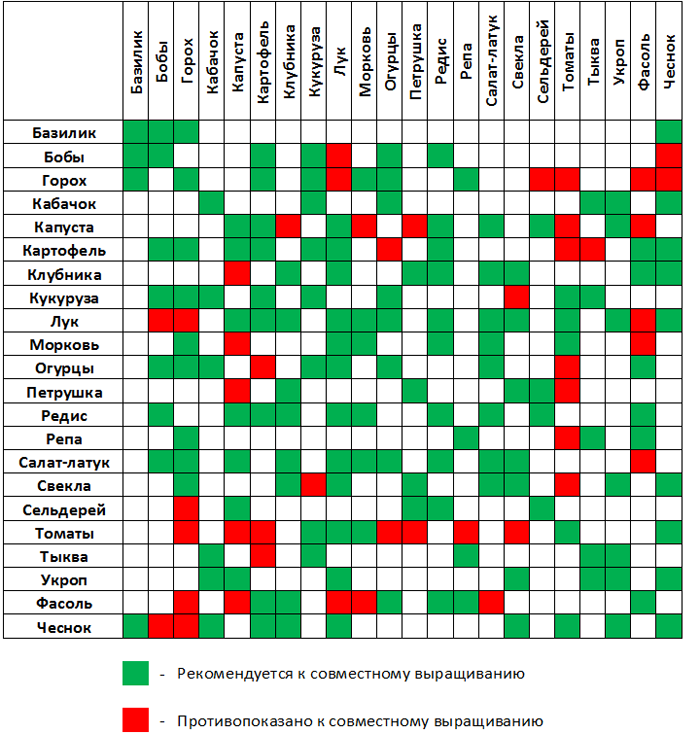
Most often, they try to plant only one crop in one area, but sometimes they practice joint planting of vegetables in the garden. However, it is worth remembering that not all plants get along with each other. Therefore, the following is a table of compatibility of vegetables in the beds.
Related article:
Do-it-yourself beds are not like everyone else's. Interesting ideas come to mind of many summer residents and owners of private houses. In the article, we will consider original photo examples and several instructions for creating such beauty.
Mixed planting of vegetables in the garden: examples, photos
More and more summer residents are interested in obtaining not only a large harvest, but also an environmentally friendly one. Therefore, the question arises, how to achieve a high-quality harvest without resorting to chemicals?
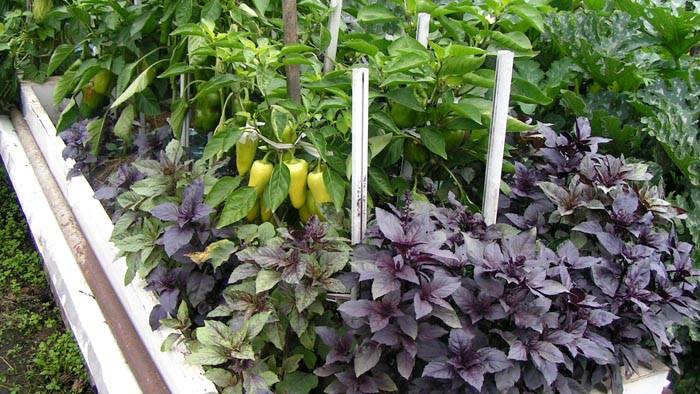
An excellent solution is a mixed planting of vegetables. After all, some cultures have a beneficial effect on each other. However, in this matter it is worth being extremely careful, since not all plants love any kind of neighborhood at all.
Thanks to the science of "allelopathy", a table of the neighborhood of vegetables in the garden has been compiled, using which you can significantly reduce the use of chemicals for protection from pests and fertilization.
Neighborhood vegetables in the beds - compatibility table
The table below reflects the compatibility of vegetables in the garden. Planting using this information will provide a quality crop with a minimum investment.
Mixed planting of vegetables in the garden: examples with photos and tips
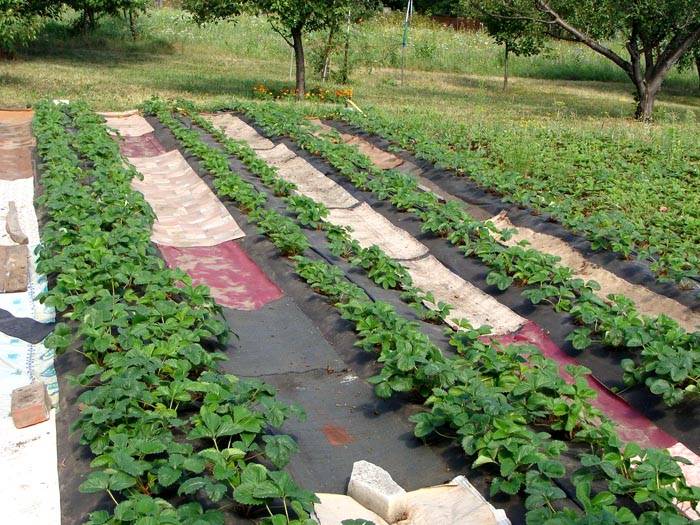
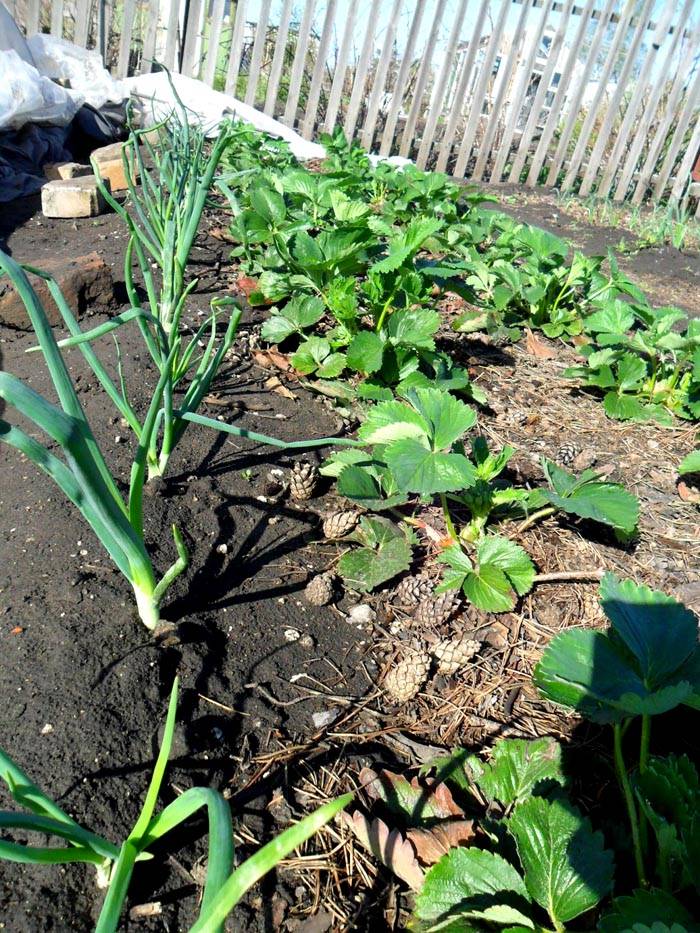
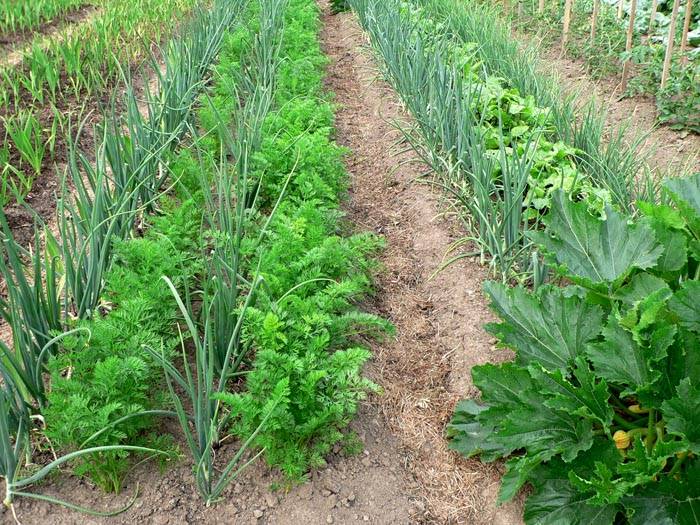
Each friendly or unfriendly neighborhood of vegetables in the garden has its own rationale. For example, strawberries and onions are great neighbors. The onion protects the berry from rot and disease, and if parsley is also planted nearby, it eliminates the appearance of slugs.
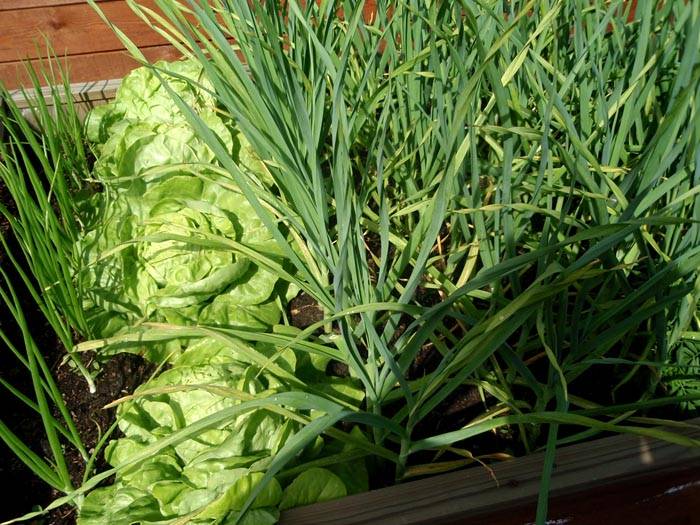
Onions are also an excellent companion for most crops in the country, as they protect them from pests. The most interesting neighborhood of this plant is with carrots. Both crops have their own pest - the onion and carrot fly, and the first cannot stand the smell of carrots, and the second - onions.
Garlic is great for pest control, so it is a good companion for most crops. However, it is not recommended to plant it next to plants of the legume family, since the latter are leaders in the collection of nutrients, and garlic needs quite a lot of them.
Growing crops together in the garden can be detrimental to other vegetables as well. For example, tomatoes cannot be planted with cucumbers, as they require varying degrees of watering. Thus, the proximity of these two crops will create difficulties in processing (there will be a need for spot irrigation, which will take much more time and effort).
In addition to the properties of plants, it is necessary to pay attention to their size. For example, when alternating between cabbage and radish, the second crop will receive insufficient sunlight, which will significantly deteriorate the quality of the crop.
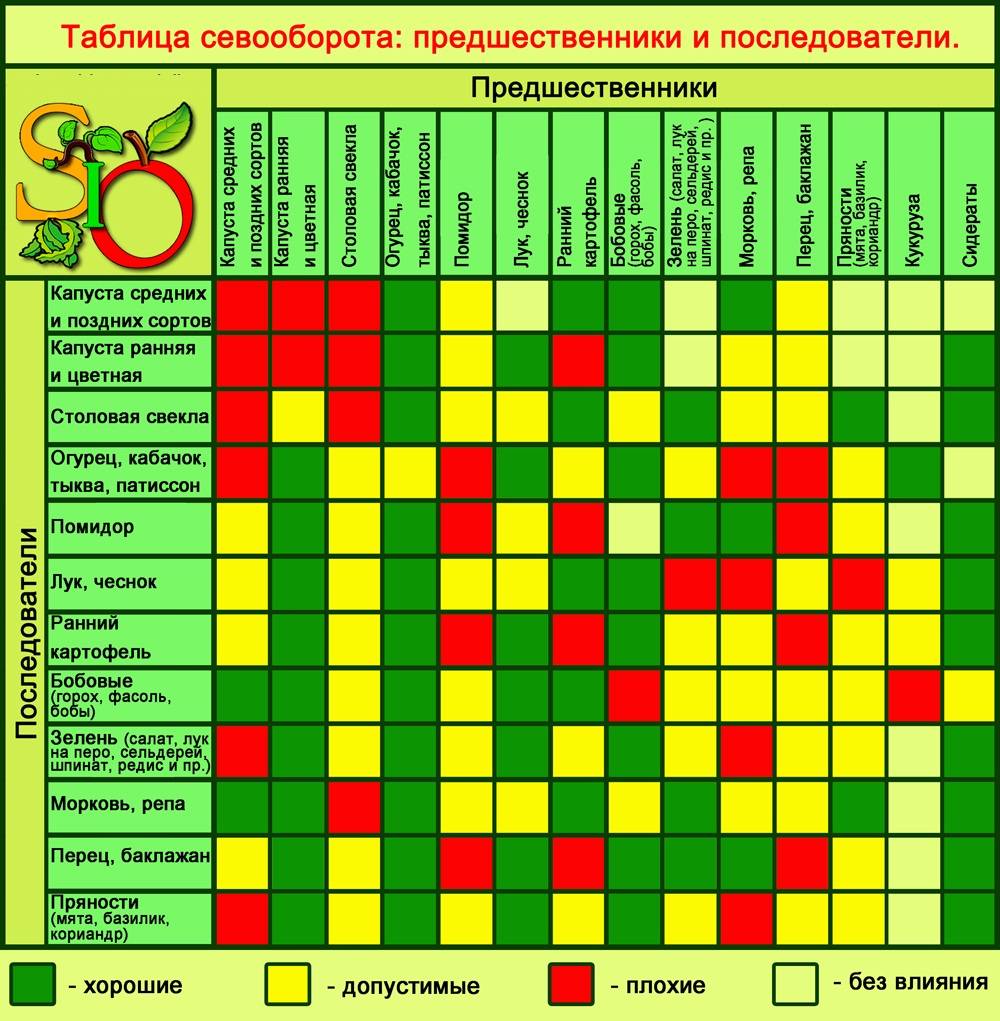
So, you have developed an ideal layout for all vegetables in your summer cottage, but every year the harvest is getting worse. What to do? It is necessary to ensure crop rotation.
Table of crop rotation of vegetables in the beds
Crop rotation is the organization of crop rotation on the bed. Ideally, this process should be continuous and annual. However, in real conditions, achieving this is very problematic for the following reasons:
- There is not enough information about soil contamination and the presence of pests in it.
- There is no time for accurate calculations of the ideal fit.
Why is crop rotation a must for a good harvest? Each crop has unique nutritional characteristics. Someone looks for them in the surface layers of the soil (for example, a cucumber), someone, in search of water, lowers the roots several meters deep (for example, a watermelon). In addition, for the growth of each plant, (to a greater extent) different elements are needed (for example, phosphorus for a tomato, nitrogen for cabbage).
Now imagine that from year to year a certain layer of soil is depleted, and the content of precisely those substances that are necessary for a given culture decreases. To make it easier for you to decide how to alternate vegetables, below is a table of crop rotation of vegetables in the garden.
Important! The main thing is that the culture does not return to its former place for 3-4 years. During this time, the soil will have time to recover and accumulate the required amount of nutrients.
How to make a garden for cucumbers in the open field: photos, methods
Cucumbers are a rather capricious crop that requires special care. Many people believe that it can only be planted by seedlings, however, thanks to many years of selection, there are currently several varieties that can be planted immediately in open ground.
First of all, it is necessary to prepare the beds for cucumbers in the spring:
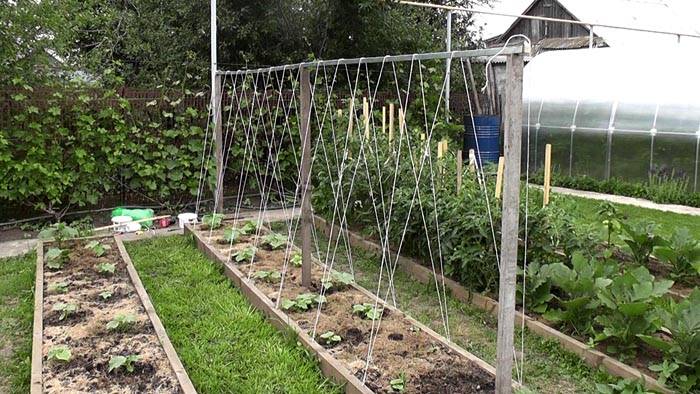
- Correctly choose the direction of the rows - from north to south.
- Fertilize the soil (the best solutions are cow dung or chicken droppings, if they are not available, any mineral fertilizer will do).
- Put the sides (preferably at least 25 cm).
The main secrets of growing cucumbers in the open field are choosing the right planting time (from May to mid-June, depending on the region) and choosing the right variety.
How to make cucumber beds - general features
In the case when seedlings are not used, it will not work to grow a high-quality crop in the usual way (on standard beds). You need to use one of the other ways to grow cucumbers outdoors:
- The device of a bed with a bookmark.
- Installation of a warm bed (including a raised structure).
These methods are non-standard, therefore they are described below in detail to prevent errors during the arrangement.
How to make cucumber beds with a bookmark in the garden
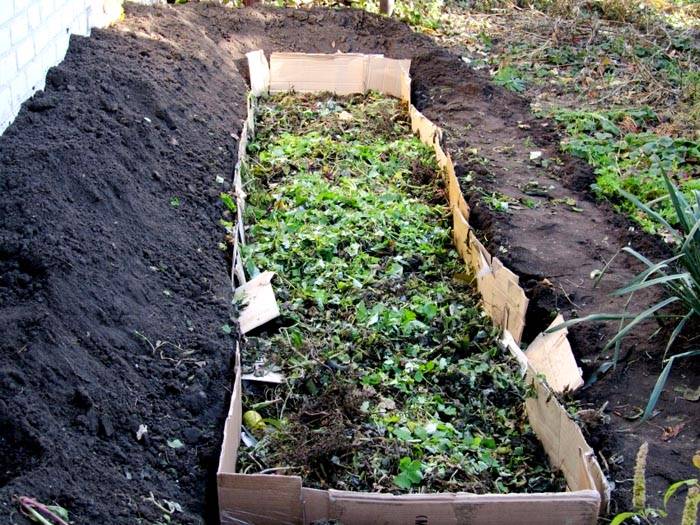
To arrange a bed for growing cucumbers with a bookmark, you need to dig a trench 30 cm deep and consistently fill it with the following layers:
- Branches and sawdust.
- Straw, leaves and compost (at this stage, you need to fill everything with warm water).
- Earth and humus.
Garden bed for cucumbers with a bookmark does not require fertilization for the next year, as it receives it from the soil. It is quite durable, and it also has other advantages:
- Ease of care.
- Early harvest.
- No stagnation of water.
Warm beds for cucumbers in the open field
How to make a warm bed for cucumbers on the ground? To do this, you need to build a box (for example, from boards or bricks) and fill it with the following layers:
- Sand.
- Organic waste (leaves, bark, etc.).
- Straw.
- Fertilizer (manure works best).
- Earth and humus.
The main thing is to carefully tamp each layer, otherwise the soil will turn out to be too loose, and you should not expect a good harvest.
Advantages of warm cucumber beds:
- Lack of dirt from the beds due to the presence of sides.
- High productivity.
- Aesthetic appearance (you can make beautiful identical beds).
Raised beds for cucumbers in the open field
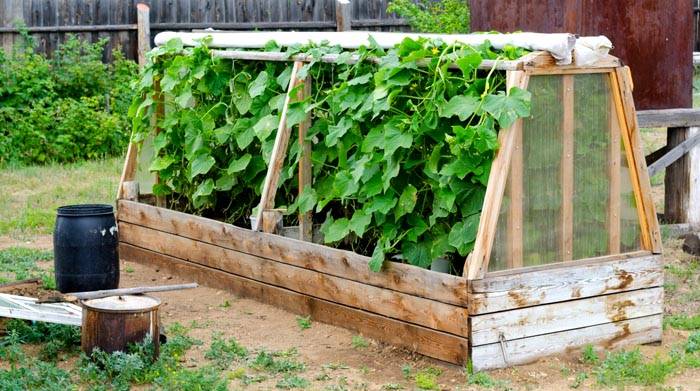
In an unfavorable climate, it is advisable to arrange raised (or high) beds with a height of 40-50 cm (for convenience, it can be made higher). In this case, the sequence of layers remains the same as in conventional warm structures on the surface of the earth. Such designs have the following advantages:
- The soil warms up even faster, which means that the harvest will appear earlier.
- Convenience (no need to bend over to care for cucumbers).
Remember! High beds should not be located near water bodies and over the place of passage of groundwater. Otherwise, they will quickly collapse.
How to make beds in the garden - video
Below is a selection of interesting videos that will help in the competent organization of the garden.


