Diy alpine slide: step by step photo, diagrams and installation steps
An alpine slide with your own hands will help to create an original landscape design on a site of a suburban structure. Step-by-step photos, diagrams and drawings will help you complete a high-quality project even in a day. Such structures are made using wild stones and unusual flowering crops. Certain rules will help to carry out the installation work qualitatively, the observance of which will prevent alteration and disassembly of the created composition.

When installing the slide, you will need different stone blocks, sand mass, crushed stone and different versions of perennial plants
The content of the article
- 1 How to choose the best place for arranging an alpine slide?
- 2 What time of year is right for creating a flower garden?
- 3 Features and rules when performing a rock garden
- 4 DIY alpine slide: step-by-step photos, diagrams and construction features
- 5 Do-it-yourself alpine slides in the country: photos of the best compositions
- 6 Useful Tips
- 7 Video: 50 examples of rock garden for every taste
How to choose the best place for arranging an alpine slide?
First of all, you need to choose a suitable place for future alpine slides in the country with your own hands, photos of which can be viewed on the website. The best solution may be to choose a site on the southwest or south side. A good option is a place on a slope where stunted crops can be planted among the stones.
The basis for a small-sized site can be a slope along the border of the territory or even along the edge terraces... When choosing a downhill space, consider the following factors:
- the slide must be visible from all sides, so this place must be open;
- the structure should be placed in a sunny and bright area where there are no tall trees;
- the structure is placed in a place isolated from the wind.
Helpful information! When starting the construction of a structure, it is worth considering a suitable design style. Various landscape solutions involve the use of rocky gardens, ponds or bridges, which must be combined with a slide.
What time of year is right for creating a flower garden?
The work performed on the installation of the slide practically does not depend on the season. It is not recommended to start work in the winter. The best period is autumn, when there is time before cleaning the area for the winter. A stony structure after installation requires time for a certain shrinkage. After that, you can only start planting plants. If the plants are planted in the fall, then the construction of the main structure can be started in the spring. A high-quality alpine slide is created with your own hands using step-by-step photos and diagrams.
Features and rules when performing a rock garden
The rock garden is a stylish decor for the summer cottage area. For its registration are selected perennial plantsthat have different flowering periods.
When creating an alpine structure, the following tips should be followed:
- the structure is erected according to the project, which indicates the number of tiers and the placement of stones;
- a certain type of stones and their placement are selected;
- flowers are selected taking into account the time of their flowering, microclimate and color palette.
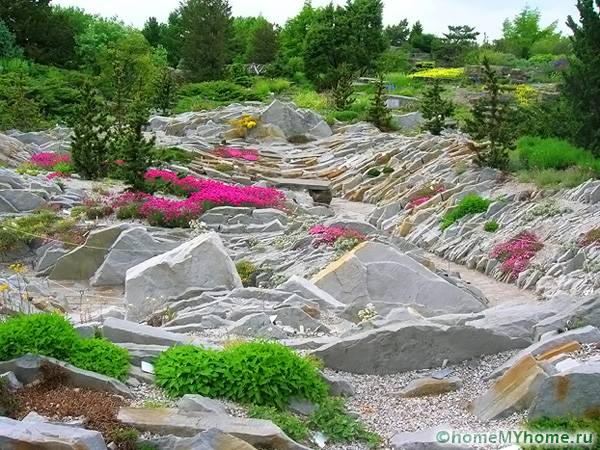
Note! Alpine slide is a small model of a real massif with undulating transitions from rocky top to more flat areas. It is important to observe the style of the structure, the size of its tiers, as well as the recreation of all conditions for mountain plants.
Related article:
Plants for an alpine slide: photos and names. In a separate publication, the most popular types of conifers and deciduous plants for rock garden are presented with photo examples.
DIY alpine slide: step-by-step photos, diagrams and construction features
Before starting work, it is thought over landscape design... DIY alpine slides, photos of which can be seen in the photo gallery, require a special approach and a well-planned project. When choosing a suitable site for a construction, the proximity of the passage of groundwater is important. When they are close together, the strength and durability of the structure are threatened. The groundwater level is influenced by special drainage.
Soil preparation and drainage
To get a beautiful alpine slide with your own hands, step-by-step photo instructions and diagrams will help you complete the installation.
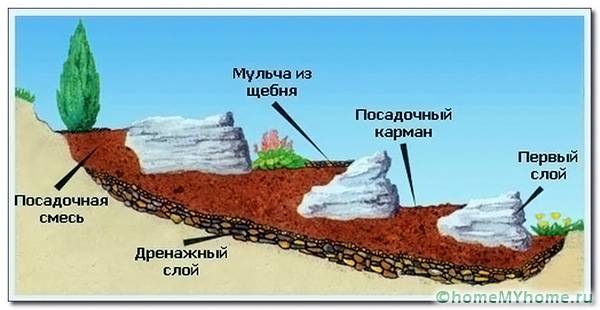
First of all, a drainage system is performed:
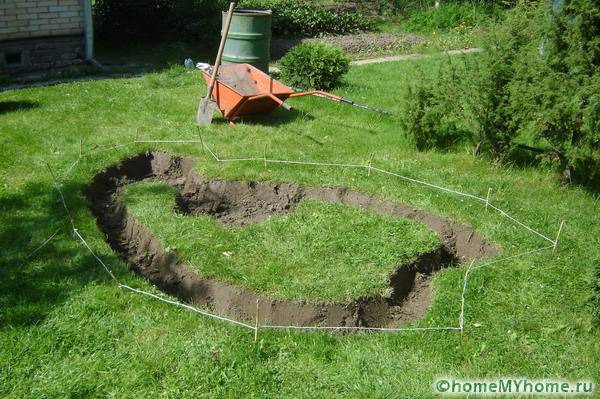
- for this, a pit is dug out in size larger than the site;
- before this stage, the terrain is marked, which is carried out using a coil of wire and special wedges;
- the height of the trench should not be less than 0.9 meters;
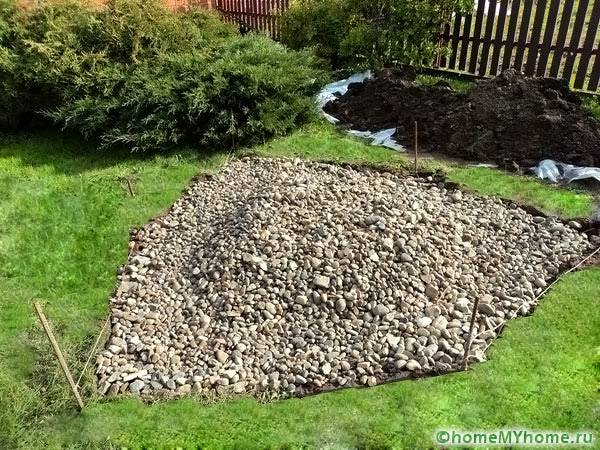
- the created recess is filled with gravel;
- the resulting layer is filled with water;
- then the sand and gravel composition is laid, which is compacted;
- the extracted soil layer is cleaned and added on top of the structure made.
You can start laying the stone after the structure has shrunk. This can take about four months.
Useful advice! Crushed stone can be added to the garden soil, and sand should be mixed into clay soil.
How to arrange stones?
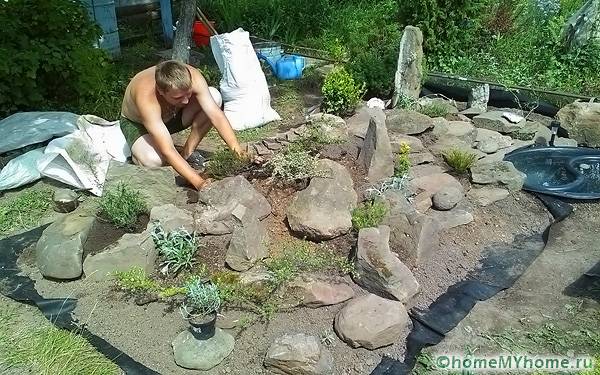
An alpine slide is made of stones with your own hands. Step-by-step photos, diagrams and drawings will help you choose the best design project. Before laying stones, it is worth preparing a special mixture. In this case, coarse sand, loam from the garden and compost are used. Crushed gravel is also used.
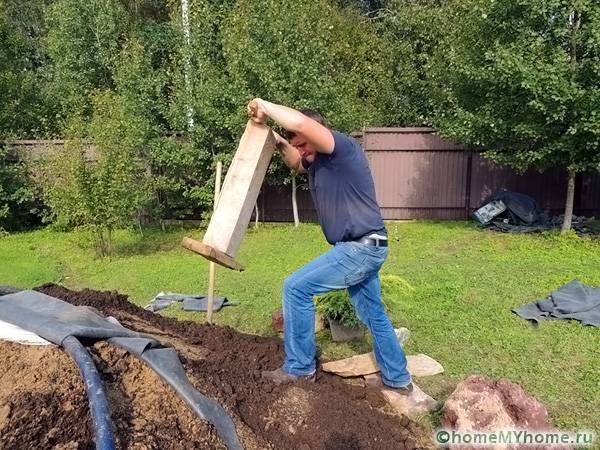
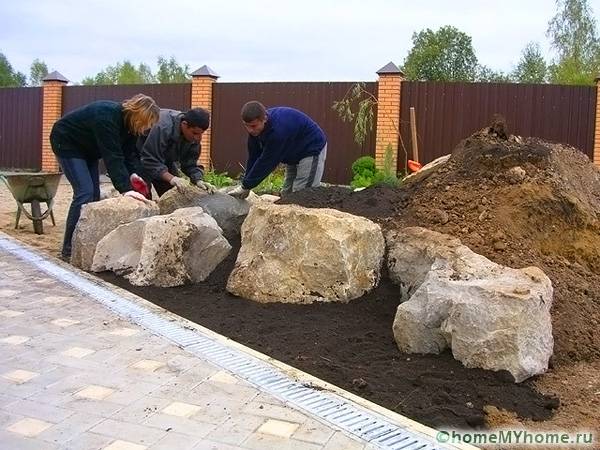
A similar composition can be distributed over the drain. After that, the mixture is moistened and trampled. First, large stones are mounted, and then smaller ones. When building, it is worth using the following recommendations:
- layers of stones should be laid in parallel;
- the upper stones must be installed on the lower blocks, but not on the ground, as this will provoke a skew of the statue;
- if you plan to plant plants with a powerful root system, then it is worth leaving space for them between the blocks;
- voids should be filled with soil.
The stones should be laid so that the soil between them is not washed out during heavy rainfall. In the construction of this structure, sandstones, limestones and basalt with granite are used. Experts do not recommend using shell rock or tuff.
Helpful information! To retain moisture for plants, the surface of the rock garden can be sprinkled with gravel or stone chips.
Video: building a rock garden with your own hands
Do-it-yourself alpine slides in the country: photos of the best compositions
Mountain structures can be used in various ways. From the photo, you can pick up the most interesting options:
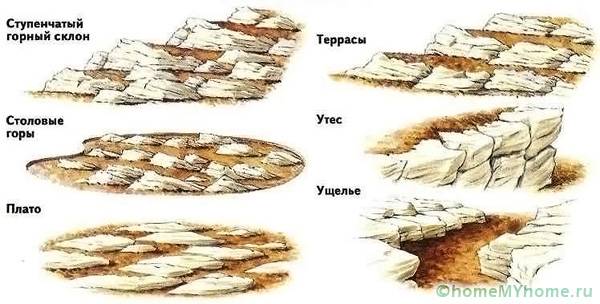
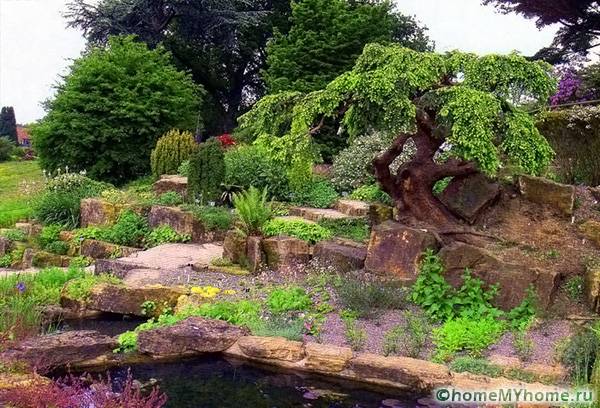
- the composition of the valley in the highlands reflects the view of a high plateau, while large stones are buried two-thirds of the soil and are complemented by bushes of different heights and winding paths;
- large blocks are required when creating a rocky cliff, in this case a dwarf fern, mountain pine and juniper are planted;
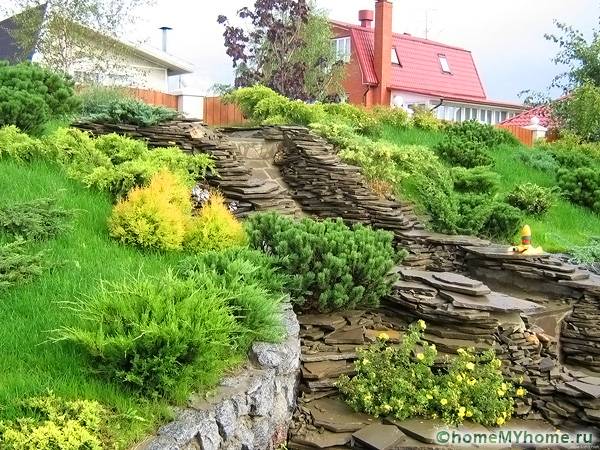
- if there is a slope, you can equip a mountain slope, which is formed using dwarf pines and heather;
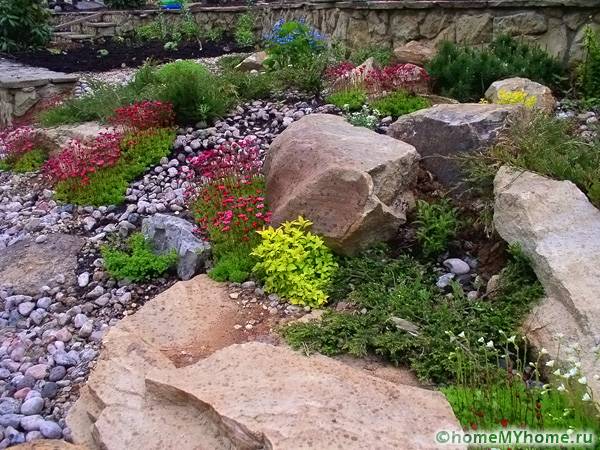
If you are not satisfied with the uneven landscape, then it can be masked with a similar composition.
- the composition in the form of a gorge is characterized by complexity, while a landscape of different heights is used and the hills are lined with boulders;
- when constructing a ravine in the forest, a fontanel and perennial plants are more suitable;
- if the site is constantly moistened, then you can apply the composition to the swamp, which is made out with the help of a reservoir;
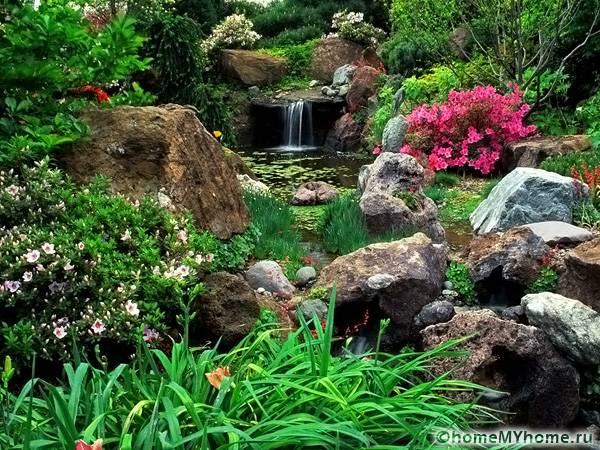
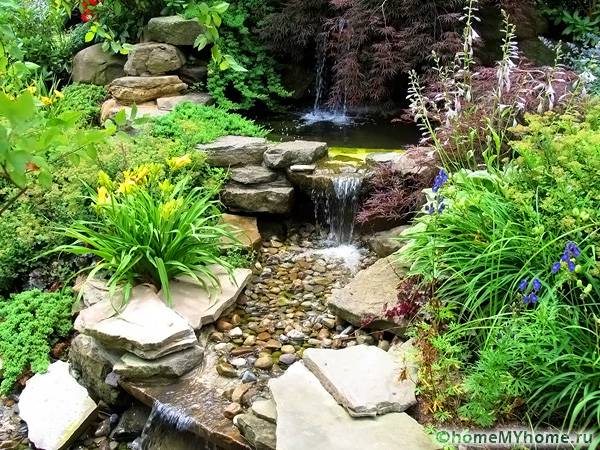
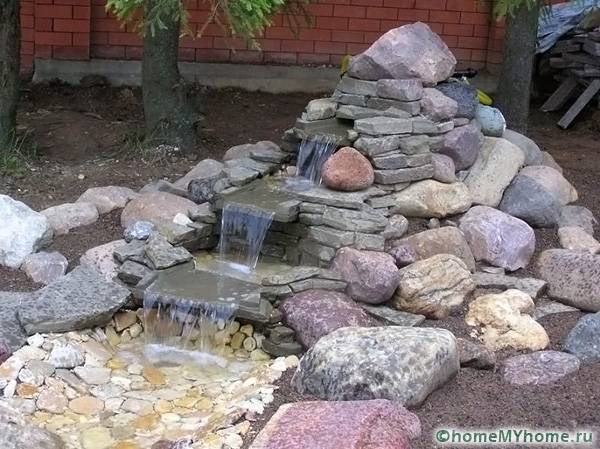
- The original solution is considered to be a cascading stream, along the banks of which primroses, ferns and irises are planted.
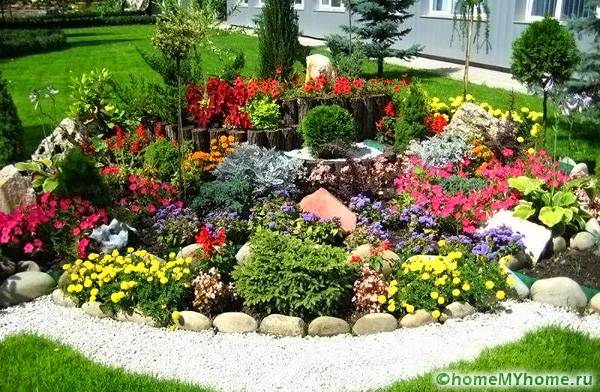
Helpful information! The classic solution is a centric structure, in which bright flowers of plants are combined with rocky elements. A site with a natural elevation is taken as a basis.
Useful Tips
DIY alpine slide: a step-by-step photo, the schemes of which are presented in this review, can be built using the following recommendations:
- a humped area is ideal for creating an unusual design;
- if cement is not used during construction, then the structure can be reconstructed in the future;
- suitable height from 0.5 to 1.5 meters;
- limestone or sandstone is suitable for plants;
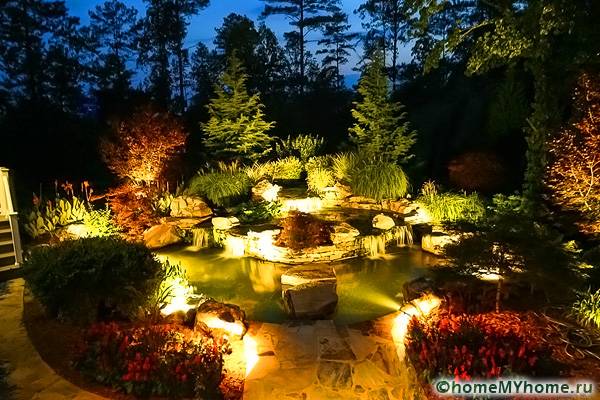
- it is worth considering additional lighting.
With the help of a reservoir, you can decorate any rock garden. Compliance with all the rules will allow you to create a stylish and original structure that will last for many years.
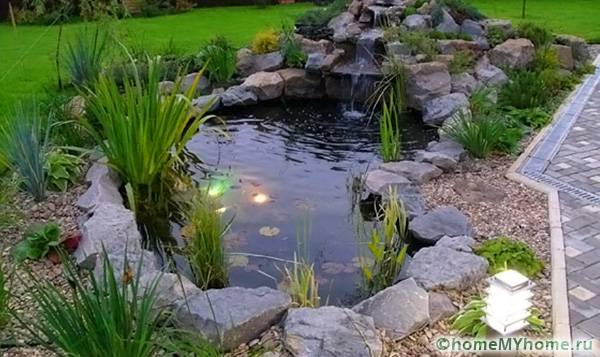
When creating a rock garden, all elements must be combined: lighting, stones, plants and adjacent paths
Video: 50 examples of rock garden for every taste


