DIY playgrounds: photos and practical advice
DFor the normal development of children, they need to actively spend their free time - run, play, have fun. When creating playgrounds, the main focus is on their safety and functionality. To build do-it-yourself playgrounds on a suburban area or summer cottage, photos of which you will find in this article, you will need some tools, carpentry, construction and locksmith skills.
The content of the article
Ideas for playgrounds
Making playgrounds with your own hands, photos of which are posted on the Internet, implies the presence of certain equipment. If you don't have something, don't be discouraged, here are some ideas to help you equip your playground.
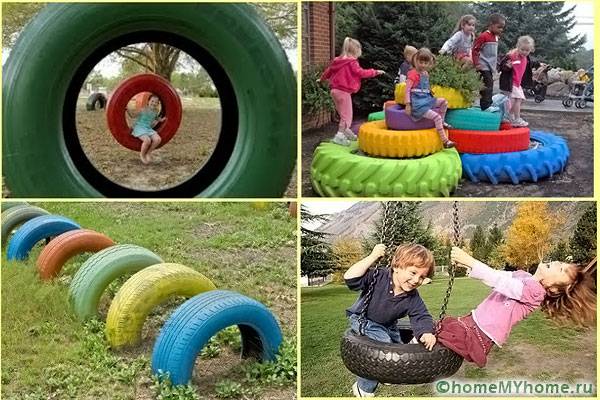
If you donate (at least temporarily) an extreme entrance to the hill, a house, then in its place you can hang a basketball backboard with a ring. If you have multiple truck tires, you can make an obstacle course out of them.
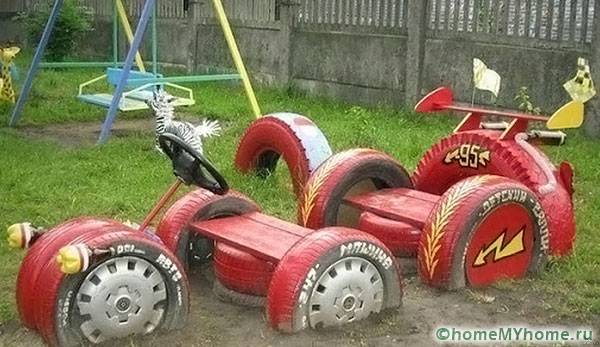
The sandbox can be made not only from boards, but also from wooden hemp or tires from a car. If you decide to make it out of tires, then you will need at least 5 pieces of them. Fence the space of the sandbox with tires, placing them two at a time (one on top of the other). The main thing is to attach the tires to the ground. This can be done using metal pins (3 pieces for each tire), and then cover them with sand. After that, the tires can be painted in any color.
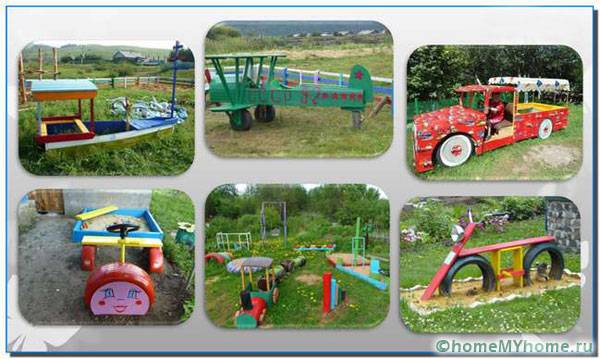
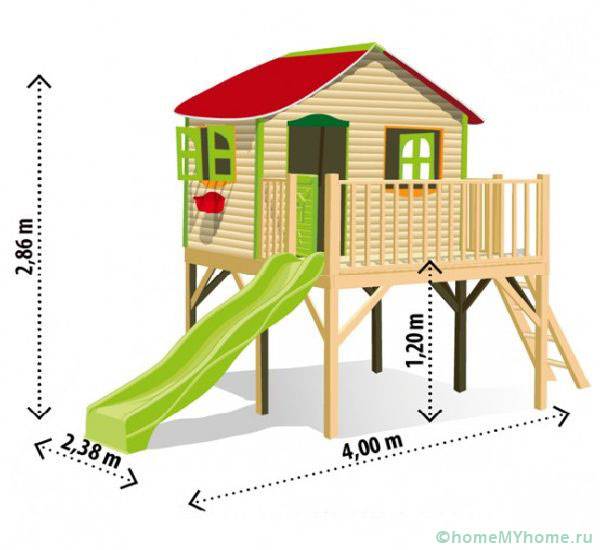
In addition to a slide house on the playground, you can build an ordinary house, only small in size.If you are good at woodworking, make models of airplanes or ships for children to climb on. It is not necessary to make them perfectly similar, because a child's imagination can turn any clumsy craft into a masterpiece.
Video: ideas of children's complexes with their own hands for a summer residence
Playground using ready-made kits
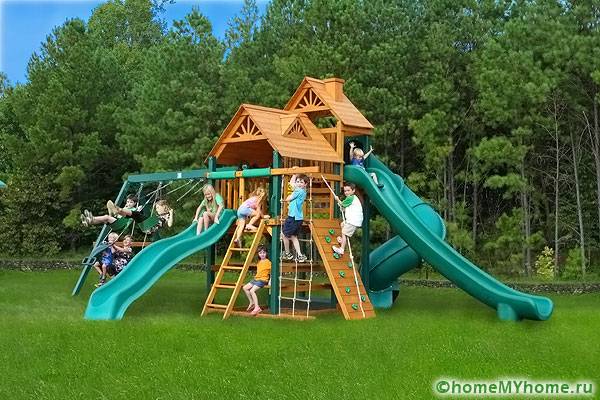
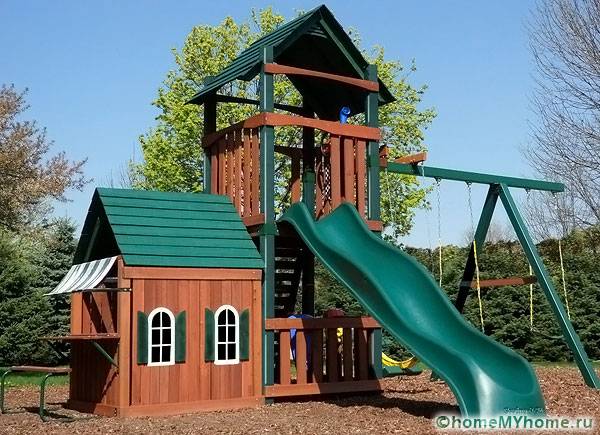
A do-it-yourself children's playground whose photos and ideas are found on the Internet can also be made from purchased simulators. In stores you will find all kinds of plastic and metal slides, wooden houses and other essential attributes of a playground. To install them on a playground, you need to prepare a base for each simulator. Since the requirements for the bases for different devices differ, please carefully read the manual that comes with the equipment. In most cases, such equipment looks prettier than homemade equipment, but lacks the charm that is inherent in everything that the child helped build.
Self-made playground
All playgrounds with their own hands, photos of which are posted on the Internet, always include a slide. Such a simulator is the basis of any playground. It can be made from various materials such as:
- steel tubes;
- steel corners;
- boards;
- plywood;
- Sheet steel.
Making a slide house
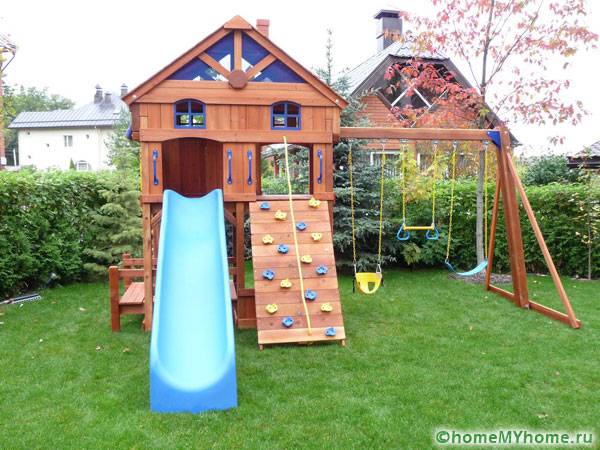
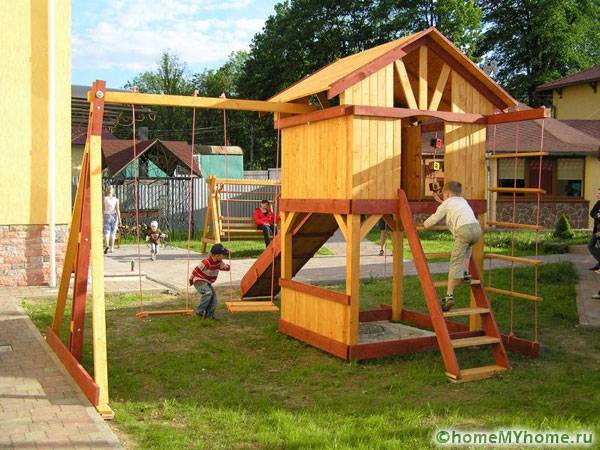
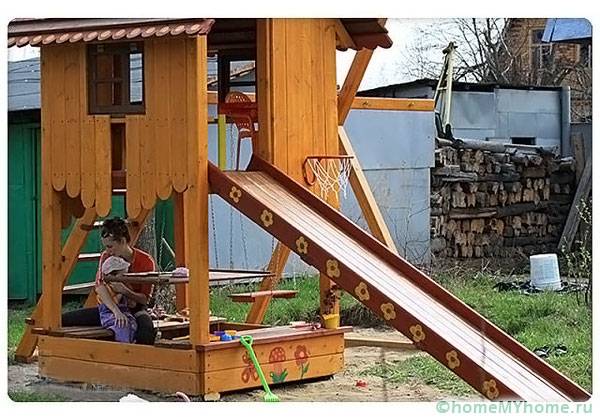
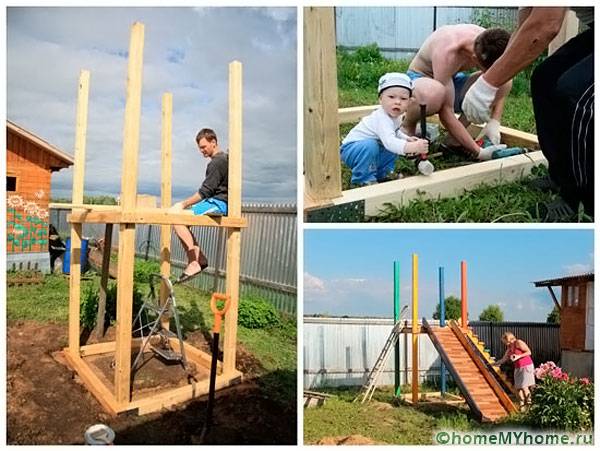
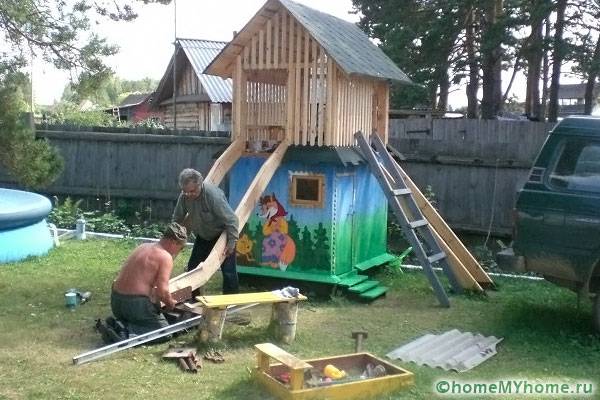
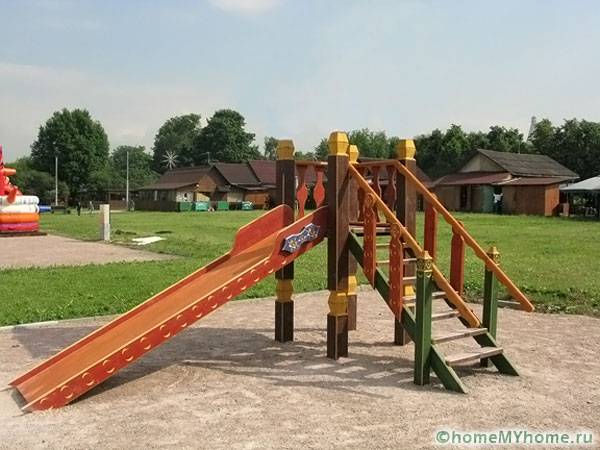
A do-it-yourself children's playground in the country, a photo of which you can find on the Internet, always includes a slide or a slide-house. The basis of the slide is a frame of 4 vertical posts. You can use only 2 racks, but then the possibility of creativity is reduced and the slide will be limited to one slope and one rise. On a frame of 4 racks, you can make a slide with one slope and several lifts. Make one ascent in the form of a ladder, another with normal steps, and the third with a rope.
This design seriously diversifies children's leisure. For a slide with a straight slope, it is undesirable to make the slope angle more than 30 degrees relative to the ground in order to avoid excessive acceleration and injury.
Useful advice! If possible, use a plastic stingray that is available in stores. With its help, children will get more pleasure than a straight wooden ramp.
What to make a slide house
To do this, you will need:
- 5 square or round bars with a cross section of 50–70 mm and a length of 2-3 meters (depending on the height of the slide);
- boards 100x50 mm (width and thickness);
- boards 100x25 (width and thickness);
- plywood 15 mm thick;
- mounting angles;
- self-tapping screws;
- bolts and nuts;
- pipe, the diameter of which is equal to the section of the bar.
Foundation preparation
Find a place for the slide and prepare a hole for the foundation of the frame. We recommend making a square frame with a distance of 1 meter between the posts. The size of the side of the pit should be 1.5 meters, the depth is not less than 20 cm. Compact the bottom of the pit and fill it with a layer of rubble (fraction 15-25 mm) 10 cm thick. Compact it. You can also get by with small holes under each block. In this case, the depth of the pit should be at least 50 cm. Saturate the lower edge of the timber with diesel fuel and molten bitumen, the treated part should rise 1.5–2 cm above the ground. Pour a crushed stone pillow at the bottom of the pit - fraction 15–25 mm, thickness 5 –10 mm. Insert the pillars into the pit, level them and ensure they are correctly oriented - their edges must be parallel to each other (this is not required with logs or round bars). Then pour concrete.
Useful advice! The less water there is in the concrete, the stronger it will be. To make thick concrete more mobile, add plasticizers to it, which you can buy at a hardware store.
Bottom harness and ramp
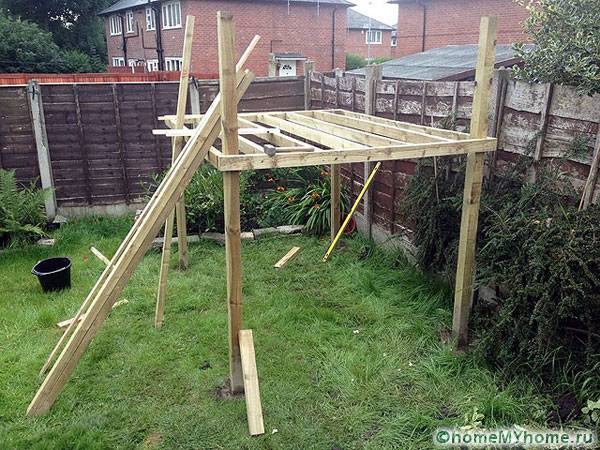
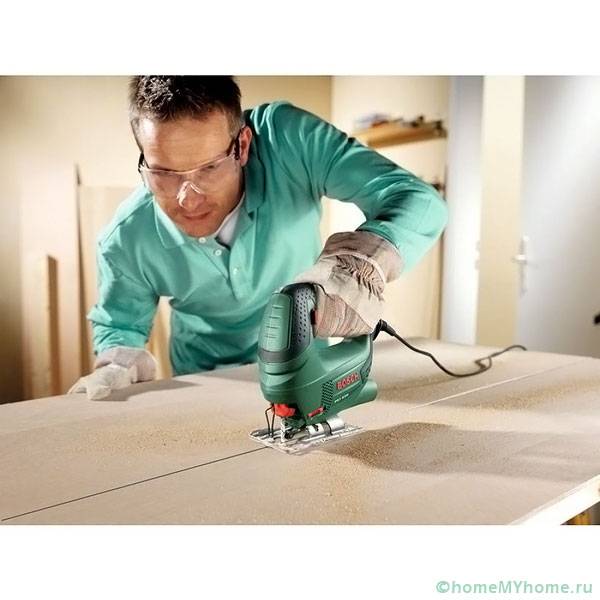
Tie the bars with a 50 mm board at the floor of the house, and also install one longitudinal lintel. Fasten the boards to the bars using self-tapping screws with a length of at least 100 mm. Use a 25 mm board to make a ramp tray. To do this, cut off 2 boards that are slightly longer than the ramp. Mark the angles of contact with the frame harness and the ground, then cut the board with a circular saw or jigsaw... Place the planks against the harness to make sure you did everything right. Then cut the jumpers from the same board. The length of the bridges is equal to the width of the slope. Lay long planks on the ground and use self-tapping screws to attach the lintels to them from the bottom.
The distance between the jumpers is not more than 30 cm, and the first and last jumpers should be installed 5 cm from the edge. Make a cutout in the upper edge of the board so that the ramp rests on the harness like a shelf, and the jumpers are flush with the harness. Attach the ramp to the harness using the corners of the bolts with nuts and self-tapping screws. Install the corners so that children do not get scratched. Attach the corners to the ramp with bolts and nuts so that there is nothing protruding or sharp on the side of the ramp. Sew up the slope with plywood using self-tapping screws. They must be sunk by 0.5–1 mm, then putty and grind. Secure the bottom edge of the ramp with pins or anchor bolts driven into the ground.
Stairs
Cut two pieces of 50mm thick board that will be slightly longer than stairs... Mark and cut corners of harness and ground contact. Cut 24.5 mm wide grooves in these boards to fit the steps, then cut the steps to the required width and assemble the ladder. Attach the steps to the side boards with self-tapping screws. Attach the ladder to the harness and ground on the opposite side of the ramp. Attach supports and railings to both sides of the stairs. They can be made from a board 25 mm thick. Supports and railings should be treated with a hand or electric planer to eliminate sharp edges and then carefully sanded. The top edge of the railing must be attached to the uprights.
Additional entrances, top rail and roof
On one of the sides, make a ladder from the same block that went to the racks. Cut the cut bars with an electric planer to slightly round the edges. Attach these bars to the posts at a distance of 20-30 cm from each other. Screw the first block at a distance of 20-30 cm from the ground. Prepare an extreme climb to the lodge. To do this, make the same tray as for the slope, but installed at an angle of no more than 20 degrees in relation to the racks. Tie the uprights at the level of the house's ceiling using a 50 mm thick board. On the side of the extreme entrance, reinforce the harness with steel corners. Cut and spread the plywood to the floor, then hem the ceiling with the plywood. Plywood the outside of the house with round or oval entrances. Determine the size of the entrances / exits yourself so that the child is comfortable. To make a roof, cut 4 rafters from a 25mm thick plank. Determine the corners of the rafters based on the height of the roof. Attach the rafters to the corners of the frame and connect them from above with metal corners. Cut the plywood into pieces of the required size and sew up the roof.
Final works
After finishing work, be sure to sand all the places where the child can drive a splinter. Then treat the ramp, steps and extreme rise with parquet varnish. Attach a 10–15 mm thick rope to the top harness on the extreme climb side and tie knots every 20 cm. Color the house so it looks nice.
Video: making a playground at their summer cottage


