Do-it-yourself electrical wiring in a wooden house: step-by-step instructions with photos and videos
Wood buildings have gained their popularity due to environmental friendliness and ease of construction. The disadvantages of such structures include fire hazard. At the same time, the power supply is intended not only to provide lighting and the operation of various devices, but also to be absolutely safe. With the right approach and adherence to all safety fundamentals, high-quality do-it-yourself wiring is performed in a wooden house. Step-by-step instructions will help you to install correctly.

The fire safety of the entire building depends on how correctly the work on the wiring was carried out.
The content of the article
Do-it-yourself electrical wiring in a wooden house: step-by-step installation instructions
Before proceeding with the installation of electrical wiring in a wooden house, it is worthwhile to properly study the documentation that regulates the rules for conducting wiring. In this case, the rules for the installation of electrical installations, as well as regulations for electrical devices, will help.
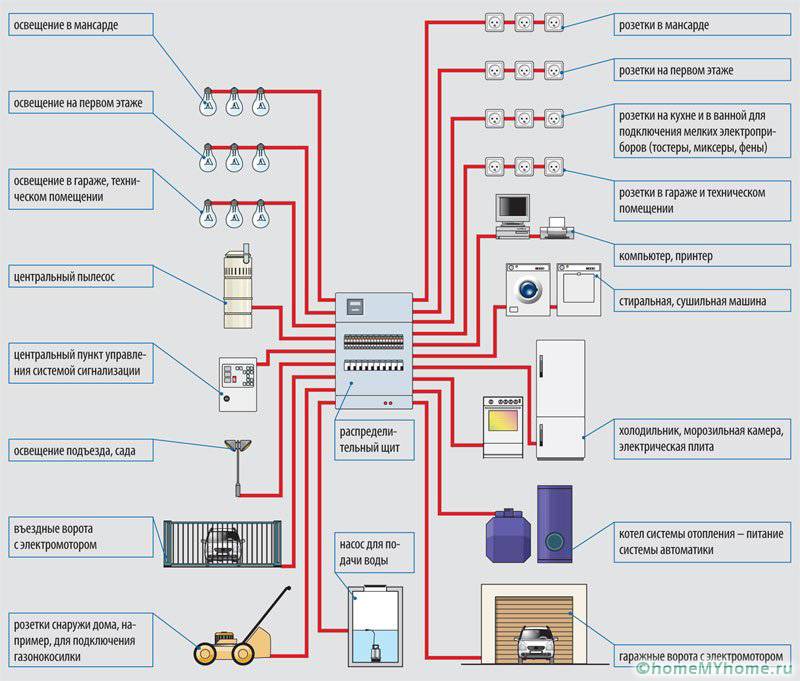
Before starting work, you must first calculate the planned load of all electrical appliances that will be used
Subject to safety rules, you can carry out the installation yourself. In this case, the installation includes the following steps:
- making calculations for the total capacity of electrical equipment and creating a project;
- purchase of various electrical appliances;
- electricity is being input into the building, electrical protection devices and circuit breakers are connected;
- internal cabling is done;
- fixing lighting devices, and switches or sockets;
- fastening of residual current devices and structures grounding;
- continuity and check of correct connections.
Important! The most common mistake during installation is laying electrical wiring in a house made of wood in skirting boards... This is a violation of fire safety rules. It is also not recommended to carry out wiring using PVC pipes.
Preparatory work for the project of power supply in the house
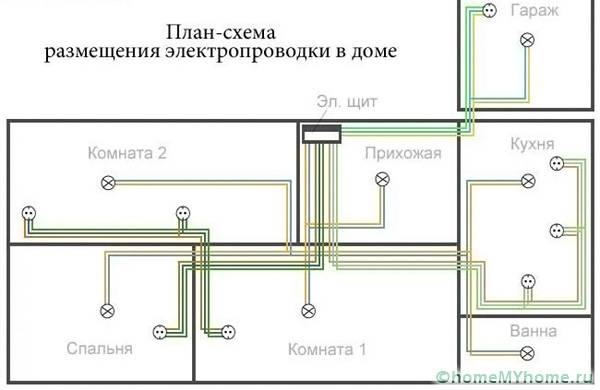
When deciding how to make electrical wiring in a wooden house, it is recommended that you complete the correct project. In this case, the following actions are performed:
- a construction plan is drawn indicating the location of important objects to which electricity needs to be supplied;
- the drawings indicate the power indicator of the devices;
- the equipment is connected to different power supply groups;
- the courtyard is illuminated. This lighting can also be connected to a separate switch and even installed light sensor;
- powerful equipment is connected to a separate group.
For each group, calculations are made for the maximum amount of power consumption.
Helpful information! In some cases, before creating a project, you need to obtain a certain permit from the power supply organization.
How to choose cable and electrical devices?
Wiring in a wooden house can be done by hand. In this case, step-by-step instructions will allow you to correctly perform the wiring. To do without complicated calculations, you can use a special table to determine the cable cross-section depending on the power, or use the calculator below.
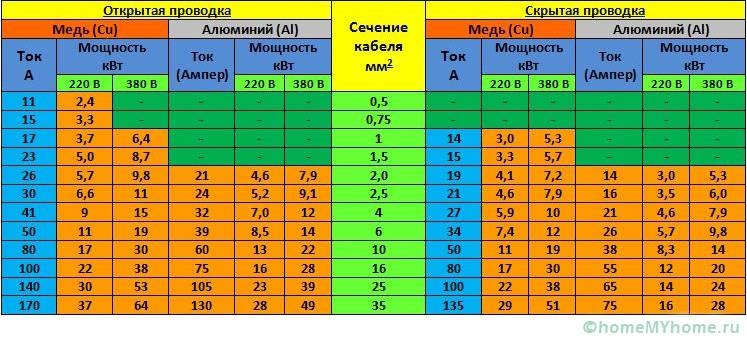
Selection table for wire cross-section depending on power, current, mains voltage and method of laying
In this case, a cable is selected with a cross-section that corresponds to the power of electrical devices for individual groups.
Copper cables are more commonly used. They are characterized by reliability, additional insulation and ease of handling. Aluminum products are sensitive to bending and can break.

Wires and cables have a huge variety both in cross-sectional thickness and in the number of cores and type of insulation
The outlets are supplied with solid, grounded wires. Switches and sockets are selected taking into account the current indicators.
Calculator for calculating cable cross-section for power and line length
Features of the selection of the switch at the input and the cable
When carrying out new wiring, attention should be paid to the section of the incoming cable. If the cross-section is not calculated for a certain power, then a fire may occur. Special organizations are engaged in the installation of the lead-in cable.
An introductory machine is installed. In this case, a three-pole switch is used. If the power supply is single-phase, then a two-pole circuit breaker is used.
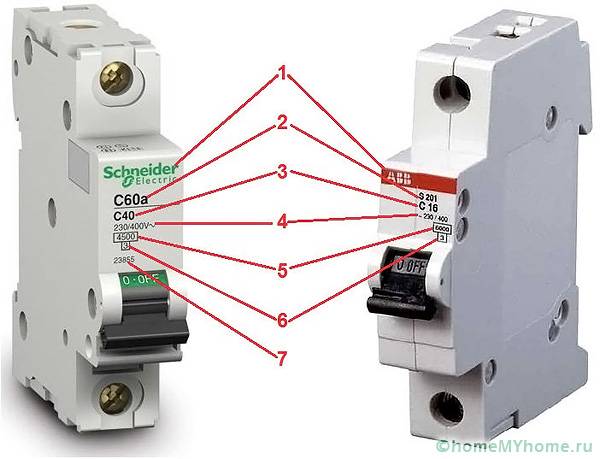
1 - manufacturer; 2 - model; 3 - rated current; 4 - rated voltage; 5 - breaking capacity; 6 - class of current limitation; 7 - product article.
Helpful information! It is necessary to choose such a switch so that in case of overloads it does not completely cut off the power, but breaks the circuit to protect against short circuits.
Selection of an introductory machine and its nominal characteristics
When laying electrical wiring in a wooden house, you need to choose the right type of machine. To approach the building, in most cases, it is enough to use a 25A machine. The characteristic of the device determines the ratio of the short-circuit current to the nominal value. For installation, a mechanism with a characteristic C is more often used.
Helpful information! All such devices with automation are combined into one group.
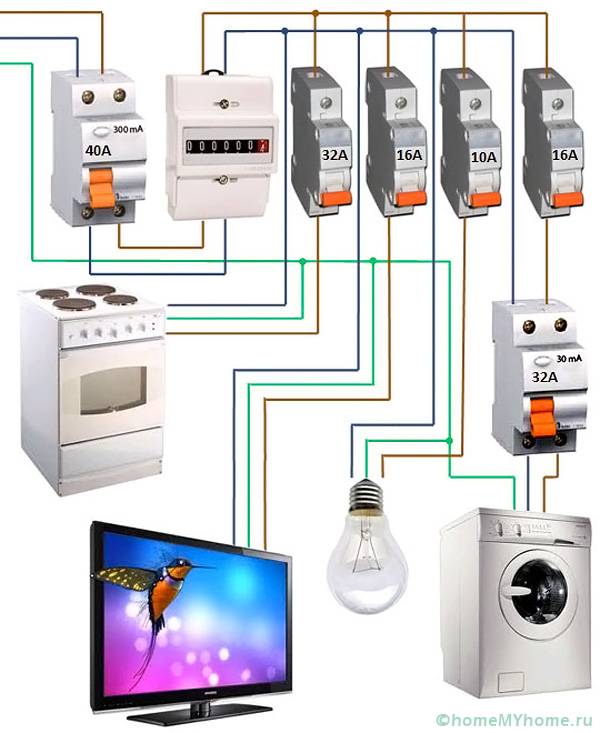
The rated current of the input machine must take into account the rated currents of all electrical appliances plus 10-20%
Related article:
Do-it-yourself wiring in the apartment from the dashboard. A separate publication provides detailed information on the rules and nuances of wiring in an apartment.
Installation of electrical wiring in a wooden building
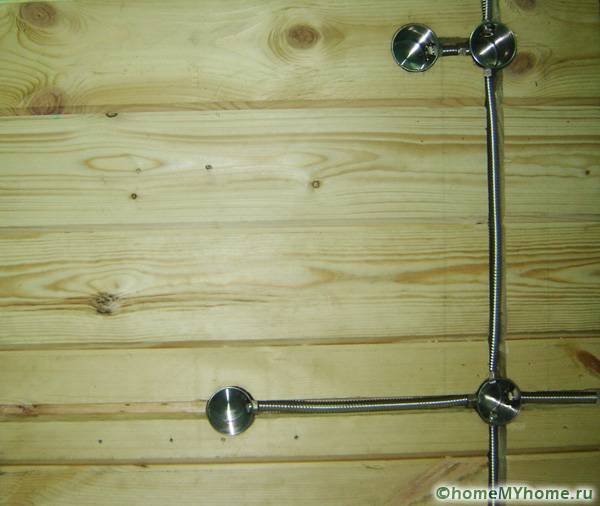
When all the electrical components are purchased, do-it-yourself wiring is performed in a wooden house. Step-by-step instructions will help you fix the points of all the necessary electrical elements. If you plan to use a finishing material, the cable is placed in a metal sleeve.
Installation of the switchboard and cable entry
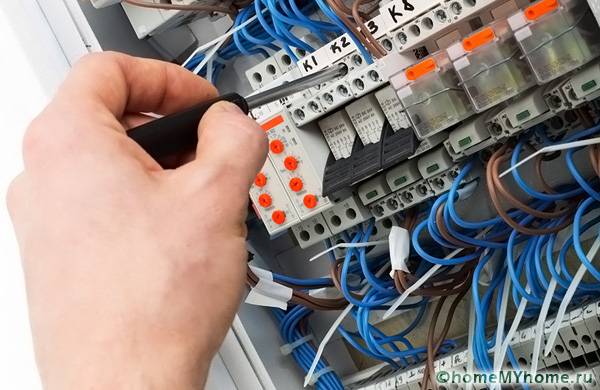
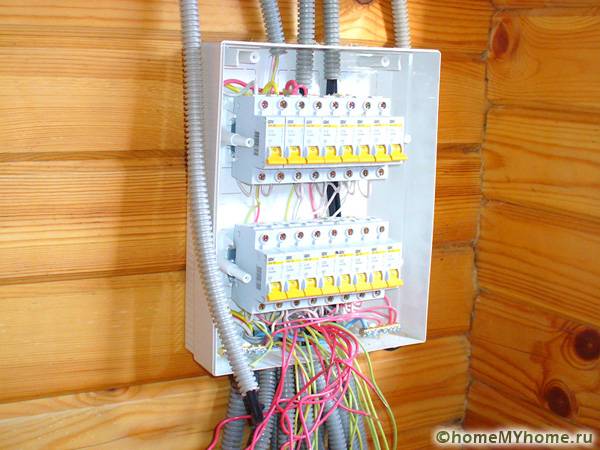
Do-it-yourself switchboard installation. At the same time, a metering device is installed inside the case, and a water machine is mounted on a metal profile (DIN rail). The cable is inserted into the house, and fed to the machine and counter.
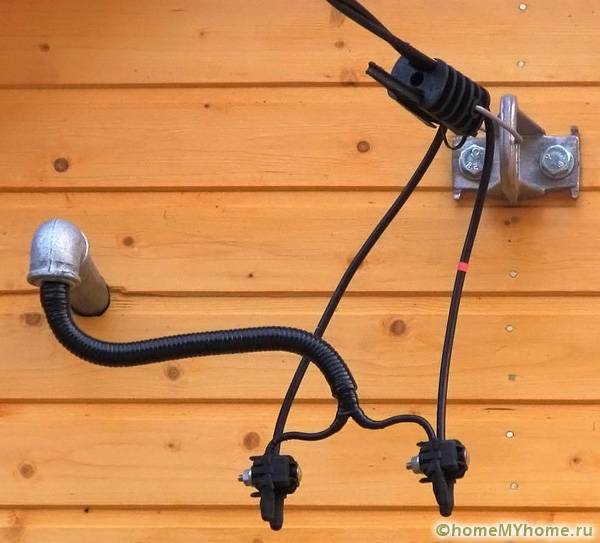
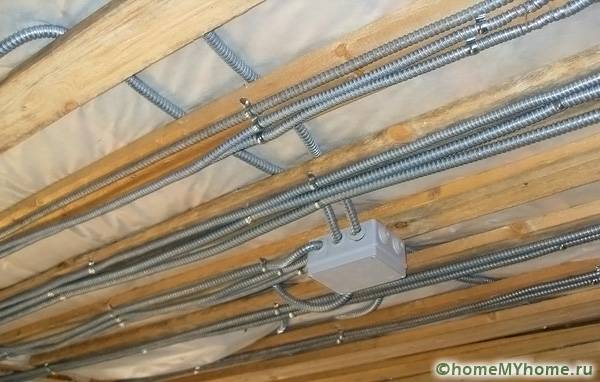
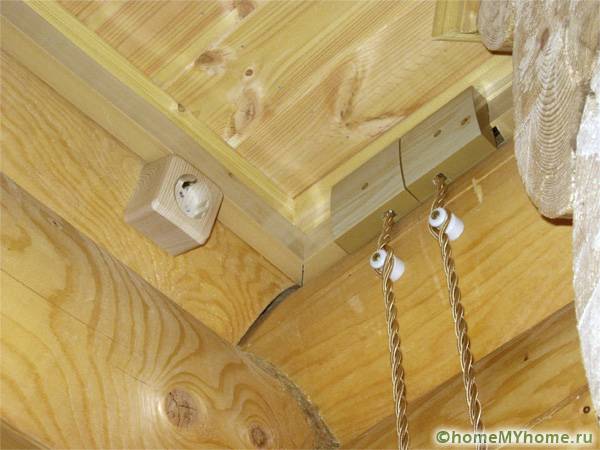
The cable lead is carried out according to SNiP. In this case, the wiring runs under the floor or along the ceiling. With the open method, the wire is placed in a fireproof sleeve. For open wiring, the following installation methods are provided:
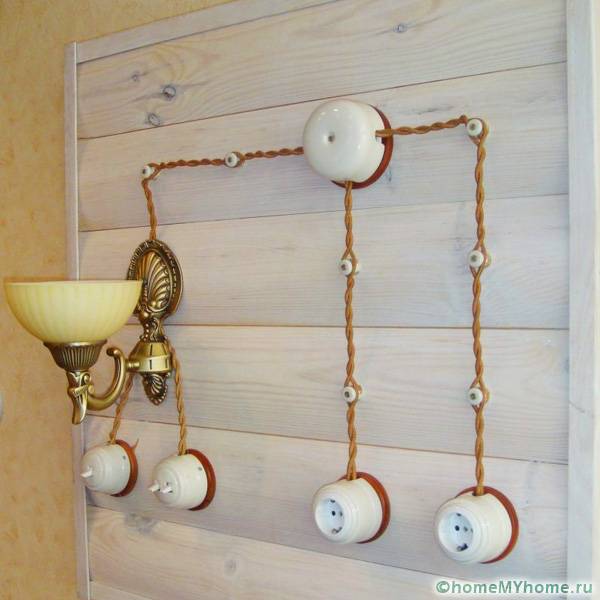
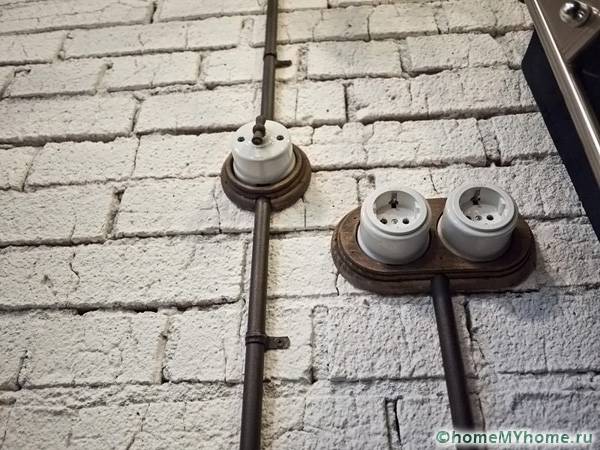
- ceramic rollers are used for laying along the wall from a log;
- metal pipes are the best protection against fire;
- are used plastic cable ducts;
- fastening with staples;
Helpful information! All openings for the electric wire are sealed with fireproof metal sleeves.
The nuances of installing wire into the wall
The wiring is laid out as follows:
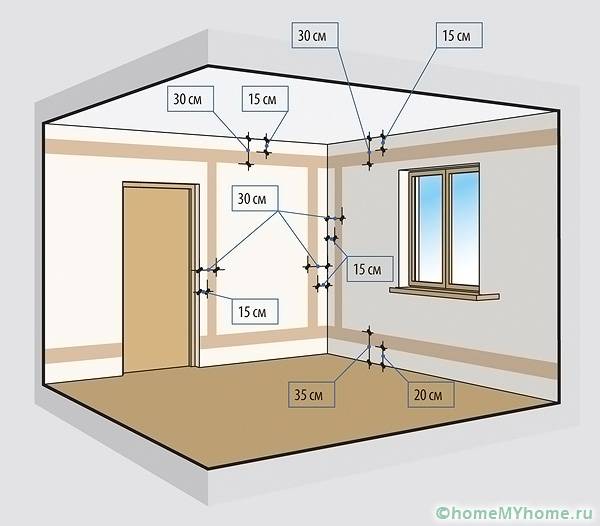
- markup is in progress;
- grooves for wires and sockets for socket outlets and junction boxes are arranged in the walls;
- Cables are pulled into metal hoses;
- Metal hose with a wire fit into the grooves;
- all lines are connected in junction boxes.
Thus, hidden electrical wiring is performed in a wooden house.
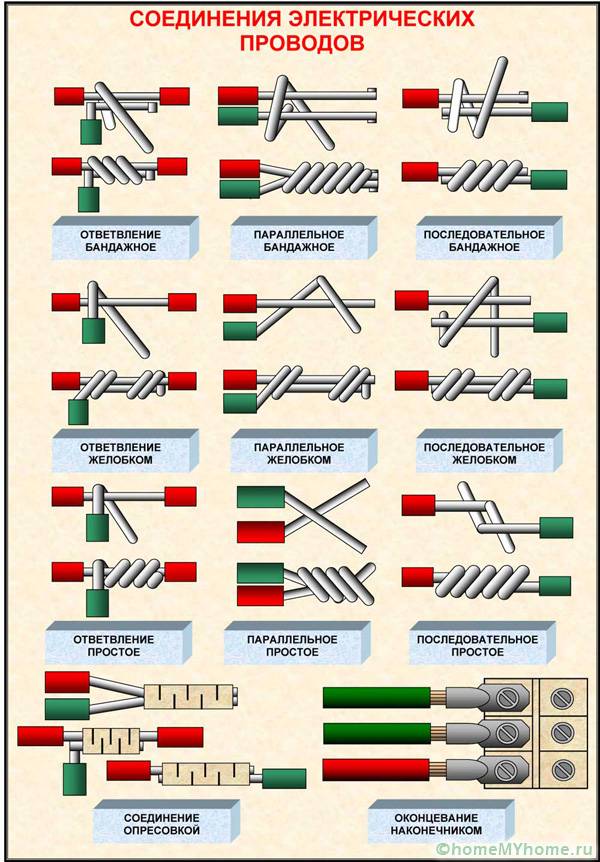
Ways to connect wires
The wires are connected in the following ways:
- via self-clamping terminals;
- with the use of insulating caps for twisting;
- the twist connection involves wrapping with insulating tape.
Important information! The more connections a network has, the less load it can handle.
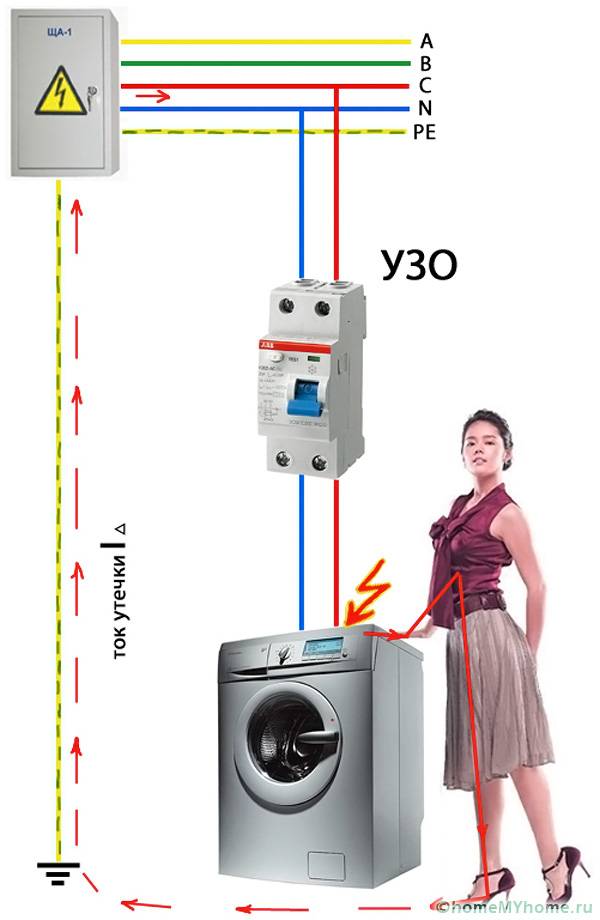
Secrets of grounding and installation of an RCD
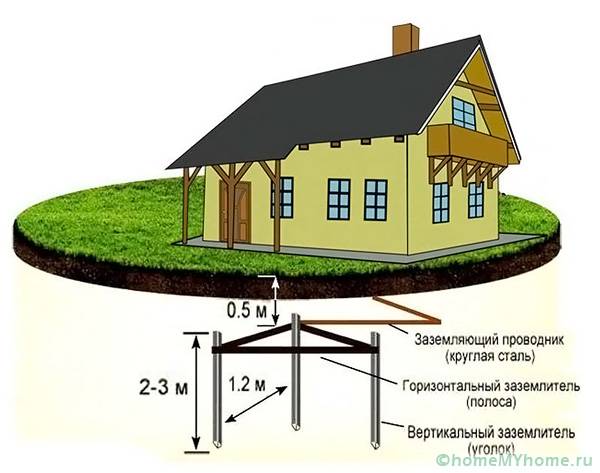
The presence of electrical appliances requires the installation of grounding. In this case, the following actions are performed:
- a trench is made in the shape of a triangle, metal rods are installed in the corners;
- the posts are connected to the profile by welding;
- a rod is mounted to one of the corners, which is connected to the grounding device in the electrical protection.
Helpful information! To protect against electric shocks, a residual current device is mounted on the equipment case.
Testing wiring
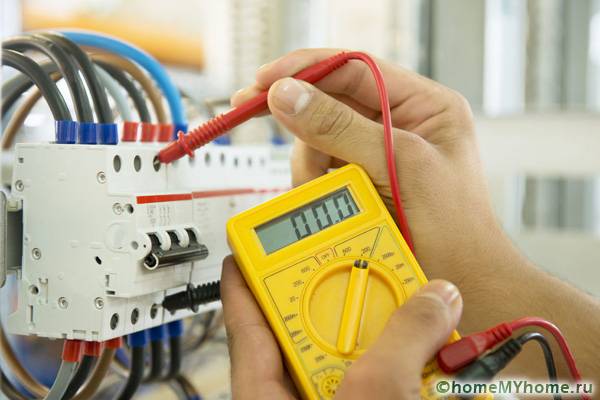
After completing the installation work, a test of the wiring is mandatory. In this case, measurements of the resistance of the cable covering and grounding are carried out. The line between the earthing switch and the devices is checked, as well as the switch and the phase zero circuit are checked. The testing carried out allows you to avoid further breakdowns and accidents.
Video: hidden electrical installation in a wooden house


