Do-it-yourself wiring in the apartment from the dashboard
The house should be comfortable, clean and safe. It is the last point that should be given the utmost attention when it comes to wiring. An old apartment or a new one - it is necessary that the electricity was carried out according to all the rules and taking into account the established norms. Do-it-yourself wiring from the flap in the apartment is not a very simple matter, but it is quite real if you find out how to do everything correctly, which cables to use and adhere to safety precautions. To ensure that everything goes smoothly and without sparks, we suggest learning more about wiring.
The content of the article
Video: wiring diagram in the apartment
Plan
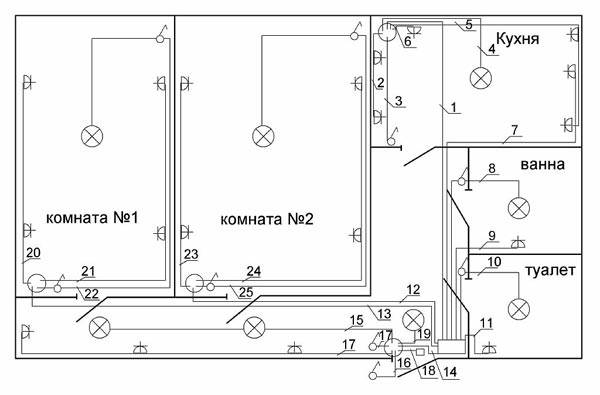
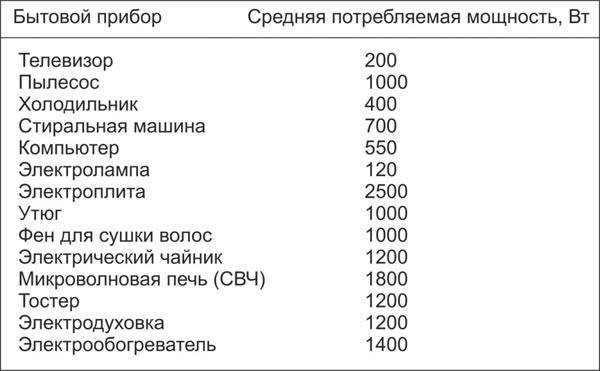
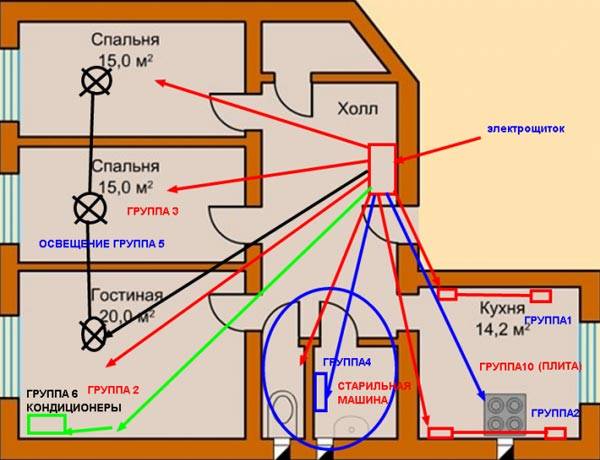
Before you do the wiring in the apartment with your own hands from the dashboard, you need to create its plan. And this point must be approached very seriously, because the safety of all residents of the apartment will depend on the correct planning, and subsequently implementation in kind. If there is at least a minimal concept of what an electric current is, then this will not be a problem. It is necessary to calculate the load and make a drawing on paper. To correctly identify all electrical points in the apartment (sockets, switches, wires, inputs and outputs), you must adhere to the standardized markup on the plan. Such a scheme will help to correctly lay cables that will withstand a particular load. On the same plan, it is important to take into account the location of household appliances: for example, an electric kettle and boiler require wires with a large cross-section, and a light bulb and a TV do not need them.
On the diagram, it is necessary to indicate the distribution points. There are three types of wire routing - parallel, series and mixed. It is the last option that is most rational to use - it is cheaper than all the others in terms of material costs, moreover, the most effective. In order to make it easier to lay, here is an approximate plan for breaking down connection points:
- Light in the kitchen, corridor, living rooms.
- Light in the toilet and bathroom.
- Power supply to outlets in living rooms and corridor.
- Power supply to sockets in the kitchen.
- Power supply for electrical outlets, if any. Also, if there is a boiler, it is also better to allocate it for connection via a separate wire directly to the shield.
The above plan is just an example, there can be a lot of options, the main thing is to calculate the loads and correctly group the connection points.
The preparatory work does not end only with the creation of a plan: it must be approved by the relevant regulatory authorities, and only after that proceed with the installation and cabling.
Installation methods
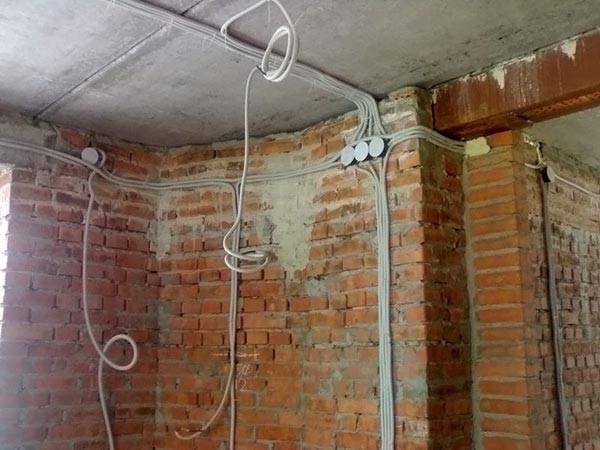
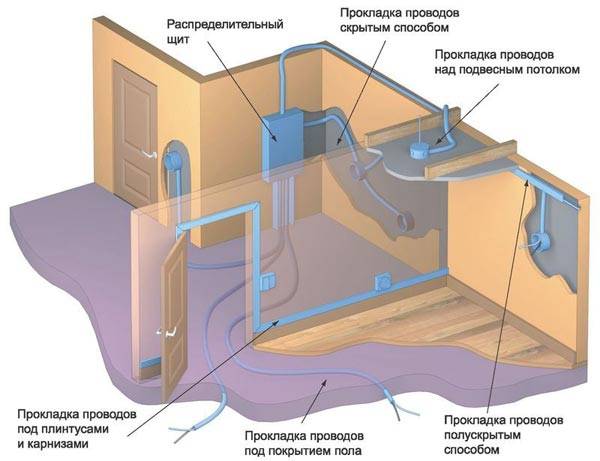
The wiring in the apartment can be installed in two ways: open and closed.
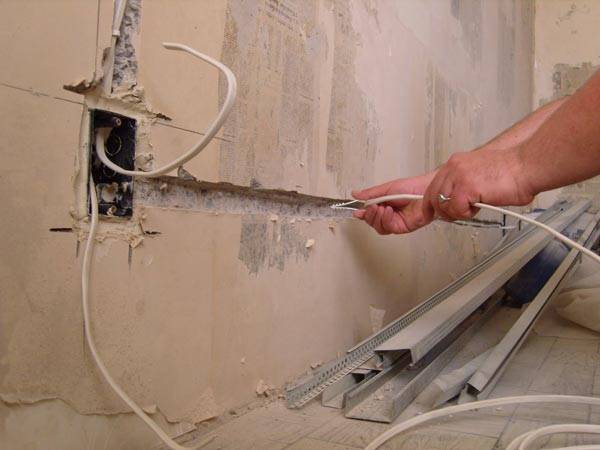
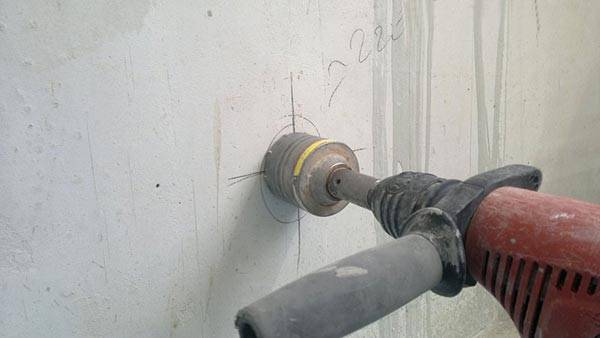
It is the first option that is most often used for apartments, all wires are hidden under a layer plasters in special grooves. To do this, you need to groove the walls.
There are also such rules:
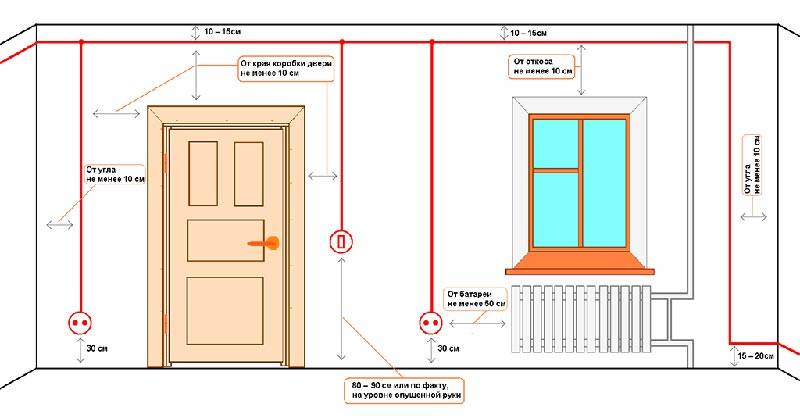
- The wires must be laid strictly perpendicularly.
- The depth of the walls is 2 cm, so that, if necessary, you can get to them.
- The cables must be secured with clamps or dowels.
- If funds permit, it is possible, and best of all, to run the cables in a special sleeve. In the event of a fire, this sleeve evacuates the wires and the hazard does not spread further.
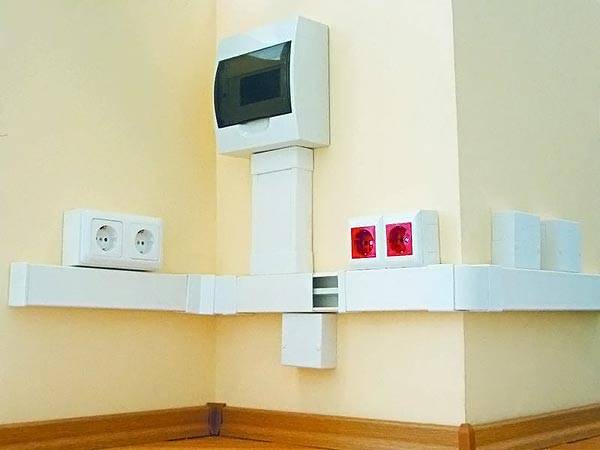
The open method is used most often in office premises, but it can also be implemented in apartments.
Initially, the wiring is laid on the surface of the walls and ceiling without recesses, then it is hidden in boxes of the appropriate size. If there are ceiling skirting boards and their width allows you to hide the box under them, then in this way it will be possible to implement hidden wiring, which can be reached at any time with minimal loss interior appearance.
The peculiarity of open wiring is that the sockets do not hide into the wall, that is, you do not need to make special recesses for them.
You need to lead the main wire from the switchboard, which is located on the staircase, it is brought into the junction box, or into the switchboard, which is located directly in the apartment, and from it they carry out wiring at all points outlined in the plan.
To calculate the required amount of cord and its cross section, you need to check with the plan and spend time measuring the distances in the apartment. But do not take the wires close to the calculations, you should always make a margin of about 10 cm on each side. To calculate the required cable size, use the calculator below.
Before chasing the walls and cutting the wires, you need to make markings on the wall, where with a marker or pencil "draw" the drawn wires from the main junction box to the mounting points, that is, sockets, lamps, chandeliers.
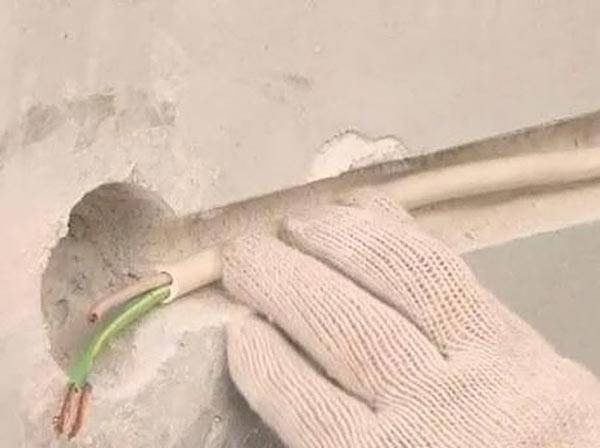
The next stage is the installation of these very points, this means that first the wire is brought in, and then the socket is mounted, the same must be done with the lighting points.
Related article:
Wiring in a wooden house step by step. A separate publication provides detailed information on the device of a competent power supply for a wooden house.
Automatic machines, wires, security
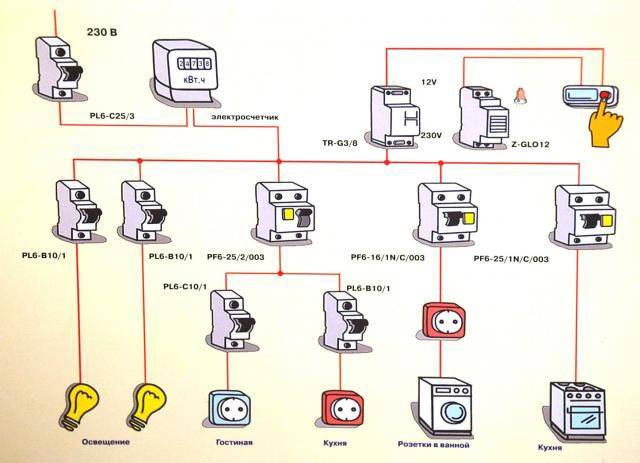
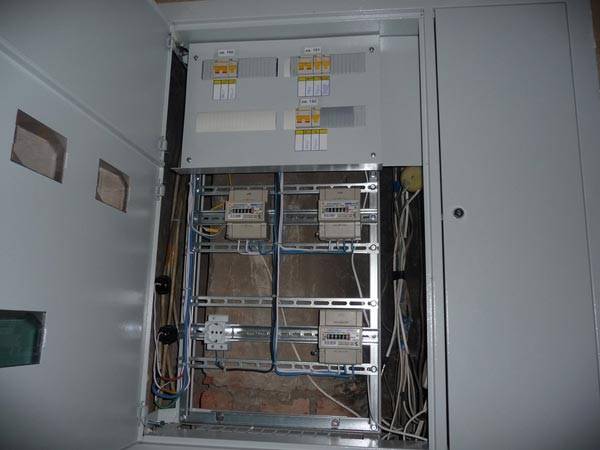
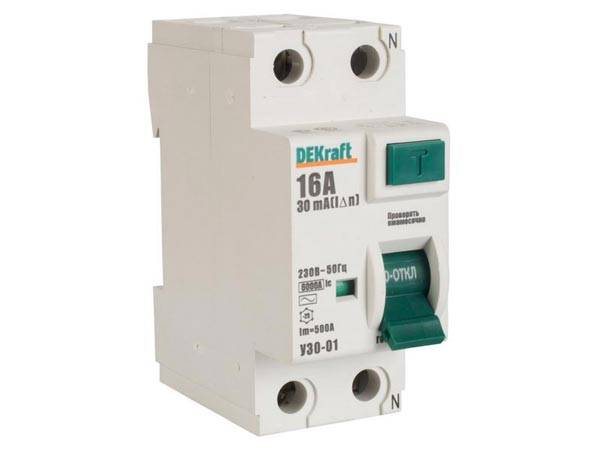
If you do the wiring of electricity in the apartment from the dashboard with your own hands, then there must be automatic machines, that is, automatic power cutters for a certain group of points in the home network. So, for a socket, the machine must be at least 16 A, the cross-section of the wire connected to it is 2.5 mm². A 10 A machine should be responsible for the lighting, the wire connected to it and to the lighting devices - 1.5 mm².
One of the "strongest" devices in an apartment is an electric stove and a boiler, wires with a cross-section of 4 mm² must be connected to them, and their automatic device must be at least 20 A. All this is placed in a switchboard, which is placed in the corridor. Important: do not use the machine more than indicated in the list below, otherwise the wire will simply burn out.
Cable section - 1.5 mm², automatic 10 A, 2.5 - 16 A, 4 - 20 A.
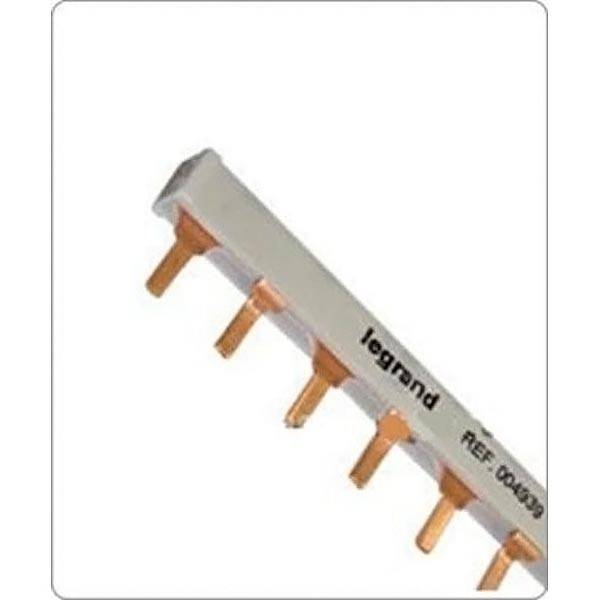
To connect all the necessary points to the machine, you must use a special bus and in no case pieces of wires.
Each dashboard must include an input automaton (a toggle switch that de-energizes the entire apartment). This is an important point, since it is used mainly in emergency situations, for example, in the event of a fire or a water pipe leak from the upper apartment.
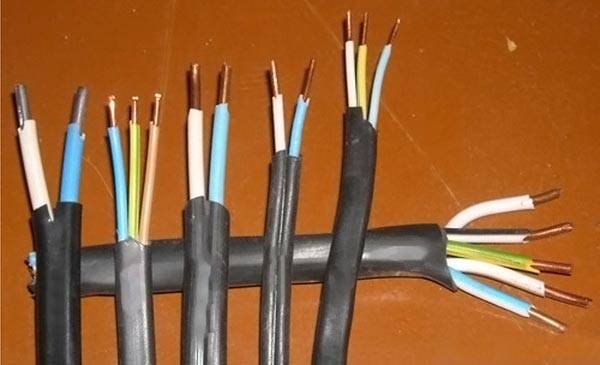
For an apartment or any other living space, copper insulated wires are used.
They do not break, since aluminum does not withstand bending, moreover, they have the ability to conduct current better.
Safety regulations:
- Turn off the power before installing the wiring.
- Do not lay the cable while it is energized.
- If it is necessary to solder the wires, then this must be done in special gloves.
- Before tightening the wires into the tube, you need to remove all burrs from them.
conclusions
Do-it-yourself wiring from the dashboard in the apartment is a responsible business, it should be carried out only after preliminary theoretical training and, preferably, consultation with an electrician. In this matter, it is important to do everything clearly and correctly and adhere to safety precautions.
Video lesson about the secrets of assembling an electrical panel and choosing machines


