How to use a multimeter correctly and how the device works
When you need to measure the strength of current, voltage or check the wire for continuity, for each type of work, you can use a separate device or use a multimeter. It is very useful not only for professionals, but also for beginners in this business. Let's consider how to use it correctly and what types exist.
The multimeter is a universal device for measuring voltage, current, resistance, and it is also possible to determine the integrity of the wire. Modern models have great functionality, to use them you should know how to use a multimeter correctly.
The content of the article
Varieties
There are two options for the multimeter:
- analog;
- digital.
Analog
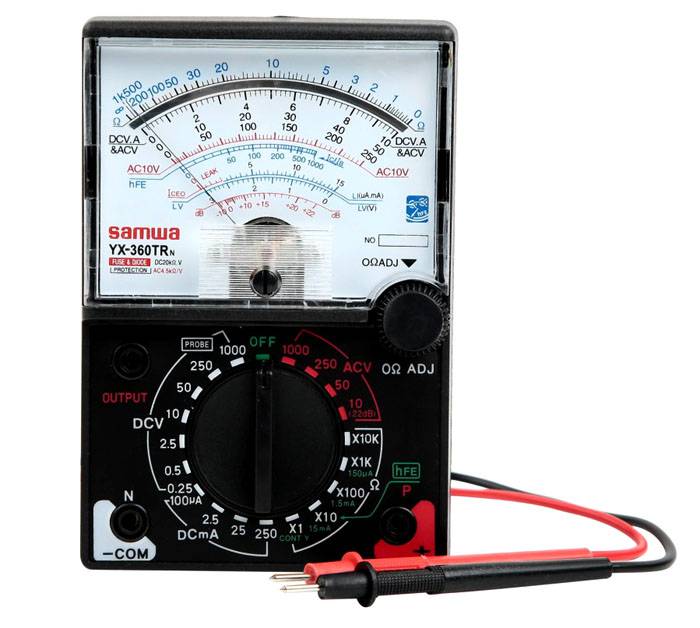
In analog readings, it looks at the movement of the arrow relative to the scale, where there are special designations (voltage, current, resistance). If you are using a Chinese model, it may be inconvenient due to the way the scale is applied. Having a significant error in the results, such a device design is still popular due to its affordable cost.If you require accurate measurement readings, you must use a pull-down resistor.
Digital
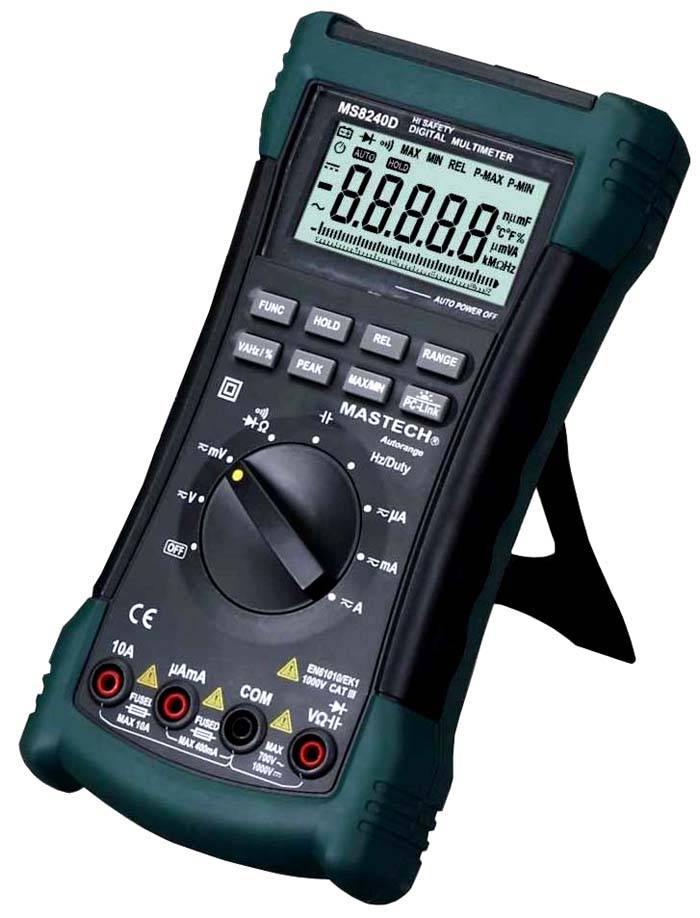
All data is displayed on a screen, which can be LED or liquid crystal. Ease of use and accuracy of readings appeals to consumers.
The new graphical multimeters can be compared to simple oscilloscopes, as they display the waveform. And some designs can be compatible with a computer, and then the device can be controlled through it. That is, the multimeter absorbs more and more functions, making it possible to simplify the work and replace several devices at once.
What can be measured by the device
All types of multimeters are capable of measuring current and resistance, as well as the voltage in the circuit.Voltage indicates how much electricity flows through a circuit.It is designated by a "V". The current displays the rate at which electricity flows ("A"). And resistance shows how much difficulty electricity meets along the path of the circuit.
The package contains a probe for ringing the circuit. The bottom line is that the device sends a signal using sound if its probes are closed or the resistance is not higher than 20 ohms. With this function, it is easy to check for short circuits, the integrity of the connections.
Some models are able to test diodes that act as valves, where the current flows in one direction. The latest models additionally measure temperature, electrical signal frequency, transistor, capacitor, and inductance measurements. Each dimension has its own designation.
In order to understand how to use a multimeter correctly, you need to know what it consists of.
What the device consists of
The complete set of an analog multimeter includes a pointer magnetoelectric instrument, a set of additional resistors and probes. If it is necessary to check the alternating voltage and current, the device is connected through rectifier diodes.
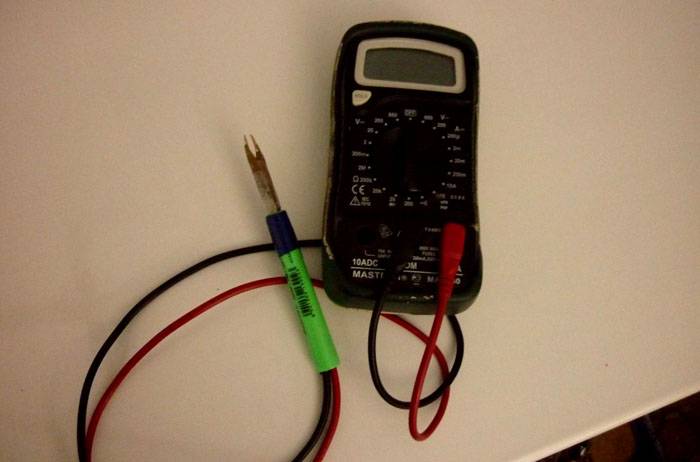
Let us dwell on the digital model in more detail, and we will carry out further measurements with it, since the functionality is much higher, and the readings are more accurate. The basic set of the digital model also includes probes, which must be strengthened before use. To do this, fix the entry points of the wires into the plastic tube holders. This is necessary so that when measuring, the wires in the bends of the probes are not damaged.
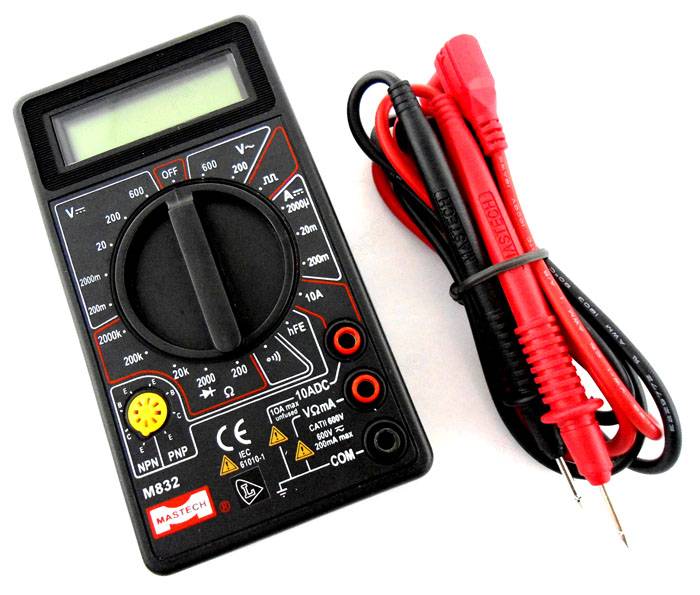
Digital multimeter device
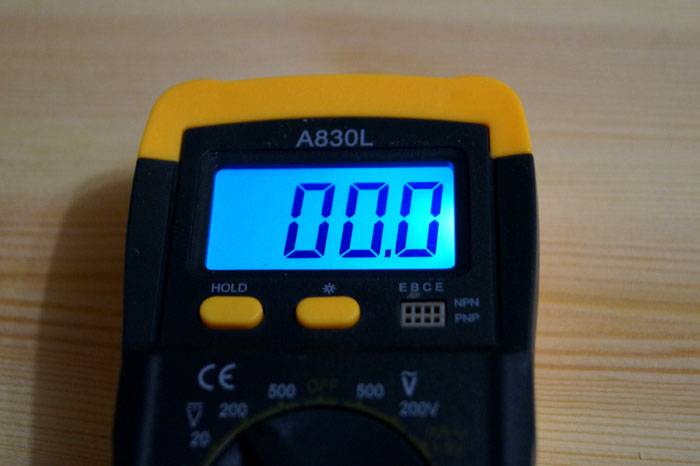
To use a DMM correctly, let's take a closer look at it. In the upper part there is a scoreboard (digital) capable of showing up to 4 (sometimes more) digits, that is, the highest value will be "9999". If the battery is running low, the word "bat" will appear.
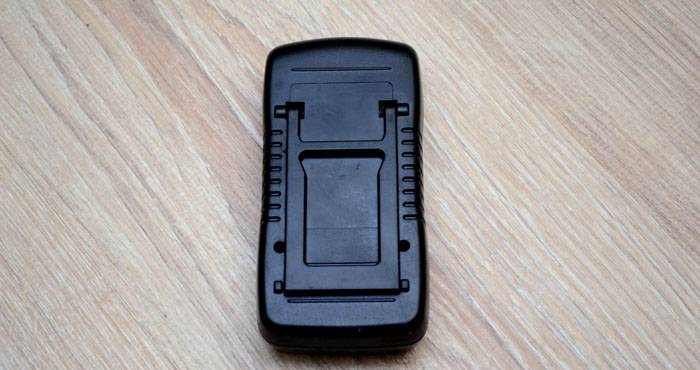
There are 2 buttons under the screen. This is usually "hold", which stores the last measurement. And on the right is "back light" (there can be not only a letter designation, but pictures (an asterisk or a light bulb)), when pressed, the screen backlight turns on. On the back of the instrument there is usually a folding leg for placing the instrument.
Typically, such a device is powered by a nine volt battery. To get to it, you must completely remove the back cover.To use the DMM properly, you must connect the test leads correctly.
- Black wire is a minus. Attaches to the "com" socket.
- Red is a plus. It is inserted into the hole to the right of the minus.
The remaining unoccupied jack is used for AC current measurements up to ten amperes and no fuse.
They work with a multimeter using a round button with an arrow, which by default is set to the "Off" position. It should be rotated to the desired position. Having studied the main buttons and connectors of the digital multimeter, we will analyze in detail each measurement method.
Measuring resistance
In order to understand how to check resistance with a multimeter, switch the device to the "K" or "M" mode (Kilooma or Megaoma). The choice of the mode depends on the required measurement limit.
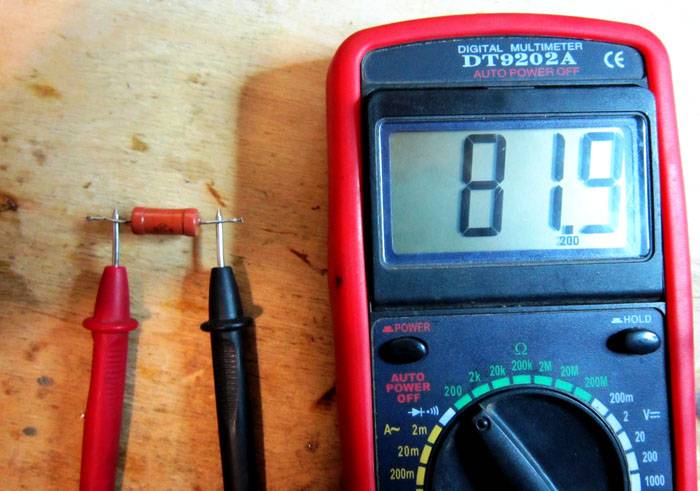
In order to learn how to take readings, let's take the simplest resistor 82R, the resistance of which should be equal to 82 Ohms. We apply one probe to one end, the other to the other. Deviations within 10% are considered normal. That is, if your device showed 81.9, then everything is in order.
Thus, answering the question of how to measure resistance with a multimeter, it is enough to simply lean the probes against the open (bare) ends of the device from which you want to take readings.Often a capacitor goes out of work, in order to determine its serviceability, it is necessary to check the capacitor with a multimeter.
How to check the performance of a capacitor: instructions
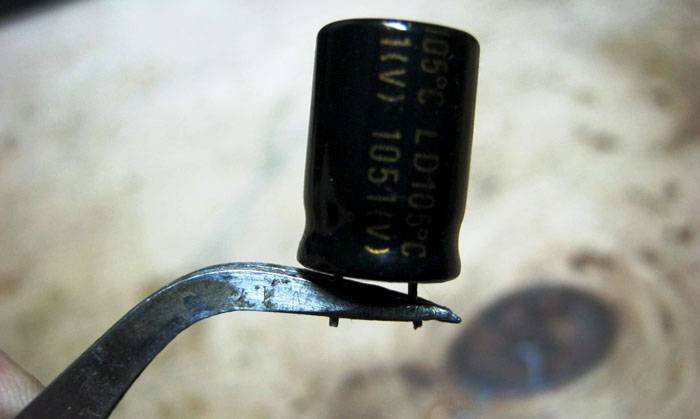
According to the type of attachment, all capacitors can be divided into polar and non-polar. The polar ones are electrical ones, which we will check. When checking this device, do not forget that it only passes alternating current, and the direct current passes through it for only a few seconds at the beginning of operation. Using a multimeter, you can check a capacitor with a capacity of 0.25 μ Farad.
Sequencing:
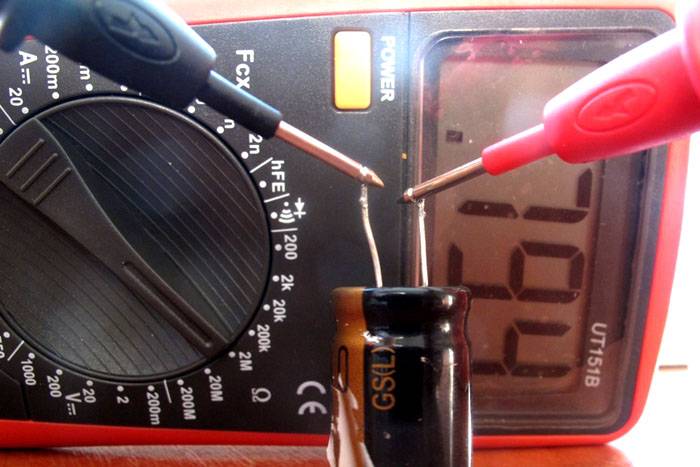
- Now you need to set the handle to measure resistance or ring the circuit. In these modes, the device generates a constant current. At that moment in time when the current will still flow through the capacitor, the resistance readings will be minimal.
- We press the probes to the terminals of the capacitor. In this case, while the readings are being taken, the capacitor will be charged from the device.
- At the moment of touch, the resistance to the current will be small, while continuing to hold the probes, the indicators will increase. We are waiting for the numbers on the screen to become large. If there were no failures during the measurement, then the capacitor is operational.
If at the very beginning, when you just touched the probes to the capacitor terminals, the multimeter showed zero resistance and began to squeak, a short circuit occurred.
Checking the voltage and current
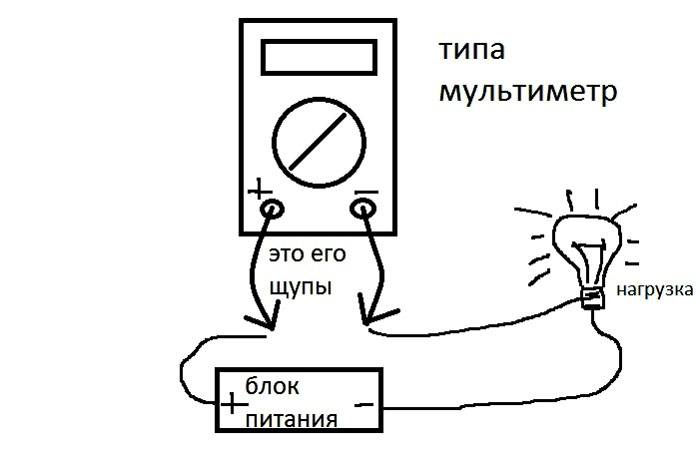
When taking current readings, it is necessary to connect the probes in series with the load, unlike other quantities where the connection is in parallel.
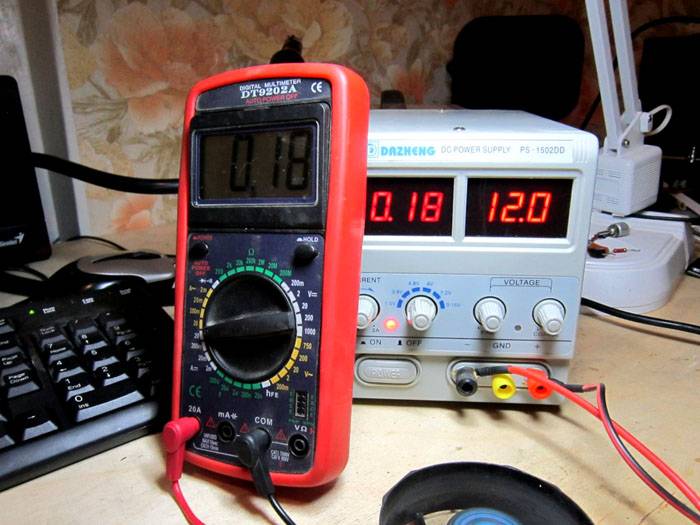
Let's consider how to measure the current strength with a multimeter using a computer cooler as an example. This indicator is measured in amperes, so we put an indicator of 12 W on the device, and we move the handle to measure the DC current. The limit can be set to 20 Amp. We assemble according to the scheme and follow the device screen. If they match, then everything works fine.
If it is necessary to check the alternating voltage, then on the multimeter, set the knob to the appropriate indicator. And the measurements themselves are carried out in the same way.
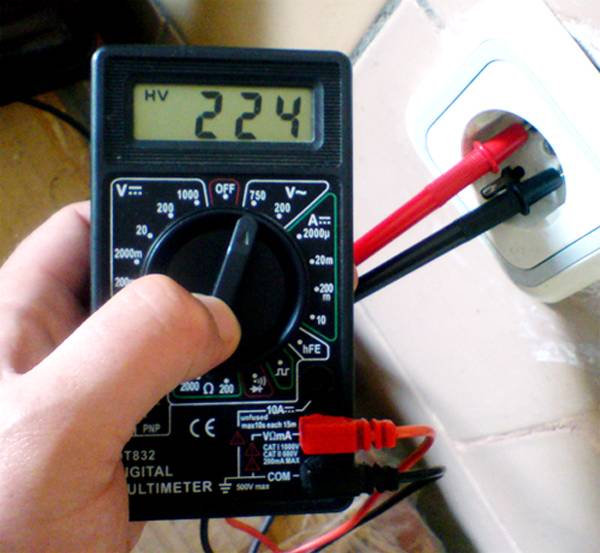
Now let's look at how to measure the voltage with a multimeter in an outlet. We also use a digital device, as it already belongs to professional equipment. The measurement process itself is extremely simple, you need to insert the probes into the outlet and turn the switch to 750 volts. A 10% deviation from the norm when measured is considered normal, so you should not expect to see exactly 220 watts.
Note! Do not forget about safety precautions, therefore, before plugging the device into the outlet, check the integrity of the insulation of the probes.
It is important not to confuse the operating mode, if you put it on resistance, then just ruin the device.
Ringing the field-effect transistor
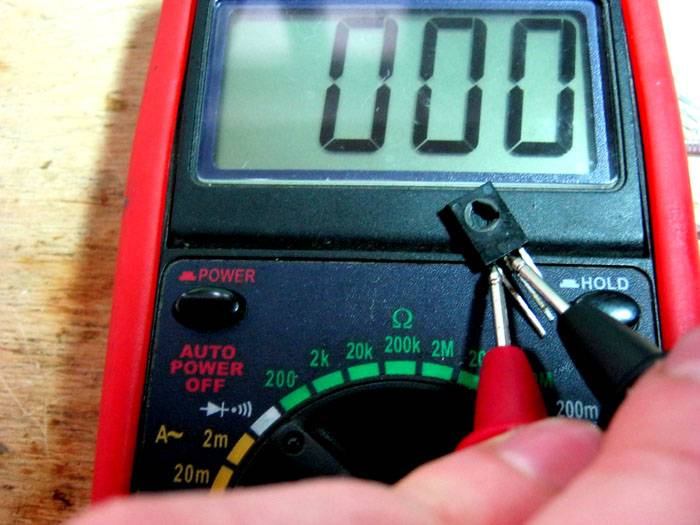
With a digital multimeter, you can take readings from other devices. Consider how to check a field-effect transistor with a multimeter.
When you need to test such a device, do the following:
- Place a black probe on the drain terminal of the transistor, and a red one on the source.
- The multimeter shows a direct decrease in voltage across the internal diode (450mV), and in the other direction, infinite resistance.
- Now we move the red probe to the shutter, then to its original place. In this case, the readings should change (becomes 280 mV), which will show that the transistor opened by touch.
- Do the same with the black test lead, this should close, and the voltage will drop.
If there were no problems with this check, then your transistor is working. This method also answers the question of how to ring a transistor with a multimeter.
Advice
A multimeter is a necessary tool for working with electrical devices, which will help to check the correctness of their operation.
To carry out correct measurements, connect the device according to the diagrams, carefully follow the selected test mode with a digital multimeter.We also invite you to watch a video with examples of using a digital multimeter.
Video: how to measure the voltage in a 220 volt outlet with a multimeter


