Plasterboard arches: photos, interior design, tips and self-assembly
PThe process of selecting a successful design, adding elements and decorations to it is a complex and time-consuming process. It is very important that all the components are chosen correctly, so as not to overload the interior and not disturb the harmony. That is why the various elements from drywall, in particular, arches are a laconic solution for any design solution. Due to its versatility, this material will allow you to fulfill any idea, even the most daring. This article provides a detailed overview of drywall arches. Photos, interior design and tips for its implementation are attached.
The content of the article
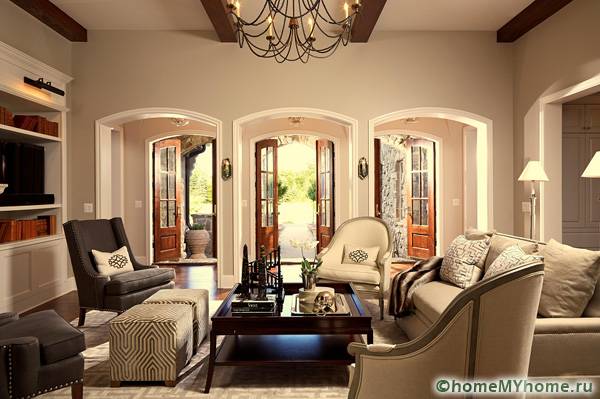
Plasterboard arches. Photo, interior design for various types of arches
There are many different types of arches that fit perfectly into any design solution. Let's analyze the most popular ones.
Classic arch
This is a standard option that will suit any decor. It looks best in rooms with narrow doorways. Due to the peculiarities of its design, it visually expands the passage, which allows you to increase the space in the room.
Romantic arch
This option is in many ways similar to the classics, but slightly different in the shape of the design: it looks more like a square with smoothed corners. Such a solution also helps to visually expand the space, as well as improve the appearance of any room thanks to its original device.
Original modern
This solution is a pointed arc that makes the opening much higher than it really is. That is why this option is often used in small software area of premisesto make them seem more spacious.
Trapezoidal design
This option is easiest to do with your own hands - it has solid corners, and has no rounds. It is thanks to the predominance of straight and clear lines that the implementation of this design is so simple.
Tips for choosing an arch for different rooms at home
Arch option for the living room
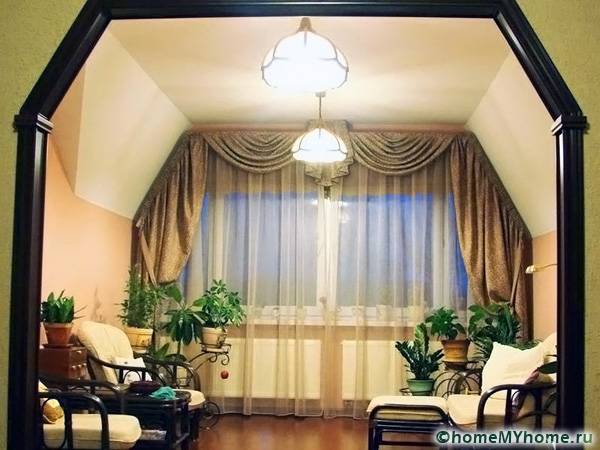
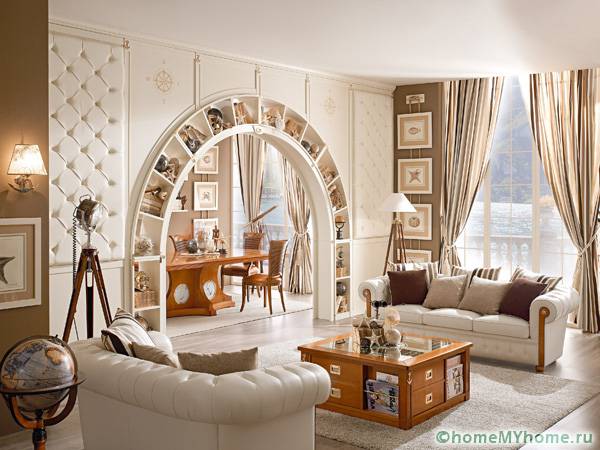
For the living room, discreet, simple and concise options are most often used. We advise against using extravagant solutions, as living room should be a compromise between the different taste preferences of all family members. Installing a drywall interior arch, the photo of which is presented below, is the best solution that will help you find reconciliation in tastes.

Restraint is a sign of the refined taste of the owner of an apartment or house, which guests will appreciate
Choosing an arch for the kitchen
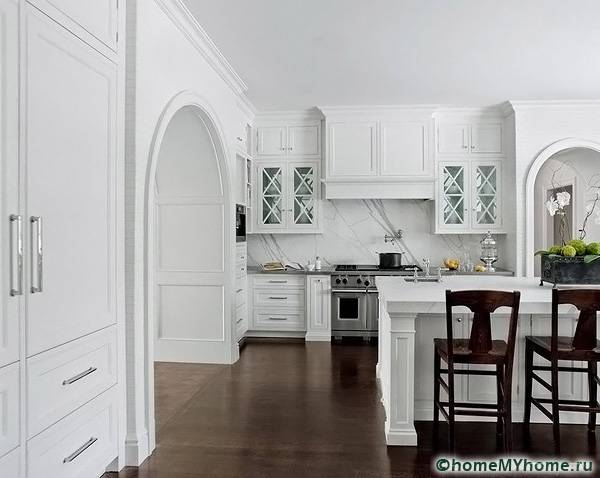
Almost any solution will look good in the kitchen, especially refined and sophisticated options. Neutrality will add extra space to the kitchen, and visually make it much larger. In addition, we advise you to install in an arched opening a door.
Useful advice! Installing a door in the opening will help you avoid the spread of food odors throughout the house, as well as protect the rest of the room from high humidity.
We select the optimal solution for the hallway
Hallway - this is what a guest who comes to your home sees first of all. That is why, when choosing a future design, be guided by what impression you would like to make. If you want to gain the reputation of a sophisticated person - choose a modest and sophisticated option, if you want to be known as creative and creative - feel free to choose any original design.
Do-it-yourself drywall arch: step-by-step instructions with a photo
First of all, let's get acquainted with the list of advantages that involve self-assembly of a drywall arch. The installation of drywall arches, the interior design photos of which you have already seen above, has a number of advantages:
- Simple and fairly quick installation, without various time-consuming and "dirty" work;
- Substantial savings in money;
- Possibility of laying various wires and other necessary elements in a plasterboard structure.
Do-it-yourself drywall arches: video and photo
In order to easily and simply carry out the installation of a drywall arch, you need to arm yourself with a standard set of tools that can be easily found in hardware stores. For drywall arches, photos, interior design of which are presented in this article, you will need the following tools and materials:
- Screwdriver, various screwdrivers;
- Knife for cutting metal materials;
- Drill, screws, dowels;
- Metallic profile;
- Pencil or marker, tape measure;
- Drywall sheets.
Related article:
Do-it-yourself GKL partitions. A separate material provides detailed information on the construction of partitions on your own with explanations and photos.
Stage one: creating a drawing of an arched structure
The first stage is preparatory. It is on it that all the necessary design work and measurements are performed, and a template for the future structure is also made. For this, thick cardboard is used, and the scale itself is 1: 1.This step will allow you to avoid further problems and inaccuracies during the installation process and will provide the desired result in the end.
Stage two: the frame of the future structure
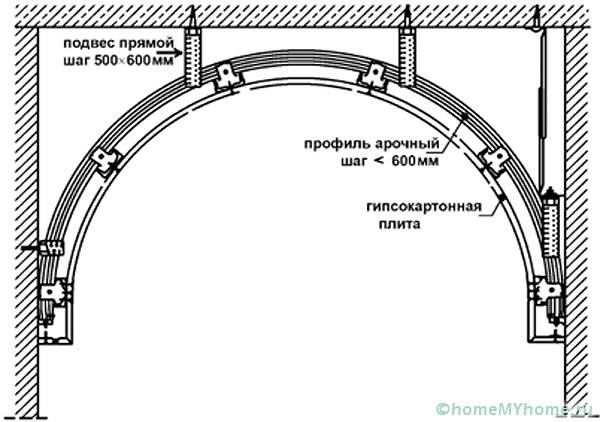
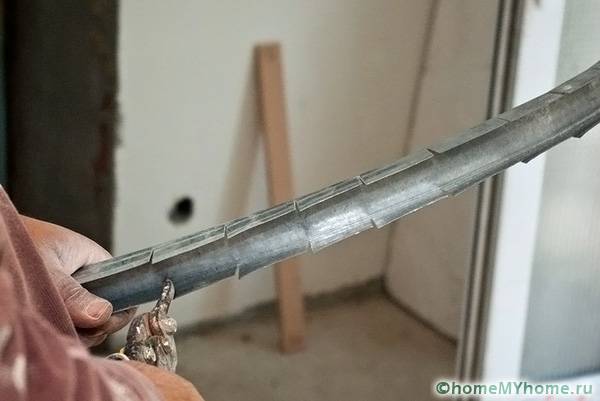
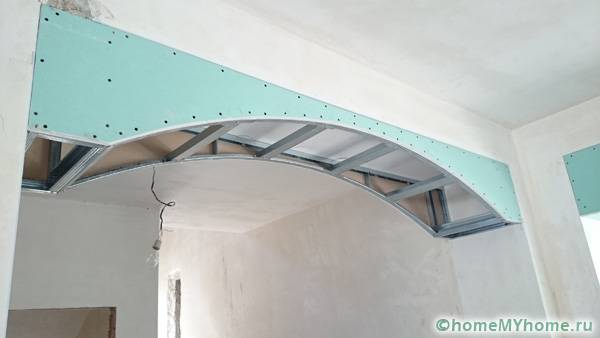
At this stage, with the help of metal profiles, they form the frame of the conceived arch. To do this, the profiles bent according to the drawing are fixed on both sides of the opening with strong dowels.
Helpful information! In order to achieve increased structural strength, we advise you to fasten short metal segments between the arcs obtained from the profiles.
Stage three: frame sheathing
At this final stage, the installation of plasterboard sheets and their finishing are performed. Standard durable drywall is used for the side elements. For the arch, its lighter and thinner analogue is used - ceiling drywall.
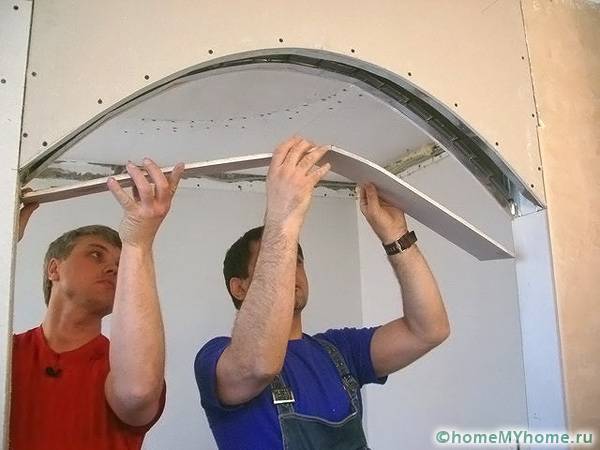
The future element, which, according to the template, is pierced with an awl, moistened with water, then covered with a damp towel on top and left for 15 minutes. This step will allow the material to be properly saturated with water, and subsequently to take the desired shape.
Initial attachment is done with tape or other adhesive. While the drywall is not dry, it is necessary to form the desired shape of the structure. Then, when all the water has evaporated, the arch is additionally fastened with screws.
As a finish, the arch is putty, and then decorated as desired with various decorative elements: paint, draw patterns or fix stucco. You can easily find various options for the most beautiful and successful solutions in the public domain on the Internet.
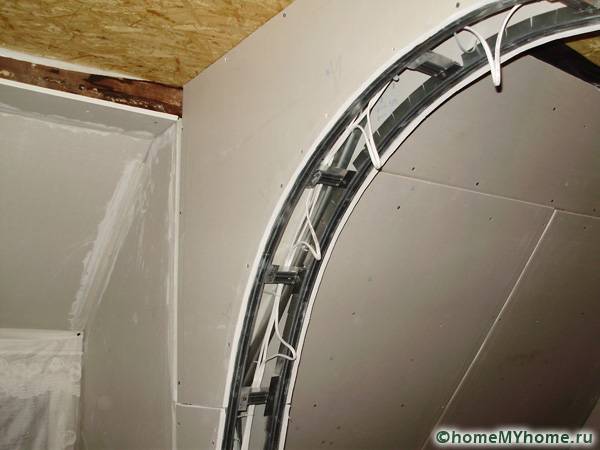
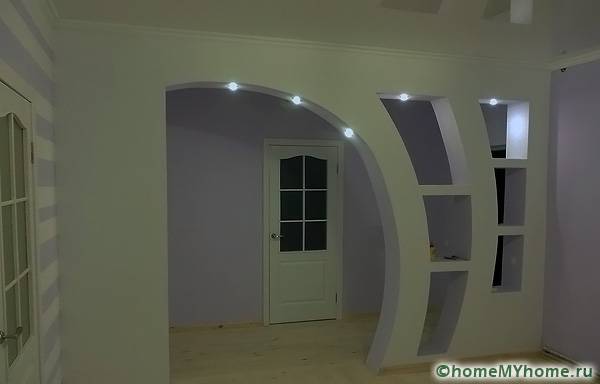
If you are planning to build lamps into an arched opening, you should take care of the output of the necessary wires
As you can see, making drywall arches with your own hands, the video instructions for which are presented below, is the best option for self-installation.
Related article:
Drywall: sheet dimensions, thickness and price. From a separate publication you will learn about the types and production of gypsum boards, technical characteristics, prices and manufacturers.
Drawing conclusions
It is very easy to make a beautiful drywall arch with your own hands. To do this, you just need to take a responsible approach to business, study the presented material, carefully consider thematic photos and step-by-step video instructions. Thus, plasterboard arches, photos, the interior design of which is presented is an excellent inexpensive option for any room.
Video: examples of the design of arches from gypsum board


