Finishing putty for painting with your own hands
TOAnyone who makes repairs is faced with the need to putty the walls before decorative trim... This task is not difficult, and it is quite possible to carry out it without the help of a specialist, but before that it is worth understanding the nuances. We will tell you about the different compositions and purposes of solutions, methods of their preparation, the necessary tools and materials, as well as the application technology itself. Do-it-yourself finishing putty for painting will seem to you an elementary task after reading the article.
The content of the article
Why putty the walls?
An even and smooth base will make the application process easy and the result excellent. If you apply paint to an unprepared wall, then all the bumps, irregularities, cracks will be perfectly visible after the repair is completed.
In addition to the aesthetic function, the putty is also responsible for durability. It strengthens the walls and makes the coating more durable.
Each composition has its own purpose
Before you carry out the finishing putty for painting with your own hands, you should select the desired composition of the solution.
- Oil and glue. This is the cheapest option, but not entirely safe. Drying oil can negatively affect modern wall finishes, show through stains during subsequent repairs. Nevertheless, it is advisable to use it in closets, basements, and bathrooms.
- Gypsum cement. Sold in the form of dry mixes that must be mixed with water. Not so cheap, but suitable for residential buildings, rooms with high humidity.
- Water-dispersive. It is mixed with a polymer emulsion at the production stage, therefore it is sold in buckets. It does not need additional preparations and is great for beginners.
- Acrylic. It has many advantages, but is completely unsuitable for cheap paint that does not hold on to it.
The finishing putty for painting carried out in compliance with the technologies will make the wall perfectly smooth.
How to prepare for puttying?
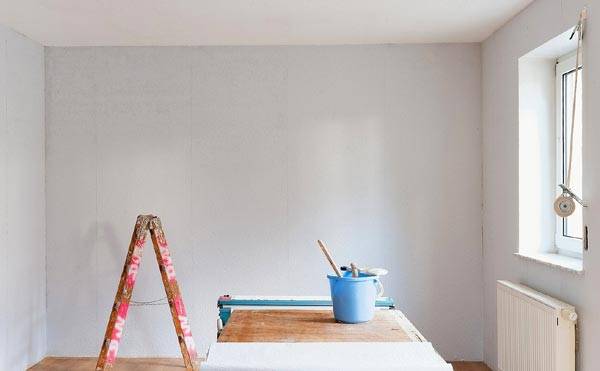
First of all, tidy up the walls. There should be no protrusions on them, wallpaper, paint, stains. All deep cracks and furrows must be repaired.If nails or fittings stick out in the wall, they must also be removed.
An integral preparatory stage is priming. The primer is selected depending on the type of substrate. With a paint roller, the finished mixture is applied to the wall. After the primer has completely dried, puttying can be carried out.
A high-quality finishing putty for painting will not do without the right tools.
- Metallic or rubber spatula.
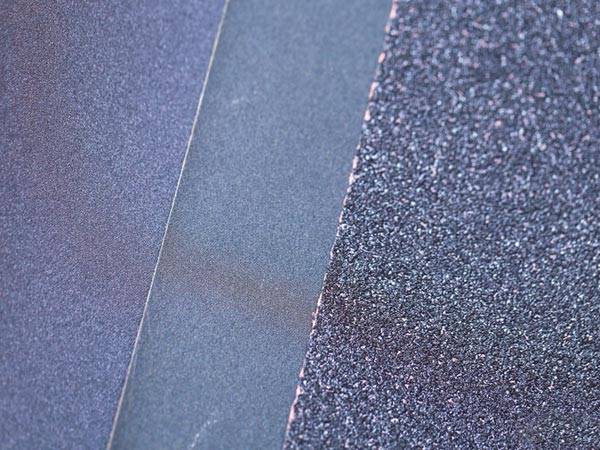
- Sandpaper P80 or P120.
- Painting knife.
- Special container for mixing.
Before starting work, all tools are wiped from dust.
Calculate in advance how much material you need. Consumption per 1m2 is written on the package, but this is an average value. If the walls are uneven and you have to apply a thick layer of filler, the consumption may increase.
Stages of work
The application of the finishing putty for painting takes place in 2 stages: the application of a starting layer with a coarse-grained base and a finishing one. The first will correct the imperfections of the wall, making its surface perfectly smooth. The second - forms a dense uniform layer on which the paint adheres perfectly.
- Knead the mixture
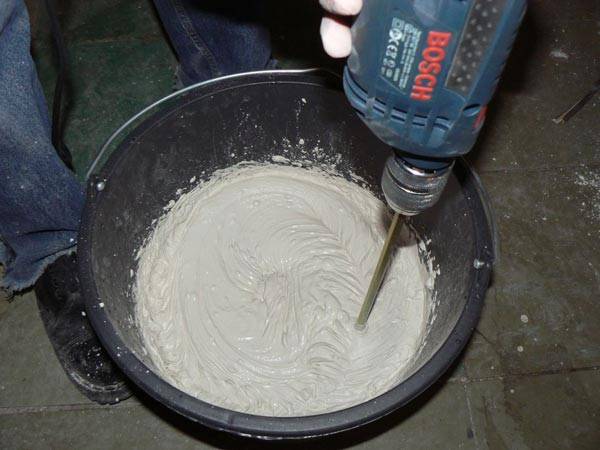
To mix the putty, a container is needed, which is filled with water by a third or a quarter. Pour the mixture in a stream until the top appears above the liquid. For 5 to 20 seconds, the mixture should sink, after which it is kneaded for no longer than 2 minutes, paused for one minute and kneaded again.
- Putting putty
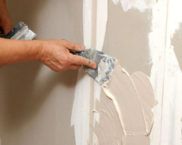
The finished mixture is applied with a wide spatula at an angle of 20-30 degrees in overlapping strips. You can also use a nylon mesh. Then you will achieve the correct layer thickness - up to 4mm. Then you should wait until the putty is dry, check for evenness. The hillocks are removed with a jointer, and the holes are covered; the wall is sanded with sandpaper.
The second layer is applied with small and large spatulas, its optimum thickness is 1.5 - 2mm.
- Putting putty on the corners
For corners, it is recommended to use an angled trowel, applying the filler over the entire height.
Before you start painting, wait until all layers of putty are completely dry, this will take from 12 to 24 hours.
Now you know how to choose a putty and what characteristics you should pay attention to. If you are doing repairs for the first time, follow the instructions carefully. Following the manufacturer's recommendations and simple rules will help you achieve the best result. Become a home repair master!
Do-it-yourself video tutorial on finishing the walls


