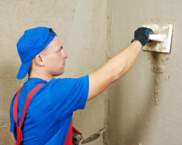
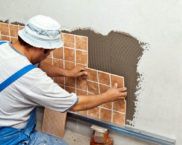
Secrets of the masters: how to properly putty the walls
Watching the work of professional plasterers, you will involuntarily admire: this is how everything works out smoothly and smoothly. It seems that it is simply impossible to repeat this with your own hands. This is not true. Puttying is not difficult and does not require specialized knowledge. Everything you need to know about putty and the technology of its application has been collected for you in this article by the editors of homemaster.techinfolux.com/en/. We will describe in detail how to properly putty the walls, how to choose the composition of the mixture and what tools you need to work.
The content of the article
- 1 Theory: what is putty
- 2 What is putty for?
- 3 How to choose a spatula for wall putty
- 4 Which putty is better and how to choose the composition for the walls
- 5 Basics of wall filling technology
- 6 How to properly sand the walls after putty
- 7 The nuances of do-it-yourself wall putty under the wallpaper
- 8 Features of do-it-yourself wall putty for painting
- 9 How to putty on drywall correctly
Theory: what is putty
Putty is a mixture of water and dry composition. The dry composition can contain only gypsum powder or gypsum powder with additions of chalk, cement, plasticizers or other fillers.
The question often arises: what is the difference between putty from putty. In fact, no one knows the answer to it. The composition of the putty and putty is the same, the application method is also identical. So it turns out that both of these names denote the same material intended for leveling walls.
What is putty for?
The main task of the putty is formation ideally flat surface suitable for painting or wallpapering... Not a single repair is complete without a gypsum mixture; this material is used at the final stage of finishing.The putty is applied in several thin layers, each of which fills in the smallest irregularities on the surface.With this compound, irregularities up to 2 cm deep can be filled.
Important! Professionals do not advise applying the putty mixture in a thick layer, it can fall off within a couple of days after the completion of the repair.
On average, one layer of putty should not exceed 7 millimeters, and the finishing layer should not exceed 2 millimeters.
How to choose a spatula for wall putty
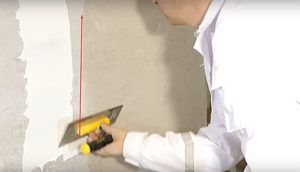
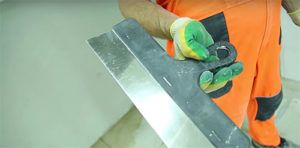
The range of tools for plastering is very large. In a hardware store, eyes just run wild, what to choose?For putty you need wide flat spatula made of metal with a smooth edge and a spatula - a spatula.
When choosing a facade trowel, pay attention to its edge: it is important that it is perfectly even, without chipping. The metal on the edge should not bend. For work outside the building use a tool up to 60 centimeters wide. For interior work, 30-40 cm wide is enough.
The small spatulas are designed to clean corners. If you decide on such work for the first time, do not take a very wide tool, it will be more convenient for small ones to work.
Another important point in the selection of a spatula is its weight. The lighter the tool, the better.It is convenient if the second spatula has spatulas, a wooden handle. It does not slip in your hand. The spatula is selected in such a size that it is convenient to scoop the mixture from the bucket.
The metal part of the tool must be made of stainless steel. Any other option is not suitable, since contact with water will quickly rust and leave marks on the treated surface. On sale you can find spatulas made of durable plastic, but they are much more expensive than metal ones.
Which putty is better and how to choose the composition for the walls
Putty mixtures can have different filling, let's consider each type in more detail:
It is impossible to give a definite answer which of the listed mixtures is better. For different conditions, you need to select the appropriate formulations. For the facade of the building, it is better to take a cement putty, for bathroom or kitchen - acrylic, for living rooms for painting - latex. If you are wondering what putty the walls under the wallpaper - take plaster.
How to choose a putty mixture for different types of finishes
The putty mixture can be divided into three types by purpose:
- universal;
- finishing;
- starting.
The difference lies in the grain size of the filler. The starting mixture has larger fractions. With its help, you can level surfaces with significant damage: cracks, drops, potholes. The starter putty can be applied in a 2 cm layer.It is thrown directly onto the plaster layer and leveled using a rule.
The task of the finishing layer is to complete the leveling before applying decorative coating... The fractions of this mixture are very fine, and the resulting layer looks smooth and even. The final putty has a layer no thicker than 5 mm.The universal mix can be used both as a starting and as a finishing coat. Compositions of this kind are used in cases where the walls do not have significant defects.

Basics of wall filling technology
Plastering works - the costly part of the construction budget. If you want to save money, get down to business yourself. It's scary only before the start of work, after the first wall the process will get better.
The main thing is to follow the sequence of work, clearly dividing the stages and fulfilling all the requirements.Let's look at how to properly putty walls for painting or wallpaper.
How to properly prepare and prime the walls
Preparation of the base is a crucial stage of work. The result of your efforts depends on it. If the walls were covered with wallpaper or painted, all layers of decorative coating must be removed. The wallpaper can be soaked so that it easily comes off the wall. Especially resistant layers should be treated with hot steam.
The paint is much more difficult to remove. You can mechanize the process using a drill with an attachment. But cleaning must be done very carefully, otherwise then you will have to devote a lot of time to puttying. It is best to scrape off the paint by hand using sandpaper attached to a block of wood.
Important! In the process of cleaning the walls, a suspension of cement, whitewash and dust will hang in the air. Be sure to use a respirator respirator.
Oil paint can be softened with a solvent, but all such formulations have a pungent odor, you can only work in a well-ventilated area.After cleaning from the decorative coating, the walls must be brushed and wiped with a slightly damp cloth. This will remove residual dust and debris.
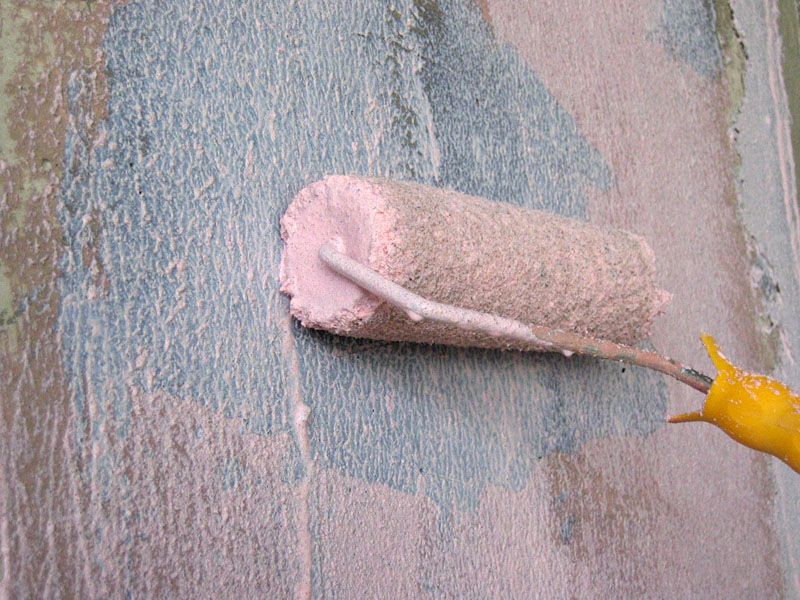
Basically, a primer is an adhesive that forms a strong film on the wall. It contains various components: resin, lime, bitumen, alum. If you want to know if a primer is suitable for your walls, pay attention to the recommendations for use on the packaging of the composition. There are mixtures designed for metal processing, wood, concrete, plastic.
How to make do-it-yourself putty
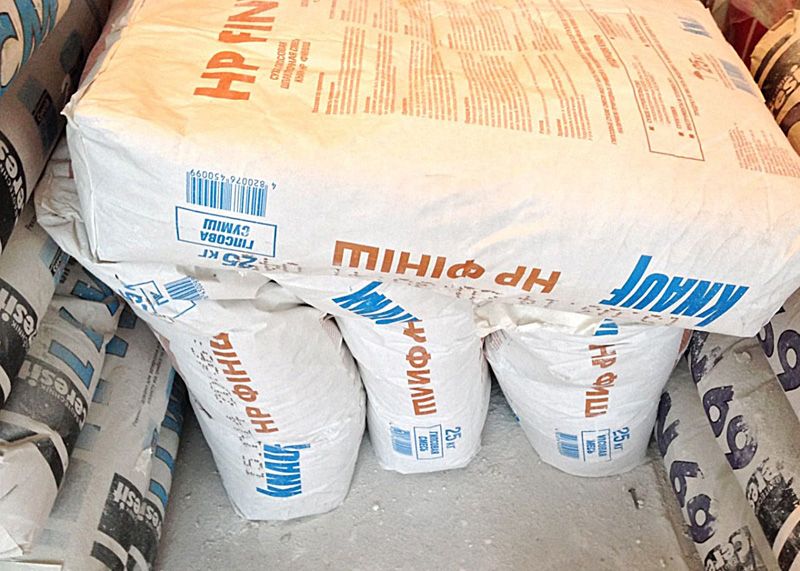
Putty mixture you can cook it yourself. In this case, it will cost you a little cheaper, and in quality it will not be inferior to the purchased composition. It is not difficult to find the ingredients for the mixture; you need ordinary gypsum powder and chalk, which is used for whitewashing. For solidification and plasticity, a solution of laundry soap, wood glue, drying oil and varnish are added to the chalk. During the manufacturing process, chalk and gypsum are mixed first in dry form, and then the powder is poured into the glue solution. And now a few recipes for putty for different surfaces:
| Ingredients | Purpose | Features: |
|---|---|---|
| Chalk - 2 kg Gypsum - 1 kg A solution of wood glue 3-5% | Concrete walls, alignment of joints on gypsum boards. Designed for dry rooms. | Quickly hardens after application. This mixture should be prepared in small portions. |
| Chalk - 1 kg Joiner's glue - 100 gr Drying oil - 1 kg | For finishing wooden surfaces, which will subsequently be painted with oil paint. Suitable for rooms with high humidity. | Slowly hardens, forming an airtight film. For preparation, heated glue is mixed with drying oil and then chalk is poured. |
| Chalk - 2 kg A solution of wood glue 10% Drying oil - 25 gr Laundry soap - 50 gr | It is intended for filling ceilings and plastered walls. | Dissolve the soap in a small amount of water, add glue to the desired percentage and then add chalk. |
Aligning the walls with your own hands with "home" putty is no different from working with a factory mixture.
How to make a factory mix
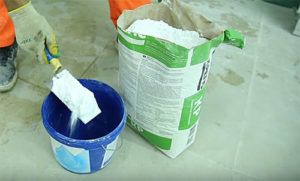
To prepare the mixture, you need to select clean dishes and, preferably, a construction mixer. It is difficult and physically difficult to manually knead the putty without lumps.
Do not try to mix all the packaging at once, especially if you are new to this business. The composition dries quickly, so while you are training on a small section of the wall, the entire batch may freeze and have to be thrown away.
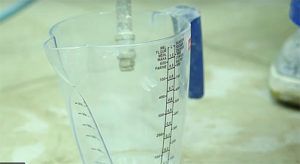
Use room temperature water for mixing. After preparing the putty, let it stand for a quarter of an hour. The consistency of the finished putty should be similar to thick sour cream. If you have prepared a polymer, acrylic or latex mixture and did not have time to fully use it, fill the container with the putty with water. Next time, carefully drain off the surface layer of water and use the compound.
Leveling the walls with starter putty
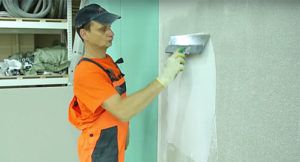
What does the process of starting do-it-yourself wall putty look like:
For a beginner in this business, a video material on how to putty walls with your own hands:
Video instruction: how to properly putty walls using beacons
You are in luck if the main surface is made with high quality, in compliance with the level and without major flaws. If not, you can align it plaster or putty.Beacons are required for perfect results on uneven walls. To expose them, you need to pull the thread along the wall, vertically and diagonally. The direction of the thread should be checked with a building level.
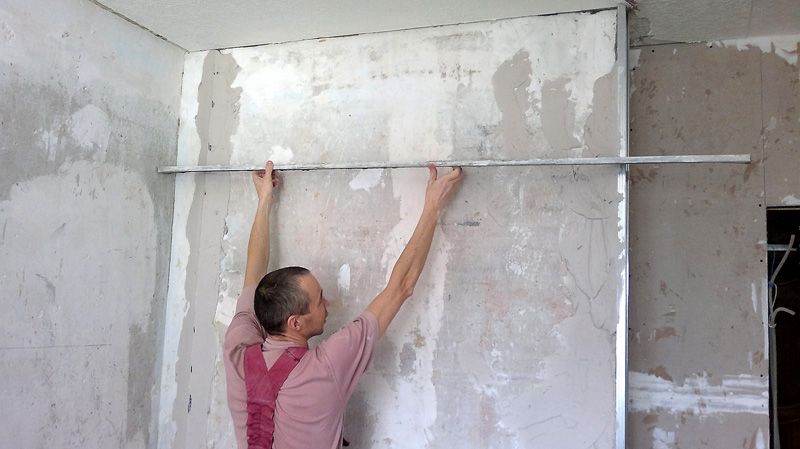
When you bring out the required level of the surface with the help of a stretched thread, set up beacons. They are made from the same putty mixture and applied to the wall.
After the marks have dried, the main putty work is carried out.
How to correctly align the walls with putty on the lighthouses, in the following video material:
How to apply finishing putty to the wall
As a finishing layer, you need to use a polymer composition - acrylic or latex.
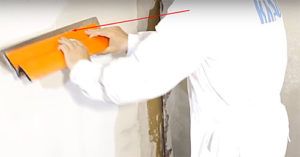
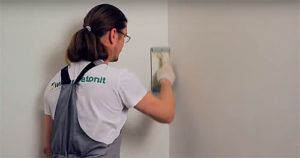
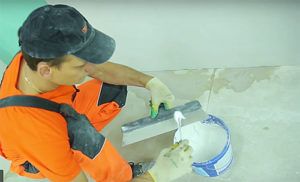
Beginners are most often faced with the question of how to work with a spatula correctly.Not everyone succeeds the first time. Pay attention to the video recommendation on how to apply the finishing putty on the wall:
Related article:
Do-it-yourself finishing putty for painting. We will tell you about the different compositions and purposes of solutions, methods of their preparation, the necessary tools and materials, as well as the application technology itself.
How to properly sand the walls after putty
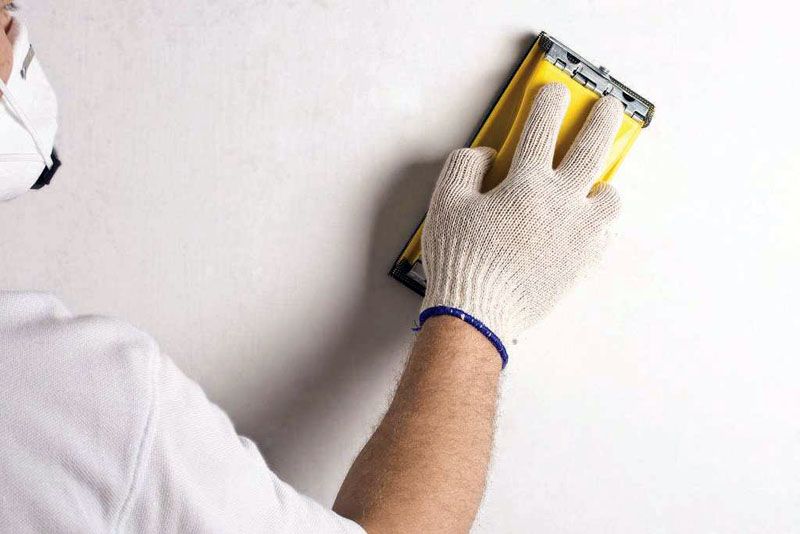
No matter how hard you try, after the finishing layer of putty, traces of a spatula will remain on the wall. If not removed, they will show through decorative coating... At the final stage, the surface needs to be sanded. This is a time-consuming task, but without sanding you will never achieve the desired result.

For work, you need sanding paper with a fine abrasive or a sanding mesh. A coarse grit will leave deep scratches on the surface.
To reduce dust, you can use the wet method - that is, slightly moisten the surface. Hand movements when working with sandpaper are circular, the direction of work is from bottom to top.
Important! Provide powerful lighting in the room, this is the only way you can visually control the process.
You can mechanize the process using grinder... How to work with these tools in this video course:
The nuances of do-it-yourself wall putty under the wallpaper
If you plan to use liquid wallpaper - you don't have to worry too much about leveling the surface. But for rolled materials, you will have to carefully putty the walls. It is permissible to leave irregularities up to 2 millimeters high under the wallpaper. If there are more bumps and dents, you need to fix them.
Another nuance - it is permissible to grind the walls with coarse sandpaper under the wallpaper.
After the putty, the wall will need to be primed again.
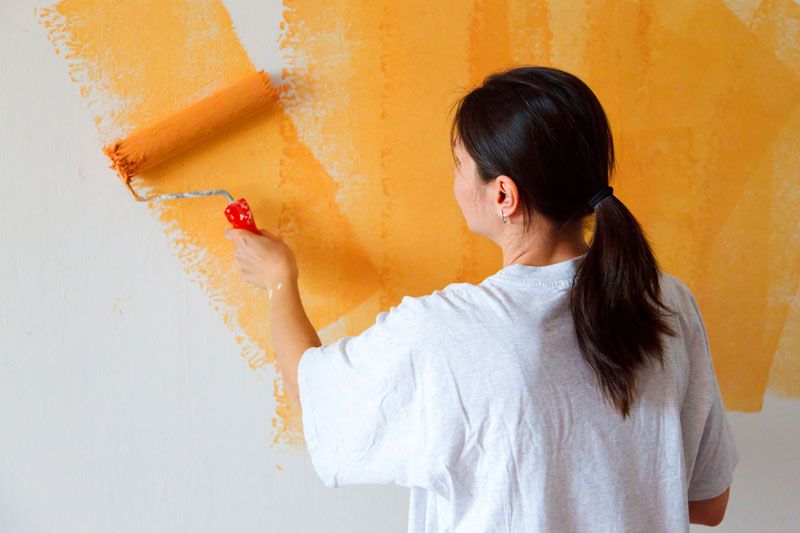
Features of do-it-yourself wall putty for painting
Wall painting makes special demands on its surface. It should not be just flat, but perfectly flat. The slightest flaw will be immediately visible under a thin layer of paint. For this reason, special attention is paid to grinding, only mesh is used for work. For best results, use a superfinish putty. Its finely dispersed composition does not form lumps or other visible flaws.
How to putty on drywall correctly
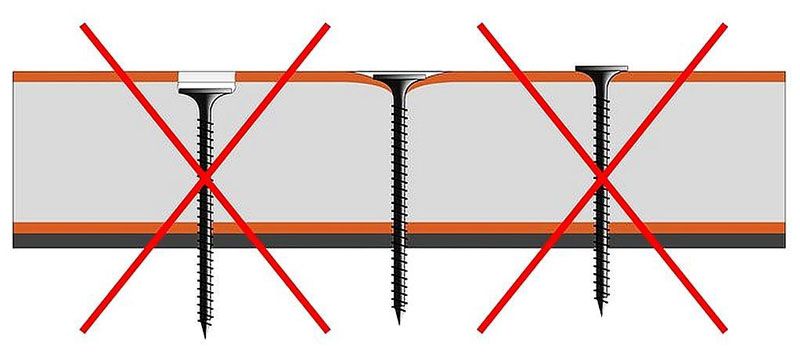
Drywall sheets by themselves, they do not need leveling and filling. The only question is their joints, seams. The slightest flaws in the installation can force you to deal with leveling and grouting.
Before work, you need to cover the entire wall with a primer. If in some places the cardboard has moved away from the gypsum, you need to carefully tear it off and wipe this place.
To prevent the putty from falling into the joints of the slabs, they are covered with a serpyanka tape and the mixture is applied on top.
As you can see, there is nothing difficult in plastering the walls with your own hands. A little experience - and the process will go like clockwork. Share your secrets in this case in the comments!


