Finishing putty for wallpaper - we do it right!
Repairs requires the utmost attention to itself. I always really want to finish it as soon as possible, sometimes without even starting. But you still have to plunge into the process, while often solving the problem of irregularities on the walls, of which there are usually a huge number of them. Therefore, in order for the wallpaper to lay flat, it is worthwhile, together with the editors of homemaster.techinfolux.com/en/, to study what is the putty of walls under the wallpaper, and to understand that you can perfectly level the walls with your own hands.
The content of the article
- 1 What is putty for: is it possible to do without it
- 2 What putty to choose for walls under wallpaper: polymer, cement, gypsum
- 3 What is the best putty for walls for wallpaper: we are not mistaken with the choice
- 4 How to properly putty the walls under the wallpaper with your own hands: the nuances of work
- 5 Plastered walls for wallpaper with your own hands: how to process different surfaces
- 6 Finishing and starting putty - an overview of prices for material and work
What is putty for: is it possible to do without it
When people know how much it costs wall putty, many people want to bypass this process, because this is extra financial costs and labor. But neglecting the repair conditions will not work if you need perfectly smooth walls.
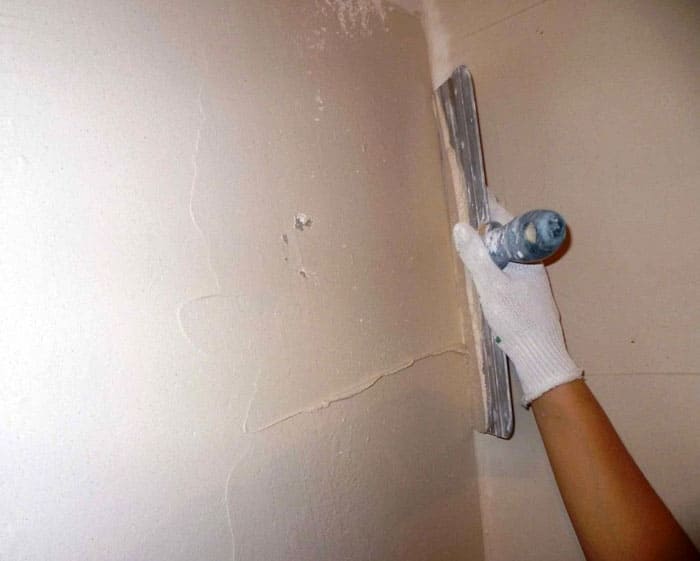
Irregularities are present on the walls, and the glued wallpaper perfectly demonstrates this defect.
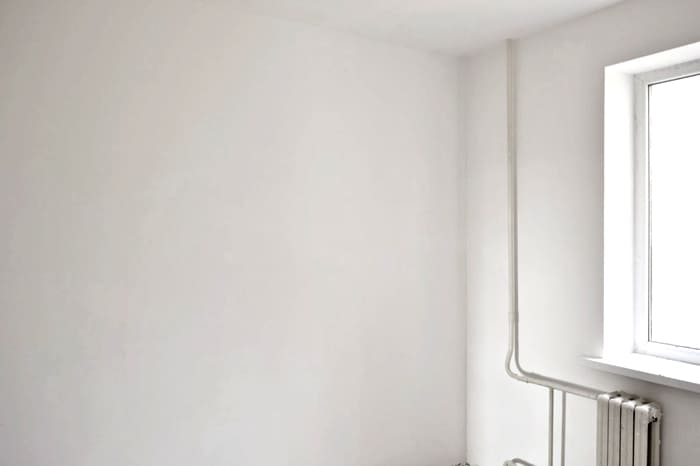
The starting putty will hide large defects, and the finishing will prepare the leveled surface for wallpapering, and even the ceiling if necessary.
What putty to choose for walls under wallpaper: polymer, cement, gypsum
Hardware stores and hardware stores offer a wide variety of different fillers. Now we will not delve into brands and brands. Our task is more global: to determine what is the difference between the compositions of different types, because they are all finishing.
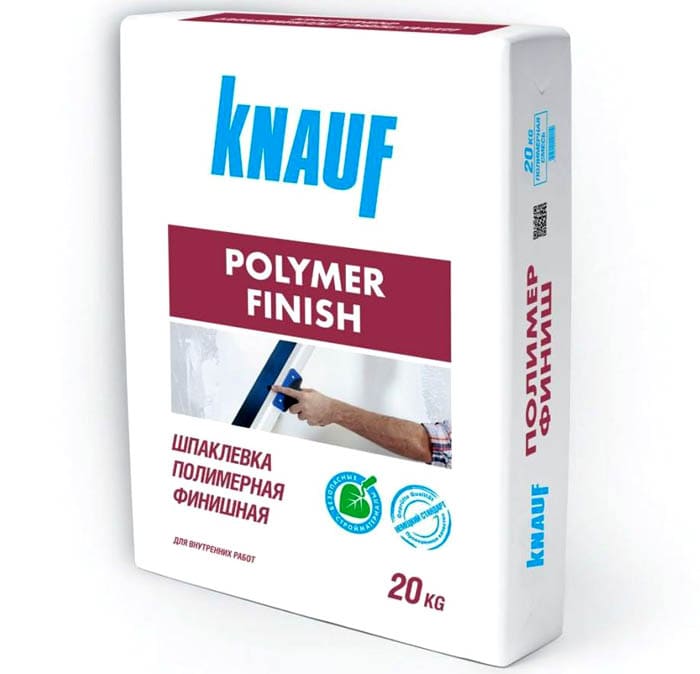
Polymer putty
This putty contains polymers, which is reflected in the name of the material.The surface dries very quickly and does not crack, which is an excellent property.
Polymers allow you to combine the features of a cement and gypsum mixture in the material, collecting only positive qualities. And you have to pay for this, so putty for walls under wallpaper has a considerable price.
This material does not deteriorate from temperature extremes, it does not shrink, but it has high elasticity. Moisture is also not an enemy to such walls, and the consumption of material is quite moderate.
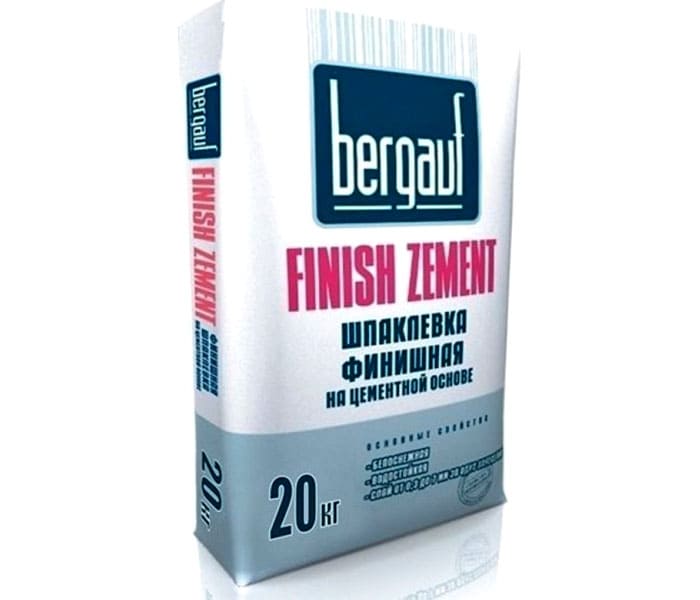
Cement putty
The cement variety has different properties and qualities than the polymer version. The main material is named cement, which is a guarantee of resistance to moisture and aggressive environment.
For such a putty, cement grades 500 and 400 are used, and river sand is the filler.
But this material shrinks. Cracks sometimes appear. Better to wait and not rush to wallpaper, besides, the walls will still dry for a long time.
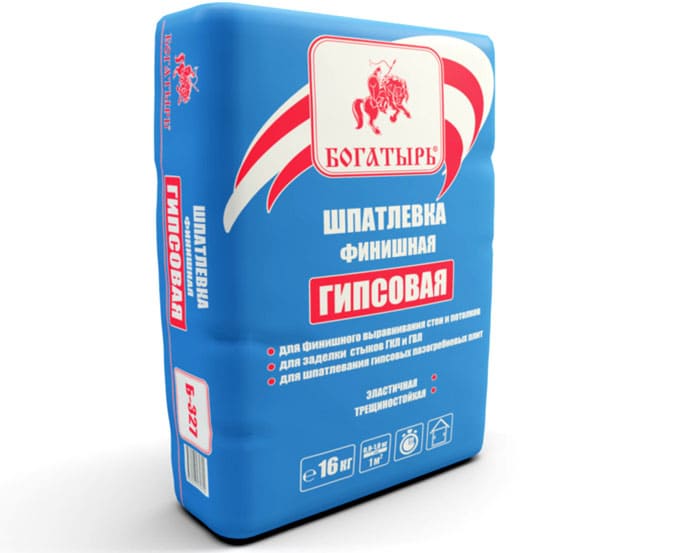
Gypsum plaster
The third option is a gypsum finishing plaster. This variety is only suitable for processing dry heated room.
High air permeability is considered good quality, mold does not threaten such walls - this is a natural antiseptic.
Related article:
Finishing putty for painting with your own hands: why putty the walls, an overview of the necessary materials, preparation and stages of work. advice and recommendations.
What is the best putty for walls for wallpaper: we are not mistaken with the choice
Whatever you choose, you need to purchase materials from the same manufacturer and the same line. In this case, a good result will be guaranteed and full compliance with all declared product qualities.
The second factor of choice is the material of the surface to be treated: for a brick, cement or concrete wall, an appropriate putty is selected, therefore, cement. Gypsum is suitable for drywall, polymers are a universal remedy.
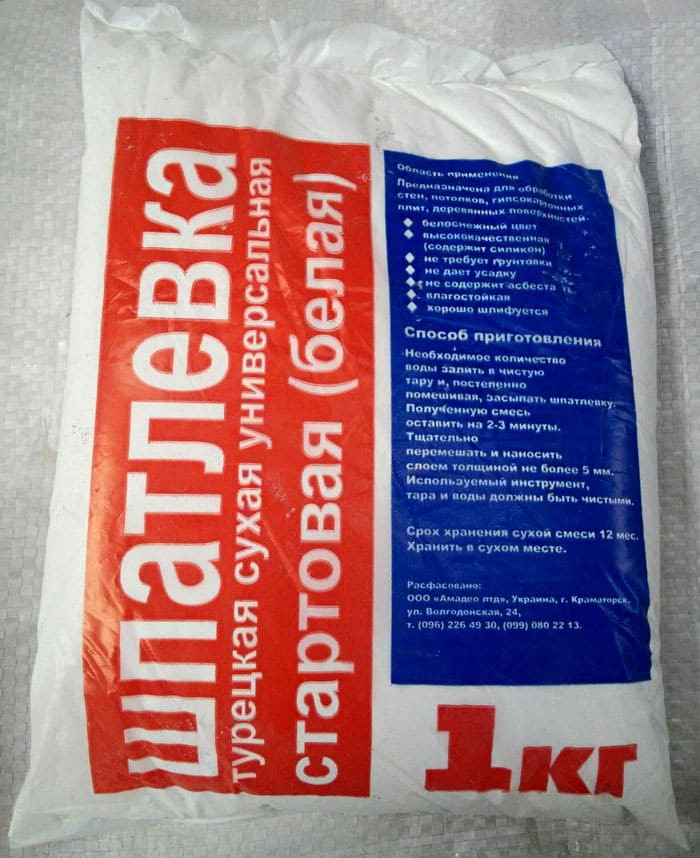
The packaging of the material is also important: with ready-made mixtures there is less fuss, take it and use it, but its price is always higher. You can save on dry powder.
Consider two well-proven finishing materials.
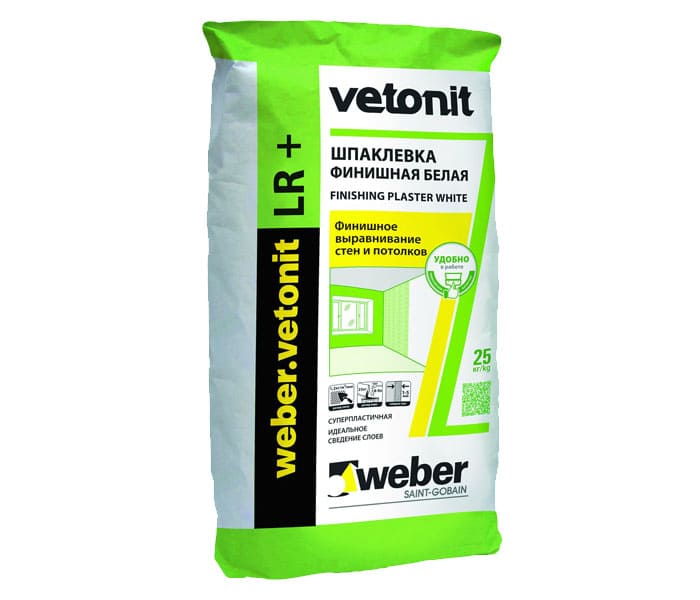
Putty "Vetonit LR"
These are white finishing products under the Weber Vetonit LR + brand: the perfect grain to perfectly level the surface before wallpapering, and for painting and decorating with plaster or tiles.
The material is superplastic, which is convenient in work, and is consumed sparingly. The composition dries for 12 hours, and does not give any shrinkage.
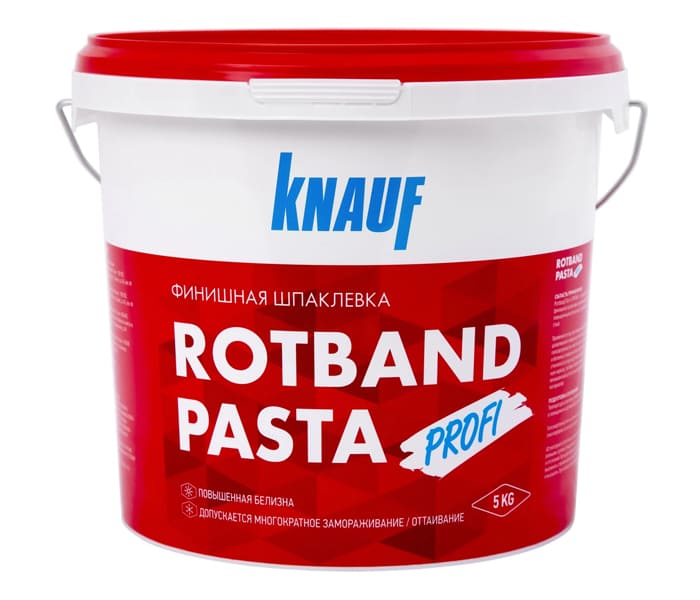
Finishing putty "Knauf"
The Knauf company has a large selection of putty compounds. For example, Rotband-Finish is a dry mixture of gypsum and polymers. It is a fast drying material that does not shrink or crack. The layer varies from 0.2 to 5 mm.
How to properly putty the walls under the wallpaper with your own hands: the nuances of work
So, it's time to start filling the walls with your own hands. We study the nuances of the work.
What to cook: tools and supplies
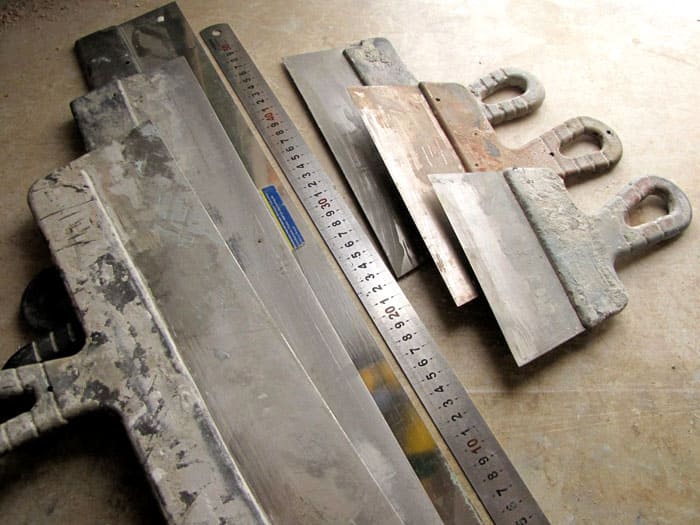
Prepare a container in which you will knead the mixture and what you will use to stir the composition. A drill with a mixing attachment is best suited for this purpose. To apply the material, spatulas are needed: one size 10-15 cm, the second 40-60 cm.head spatula or a trowel, a grater for grinding.
Surface preparation
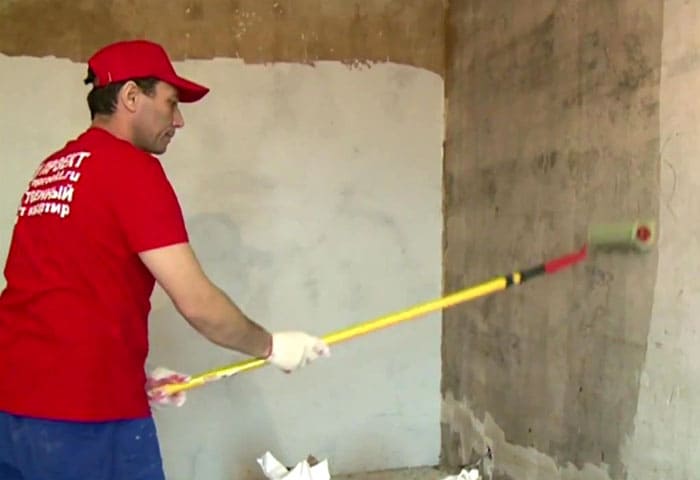
The surface definitely needs preparation, otherwise the composition will not adhere well.The walls are treated with a primer. It is better to select formulations that prevent the appearance of mold, prevent the appearance of pathogenic bacteria.
Leveling the walls with starting putty
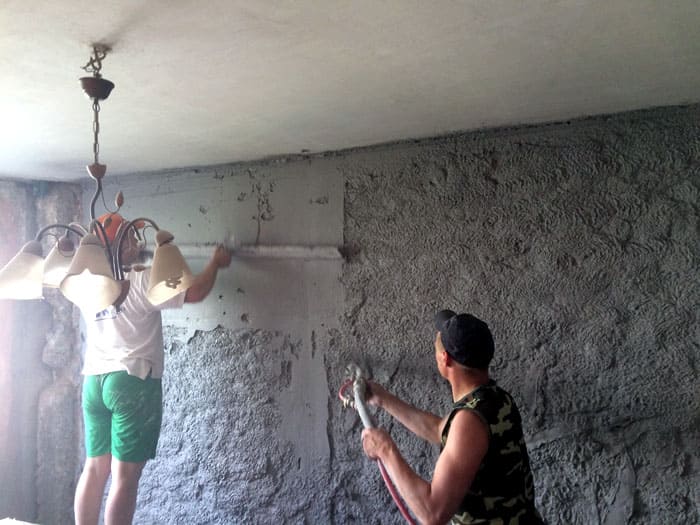
First you have to remove the old wall covering, it doesn't matter if it's paint or wallpaper. Usually, under this layer, a lot of irregularities and defects are hidden. To eliminate them, take a starting putty with a large fraction.
Advice! The building rule will help determine exactly where the irregularities are. It is applied in different directions.
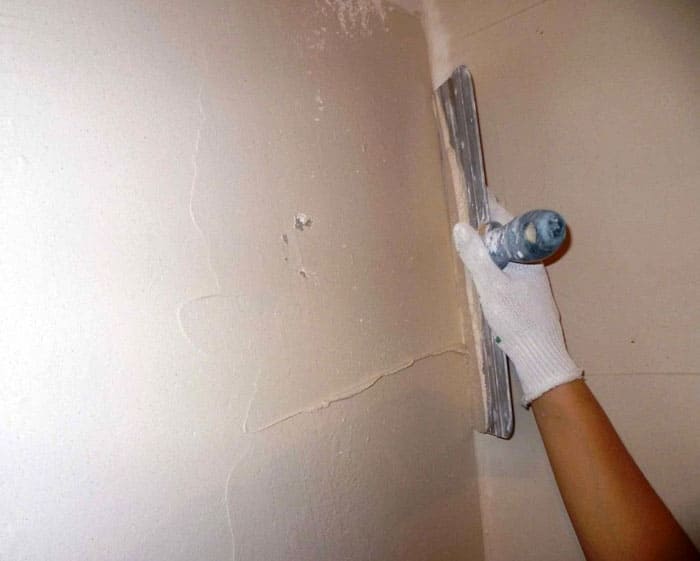
Irregularities are best marked with a pencil. A spatula is used vertically or horizontally: in the case when the projections are vertical, then the movements of the tool must be appropriate.
In this case, physical force must be applied to hold the tool firmly in the hand.
Overlapping strokes are applied. After the square meter is putty, they take the rule and apply it to the wall: the tool is pulled down, removing the excess layer.
If necessary, after drying a layer, apply another one. The process is fully completed only after two days.
Application of finishing putty under the wallpaper
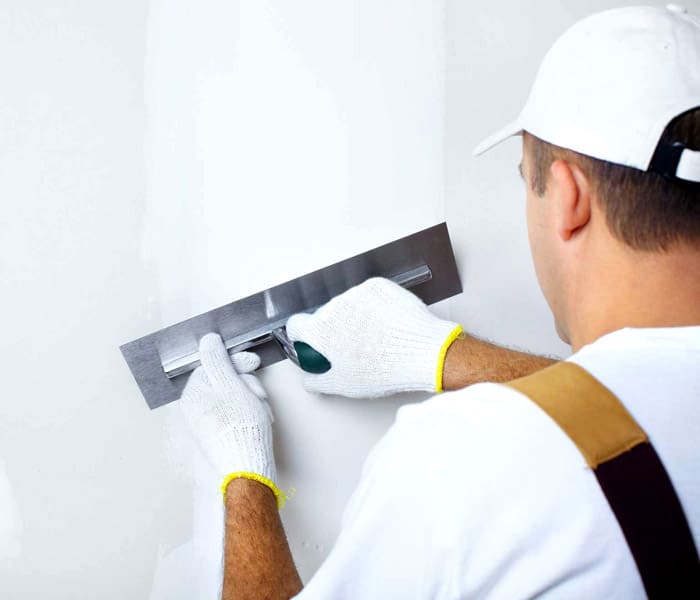
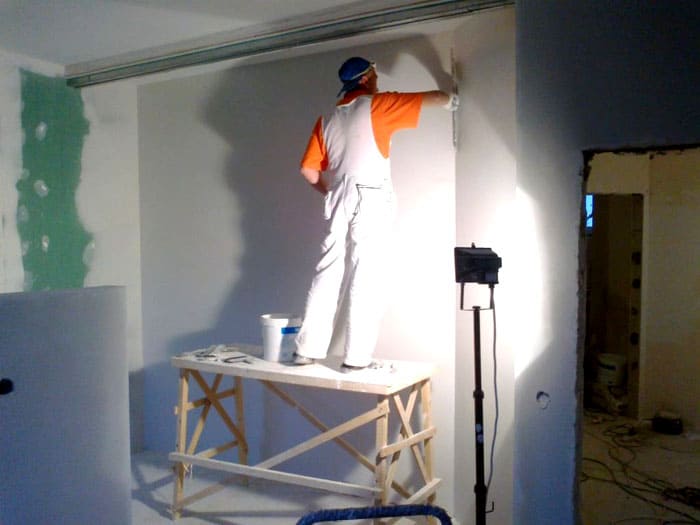
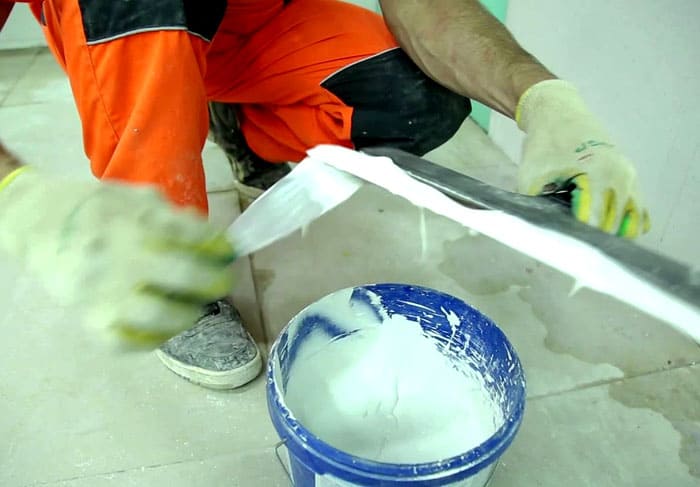
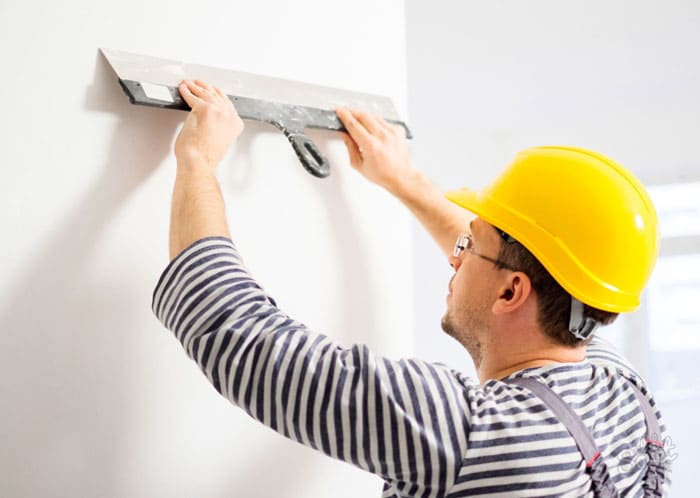
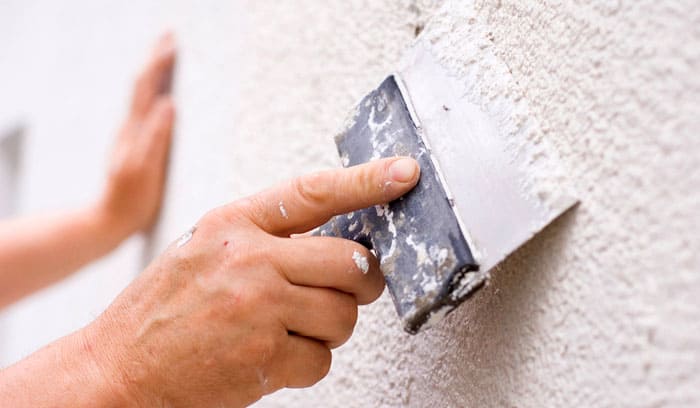
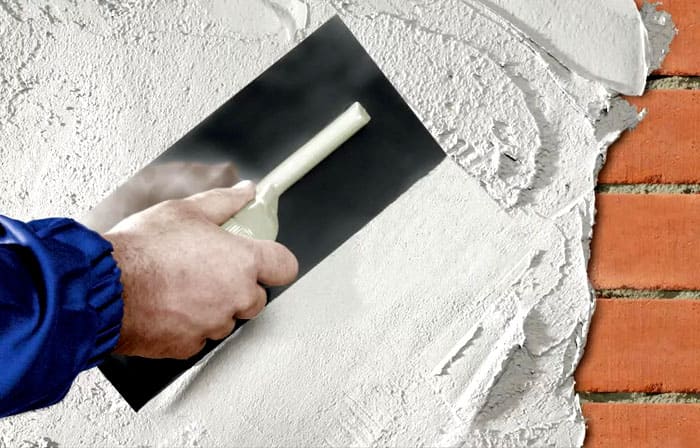
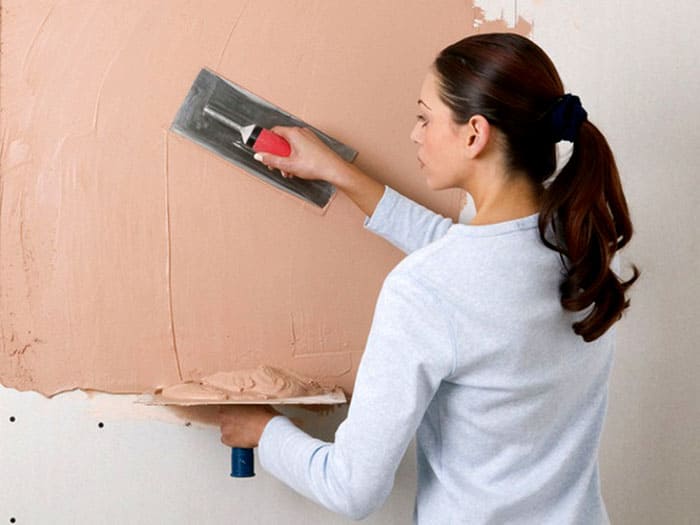
For work, we take a narrow spatula and put plaster on a large one with which the composition is already applied to the wall, distributing the contents over the surface at a certain angle.
When applying the composition, it is better to carry out with a spatula in the same place several times, gradually increasing the coverage area.
Irregularities formed during work are subsequently eliminated by grinding.
There is another way of finishing: they apply clear strokes of a small size. This will make the surface perfectly flat and smooth.
For 1 m2, about 1 kg of the composition will be needed if the layer thickness is 1 mm.
Related article:
How to properly putty walls: how to choose a putty mixture, what tools will be needed for work, the technology of applying putty from preparation to the finishing layer, videos and photos with recommendations from professionals.
Video: how to make do-it-yourself wall putty
Plastered walls for wallpaper with your own hands: how to process different surfaces
You already know which putty is better to putty the walls under the wallpaper, now we will consider the nuances of applying the composition to different surfaces.
Concrete walls
Due to the nature of the concrete surface, it is very difficult to achieve good adhesion: the material is not hygroscopic enough. The putty needs pores where it can penetrate, and there are very few of them in concrete. Therefore, the application result may not be as expected.
The process takes place in several stages: removing the old coating, degreasing oil stains, cleaning the surface, expanding cracks on the plane, sealing defects with cement mortar.
A construction vacuum cleaner will remove dust, after which the surface is primed twice.
Advice! The primer is best applied with a long-nap roller, but a wide brush will work as well.
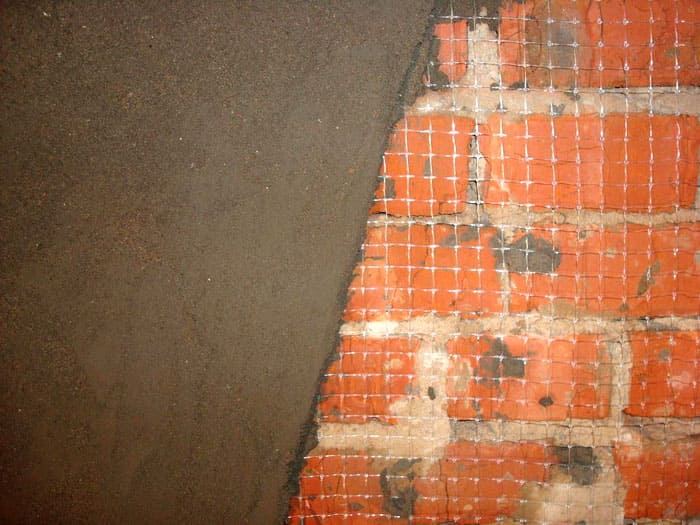
Now you can knead the putty solution in proportions 1: 5. The composition is applied by sprinkling and then spreading with a spatula. It is good if fiberglass or reinforcing mesh is used. This will prevent the dried coating from cracking.
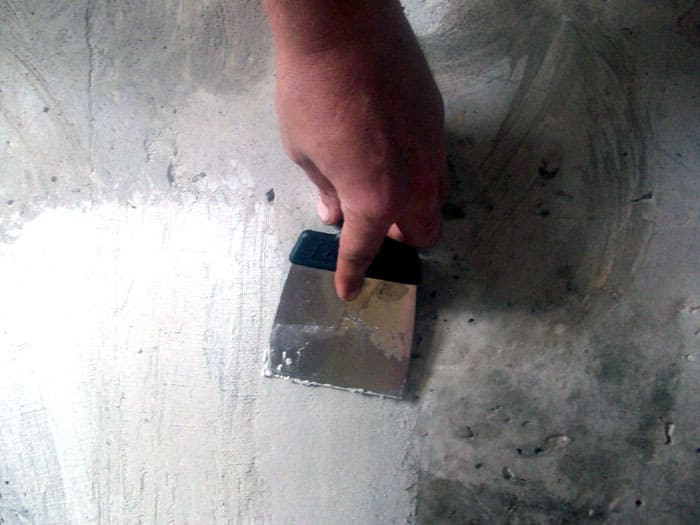
After complete drying, another layer is applied, but the direction of movement of the spatula will already be perpendicular to the previous one.
Dry surfaces must be sanded.
Brick surfaces
The brick surface also needs preparation: the old upholstery is removed, like cracked plaster, then they proceed to the primer.
Mesh nailed to the top and bottom corners of the dowels or screws, not reaching 3 cm to the wall. This will allow you to set the desired distance on the grid map from all ends.
Shpaklyuyut first starting lineup two-handled trowel and a large spatula. Kelm held horizontally, and vertically spatula. Alignment is made trapezoidal rule.
After working with a finishing composition, adjusting the coating to perfection.
Wooden walls
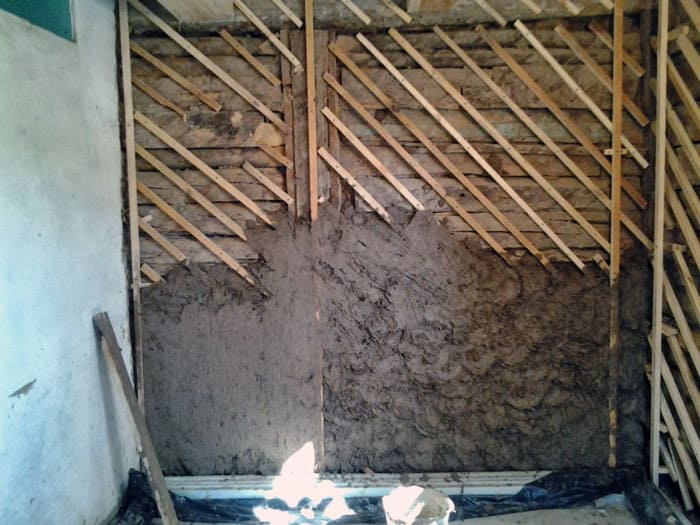
The process of filling wood surfaces is not particularly different from other types. But the tree, though a porous material in the adhesion comes bad, so you have to use locking crate or shingles.
For using shingles narrow reechki 3-5 mm in thickness and 15-20 mm in width. The length of the strips is 1-2 meters.
Advice! Under the crate should be made heat insulating material impregnated with an antiseptic such as 3% sodium fluoride.
Two sheathing layers (in 45º) with cells 45 × 45 cm² is sufficient. The second layer of shingles stuffed with strips 15-20 mm wide and 5 mm thick. As a simple way lath suitable mesh-netting.
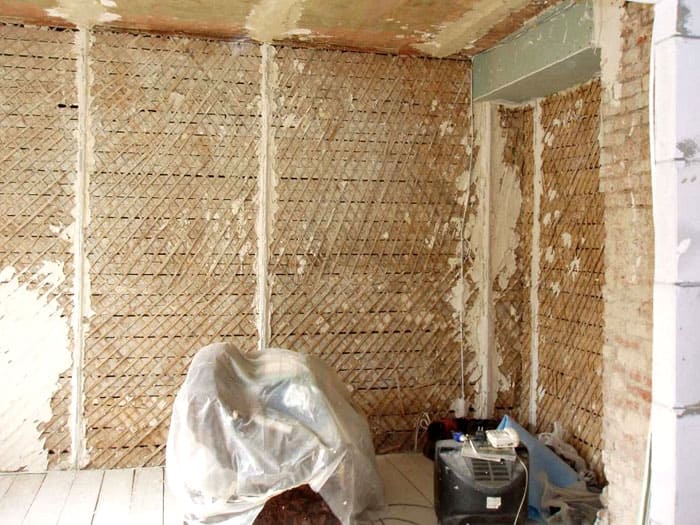
After that, begin the normal process spackling. The mixture throw strictly at an angle of 45 ° with one and with the other hand - it is important not to leave voids in the crate
Plasterboard for wallpaper
Parse as applied plaster for plasterboard. Luting smooth material is necessary because of its joints and attachment locations. Therefore, a coating layer smooth finish putty, primer and then the wall.
Screws shpaklyuyut cruciform method previously fixed angles in order to avoid chipping.
After drying the layer at 12 mm and wall oshkurivayut working solution with a finishing liquid cream consistency. Now it can be sanded and de-dusting surface.
Corner filler
It remains to clarify how to putty the corners of the walls. The problem is not complicated, even if the layer of plaster. If the starting layer has irregularities, then act like that.
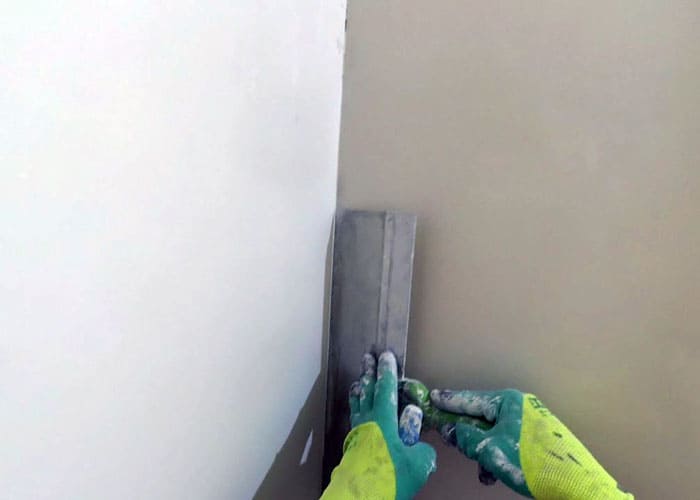
- First oshtukaturivayut angles decent solution layer, and then shpaklyuyut their wide spatula. A wide spatula put to a corner removed to it and the mixture was withdrawn spatula. Movement implemented or downwards or upwards.
- First of all, work with one side of the angle, and when it dries up, go to the second. Here you need to vyshlifovat surface before spackling. But if the joints are poorly sealed, or the work was done with plaster grade 150-200, then this method is not suitable.
- Angles finishing line the solution, but not one time. So will have to work 3-5 times.
Finishing and starting putty - an overview of prices for material and work
Before starting work, it is worth wondering, what is the price putty walls per square meter. This will help calculate how much material should be prepared. The answer to the question, how much putty, depending on its type and manufacturer.
Price per 25 kg bag filler mark Knauf Fugen 450 rubles, while Vetonit LR + - 650 rubles. The average value from different manufacturers for packing of 25 kg is from 220 to 1500 rubles.
To help everyone who is doing or preparing to repair the video:
Are you ready to start working with a spatula? Choose a high-quality mix!


