Before and after: how to plaster walls with your own hands for a beginner, video and step-by-step guide
Sooner or later, the topic of renovation comes up in every home. The final appearance of the premises will also depend on the quality of the preparatory work carried out. Having applied once strength to a high-quality finish, in the future it will only be possible to periodically re-glue the wallpaper or change the color of the walls. Initially, it may seem that the work of a non-professional master cannot be done. But you can try to make at least rough sketches. In addition to moral satisfaction, this will significantly save your personal budget. This review describes in detail the entire technological process of how to plaster the walls with your own hands for a beginner. Videos and step-by-step instructions will help you understand the construction nuances.
The content of the article
- 1 Plaster - types, scope, purpose
- 2 Tips from an experienced craftsman: how to plaster walls correctly
- 2.1 Consumables and tools for plastering walls
- 2.2 What you need to know to prepare quality plaster
- 2.3 Preparing walls for plastering
- 2.4 Do-it-yourself plastering of walls without beacons, video of step-by-step application
- 2.5 Step-by-step application of plaster on the walls with your own hands on the lighthouses: video with a detailed description
- 3 Plaster mixes - varieties, advantages, disadvantages
- 4 How to plaster walls with your own hands for a beginner: video and application features on various surfaces
- 5 Conclusion
- 6 Video "7 mistakes when plastering"
Plaster - types, scope, purpose
The main purpose of the plaster is to level the geometry of wall and ceiling bases in order to eliminate irregularities or defects. It serves for rough finishing. Application technology allows the mixture to be applied in a thick layer in case of large deviations.With the help of plastering the walls in the apartment, you can get the most even bases.
According to its composition, plaster is the following species:
- plaster;
- cement.
- limestone;
- lime-cement;
- lime-gypsum;
- gypsum-cement.
The most important difference between them is the drying time of the solution. For a gypsum mortar, it takes up to a week for complete drying, for a cement mortar it will take about a month. Therefore, compositions with cement should be used when it is necessary to achieve maximum durability.
Such coverage will last for several decades. Modern manufacturers introduce polymer additives into the mortar mixture, which accelerate drying up to two days. The cement mixture is used for leveling surfaces in basements or for laying tiles.
The process of leveling the walls with plaster with your own hands is quite laborious, therefore, gypsum solutions are often used. With gypsum compounds, it is important to observe moisture conditions. You can apply gypsum plaster in one layer, which significantly saves your budget. Finishing is carried out both on a brick base and on wooden surfaces. For perfect smoothness, the coating should be putty after drying of the plaster.
It is important!In conditions of high humidity or temperature extremes, gypsum plaster should be abandoned in favor of cement.
For beginners, cement plaster with polymer additives is better suited for walls. Video tutorials will help you understand and painstakingly complete the entire process in compliance with the technological sequence.
Plaster, putty - similarities and differences
A person who is far from construction terms will at first glance decide that these are synonyms for one type of construction work. In fact, these concepts have both similarities and significant differences. Both materials are designed to level surfaces, and this is where the similarity ends.
Related article:
Plaster and putty - what's the difference and general features, in which cases they should be used, recommendations of experts - read about this and much more in our review.
Putty
Manufacturers offer a dry composition or a ready-made plastic solution. Cement, gypsum and polymers are added as binder. With the help of a putty, you can level out small surface defects, smooth the base after plastering. For cracks up to 10 millimeters in size, use the starting composition. Finishing putty used for the final leveling of surfaces.
It is impossible to mix starting and finishing putty. Compositions of different homogeneity can form additional defects on the bases.
Plaster
Plaster can be used to level surfaces with deviations of up to 15 centimeters. In addition, it acts as a thermal insulation for surfaces, in some cases additional moisture protection.
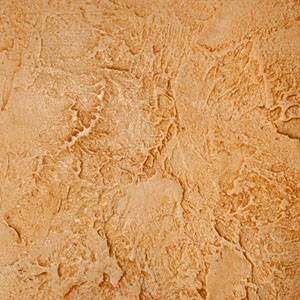
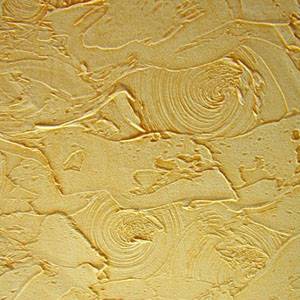
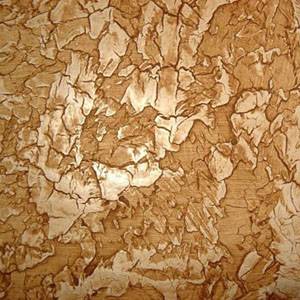
Plaster can be ordinary and decorative... The composition contains large grains. It is used as a roughing or structural topcoat.
When applying putty and plaster, different technologies are used. For plaster, this happens as follows:
- the first layer is applied using the spraying method, which hides large surface defects. In addition, it serves as an additional adhesion with subsequent layers;
- the execution of the middle layer ensures the leveling of surfaces;
- finishing putty or cover - finally smoothes the base.
Decorative mixtures applied according to individual technology. The plaster composition needs several days to dry completely, the putty is ready the next day.
Tips from an experienced craftsman: how to plaster walls correctly
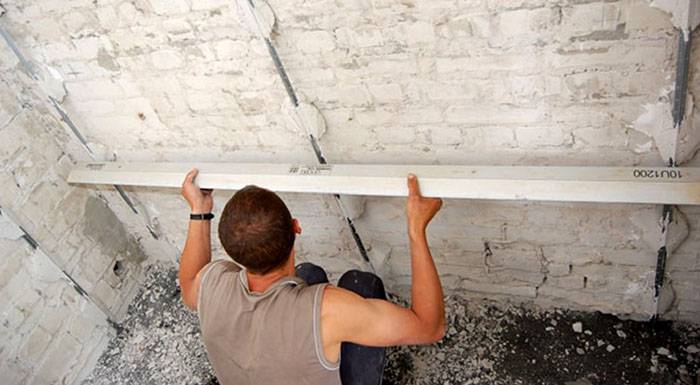
Before carrying out repair work, it is necessary to study the features of the base of wall surfaces.The method of performing the work will depend on this. For even walls, enough spatula and level. Substrates with large defects and deviations can only be leveled using beacons... You may need a lot of the mixture. In this case, additional reinforcement should be made on the wall.
There are several rules for plastering walls:
- first of all, the wall surfaces are cleaned and primed;
- in the second stage, the bulk of the plaster is applied and distributed;
- at the final stage, the base is covered and cleaned.
A video on how to properly plaster walls will help you to do all the work correctly:
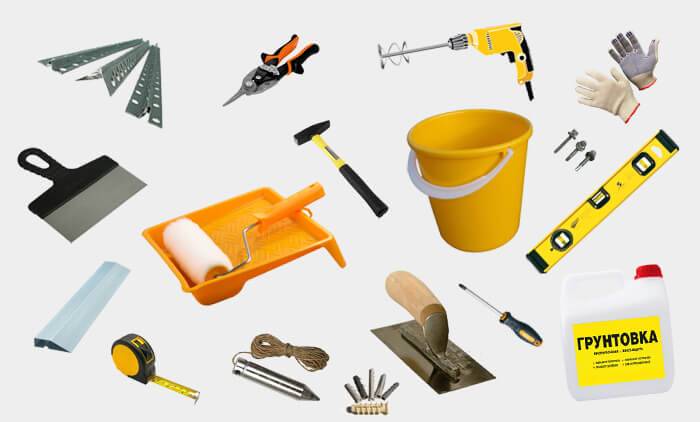
Consumables and tools for plastering walls
- plaster;
- primer for pre-treatment of wall bases;
- beacons in case of large surface deviations;
- a rule for aluminum plaster with a length of 2 m for pulling the composition and 2.5 m for installing beacons;
- bubble level at least 2 meters long;
- spatula 15 cm wide;
- construction float;
- trowel;
- bucket;
- a roller with a bath or a brush for a primer;
- gloves;
- perforator with a nozzle for mixing the mixture;
- dowels, screws, Phillips screwdriver, metal scissors for cutting beacons;
- a hammer;
- metal ironing;
- roulette;
- plumb line.
Some tools are already available in every home. Something will have to be bought or rented. But this is not a tool for one repair, everything will come in handy in subsequent repairs. We can say - an investment in the future. Now we know what tools are needed for plastering the walls, we can start repairing.
What you need to know to prepare quality plaster
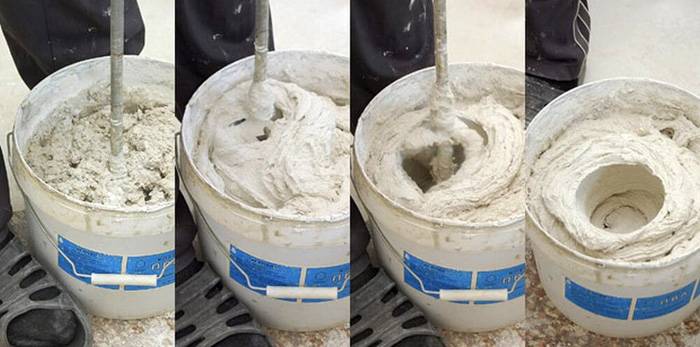
To prepare cement plaster, mix the cement with sand in a ratio of 1: 3. Water is gradually poured into the composition with constant stirring. You should get a solution according to the consistency of sour cream of high fat content. Before mixing, read the manufacturer's instructions and recommendations. If repair work is carried out in a room with high humidity, experts advise adding lime. It will take away excess moisture and make the microclimate more comfortable.
For concrete surfaces and foam concrete blocks it is recommended to use gypsum-lime plaster. Its plasticity adheres well to the base. To prepare such a solution, gypsum is poured into a bucket of water in a thin stream, then everything should be quickly mixed by adding milk of lime. This mixture is applied quite easily, and will help beginners get their hands on finishing work.
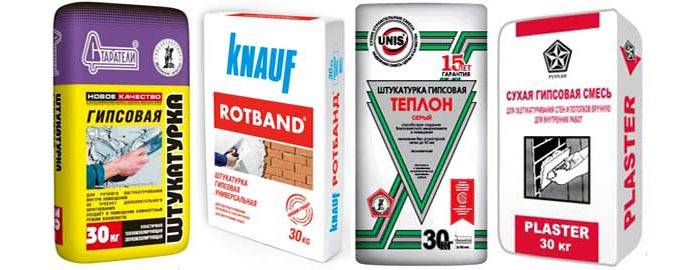
For plastering walls with your own hands, you can buy a ready-made mixture, which is offered in a wide variety in construction hypermarkets and stores. This is the easiest preparatory work.
Preparing walls for plastering
The working process of surface preparation for plastering begins with cleaning the substrates from previous coatings. After that, the level should determine the size of the deviations in order to determine whether installation of beacons or you can do without additional work.
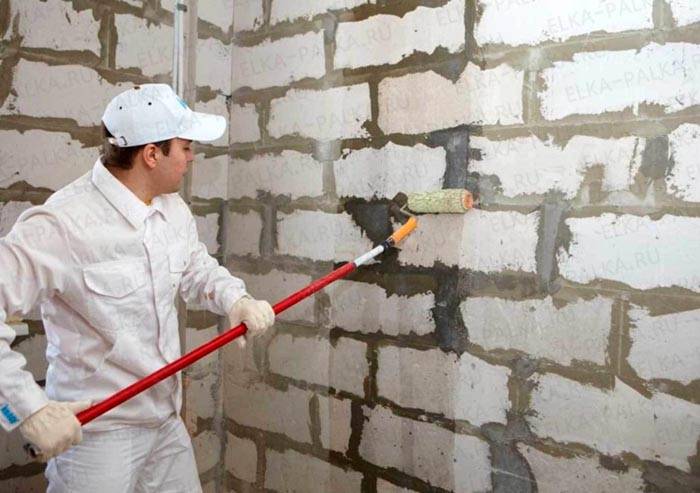
Then prime all substrates thoroughly with a brush or roller. It is necessary to choose a deep penetration primer, there is no need to save on the composition at this stage, this will help the putty to adhere well to the surfaces. In addition, it protects the walls from excess moisture and prevents mold and mildew damage that can corrode the material.
Do-it-yourself plastering of walls without beacons, video of step-by-step application
Before applying plaster to the walls with your own hands without beacons, after the primer has dried, moisten all bases well with water.
Drying time is a few days at average temperature and moderate humidity. At elevated temperatures, all surfaces should be periodically moistened with water to avoid cracking.
If some points are not clear in the instructions on how to level walls without beacons, watch the video with an accessible description of the entire technological process:
Step-by-step application of plaster on the walls with your own hands on the lighthouses: video with a detailed description
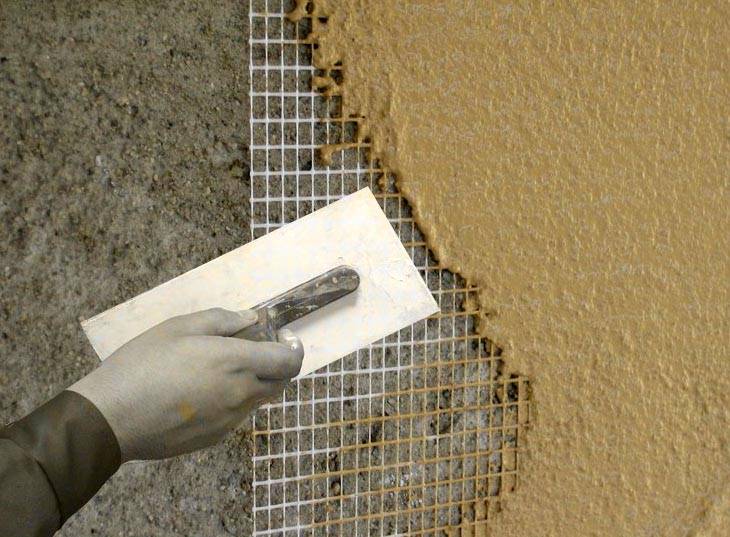
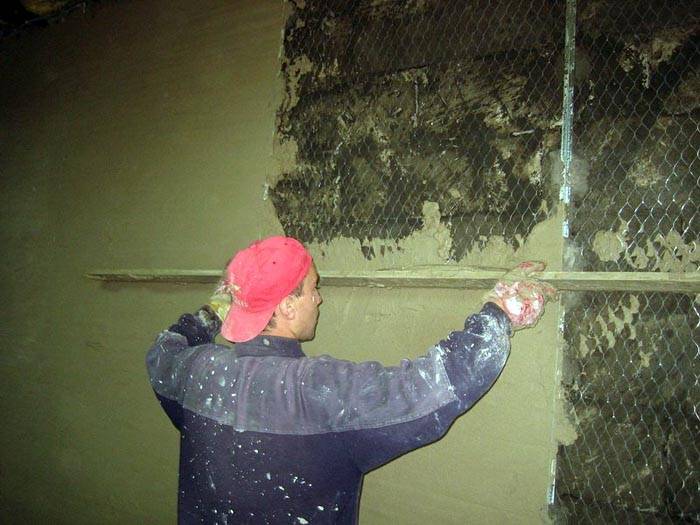
If the deviations on the base are large enough, plastering should be carried out with the additional installation of beacons. After preliminary preparation and surface treatment with a primer, their installation begins. If work is carried out in rooms with high humidity or with large defects in the bases, you should fix the mesh for additional reinforcement before leveling the walls along the beacons with your own hands. Video tutorials will help you do the job correctly. It is fixed with a mixture or dowels.
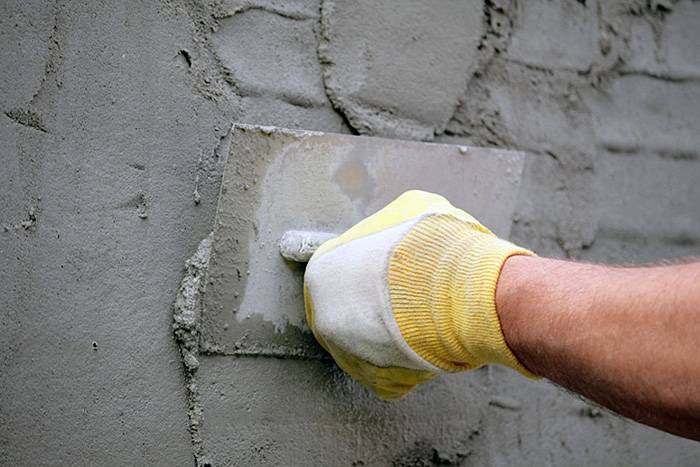
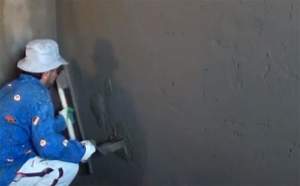
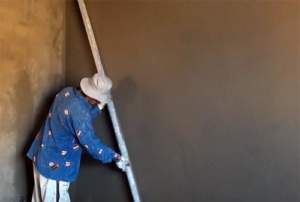
The plastering sequence is similar to the process without installing beacons. The solution is applied in a dense layer between the beacons with a slight exit behind them. Rule zigzag movements from the bottom to the top of the plaster is leveled. The surplus is removed with a spatula, the voids are filled with a new solution. After passing the entire surface, the alignment must be repeated from top to bottom.
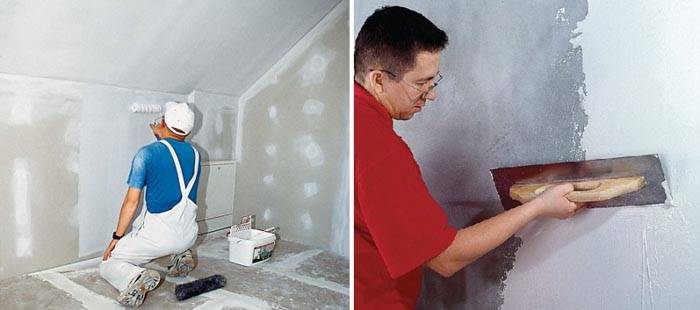
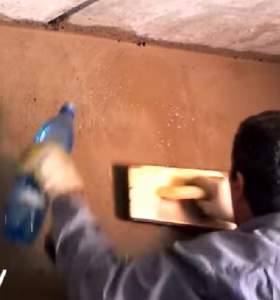
At the end of the work, the result should be checked by the rule. The protruding parts are overwritten.After that, it is necessary to perform leveling with a liquid mixture.Before work, you can watch professional videos of plaster on beacons for beginners. This will prevent mistakes in repair work.
Methods for installing beacons - the advantages of mounting on self-tapping screws
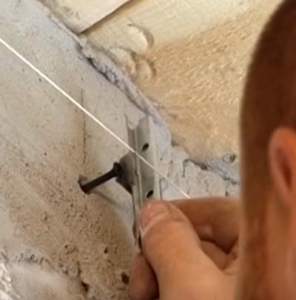
Exposing beacons under plaster can be done in two ways: on a plaster mix or with self-tapping screws. Non-professional craftsmen are better off choosing the second mounting method. A reliable and fast method proves the advantages of such fastening, including financial ones.
With this method, time is saved exactly four times. The video below describes the entire installation process quite easily:
At the end of the work, professionals recommend removing the beacons and sealing the resulting stripes with a solution so that rust does not appear during operation. This is a controversial opinion. If the beacons were purchased from a company store and they are of good quality, there is no need to remove them.
Plaster mixes - varieties, advantages, disadvantages
The wide variety of solutions puts the lay technician in a quandary. Before choosing the best way to plaster the walls in an apartment, you should study the manufacturer's instructions for using the compositions. A properly selected mixture will last for decades.
Do-it-yourself plastering of walls with cement mortar: video tutorials by masters
One of the most durable and labor-consuming solutions on the one hand, and the longest-lasting when applied correctly, on the other. The main disadvantage of the coating is the need for a finishing putty. Plastering the walls with cement mortar on the beacons allows you to hide large deviations and surface defects. For the correct execution of the whole process, you can preview various videos of professional masters that are posted on the Internet.
The cement mix works well in rooms with high humidity, such as in the kitchen or bathroom. It does not lose its properties in garages, on plinths, in basements.
How to plaster walls with gypsum plaster: video and professional nuances
Gypsum compositions are only suitable for indoor work. The main advantage of this method is that additional surface plastering is not required. With a plastic compound, you can level the bases to perfect condition. The negative aspects of leveling the walls with gypsum plaster include the increased humidity of the premises, for the decoration of which other compositions should be used.
A significant difference from other solutions is the drying time. Literally in 10-15 minutes, the solution becomes unusable, so the speed of work should be calculated, and not dilute the mixture in large quantities. Gypsum plaster is convenient for working on ceilings or corners. You can watch a video master class on leveling ceiling and other foundations.
Do-it-yourself finishing plaster: video of interesting applications
For finishing, dry mixes or ready-made compounds are used. The choice should be made depending on the purpose of the room. For internal or outdoor works you can take a cement-based plaster. For internal bases, a plaster composition is suitable. Polymer is a versatile mixture, various additives make it possible to use it on almost any surface.
To perform plastering of walls for painting, manufacturers offer special compositions with different structures.
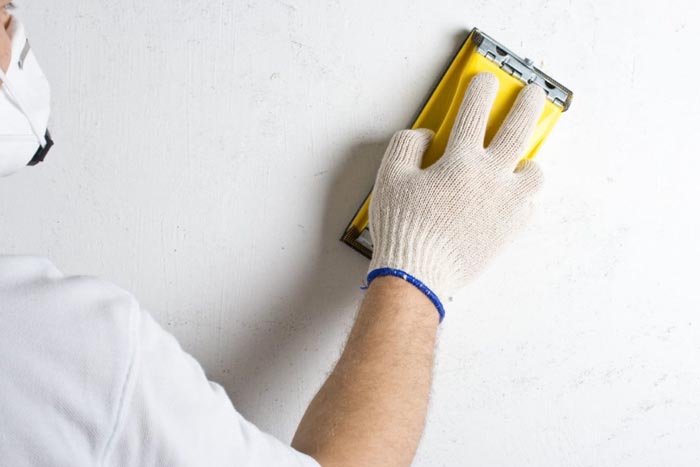
For plastering walls under the wallpaper, perfect alignment can not be achieved. Textured wallpaper will partially hide minor irregularities. Absolute gloss is important for painting. The process of finishing putty is quite laborious and can take a lot of time and attention. But on the other hand, the result will delight with its perfection.
How to plaster walls with your own hands for a beginner: video and application features on various surfaces
Modern production offers a wide variety of plaster mixes. Before plastering the walls with your own hands, you should familiarize yourself with the characteristics, composition and recommendations for use. Different surfaces require a different approach.
Masonry works
Wall plastering from bricks can be performed with both cement mortar and gypsum mixture. For outdoor work, only a cement mixture is suitable. Since this type of work is carried out on the initial masonry, they must be performed flawlessly, avoiding swelling and defects. It is important to consider the execution time of the brickwork. If the construction work was carried out not very long ago, the walls should be allowed to shrink for some time so that cracking does not pass.
If you want to plaster brick walls with a previously applied finish, it should be completely removed. And only after complete cleansing of dust and dirt should one start repair work. A brick base implies the installation of beacons, since the walls have sufficiently large defects and deviations. All of the following works are similar.
To help you how to plaster a brick wall with your own hands, you can familiarize yourself with the step-by-step process in the review, watch this video tutorial:
Works on concrete surfaces
For concrete walls, plastering work should be carried out more carefully. For better adhesion with the previous layer, the plaster should be rubbed in with some effort for a stronger connection. Otherwise, the entire application process does not differ from performing work on beacons.
Plaster walls made of wood
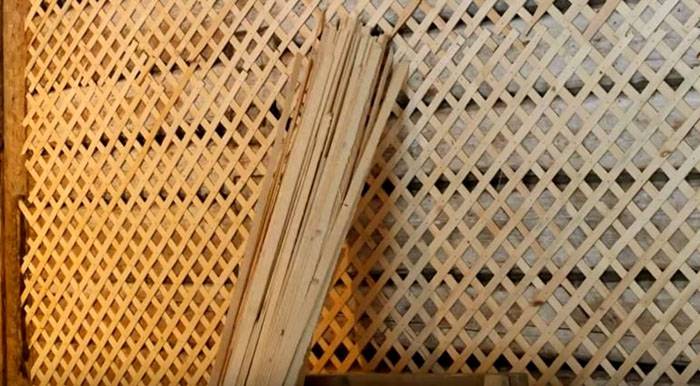
The process of plastering wooden walls inside the house is somewhat different from the previous ones. The main difference is that the plaster does not stick to a clean wooden surface. First, you should make a frame from a lathing, which can be made of wooden slats or metal mesh.
When installing wooden lathing or shingles, thin slats with dimensions from 3 × 15 to 5 × 20 mm are used. When buying, it is important to pay attention to the quality of the tree, it should have a light color. When fastening, nails are driven in not completely, but to the middle, so that the cap could be bent and additionally press the rail.
Advice!In order to prevent deformation of the shingles, all ends of the strips should be well fixed.
Under the crate, you can arrange additional insulation from felt, having previously impregnated it with an antiseptic. The metal mesh is attached in the same way.
Watch the instructional videos carefully before plastering a wooden wall. The process is not difficult, but you should know many nuances of the technological sequence. The mixture is applied as usual. You need to be careful when throwing the solution onto the crate, there may be voids behind it. Therefore, work should be carried out at an angle of 45 ° alternately on one side and the other.
Foundation plaster
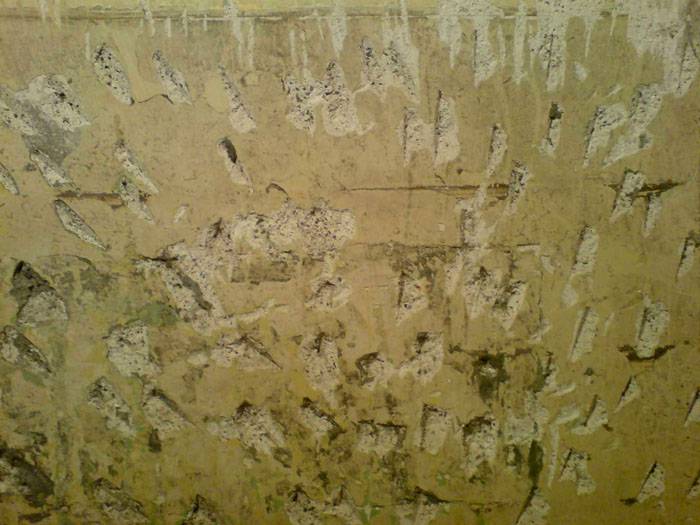
Before plastering the foundation of a house with your own hands, you must completely clean all surfaces from dirt, dust and greasy deposits. If the concrete base is more than a year old, you can apply incisions for better adhesion of the mortar. On a brick foundation, you need to clean all the joints from the old mortar with a spatula.
At the second stage, all surfaces are abundantly primed, then deep defects are leveled with cement mortar. The same mixture should be used to fill previously cleaned joints in brickwork.
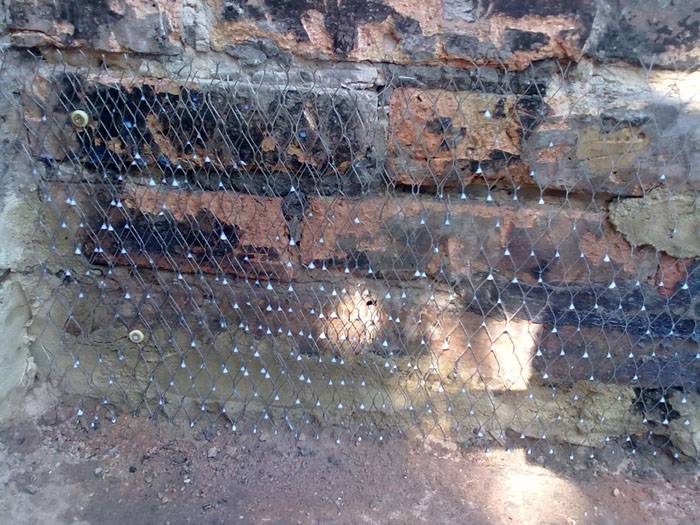
For reliable adhesion of the mortar to the foundation, you can pre-stretch and secure the metal mesh. After that, you can proceed to the technological sequence of applying the cement mortar. All work should be done in warm, dry weather.
Good to know!To improve the quality of the cement mortar, you can add PVA glue, thanks to which the mortar will acquire some plasticity and it will be easier to work with it.
Conclusion
Now we know all the features and capabilities of wall plastering and can independently carry out the whole process, from rough wall finishing to decorating textured plaster... The knowledge gained will help to responsibly approach the choice of material and the technological process. And additional physical activity will only be beneficial.
In addition, this is significant budget savings and absolute control over all work. As a bonus, you can watch a video of the most common mistakes when doing plastering work.


