How to properly lay laminate flooring: subtleties and tips
The housing issue remains relevant for many. Home repair and related problems are of concern to everyone who is planning to carry out construction work on their own. Today we will discuss some of the subtleties of laminate flooring, answer the question "how to lay laminate flooring correctly", show you how to avoid the most common mistakes and reveal small professional secrets.
The content of the article
- 1 Correct selection of material
- 2 DIY tool
- 3 Preparing for installation
- 4 How to lay a laminate with your own hands: video of the process
- 5 How to lay laminate flooring with your own hands with straight flooring
- 6 Laminate calculator
- 7 Diagonal laminate flooring
- 8 How to properly lay laminate flooring in hard-to-reach places
- 9 Video: how to lay a laminate, instructions from the manufacturer
Correct selection of material
Laminate board is a very popular and widespread material for flooring today. The collective name "laminate" (derived from the Latin "layered") unites the types of fibreboard used for finishing floors.
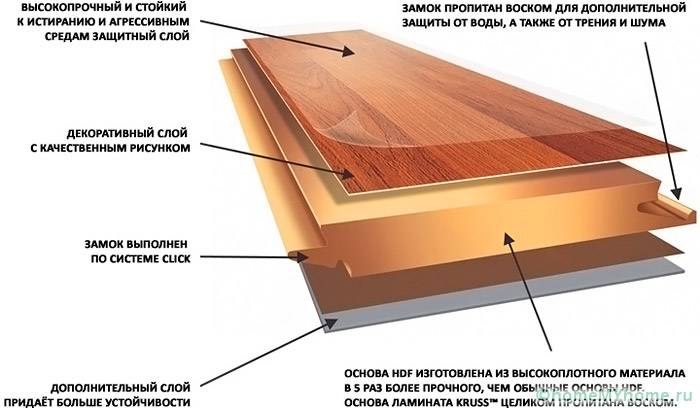
The industry today produces a wide variety of floor coverings. The right choice of material will allow you to forget about the floors for a long time and not worry about their condition. Let's briefly dwell on the layered structure of the floor in order to competently choose the material that suits us best. The laminate has several layers, the top is a protective film that simultaneously carries a decorative function.
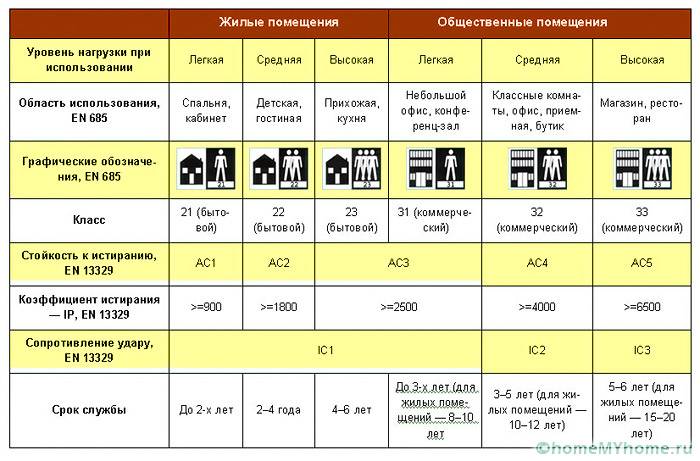
In addition, this film has different wear resistance. It is this characteristic that parquet is divided into classes. And when we mentioned the right choice, it was the wear of the coating that was meant. Surely, every person who started the repair wants to do the job efficiently and for a long time. To do this, you need to use high-quality material, and not Chinese fakes. A good material must have certain characteristics corresponding to its class.
The floors are classified in accordance with the European standard EN13329. He distinguishes two groups of use:
- homemade - code 2;
a. wear resistance class 1
b. wear resistance class 2
in. wear resistance class 3
d. class of wear resistance 4
- commercial - code 3.
a. wear resistance class 1until the 4th
This is reflected in the coding of the material, the 1st digit is the area of application and the 2nd is the abrasion class. Thus, for residential apartments, a board marked 21 or 22 is perfect, and for public spaces, class 33-34 is needed. This is important to know so that freshly laid floors do not turn into a shabby plank after six months.
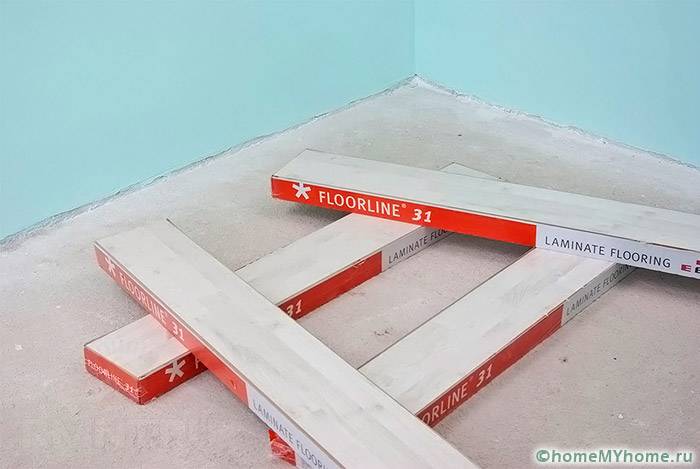
Useful advice! It is not recommended to unpack the material for about 2-3 days before laying, let the material rest at room temperature and humidity. Do not open the packs, let them be in their original packaging. This will give a good adaptation to local conditions.
DIY tool
If you are determined to proceed with the proper installation of laminate flooring, then prepare the following tools:
- a hammer;
- roulette;
- mallet, you can use a small bar, since you will have to knock out the panels;
- electric jigsaw;
- spacer wedges;
- corner, ruler;
- clamp;
If the package does not include a soundproofing pad or its substitutes, make sure to purchase a sufficient amount. In terms of structure, they are of different types, but we will talk about this at the laying stage.
Preparing for installation
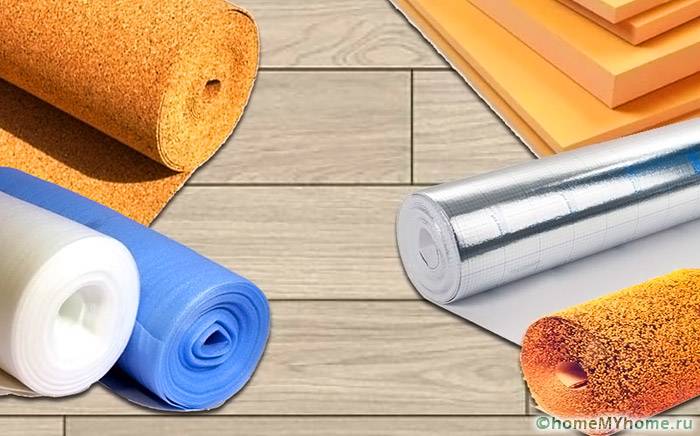
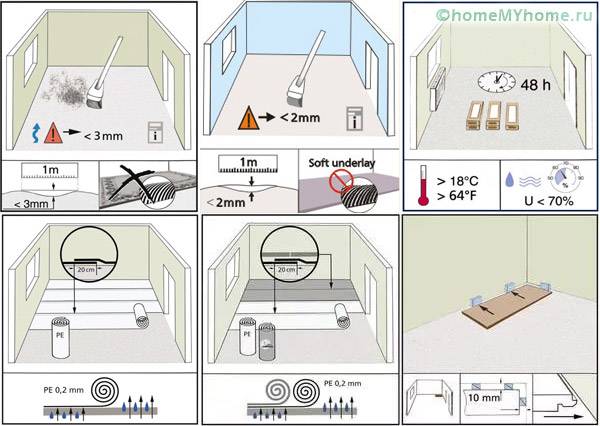
When wondering how to lay the substrate under the laminate, do not forget about the correct preparatory work. First of all, it is necessary to select and lay the substrate. Not everyone knows that the durability and quality of the coating is, first of all, the merit of correct preparation and installation, as well as a well-chosen auxiliary material. There are many options to choose from:
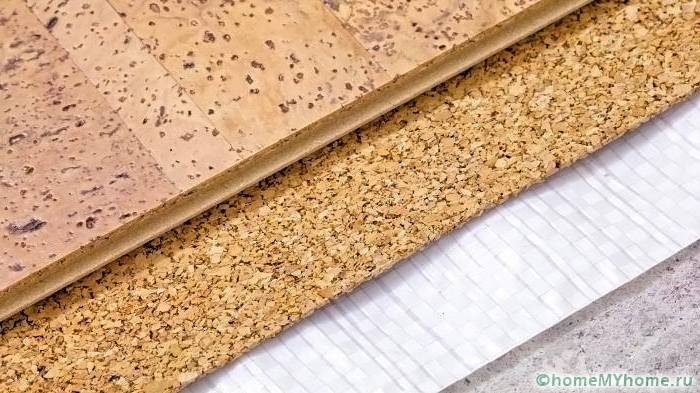
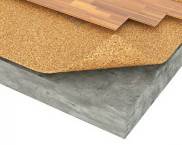
- environmentally friendly and durable cork;
- polypropylene;
- polystyrene foam (for increased load);
- coniferous, with good ventilation;
- on a foil base;
- polyethylene film;
- combined.
Which view is better is difficult to answer unequivocally. It depends on the conditions in which the coating is laid: humidity, subfloor (concrete or plank), floor horizontality, etc. It is considered optimal to listen to the recommendations of the seller of the original floor material, because a substrate with a specific set of properties is selected for a specific laminated board. It is important that the substrate fulfills the main functions:
- bactericidal;
- mold resistance;
- inedible for insects.
Related article:
Cork underlay for laminate: pros and cons. A detailed overview of the advantages and disadvantages of a cork substrate in a special publication of our portal.
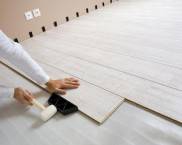
When laying the underlayment, it is important that the seams do not line up with the seams of the board. It is better to lay the backing sheet material in a checkerboard pattern, and fix it with masking tape. The substrate in a roll must be rolled out overlapping the walls, and the joints of the canvas must also be fastened with tape.
Important! Overlapped seams will create an uneven surface and damage the finish.
In order not to make mistakes, watch the video of installing the laminate with your own hands, presented below.
How to lay a laminate with your own hands: video process
How to lay laminate flooring with your own hands with straight flooring
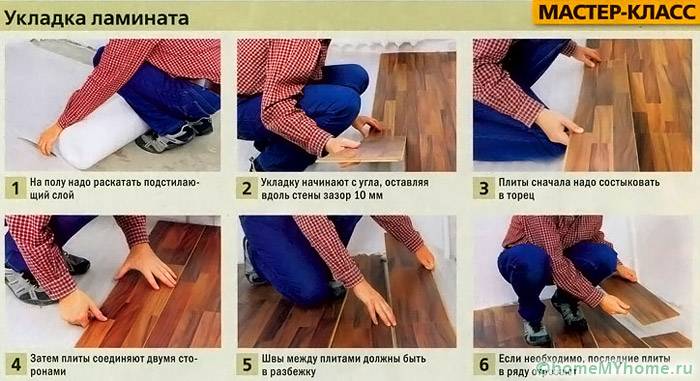
You can start the flooring of laminated panels from any corner of the room, and preferably continue from window to door. First, you need to calculate the required amount of boards, for this you need to calculate the size of the extreme planks at opposite ends of the room, with a plank width of at least 50 mm. The flooring should be started with a 10 mm gap between the wall and the first plank, so that the indentation does not "go away", it is necessary to install a spacer. Below is a convenient calculator for calculating laminate flooring, which will allow you to calculate the required amount of this material for different installation methods:
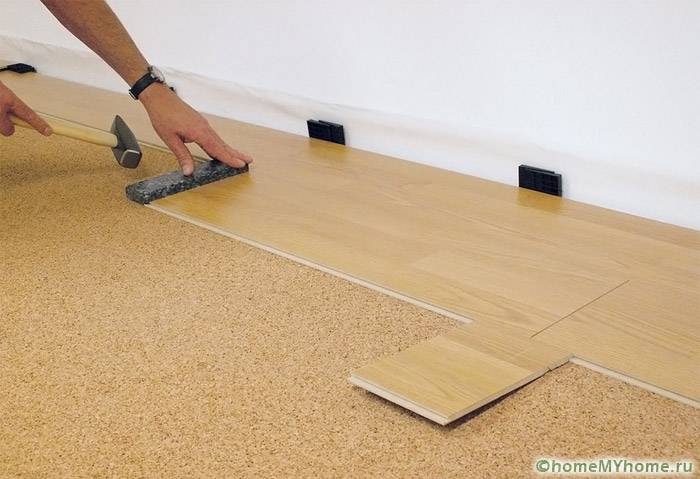
Spacers along the walls are needed to create a "margin" for thermal and moisture expansion of the laminated coating
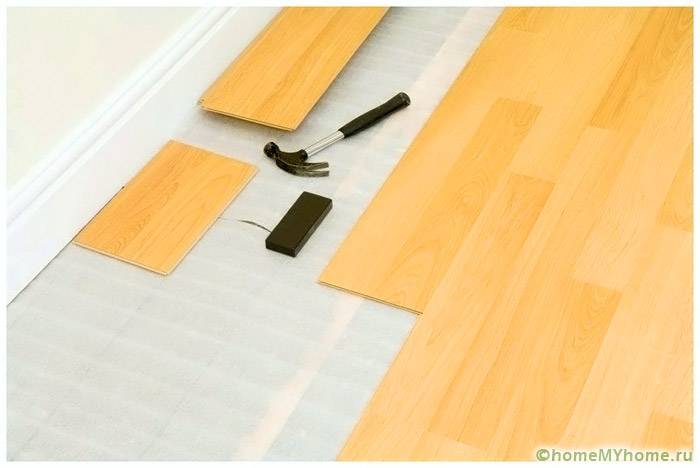
The second and next rows, you need to mount "at a run", ie the first board should be two-thirds the size of the uncut board. It is necessary to connect in strips, collecting several strips in a chain. We insert the entire row into the first, and the third row should be started with a plank equal in length to one third of the whole board.
Further, the flooring is performed in the same way. In order for the connection to be tight, it is necessary to tap on the end of the strip with a mallet, and use the clamp for the screed. After installation, it is necessary to remove the spacers that were inserted along the walls. The skirting boards are fastened with clamps, in increments of 40 cm.
Another way to install the floor is to glue it on. In this case, the procedure is slightly different:
- For the substrate is used sheet plywood with water repellent properties... Plywood is laid on the sub-floor and serves as the basis for the parquet. Therefore, the requirements for plywood sheets are very high. It is important that they form a flat horizontal surface, do not swell anywhere, do not play and do not warp.
- The adhesive is applied to plywood and laminated panels notched trowel, in this case, glue the grooves of the panels with glue.
Diagonal laminate flooring
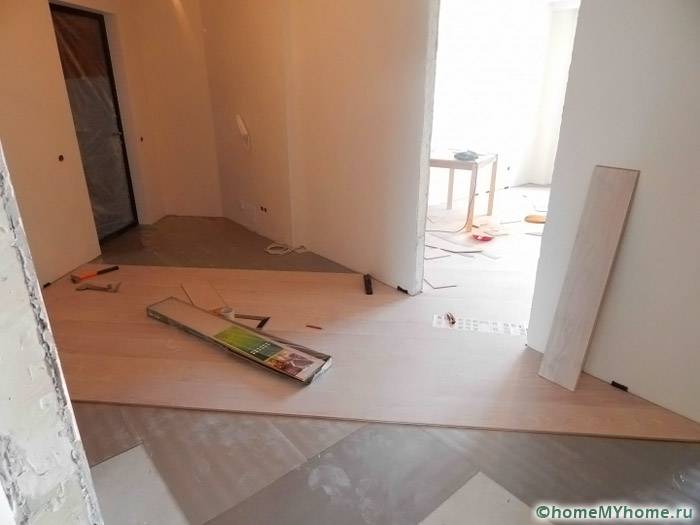
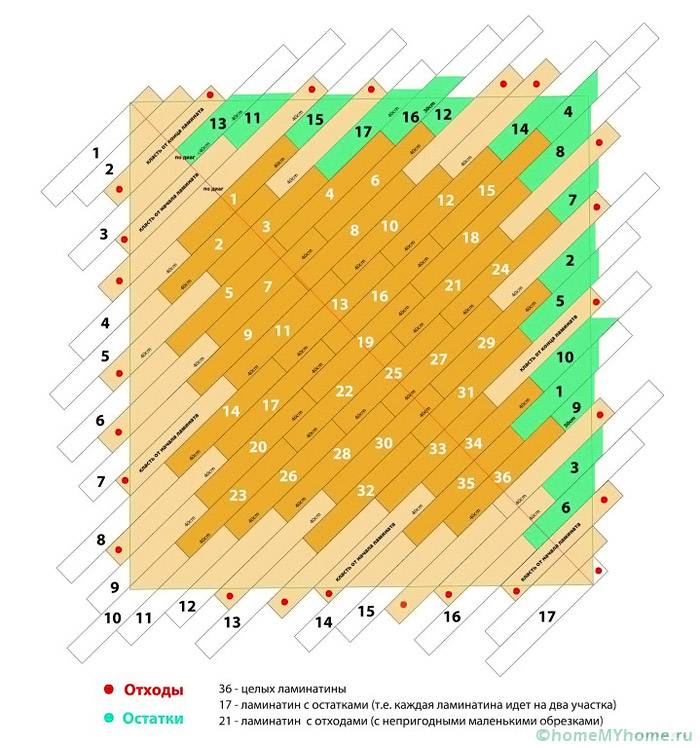
In the traditional method, the boards are laid parallel to the walls. But you can also lay it diagonally, at an angle of 35-45 °. The most common method is flooring at an angle of 45 °, but since the walls are not at right angles, the amount of inclination of the panels can vary.
This method has its advantages: diagonal laying will help to hide the imperfections of the geometry of the rooms and mask the unevenness of the walls. The diagonal laying method is used to visually expand the space.
You should start laying from the corner of the room, moving from windows to doors. The long ends of the lamellas are located in the direction of the sunlight falling through the window, this will make them less noticeable. To control the inclination of the panels, it is necessary to pull a string from opposite corners, which will serve as a guide when laying laminated parquet. The first row begins from the cord, which is laid in parallel, moving from the center to the left wall.
How to properly lay laminate flooring in hard-to-reach places
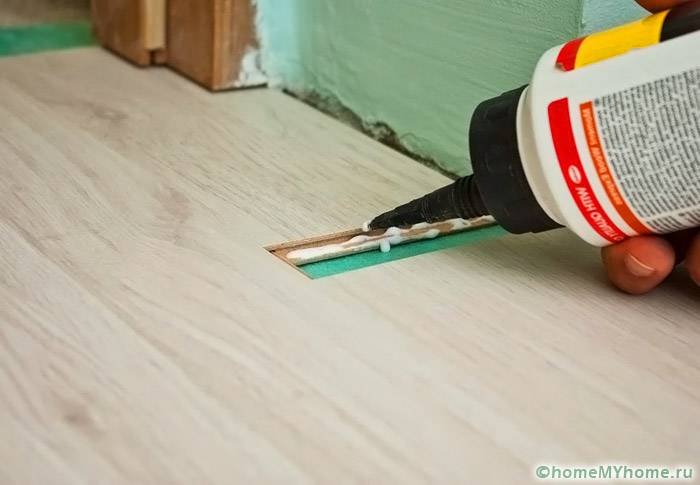
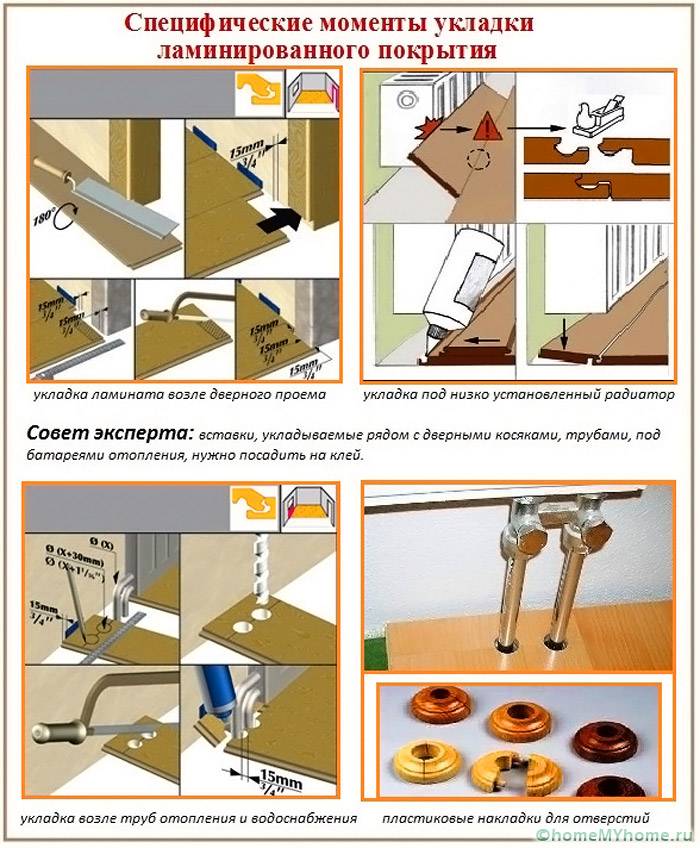
If the walls have a bend, it is necessary to maintain a gap of at least 10 millimeters in order to laminate did not bulge from expansion. Laminate flooring around risers and under radiators, as well as under similar obstacles and doors, is not difficult.
Bypassing the pipe with a laminated board is carried out as follows:
- we take measurements and put up marks;
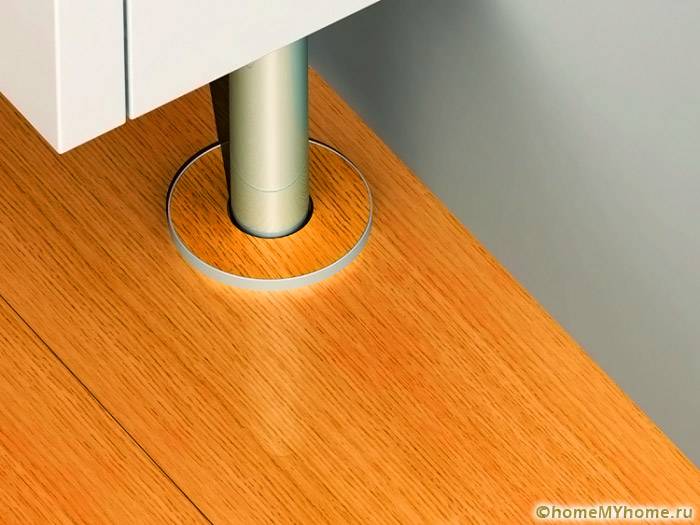
- cut the corresponding holes of the required diameter, leaving about 1 cm between the pipe and the edge of the laminate.
A video of laying the laminate with your own hands around the radiator is presented below
Note! Regular laminate flooring should not be installed in showers, bathrooms, saunas and rooms with high humidity.
Video: how to lay a laminate, instructions from the manufacturer


