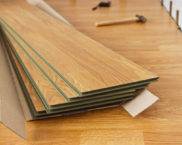
DIY laminate flooring. Step-by-step instructions, tips and nuances of installation
The cost of this rather durable and aesthetically attractive material is low compared to parquet board or parquet. That is why laminate is more and more often used as a floor covering in finishing work. Laying the laminate with your own hands, the step-by-step instructions of which are discussed in this article, is not difficult, but there are still some nuances in working with it.
The content of the article
A few words about laminate and its characteristics
With the help of a laminate, you can imitate not only parquet, but also tiles, wood and even marble. However, unlike parquet boards and wood, laminate is more resistant to moisture and temperature extremes. This is due to the use of high-strength resins, which cover the entire surface. Perhaps the only drawback of the laminate is the relatively short service life - up to 5 years. However, in reality, especially with careful use, this building material can last much longer.
Related article:
What does laminate class mean? A detailed description of the existing classes of laminate with examples of applications in a separate publication of our portal.
Materials and tools
Do-it-yourself laminate flooring with step-by-step instructions can be done by hand. To install it you will need:
- the laminate itself;
- sound-absorbing substrate;
- vapor barrier polyethylene film (when laid on concrete);
- ruler, square and pencil;
- jigsaw or a saw with a lot of small teeth;
- padding block (wedge) for adjusting laminate planks; the most convenient is wooden or plastic with a rubber backing;
- rubber hammer (mallet);
- spacers laid against the wall to create gaps (you can purchase ready-made plastic ones or make them yourself from laminate scraps);
- mounting bracket (clamp or doboinik) for assembling panels against walls.
Useful advice! Before laying any kind laminate it must fully adapt to the room regime (temperature and humidity) and stay in it for at least 2 days. In this case, you should not print packs before starting work.
Foundation preparation
Laminate can be laid on any kind of substrate: old wood floors, concrete and even tiles. The most important thing is that the height of the drops is not too high: no higher than 3 mm for every 2 m. Otherwise, the boards laid in a floating way can warp while walking on the floor. You can check the horizontality of the future base using a regular bubble level.
The nuances of preparing a wooden base
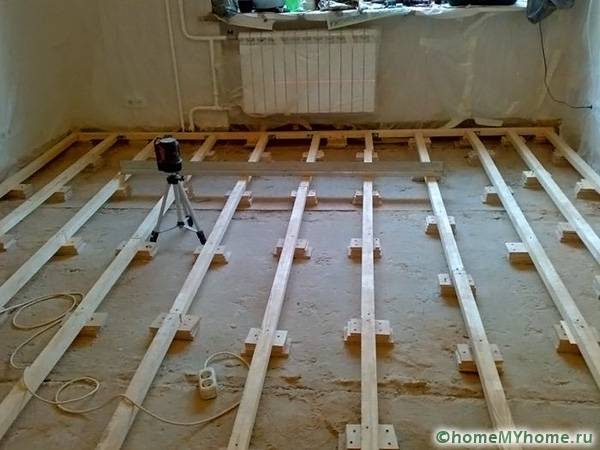
If the distortions of the base are too noticeable, the floors should be leveled. Old rotten boards and damaged logs are completely replaced with new ones. To level the wooden floor, use building level, with the help of which horizontal markings are applied along the walls. If necessary, a heat or sound insulation layer is laid between the logs.
For leveling the laid wooden boards are additionally processed grinder... You can level the floors without sanding by laying on top of chipboard boards or plywood.
Features of the preparation of a concrete base
In the old concrete screed, all cracks and cracks should be sealed with a sand-cement mortar. It can be perfectly aligned with a self-leveling screed. However, such self-leveling floors are not a very cheap material, so it is better to use them in case of slight distortions.
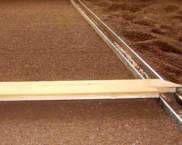
In case of significant differences in height, it is better to use a regular concrete screed. At the same time, a flat horizontal surface can be obtained using the rule (a special construction tool in the form of a long metal strip) and beacons - profileslaid out on clots of solution ("stamps").
Important! Laminate is quite sensitive to moisture, so it is highly discouraged to lay it in rooms with a high level of this same humidity. Otherwise, this material will quickly deteriorate.
Laminate installation methods
The choice of installation method depends only on personal preferences and design ideas.
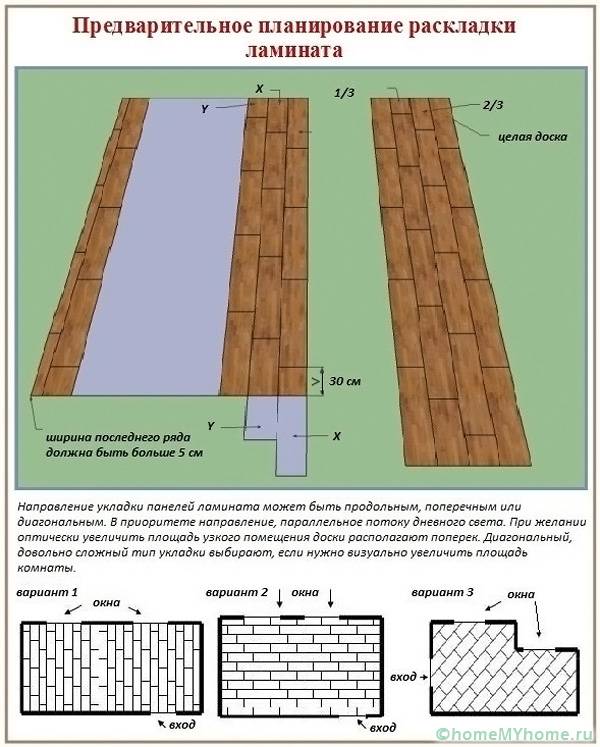
The most commonly used method is the stacking method perpendicular the window in the direction of the sun's rays, in which case the seams become less visible, and the laminate looks like a continuous monolithic covering.
Parallel: in some cases, to emphasize the styling pattern, on the contrary, the joints should be highlighted; this can be done with the help of shadows formed when light falls on them; it is believed that with this method, a visual expansion of the room in width is possible.
Diagonally: a similar pattern is used in the case of a non-standard room design; can be combined with perpendicular or parallel laying if necessary to divide it into several functional sectors.
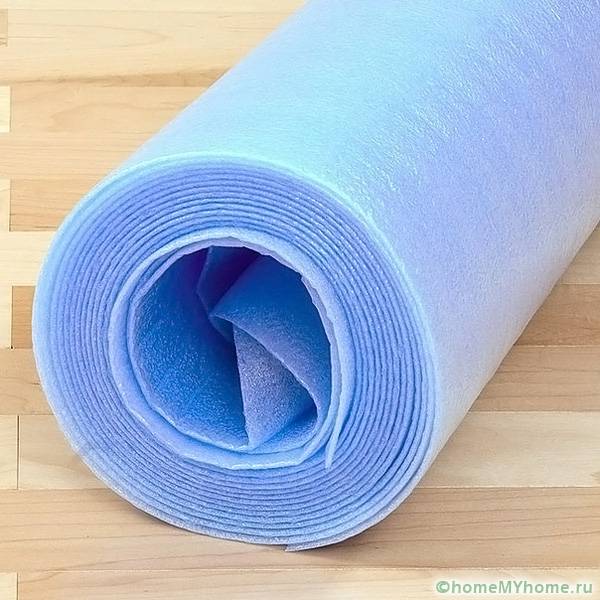
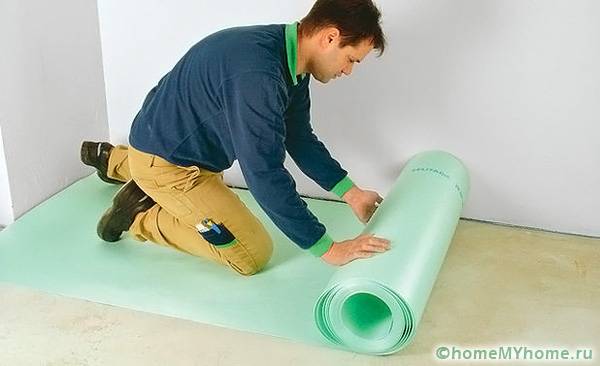
This article will consider laying laminate do it yourself (step by step instructions included) in the most common perpendicular way. Related article: To protect the laminate from cracks and breaks and to damp footsteps, a substrate must be laid under the laminate. A variety of materials are used as it: expanded polypropylene or polyethylene, polystyrene, polyurethane, mineral wool, reinforced felt or cork base, which are excellent heat insulators and can dampen noise. It is highly discouraged to use a carpet as a backing - the effect of a “statistical discharge” may occur. The underlay is laid with a slight overlap on the walls: 20 cm of overlap is sufficient. If expanded polystyrene is used as a substrate, its sheets are laid apart with a shift of the second row so that the joints fall on the center of the sheets of the first row.To the canvases do not move while walking, it is better to connect them together with adhesive tape. How to properly lay a laminate with a backing is demonstrated by the following video: As a rule, a brief instruction on its installation is attached to each pack of this material. Laying the laminate with your own hands is not difficult. We bring to your attention detailed step-by-step instructions.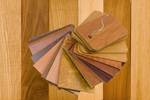 What is the best laminate flooring for an apartment? Recommendations for the correct choice, types of lock connections, an overview of manufacturers in a special publication of our portal.
Laying the substrate
Helpful information! The backing sheet, especially with a significant thickness, is laid without overlap. Otherwise, differences in height will form and the floor will be uneven.
DIY laminate laying technique with video tips
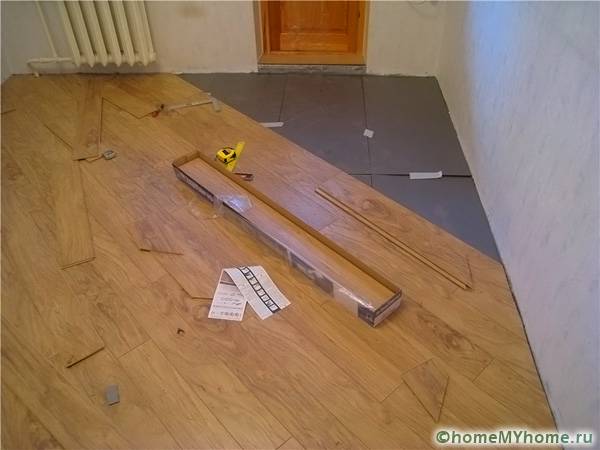
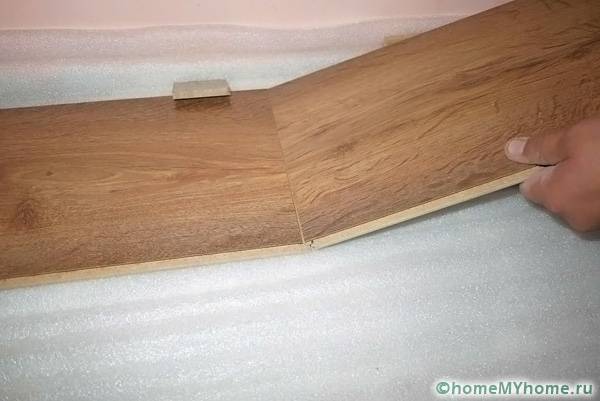
- The spike of the second board is wound under the lock (groove) of the first lamella at an angle of about 20 °, then lowers down to the floor until a characteristic click.
Important! Laminate is laid only in a floating way, that is, without fixing to the base. It is strictly forbidden to fix it to the floor with glue, screws, nails, etc.
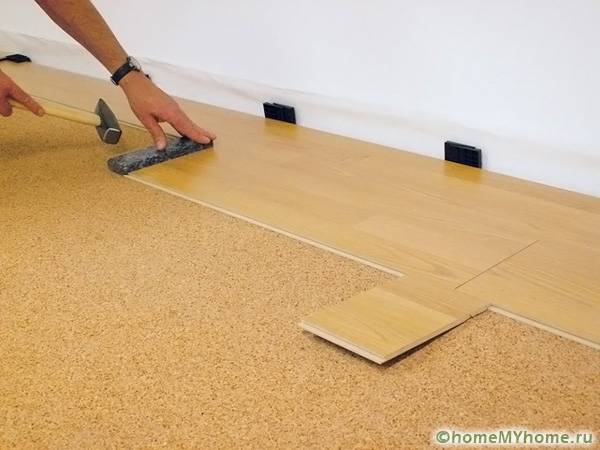
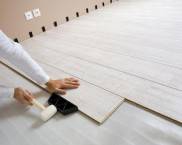
- Next, the board is tamped with a tamping block as tightly as possible to the first board so that the joint width is minimal. To avoid damaging the laminate flooring, be sure to place a rubber backing under the block.
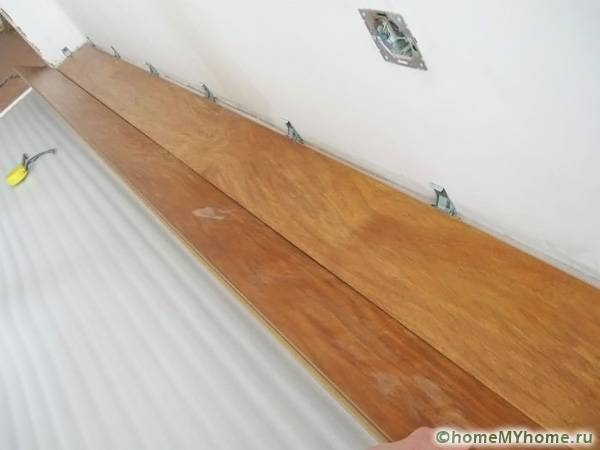
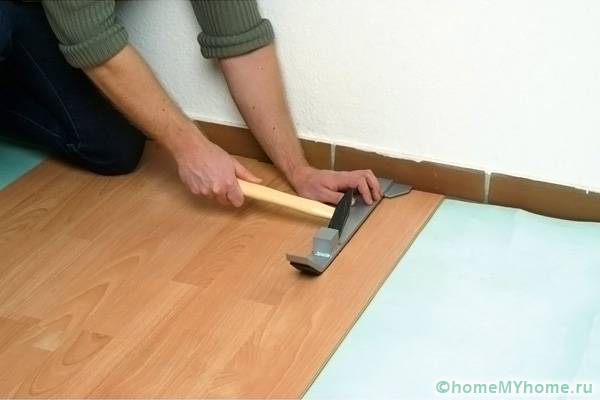
- The last board of the first row is trimmed, if necessary, and then laid and fixed against the wall using wedges-spacers. It is more convenient to bring the board into the space between the adjacent lamella and the wall using a mounting bracket (doboinik). One end of it is attached from the edge of the lamella against the wall, and the second is gently tapped with a hammer so that the board finally falls into place.
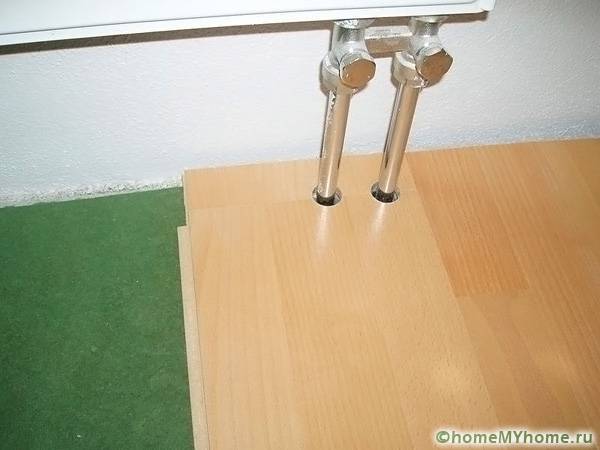
- For heating riser pipe in lamellas jigsaw or a saw cuts holes: two semicircles in each board. Special plugs are laid on top of the holes.
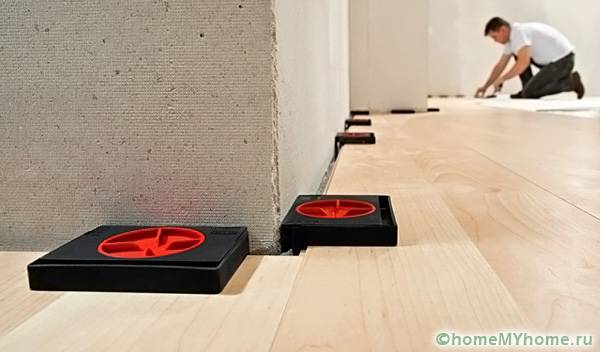
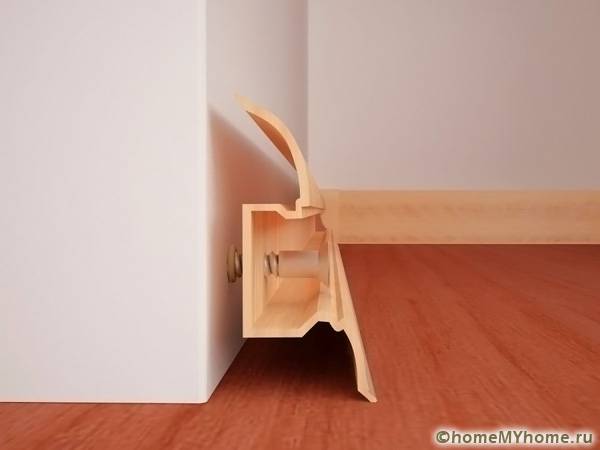
Important information! An expansion joint of 10-15 mm must be left between the wall and the lamella. Otherwise, with temperature changes, the floor may begin to deform and it will be bulged out. Small plastic spacers or wedges made from the remnants of the laminate are used to create such a seam. In the future, this seam will completely close skirting boards.
- To avoid displacement of the laminate, it is laid in the same way as the substrate, without aligning the seams in a staggered manner (staggered) with a shift in each subsequent row. Therefore, the second row will start with trimming. In this case, the joints of the second row will be in the center of the previous rows.
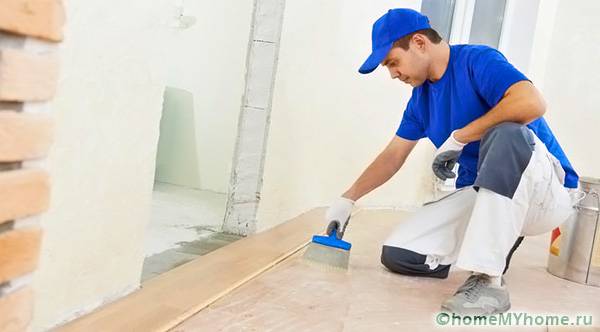
- To increase the strength of joints and their waterproofing they can be coated with silicone sealant. However, this procedure is optional.Any excess should be removed immediately with a regular sponge or cloth.
- Mounted last skirting boards.
DIY step-by-step video instructions for laying laminate flooring


