DIY saving: repairing LED lamps
Modern energy efficient LED bulbs are not cheap. But they also last longer than usual, and consume much less electricity. It's a shame when such a device fails. We are accustomed to the fact that lamps are disposable items that have to be thrown away after burnout. The topic of this article is how you can bring such a lamp back to life with your own hands. Repair of LED lamps is possible! Moreover, this task is within the reach of even a person who is not particularly versed in electrics.
The content of the article
- 1 The device and principle of operation of a 220 volt LED lamp
- 2 LED lamp driver schematic drawing
- 3 Why it may be necessary to repair an LED lamp, device and electrical circuits
- 4 DIY 220V LED lamp repair basics
- 5 How to carefully disassemble an LED lamp and identify the cause of a breakdown
- 6 Summing up: DIY LED lamp repair
The device and principle of operation of a 220 volt LED lamp
LED devices significantly save energy, while providing full lighting. A 10-watt LED light bulb produces the same powerful light output as a 100-watt incandescent lamp. It turns out that this type of lighting fixtures cuts your expenses tenfold. Moreover, such devices are distinguished by their durability, unless of course they are produced in the Middle Kingdom.
To deal with a possible repair, you need to imagine how the device works. Everything is a little more complicated here than in traditional Edison lamps. Each light source, a diode, consists of two semiconductors of different materials. One contains mainly electrons, the second contains ions.
Such semiconductors are called LEDs... At the dawn of this technology, devices could only emit green, yellow and red light. For this reason, they were used in indicators. Modern technologies allow you to cover the entire spectrum and use warm and cold shades, which are dominated by blue or yellow-red.
Now directly about the lamp device.Outwardly, it differs little from a traditional light bulb. It has the same threaded base and is suitable for all types of luminaires. But inside the product has a complex structure.
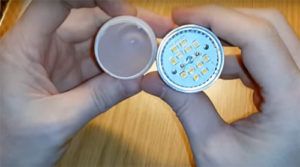
Under the transparent shell of the cap, the contact base, the housing, driver and a semiconductor board. The task of the driver is to lower the current of 220 volts, standard for our networks, to the value required for the operation of semiconductors. This power and control board can be arranged in different ways depending on the manufacturer's decision. To reduce their own costs, some not very decent manufacturers do not install on the boards necessary for our networks stabilizers... As a result, the light bulb shines very brightly, but not for long. One diode does not shine brightly enough, so they are grouped in bulbs in several pieces on the board, combining them into one circuit. If one of the semiconductors is out of order, the entire lamp will not burn.
The transparent lamp cover on quality products is coated from the inside with a phosphor - a substance that enhances the glow. Such bulbs from the outside look matte, opaque. Such products do not irritate the eyes, their glow is similar to natural sunlight.
Note! In LED devices, power and light output are not directly related. When choosing a suitable lamp, you need to study the data on the packaging for the level of light radiation. It is measured in Lumens.
LED lamp driver schematic drawing
The circuit for the power supply of the LED lamp is not particularly complex. There are not many details: a pair of resistors and an anti-parallel connection of diodes. This type of connection allows you to protect against reverse voltage and increase the flicker frequency up to 100 Hz. Some lamps may only have one resistor installed.
For a 220 volt network, a limiting capacitor is installed in the device on the rectifying bridge.
Note! In principle, one of the semiconductors can be changed to a simple rectifier, but such a change reduces the flicker frequency to 25, and this adversely affects visual sensations.
Why it may be necessary to repair an LED lamp, device and electrical circuits
Unfortunately, science has not yet invented eternal materials and engines, so sooner or later every device fails. AND LED lamps not an exception.
On average, such a device can last 10 years. Special operating conditions and voltage fluctuations can shorten the lifespan of a light bulb. In the first case, it is clear that if the luminaire is installed outdoors and works in heat and frost or in a room with high humidity, it will last much less than usual. And voltage drops can, in principle, be dealt with by installing current rectifiers in a house or apartment. These devices are not cheap, and in practice are used by few, but in vain, because not only the life of light bulbs is at stake, but also the safety of more expensive household appliances. The state of electrical networks in our country leaves much to be desired and it is unlikely that anything will change in the near future.
Note! During operation, the power of semiconductors inevitably decreases, they gradually lose their capabilities.
The main reasons for the failure of LED lamps:
| Cause | Description |
|---|---|
| Violation of the crystal structure of semiconductors | The diode material can react differently to an increase in the injected current density. Some semiconductors are destroyed faster, some more slowly. InGaN / GaN systems last the longest. |
| Electromigration | During operation, the metal of the electrodes penetrates the inner part, this causes destructive processes. To slow down diffusion, a barrier layer is applied to the electrodes. |
| Overheating of the diode | Caverns may remain at the junctions between the LED and the substrate.The most common cause is poor quality solder. As a result, the heat removal is insufficient and the semiconductor overheats. |
| Overload and short circuit | Electrostatic discharges, voltage surges and short circuits can all destroy semiconductors. |
DIY 220V LED lamp repair basics
Before you repair an LED lamp, make sure that the problem lies with it, and not with the chandelier or wiring.
This is not difficult to do: you need to check the presence of voltage with a special tool, or simply screw in another lamp. If it does not light up either, look for a wire break or contact failure in the lamp.
Advice! When disassembling, take pictures of each step. This will make it easier for you to navigate in the reverse process. Put small parts in a box or saucer so that they do not roll over the table.
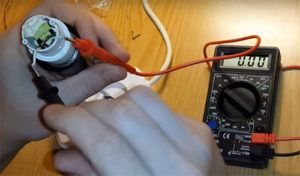
To find the cause of the breakdown, you will have to test each component of the LED lamp. In this case, you cannot do without multimeter.
A small video about how to use a multimeter:
For repair work, you will need a soldering iron, a set of screwdrivers, a medical scalpel or a thin knife.
How to carefully disassemble an LED lamp and identify the cause of a breakdown
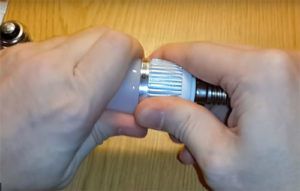
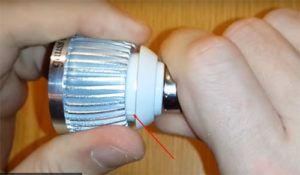
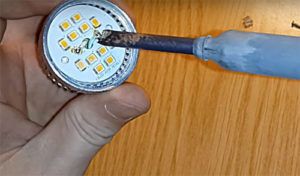
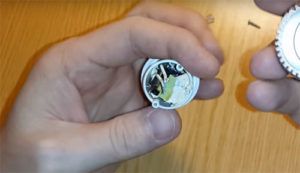
So how to fix a 220V LED bulb? The cause of the problem can not always be found with a simple visual inspection. In any case, you will have to spend time and effort looking for a hidden ailment. How to properly disassemble an LED light bulb? The main thing in this matter is the utmost care and accuracy. Do not use excessive force, do not use sharp tools where you can get around with your hands.
Disassembly algorithm:
LED Replacement Procedure
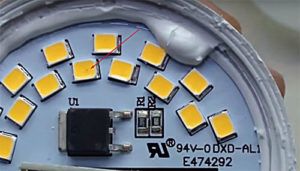
If the problem is a faulty LED, the light will simply stop working. If she flashing - the point is in the power board.
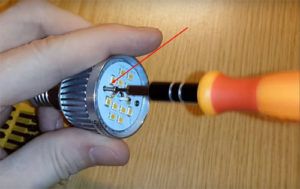
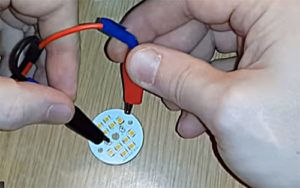
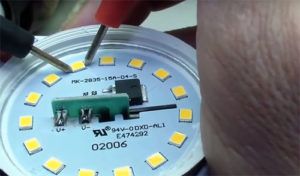
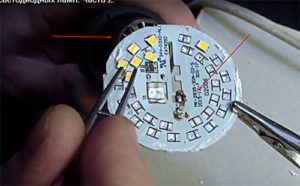
After detecting an extinguished diode, you need to remove it. There are three ways to determine the health of a semiconductor:
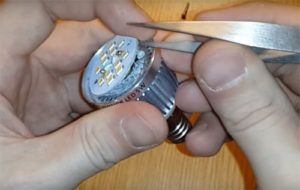
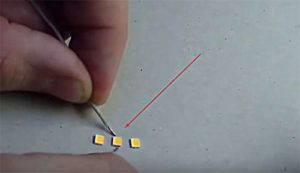
For lamp repair it is good to have a similar donor lamp.Semiconductors are removed from it for replacement. How to replace the LED:
To consolidate the completed video tutorial on this topic:
Related article:
Knowing the main LED characteristics, you can choose the best option in terms of room illumination and operating costs. We offer to familiarize you with the main types of diodes, their distinctive features and installation procedure.
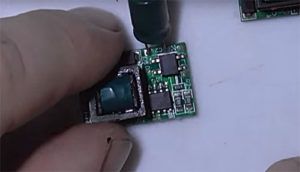
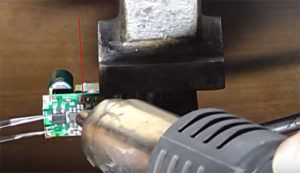
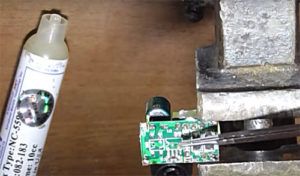
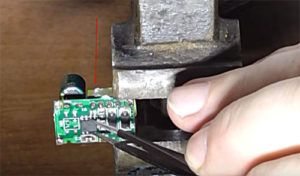
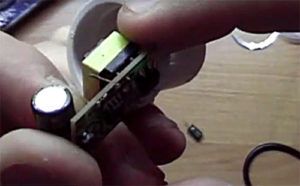
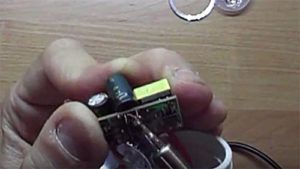
LED Lamp Driver Repair
We looked at how to repair an LED lamp with our own hands if one of the semiconductors is burned out. As you can see, the task is pretty simple. Now let's consider the situation if the control unit, the lamp driver, has failed.
The bridge and the microcircuit for repair, like other spare parts, can be bought in the largest Chinese online store.
This task is for those whose hands grow from the right place. If you are not confident in your abilities or you have a vision problem, just order a few ready-made drivers and change them as needed.
Video how to replace the driver:
Replacing the power supply
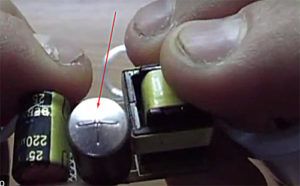
One of the most common causes of LED lamp breakage is resistor or capacitor failure. It is not easy to check the condition of this part; you will have to connect the lamp to the network.
In order to replace the resistor on the lamp, you need to know the basic data of the LEDs.
Video: instructions for selecting a resistor
Related article:
Few know how to calculate and connect power supply for LED strip 12V... In this review, we will tell you about the selection criteria, connection rules and prices.
Reasons for blinking LED bulbs
The need to repair LED spotlights can be caused by frequent blinking. This mode is very eye strain. A person may have headaches and eye pains if the blinking frequency of the lighting fixture is out of range. It can come to mental problems.
Such a malfunction may be caused by a factory defect in the lamp or incorrect connection of the device. It is possible that you will have to repair everything led chandelier... But in most cases, it is enough to simply twist the light bulb, that is, unscrew and screw it in again. If the problem lies in the wire supplying the lamp, it should be replaced wiring.
Advice! Try to screw an ordinary incandescent lamp into one of the chandelier arms. It will unload the capacitors and stop blinking.
Summing up: DIY LED lamp repair
As you can see, repairing LED fixtures is not difficult. You need to have good eyesight and a modest set of tools. The benefits of such an activity are obvious: you can restore the lamp for a penny. Multimeter and soldering iron help you! If you have any questions or are ready to share your experience, write!


