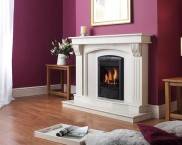
DIY cardboard fireplace: step by step instructions
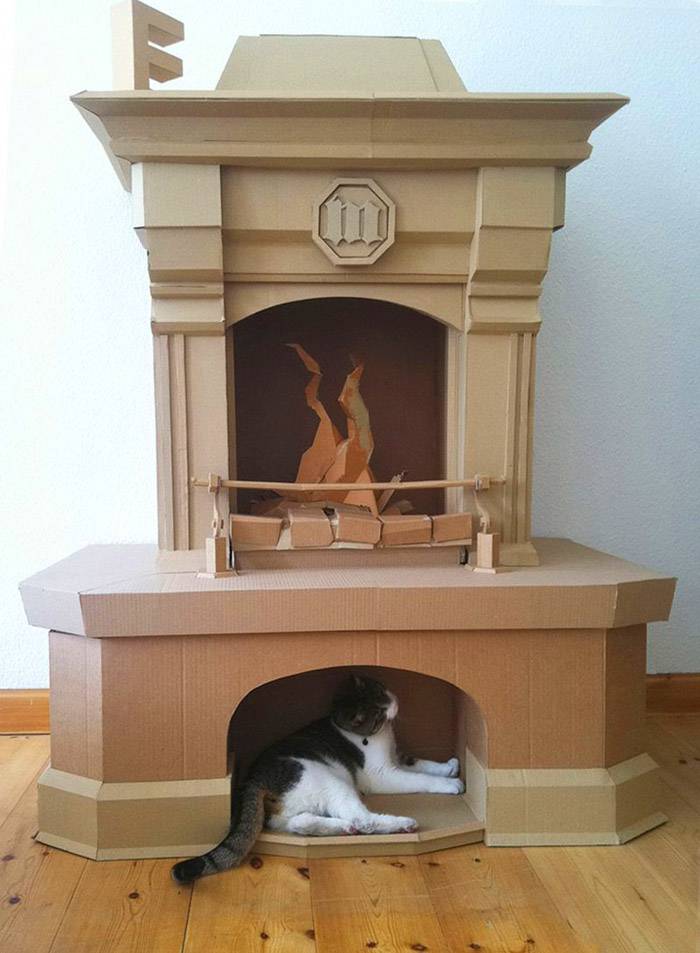
Havepoop and warmth you always want, regardless of whether it is a city apartment or a country house. Especially the desire to create a hearth in the house appears when there is snow and a blizzard outside the window. And what could be better than your own fireplace in the house? If you remember such a desire in the summer, then it is quite possible for residents of a country house to equip it, but the population of high-rise buildings can only dream of it. We have a solution: a less costly and no less spectacular do-it-yourself cardboard fireplace (step by step instructions are attached). If you are interested in such a solution, then go ahead ... for a large cardboard box. What else is needed, and how to do it, now we will tell and show.
The content of the article
Required materials and tools
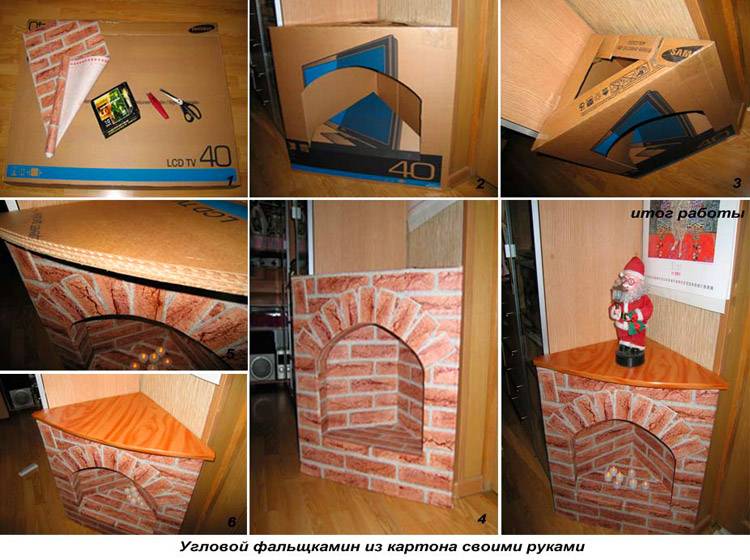
The key and most important thing, without which it will not be possible to create a fireplace with your own hands, even with the most detailed instructions, is a large cardboard box. It can be from a TV, refrigerator, or even fit from vacuum cleaner... The main thing is that it meets the following requirements:
- Strong packaging cardboard. It has the necessary rigidity, which will allow you to apply finishing to the future fireplace and make the top shelf.
- Have a large size so that there is room for imagination. If there is no very large box, then you will have to limit yourself to a laconic corner fireplace, for this you can take a smaller one.
- The box should be unnecessary. For example, you just bought a refrigerator, then do not rush to use cardboard for a good cause, because when problems arise with the device, you will not be accepted for warranty without the factory packaging, and if they do, it will probably be inconvenient to transport it.
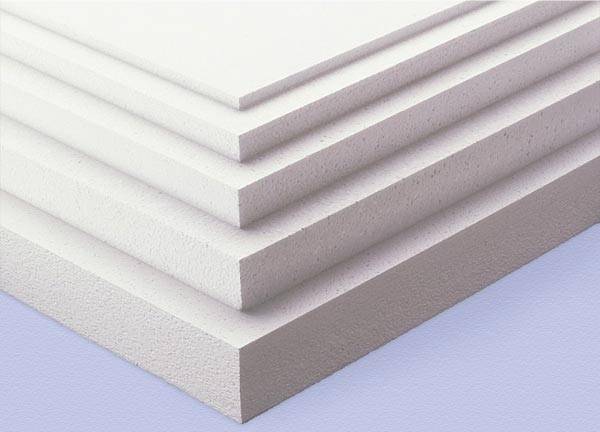
In addition, the following assistants will come into play: masking tape, glue gun, paint primer, stationery knife, ruler, paint brush, sponge for applying embossed plaster, acrylic paint, spatula (not wide)... These are the basic materials. If you are planning an additional decor, then for these purposes you can use, depending on the project of the fireplace: foam, drywall, skirting boards and borders (decorative from expanded polystyrene), mosaic or any other decorative tiles, tile grout, varnish. For the convenience of cutting all this, a grinder or a jigsaw.
Before starting work
Before you start making a fireplace out of cardboard with your own hands, the step-by-step instructions for which are already there, you need to develop a design for a future fireplace, since even the most skillful hands will not go out of fancy and you need to lean on something before making a fireplace with your own hands from cardboard ...
The development of the project includes marking the dimensions of the future product in accordance with the possibilities of its placement, while the following factors must be taken into account:
- It is better to place the fireplace under a wall that does not furniture, so it will become a key component and the main accent in the room;
- If there is not enough space, and there is a free corner, then a small false fireplace with corner placement would be an excellent option.
Having received information about the free space, you can develop a fireplace layout. On a sheet of paper, it is worth drawing on a scale the height, width, depth of the furnace and its shape. After such detailing, you can start working in kind with our box.
Useful advice! If there is no large box, use several small ones, gluing them together in the form of an arch-portal.
Fireplace frame
Now comes the most crucial moment: you need to make markings on the box and cut out the components of the future fireplace. The final appearance of the fireplace will depend on the accuracy of the work at this stage. Therefore, work carefully, clearly and accurately.
Lay the box on the floor and mark the future firebox and the necessary bending points. In order not to get confused, mark the cut line in one color, and the bend in another. In order for the cardboard to bend where it is needed, only the top layer needs to be cut through, that is, the paper that covers the corrugated insides. Such a manipulation will allow you to clearly draw the contours of the future fireplace.
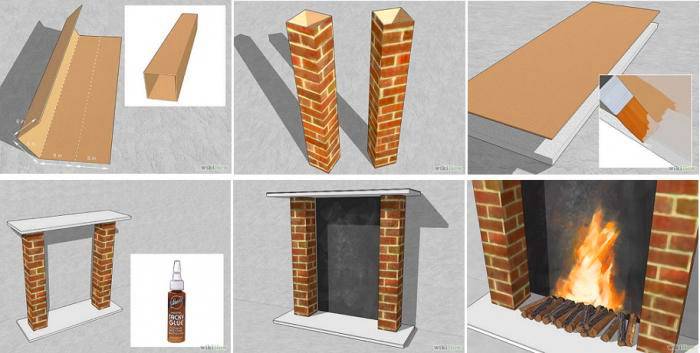
Next, we proceed to cutting the firebox. Regardless of which shape you choose for it, the steps to shape it are the same. First, cut out the window, then bend its lower part inward - this will be the bottom of the firebox. Next, you need to organize the back wall and sides. For the back wall, cut out a shape identical in shape from such cardboard, but it needs to be made a little larger, about 5 cm of allowances will be enough, in order to get comfortable, glue it. We do the same with the sidewalls. Then we collect all this. You can fasten it either with a glue gun, or tape, or a stapler, but always from the inside out. If you plan to organize shelves and niches, then the stage of forming the firebox should be postponed. And to carry it out after the manufacture of shelves, which are made according to the same scheme as the firebox.
After all the niches are ready, you need to be puzzled about strengthening the structure. For this you need:
- Place cardboard, polystyrene or other lightweight but durable material under the firebox and shelves that would withstand the weight of what is supposed to be placed in the niches.
- In places of possible deformation (at bends), fix the cardboard rolled into a tube: it will give a stable shape to the structure.
Helpful information! For durability and reliability of the structure, it is best to use drywall or plywood... However, these materials suggest some skills, and for the gypsum board you will also need the construction of a metal frame.
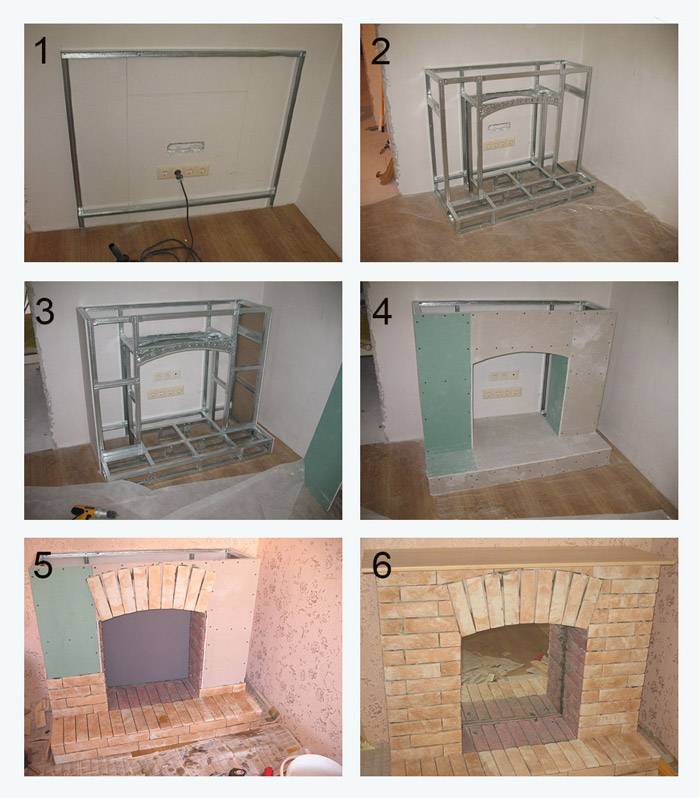
The construction of gypsum plasterboard structures is more reliable. but also the complexity of manufacturing
Adjustment
If you made a fireplace from cardboard with your own hands, the step-by-step instructions of which you had, but there are irregularities and other shortcomings, then they need to be corrected. Putty will come to help us. But here you need to work carefully. After all, cardboard absorbs moisture, so you need to apply it in parts and on small areas, the second layer only after the previous one has completely dried. There is a little trick that will help out if the disadvantages are minimal. Glue the usual rough shepherd on the irregularities - it sticks well to the cardboard, and the finishing putty fits just fine on it.
Cap
There is not a single fireplace that would be without a cover, and ours is no exception. You need to make it from any dense and light material. For example, thick foam. First, you need to make recesses in it in order for the lid to snap into place. That is, it fixed the position of the fireplace. Before fixing it with glue, you need to try on and check the conformity of all the protrusions. If all is well, you can fix it. The joints must be putty.
Finishing
The final stage will be finishing. First you need to apply the finishing putty with a spatula, and then let your imagination go free. You can decorate the fireplace with foam borders, which are used on the ceiling. Or make from expanded polystyrene decorative rock and color it accordingly, you can apply an ornamental pattern and much more. It is better to lay the lid with tiles, or glue it over with wooden clapboard. The final step will be to varnish all this splendor in order to fix the decor and give it a complete look.
conclusions
It's not difficult to make a fireplace with your own hands from a cardboard box, you just need to use the key factors of our step-by-step instructions and connect your imagination. Thus, you can create a truly cozy hearth in any apartment or country house, settle down with the whole family near it and have fun evenings.


