Duplex plasterboard ceilings: photo, video and step-by-step installation guide
TOAs a rule, all ceilings of unusual shape today are made of gypsum plasterboard. The use of this particular material is not at all accidental: it is soft and plastic, it is easy to cut, bend and sew, it is easy to build a structure from it both in one level, and in two or three or more. It is not at all difficult to make such a ceiling on your own, but this will require maximum accuracy and attention. In this article we will analyze how to make two-level ceilings from drywall... Photos, videos and detailed recommendations are attached.
The content of the article
- 1 Two-level plasterboard ceilings: photo and description of the types of construction
- 2 Start preparing for the installation of the ceiling. Installation technology
- 3 Do-it-yourself two-level plasterboard ceiling. Video and walkthrough
- 4 Plasterboard ceilings for the bedroom. Photo and description of work on the installation of lamps
- 5 Drawing conclusions
- 6 Video: we make a two-tier structure ourselves
Two-level plasterboard ceilings: photo and description of the types of construction
It's no secret that uneven ceilings are a big headache for those who decide to make repairs. An excellent way to hide irregularities is to install a suspended structure. This option is not only practical and affordable, but also allows you to bring to life any, even the most original and daring ideas.
We will consider the types of two-level plasterboard ceilings, with a photo and a detailed description of the application.

Similar structures made of gypsum plasterboard have a whole variety of different types, among which it is easy to find a suitable
One level construction
Standard construction that is installed directly to the slab floors. Most often used as a simple budget option in apartments and residential buildingsx.
One-level suspended ceiling
This option provides for mounting on special hangers and is used, as a rule, in large premises, such as salesrooms and supermarkets.
Two-tier product
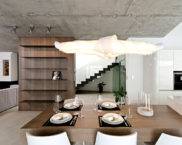
The lower level of this structure can be made in any form - both rectilinear and curved. It is used in residential premises as an interesting design solution.

A two-level ceiling is an excellent choice for those who want to bring an interesting project to life
Three-level ceiling
This option is similar to the previous one with only one difference: it has not two levels, but three. It is also worth noting that the more levels are conceived, the harder the installation will be. However, with the right approach, it will not be as difficult to complete as it seems at first glance.
Helpful information! If the room where the installation will be carried out has a low height, then installing a multi-level ceiling in it will not be the best solution. This will visually make the room even smaller and lower, which will make staying in it uncomfortable and tiring.
Start preparing for the installation of the ceiling. Installation technology
Preparation
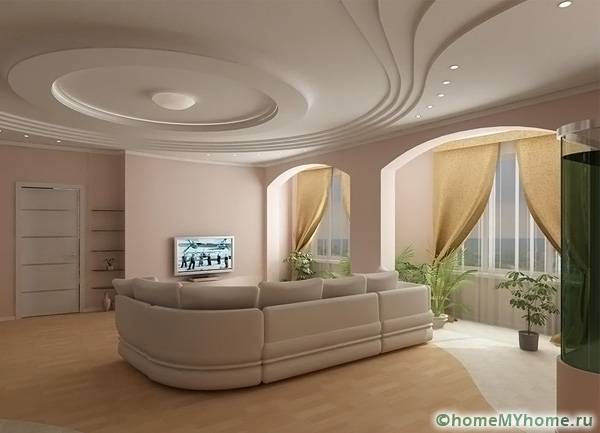
Before starting work on the construction of a two-level plasterboard ceiling for living room, photo which are presented above, you need to pay attention to some preparatory points:
- If you plan to install such a ceiling in a room with high humidity, take care of the durability of the structure in advance - buy a moisture-resistant drywall. For a dry room, ordinary, standard material is also suitable.

Moisture-resistant drywall is an excellent option in high humidity conditions, which will save the ceiling from destruction and swelling
- Perform all the necessary drawings and calculations, and only after you have precisely decided on the shape, transfer its projection to the ceiling.
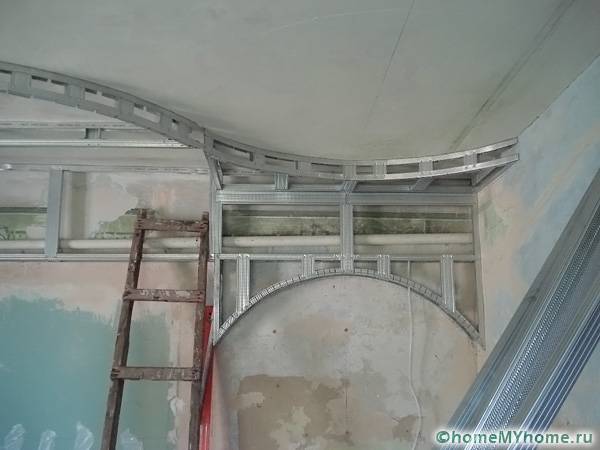
- Decide on the type of frame for making a plasterboard ceiling for bedrooms, photo which are presented in this article. Both wood and metal can be used as a frame. In terms of durability and strength, these materials have similar properties, while metal wins in its flexibility - you can bend a structure of any shape from it.
Required materials and tools
Two-level plasterboard ceilings, photos of which can be easily found on the Internet, suggest the presence of certain tools and materials:
- Plasterboard, which must be thin and light. To choose the right material, ask the ceiling gypsum board in the hardware store - this will help you make the ceiling correctly.
- Metal profiles or wooden beams. With their help, the frame of the future structure will be executed.
- If you plan to make a metal frame, you will also need U-shaped mounts.
- Various screws, self-tapping screws, dowels.
- Putty.
- Water level and chokline.
- Construction knife, screwdriver, puncher.
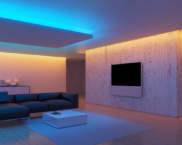
- In order to make two-level plasterboard ceilings with lighting (photo is presented below), you will need lamps and wiring.
Do-it-yourself two-level plasterboard ceiling. Video and walkthrough
- The first step is to eliminate any irregularities and roundness between the wall and the ceiling. It is very important that the corners are straight.
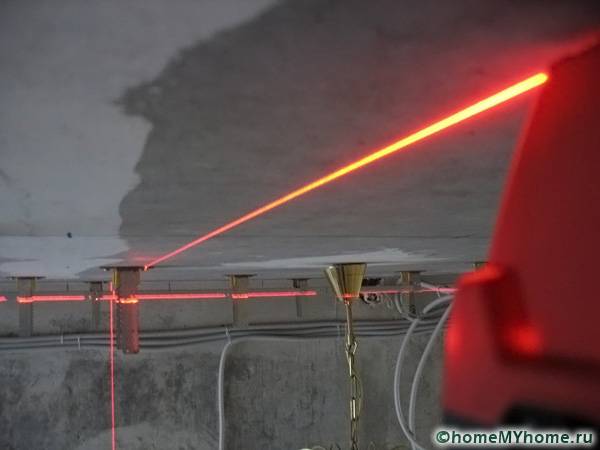
- Marking is made for installing the ceiling frame. To do this, two people, using a water level, mark on each of the walls the height of the frame not less than 2.5 centimeters. The marking is done using a special device with blue ink - a chokline.
- The profile or wooden slats are screwed so that their lower border is exactly on the marking line.
- Marking is made - a profile must be installed every half meter. After the markings are completed, the U-shaped mounts are screwed to the ceiling, the guides are threaded through them and installed in the profile on the wall.
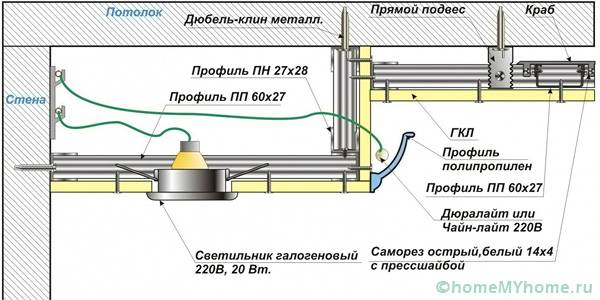
- According to the drawing, wiring is placed in those places where the lamps will be.
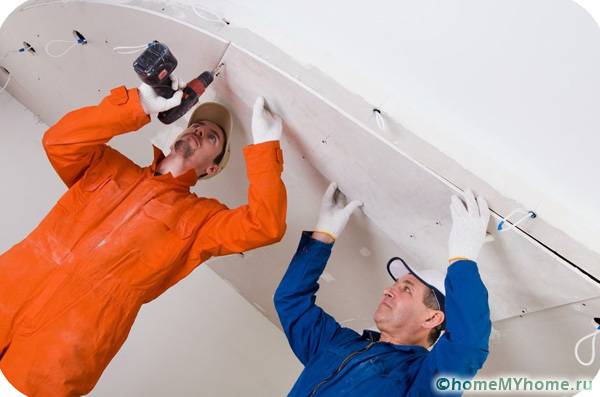
- Plasterboard sheets are being installed using self-tapping screws, which should take about 60 pieces per sheet. This must be done very carefully, since this material is very easy to damage.
- The joints of the sheets must be putty. The tool for this stage will be narrow spatula.
Related article:
Drywall: sheet dimensions, thickness and price. From a separate publication you will learn about the types and production of gypsum boards, technical characteristics, prices and manufacturers.
Plasterboard ceilings for the bedroom. Photo and description of work on the installation of lamps
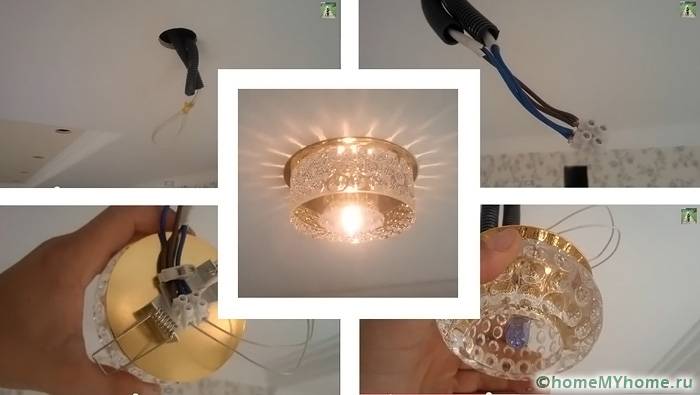
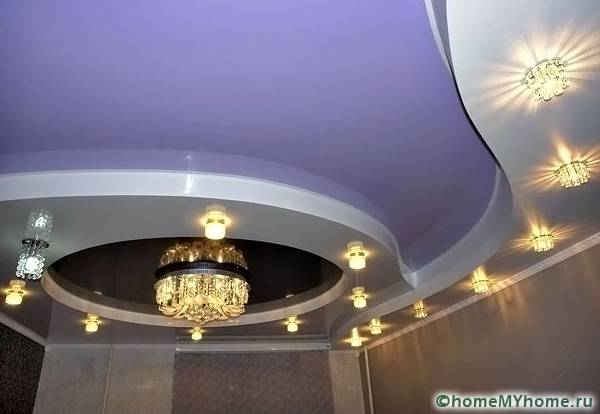
The chandelier is installed in the ceiling in the most common way. Co lamps more hard work is ahead: it is necessary to make holes in the places where the lighting is inserted to the size of the device, carry out the wiring, and only then screw in the lamps themselves.
Related article:
LED luminaires for indoor lighting. What are these devices and why are they gaining such popularity? Read more in a special publication.
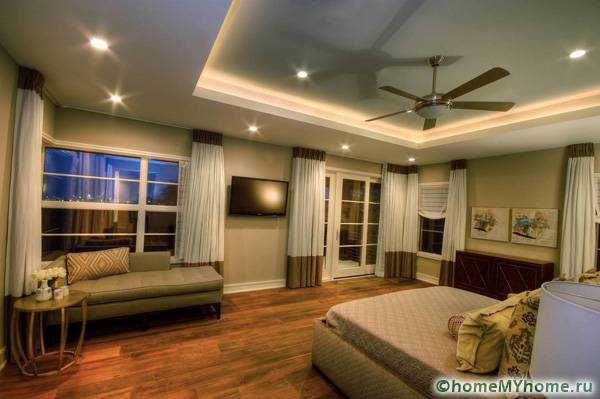
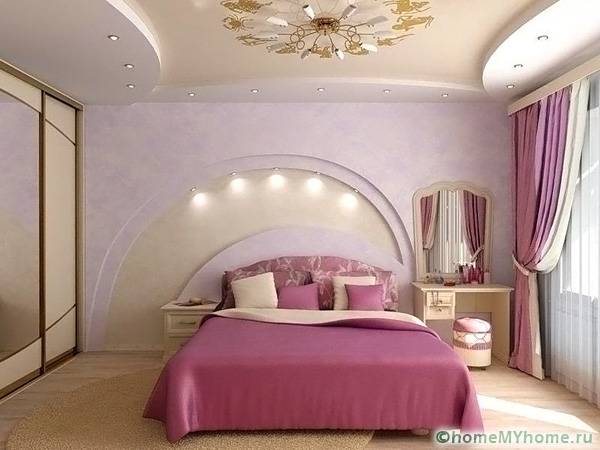
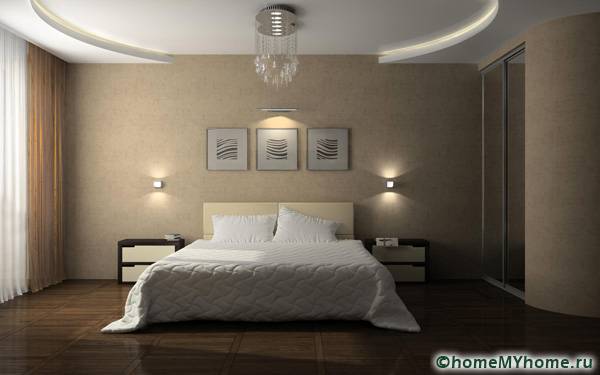
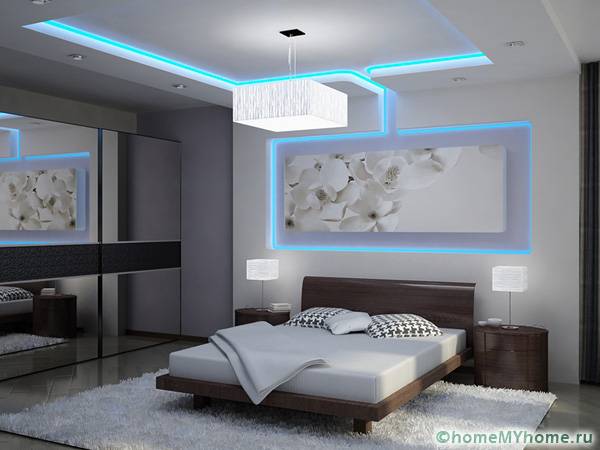
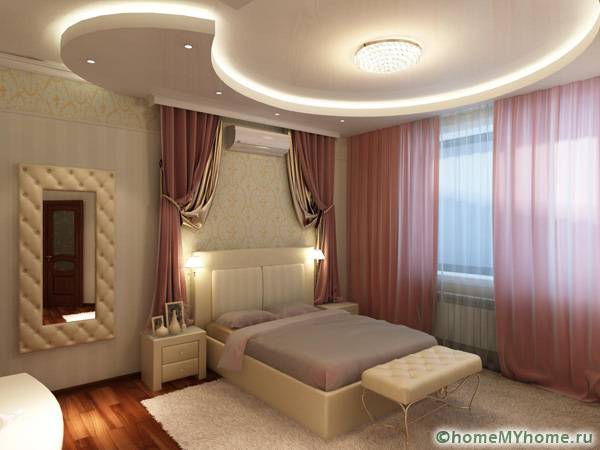
Here are some bedroom photo ideas:
The installation of lighting fixtures is carried out only after finishing, when the two-level plasterboard ceilings, the photos of which you have already seen, will be fully completed.
Useful advice! An excellent choice for finishing will be water-based paint - it has a stylish look and is easy to clean.
Drawing conclusions
As you can see, the installation of the ceiling in the bedroom made of plasterboard, the design of which is presented in this article along with the photo, is not at all difficult to perform with proper preparation. And our materials will help you with this.
Video: we make a two-tier structure ourselves


