How to make an extractor hood in a cellar? Nuances, tips and rules
It does not matter which method of implementation of the respective project is chosen. In any case, knowledge of how to make a hood in a cellar will come in handy. They will help you choose the right materials and technologies, eliminate mistakes in the independent performance of work operations. If you plan to hire third-party performers, it will be easier to control their actions.
The content of the article
- 1 Why is the installation of a hood in a cellar useful?
- 2 How to make a hood in a cellar using different technologies
- 3 How to properly ventilate the cellar with your own hands
- 4 Selection of components and assemblies
- 5 Improving the efficiency of the ventilation system and general conclusions
- 6 Video: ventilation system of the cellar 3.5 meters deep
Why is the installation of a hood in a cellar useful?
In any project at the first stage, the task should be precisely formulated. To do this, consider the following considerations:
- The inflow of fresh air will eliminate unpleasant odors, harmful chemical compounds and microorganisms from the room.
- It is used to remove excess moisture and maintain a certain temperature.
- So the external weather conditions change, adjusting the intensity of the system is useful.
Please note that the hood is cellar the garage will differ from a similar structure installed separately on the site, or in the basement of a residential building. Thus, when studying this issue, it is necessary to take into account the characteristics of a particular property.
How to make a hood in a cellar using different technologies
All possible combinations can be used. But all ventilation systems can be divided into two main groups. The first one provides for the movement of air in a natural way. When creating the second, mechanical means are used. The advantages and disadvantages of these options will be discussed below.
Organization of natural ventilation of the cellar with two pipes
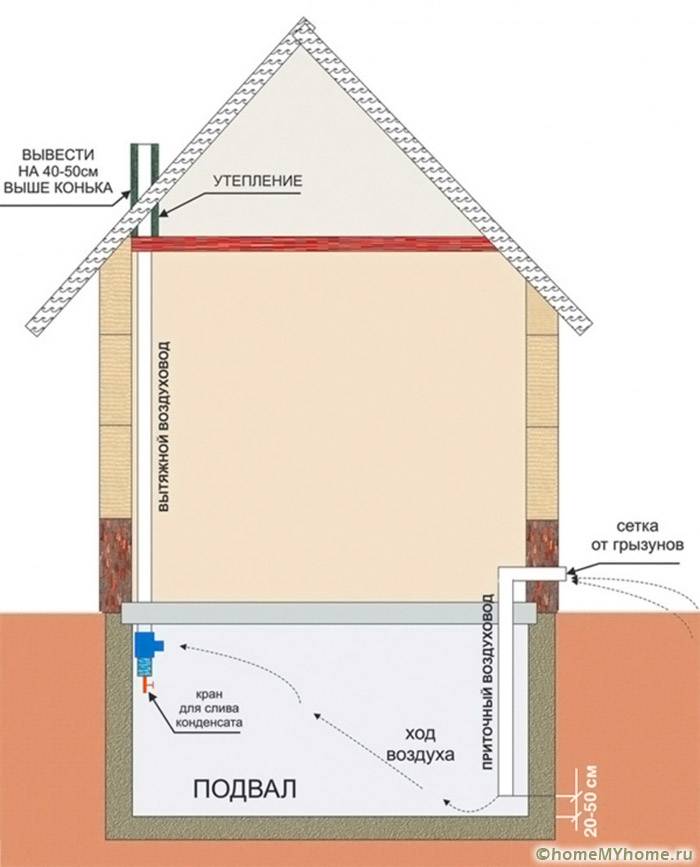
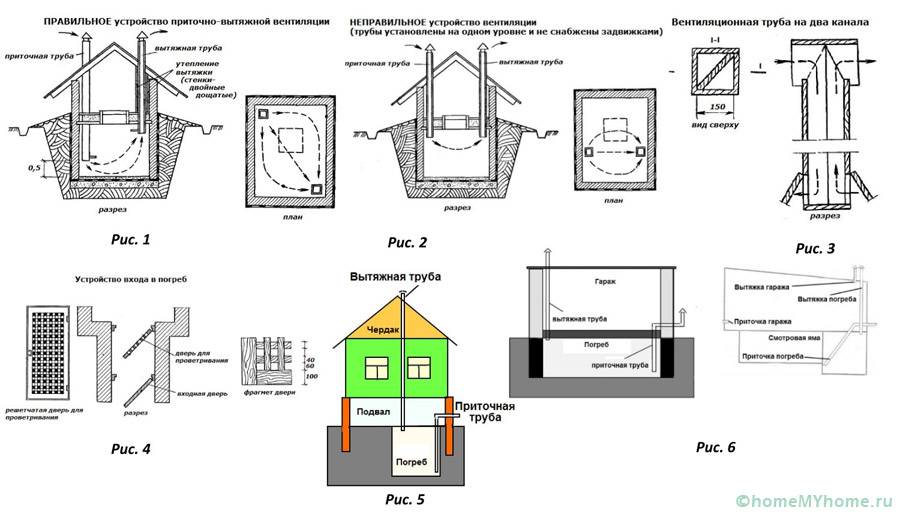
This system operates by differential pressure when the inlet and outlet are set at different levels.
The picture shows the main restrictions that should be taken into account when installing such a system. Below are recommendations that will come in handy in practice:
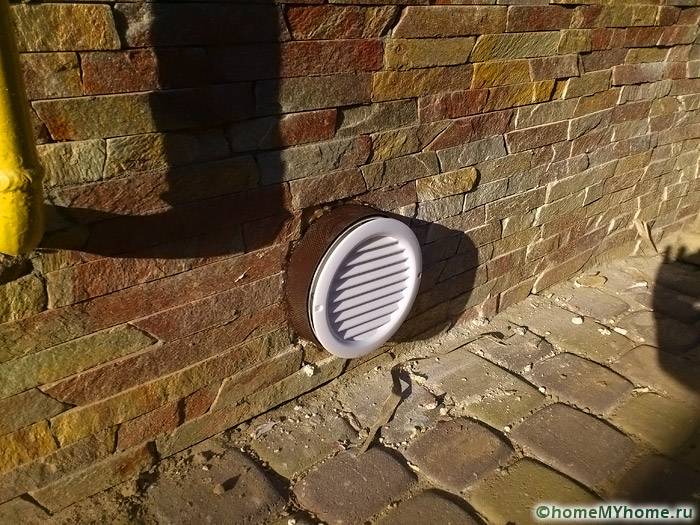
- If the supply pipe is installed near the ground, it is covered with a metal mesh to prevent rodents from entering. When mounted on the roof, they are covered with a visor to prevent the ingress of precipitation.
- A distance of 20 to 50 cm is left between the bottom end and the floor. It will be enough for free air passage.
- The inlet of the exhaust part is installed as high as possible to the ceiling. To remove condensate without complications, a special device with a valve at the bottom is fixed on it. If there is a sewer pipe nearby, a stationary connection to the drainage system is made.
Note! To reduce the intensity of condensation formation, the insulation of the output duct mounted on the entire channel.
The main advantage of this system is its autonomy, complete absence of power consumption. Disadvantages:
- limited performance;
- dependence on weather conditions;
- complexity or impossibility of adjustments.
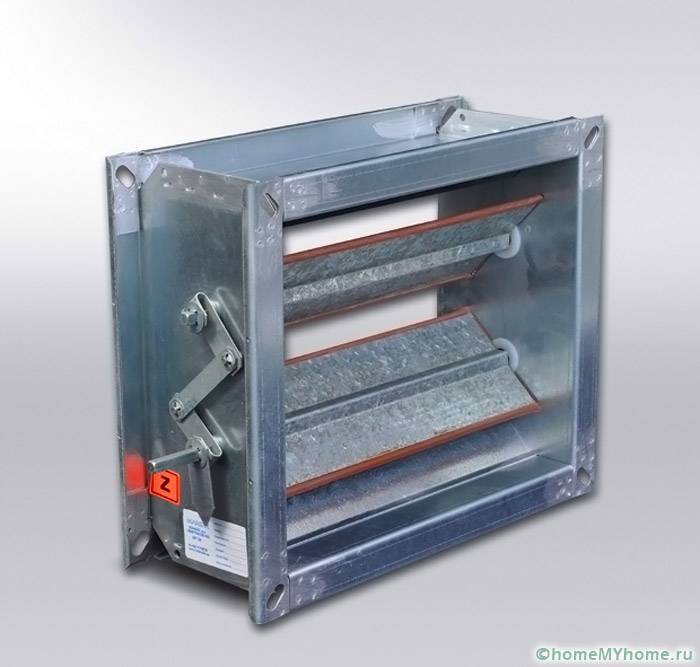
The last "minus" is partially eliminated using special dampers, which change the width of the working openings of the air ducts.
Forced system
The principle of this approach is clear from the name. To move air through the channels, use fans... Turning them on and off can be organized as follows:
- From one or more temperature (humidity) sensors in the room.
- Using a timer that is set at the desired time intervals.
- From a local, or taken to another room, the control panel.
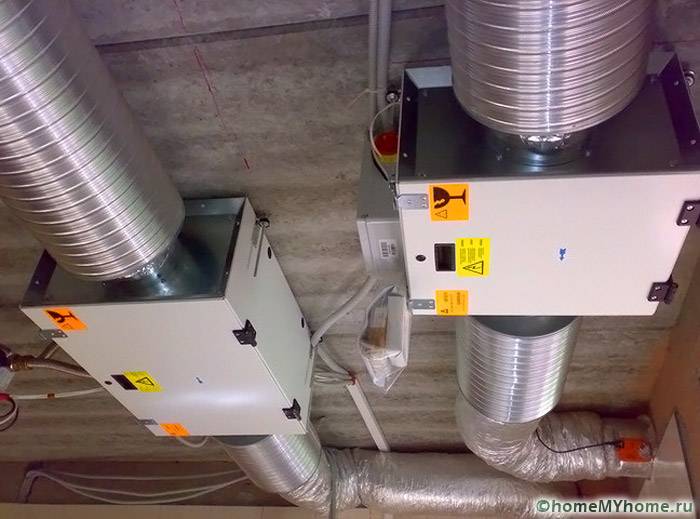
The relative position of the pipes and other parameters are suitable from the previous version. But the actual makeup of a forced air system can be much more complex. It includes the following components:
- Heaters and conditionersthat change the temperature of the incoming air.
- Filters to prevent dirt from entering.
- Devices for noise reduction.
To find out exactly how to make a hood in a cellar, you need to know the features building ventilation... In some situations, it is beneficial to integrate systems into a coherent whole with common elements of control and management.
How to properly ventilate the cellar with your own hands
According to the following algorithm, you can implement such a project yourself:
- Create a plan. It is not necessary to apply strict engineering standards. But it will be useful to have a drawing with the location and size of individual parts, a list of component parts.
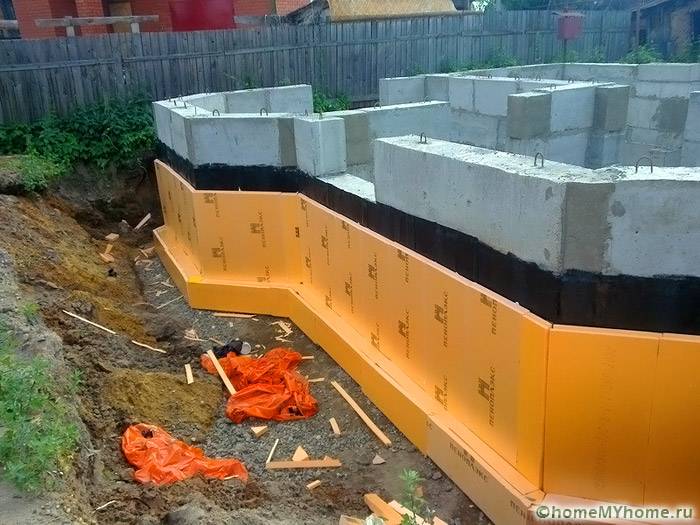
- The room needs to be prepared. Eliminate insulation defects. With a buried foundation, they provide reliable protection against groundwater. Insulate external walls, ceiling and floor, roof.
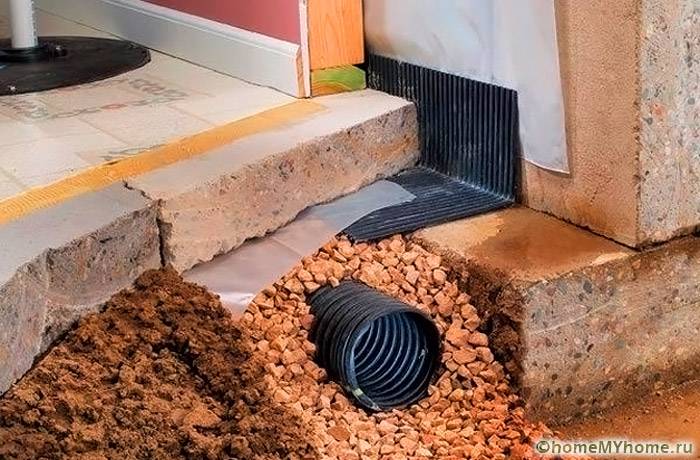
Effective drainage is necessary for the long-term operation of the building without unnecessary problems
- The pipes are installed in accordance with the plan. Condensate drain taps, damper handles and other devices with manual drives are placed in places convenient for subsequent maintenance.
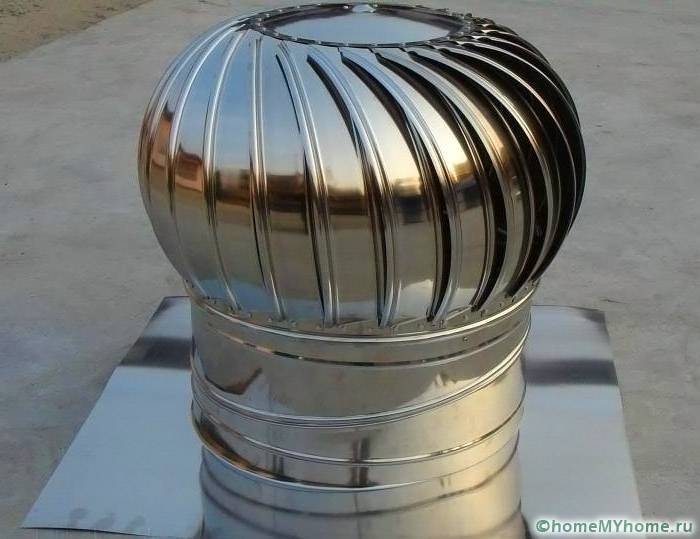
- A deflector is mounted at the outlet section of the pipe. It is combined with a hood that prevents the entry of birds, precipitation, foliage.
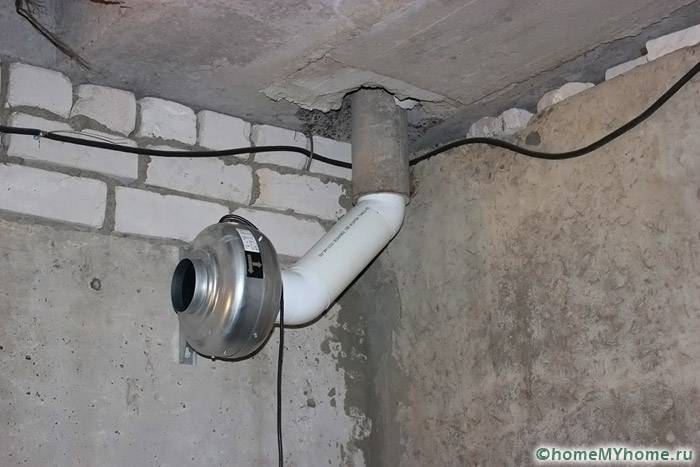
- Install the elements of the forced ventilation.
Upon completion of the work, the tightness of the joints in the places where the duct channels pass through the building structures are monitored, the functionality of the automation and control means is checked.
If there is no other possibility, install the ventilation of the cellar with one pipe. The inflow is provided due to existing or specially created slots, by opening doors and windows. Sometimes a structure is installed from two pipes inserted into one another. The center hole and the space between the walls are used for air supply / removal.
Related article:
Do-it-yourself ventilation in the garage. From this publication you will learn why garage ventilation is so important, what air exchange schemes exist, and the nuances of installation.
Selection of components and assemblies
If you figured out how to make a hood in a cellar, pay attention to the following nuances before purchasing individual components of the system:
- Metal ventilation pipes must be well protected against corrosion. Polymer analogues are not subject to destructive oxidation processes. To create natural ventilation, the diameter of the channels must be at least 120-130 mm for rooms with an area of 8-10 sq.
- It is better to purchase a complex deflector in the factory version. You can try to make some simple models with your own hands.
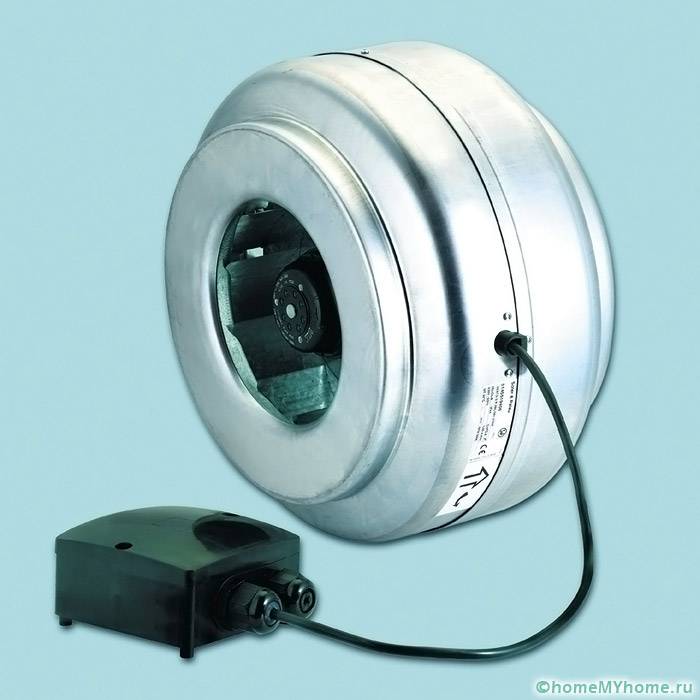
- For installation in such a system, only special fans designed for the corresponding conditions of use are suitable.
Improving the efficiency of the ventilation system and general conclusions
The following tips will help you implement your project with minimal cost and reduce operating costs:
- In order not to make significant changes in the design, the installation of such systems must be combined with general construction work.
- Even a very efficient ventilation system will not be able to perform its functions if there are sources of dampness in the room. Moisture should be prevented by installing good waterproofing.
- In order to increase efficiency, it is useful to create high-quality thermal insulation.
- The installation of a deflector will help to increase the air flow rate without additional energy costs. Some devices of this type can increase the base performance by 15-20%.
- The natural ventilation system will work well throughout the room if the pipes are installed as far apart as possible.
- Channels for air movement should be created with a minimum number of turns, or without them at all.
You have learned how to properly make a hood in a cellar, but there are additional questions. As a rule, they are associated with the characteristics of a specific task. To eliminate errors, consider it in a complex. It is clear, for example, that a set with fans and automatic controls will cost more. But it is precisely such a solution that will allow setting and maintaining user-defined conditions with maximum accuracy. If valuable items are stored in the cellar, then such an investment is necessary.
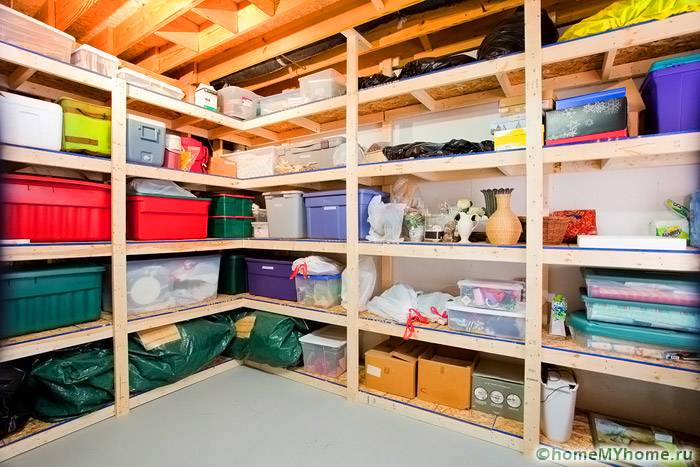
With good ventilation, no additional protection is required for the long-term preservation of various things
Video: ventilation system of the cellar 3.5 meters deep


