How to properly install a warm floor
Installation of a warm floor is necessary for the arrangement of comfortable living conditions. Perhaps this is one of the important components in heating system... The homemaster.techinfolux.com/en/ editorial staff in today's publication will help you understand the intricacies of installation and the calculation of the required amount of materials. Also, the reader will get acquainted with the laying technologies along with the finishing.
The content of the article
- 1 Rules for calculating the power of a warm floor
- 2 List of tools that will be required when installing a warm floor with your own hands
- 3 Underfloor heating technology
- 4 Features of laying flooring on a warm floor with your own hands
- 5 Video instruction on working with flooring when refining a warm floor
Rules for calculating the power of a warm floor
As a rule, the most common is a water heated floor. It is easily installed with a general autonomous heating system, it works stably, does not depend on electricity. However, in order for the effect to be noticeable, the power calculations must be performed correctly.
This will require learning a lot of nuances and using specific conditional data. For example, the capacity of an additional thermal structure is calculated depending on the type of pipes used. Among these communications, the following types are distinguished:
- corrugated stainless steel pipe;
- copper tube with a high level of heat transfer;
- polypropylene pipes;
- metal-plastic structures;
- sewn polyethylene tubes.
Having decided on the option of coolants, you can safely use any computer programs that will automatically calculate the power. Any calculations are carried out taking into account the pitch between the tubes. This directly affects the output of the selected floor heating.
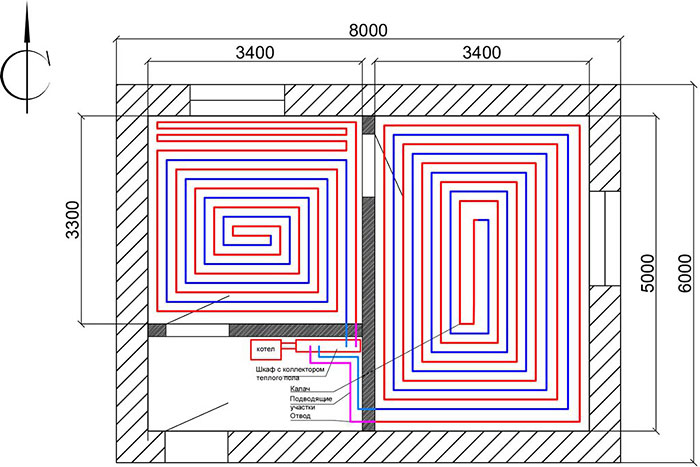
Calculations must be carried out strictly according to the previously prepared space
PHOTO: pol-exp.com
Usually, the most common ratios of the pipe laying distances with thermal loads are taken into account. You can find them in the list below.
- When mounted at a distance of 15 cm, the optimum power level reaches 800 W per 10 m².
- Provided the coolant is laid with a step of 20 cm, the required power should have thresholds of 500-800 W per 10 m².
- The distance between the tubes of 30 cm corresponds to the power of the carrier not exceeding 500 W per 10 m².
Also, rough calculations are mandatory. They make it possible to understand in a timely manner whether an additional heater is required in the form battery or one contour of the warm floor will be enough.
This calculation is made using the following formula:
g (W / m²) = Q (W) / F (m²),
where the values are:
- g - indicator of heat flux density;
- Q - the total amount of heat loss in the room;
- F - the surface area that is required for the arrangement of a warm floor.
If you need to make more complex calculations, you should seek professional help. They will give practical advice and suggest which formula is best to use in this case.
List of tools that will be required when installing a warm floor with your own hands
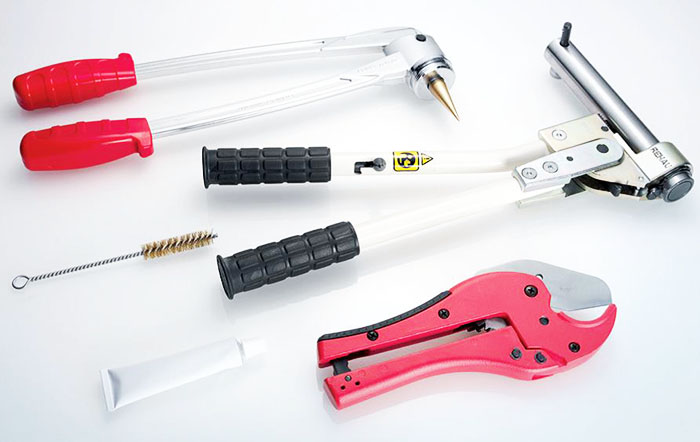
If you are going to start organizing additional heating, you need to decide in advance on the list of tools that will be required. If these are measuring instruments, then they must have a minimum error.
- Roulette.
- Pliers.
- Level
- Wrenches, adjustable.
- Soldering iron.
- Perforator.

Underfloor heating technology
Experts disagree on the method of installing the warm floor. For this purpose, it is customary to use a variety of technologies. Each of them has already been actively used in practice, therefore it has its own adherents. However, in order for the underfloor heating to work correctly as a result, the entire installation process was divided into several stages.
Preparing for installation
In order to equip the structure, you must first do a lot of work. It will be necessary to dismantle all the old coating to the foundation. All actions should be performed according to the algorithm.
- We remove the top cladding and remove the logs. We lay the remaining holes with bricks.
- Next, we expose beacons, according to which it will be necessary to perform several markings (for screed, insulation and mortar together with a warm floor).
- Fill the base with sand in several layers and ram it well. Next, we lay a layer of waterproofing. If necessary, stretch the film additionally.
- If pipe communications pass in the area of the floor screed, they are protected with Energoflex.
- We place the cubes with a step of 1 m at the height of the first line. Next, we lay metal profiles on the cubes, orient ourselves along the long side of the wall, fix the metal on the cubes.
- Next, fill it with expanded clay solution to the upper wall of the cubes. It is necessary to lay the mortar so that the metal profile is slightly visible on the surface.
- We start filling strictly from the far corners of the room.
Now you need to wait for the screed to dry. Then you can proceed to further actions.
Surface diagramming
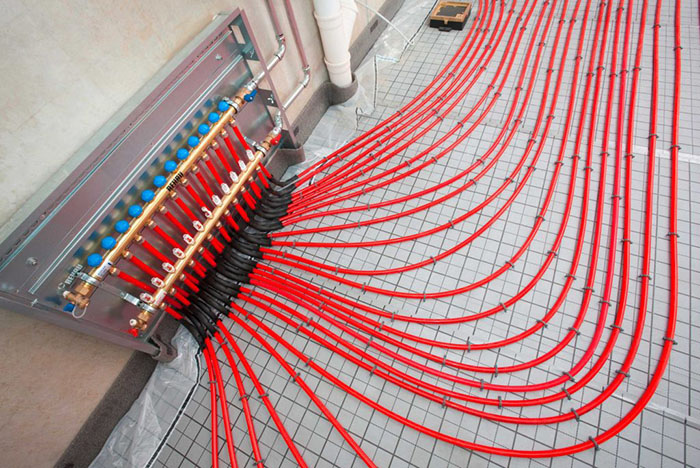
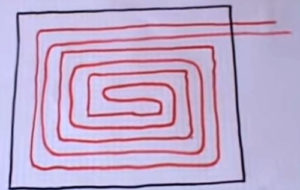
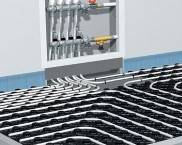
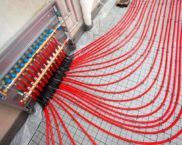
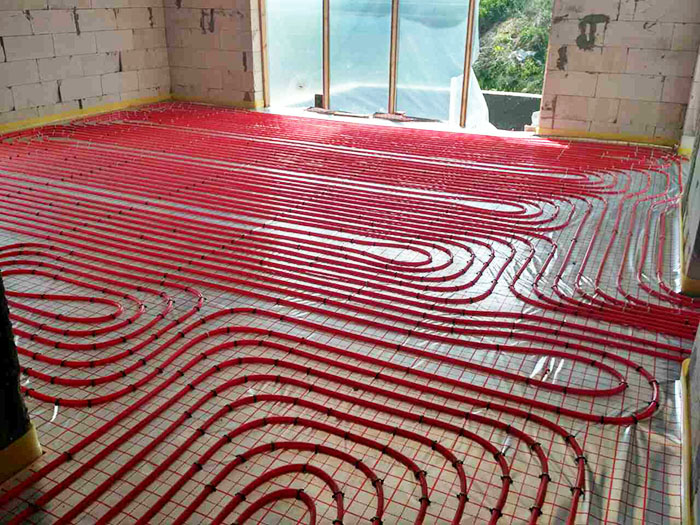
Previously, it is necessary to correctly foresee how and with what step the underfloor heating pipes will be located. The diagram below shows several ways in which you can lay out the coolant pipes.
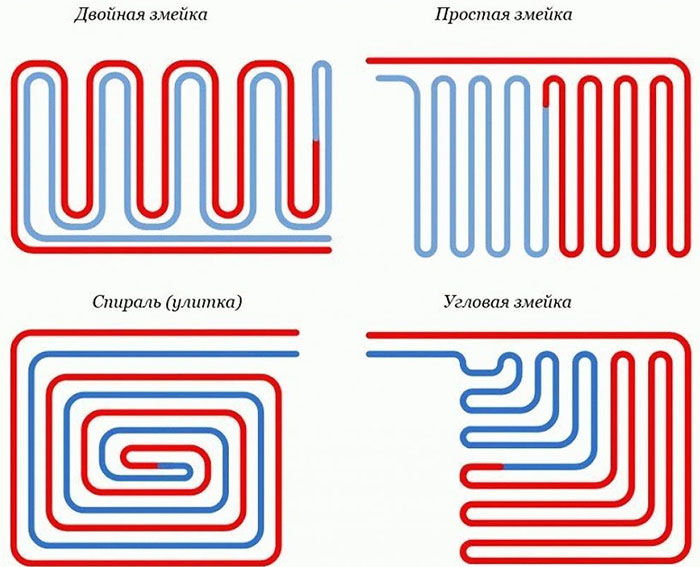
The laying scheme is selected depending on the parameters of the room. The narrower it is, the harder it will be
PHOTO: fwater.ru
Please note that a reverse loop is necessarily created in each device.This will allow the coolant to circulate evenly through the system without the formation of air locks that can disrupt the heating efficiency.
Installation of electric underfloor heating
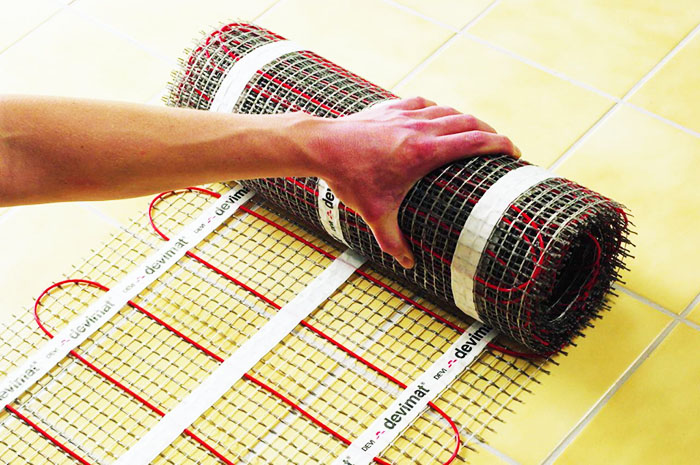
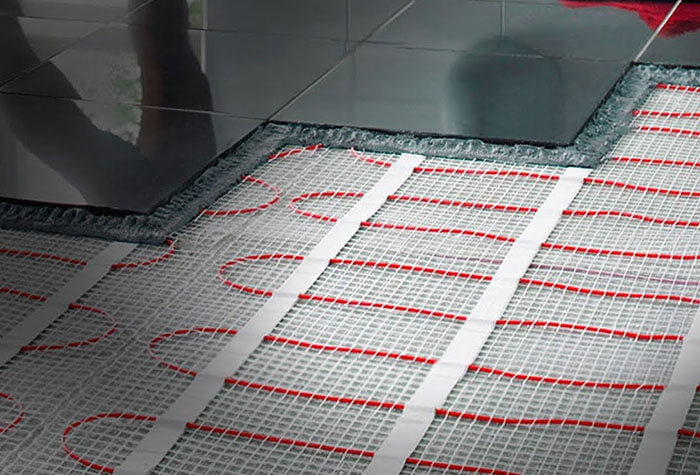
As a rule, they try not to use water devices in apartment conditions. Therefore, they resort to the option of arranging an electric underfloor heating. This option does not have any styling features. It is enough just to correctly calculate the number of heating elements and install a power source nearby.
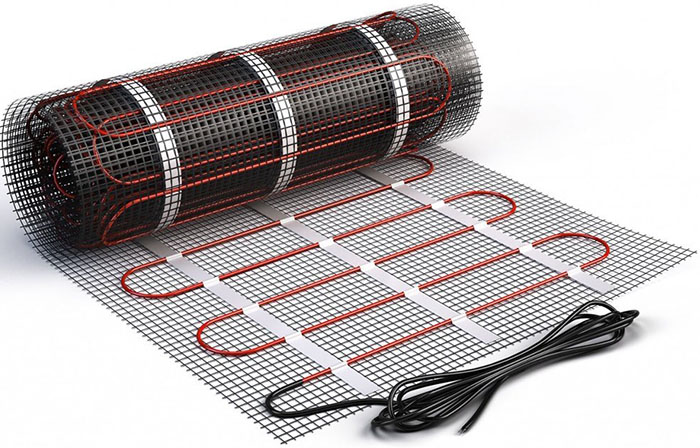
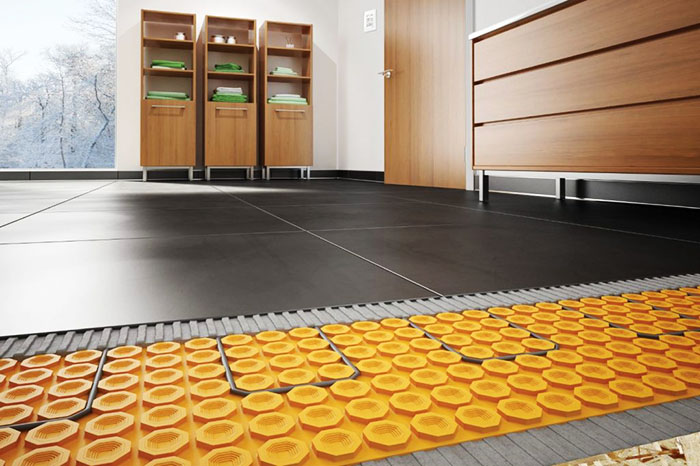
For the electric underfloor heating, there are no special grooves and installations for fastening
PHOTO: profteplo82.ru
The device is evenly placed on the surface dry screed, after which a thin layer of concrete is poured. In doing so, it is important to anticipate the lengthening of the electrical cable that will be connected to the outlet. You can also connect it directly to a switch with a regulator.
Installation of cable underfloor heating
A prerequisite for installing a cable floor heating is the presence of a reflective heat-insulating layer under the structure. Such a variant of underfloor heating is created as follows.
- The resistance index of the electric cable is determined.
- Then the slope of the floor is checked. If the slope is not more than 5 mm per square meter, then you can start laying the heat-insulating foil layer.
- Now they start installing the mesh under the plaster.
- On top of it, guides are installed, into which cables are subsequently placed with the desired step.
- A regulator is installed for the cable that will go directly to the power source in the wall.
- A 2 cm strobe is made from the box to the floor.The length from the switch to the floor should be approximately 30 cm.
- The wire itself is placed in additional corrugated insulation.
Important! In case the flooring has too much slope, it is recommended to use special foam-flex boards as insulation, or a corrective cement screed is made.
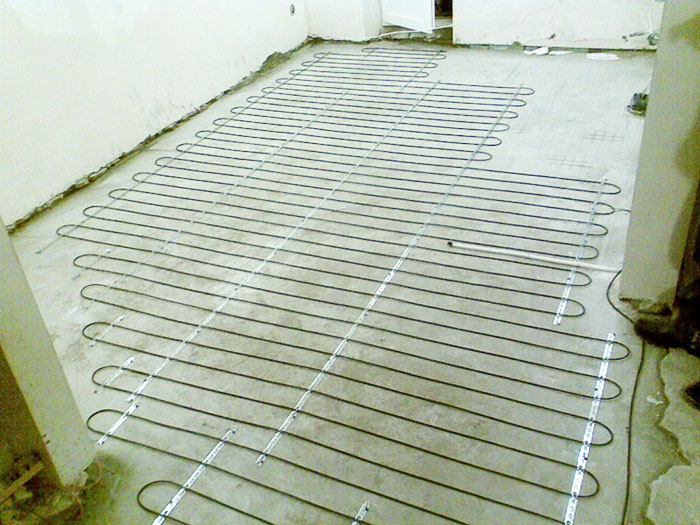
Plaster mesh is dispensed with if a reliable fastening can be created directly in concrete
PHOTO: umalex.ru
How to install infrared floor heating
Infrared floor heating is considered quite promising and popular. Suitable for arrangement in apartments, as it is lightweight, therefore does not load interfloor ceilings. There are two types of such options. They have their own styling features.
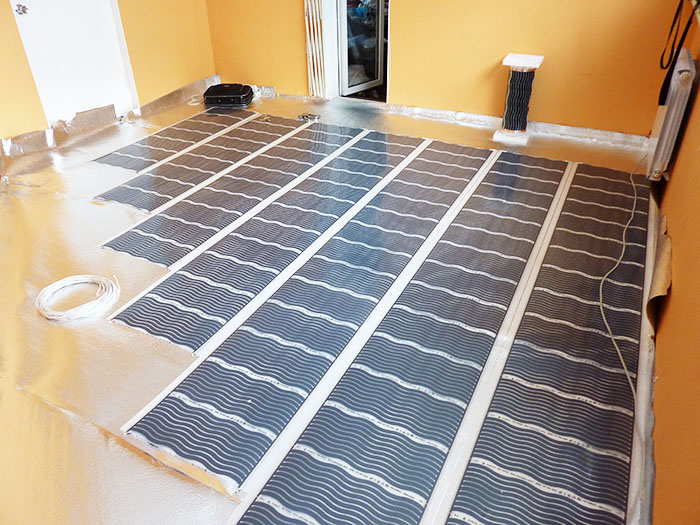
In houses where the soil is nearby, they try to make a multi-layer concrete screed
PHOTO: kuhnyamoya.ru
Rod
This option of a warm floor is also called carbon. To begin with, all surfaces are leveled, and only then they proceed to the installation, which consists of several stages.
- A thermostat with a switch is installed not high from the floor; a strobe for the electric wire must be laid from it.
- Then a warm carpet is laid on the insulating layer.
- The warm floor is fixed with construction tape.
Provided that the underfloor heating is done under tile, it is possible not to perform additional concrete screed. Otherwise, concrete is poured no more than 3 cm thick.
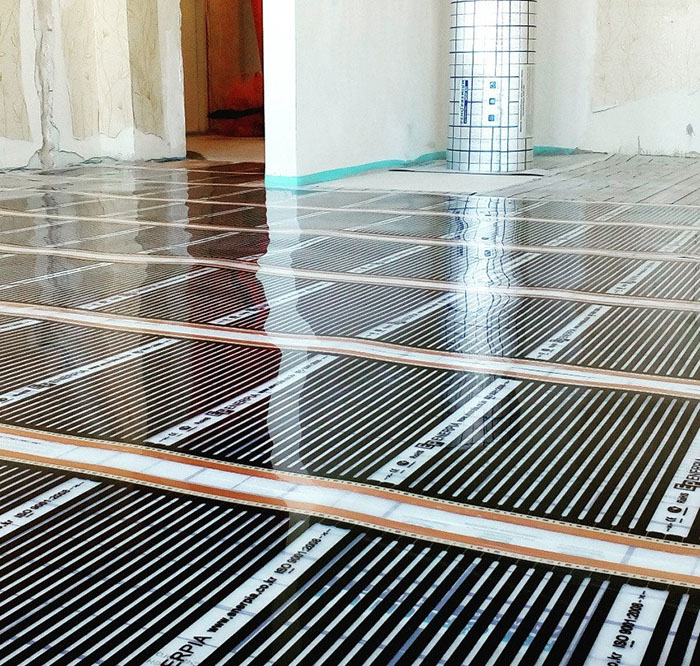
With an increase in the heating temperature, you can warm up the floor with a thickness of 8-10 cm
PHOTO: iteplov.ru
Foil
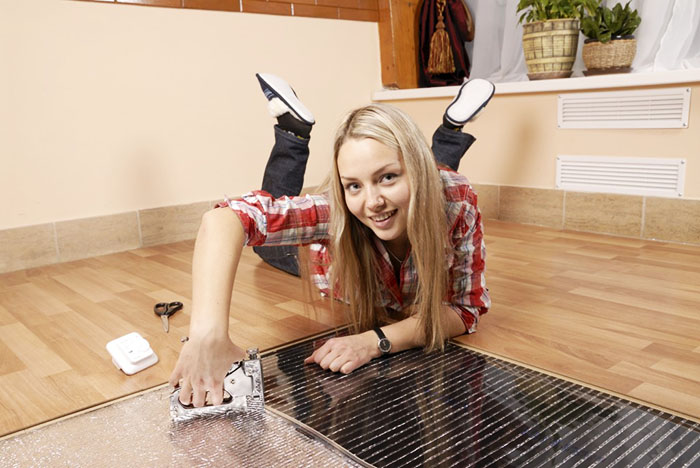
All work begins with determining the location and installing the future thermostat in it. For this, the walls are channeled. Otherwise, everything is the same - the film is laid only on a flat surface, respectively, if there is no slope, no dismantling is necessary.
- A layer is laid on a clean and primed surface waterproofing and thermal insulation.
- Marking is applied to the prepared base, after which the film is laid on it. Make sure that there is no debris on the substrate before laying.
- Be sure to maintain a 10 cm indent from the wall. The heater film is directed to the side with the regulator.
- An indent of 5 cm must be maintained between the edges of the canvases.
- At the end of the masonry, construction tape is taken, with which the film is glued along the edges of the walls.
If necessary, cut the canvas, this should be done along specially marked lines. Otherwise, the working function of the heating case may be impaired.

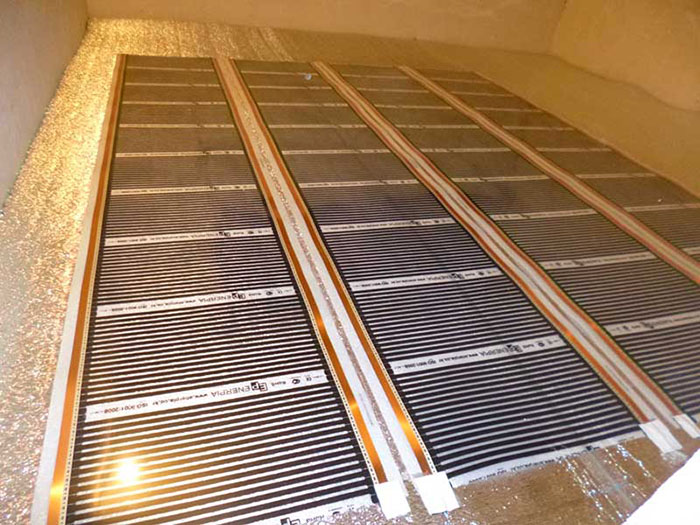
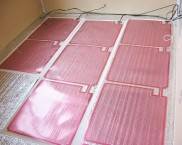
An infrared carpet is often not laid under the entire floor, as it has good heat dissipation
PHOTO: heat-turnkey.rf
Related article:
Warm foil floor: principle of operation, technical characteristics, power consumption, advantages and disadvantages of infrared films, installation nuances, network connection, review of the best manufacturers.
Installation of underfloor heating
This option is more often used in private houses or cottages. It is also sometimes allowed in multi-apartment new buildings, provided that the housing is on the ground floor.
It remains to wait until it dries and finish the floor cladding.
Related article:
Wiring diagrams of water heated floors in a private house. What are the schemes for underfloor heating? What are the advantages of each type? Which one is right for you? Read on!
Features of laying flooring on a warm floor with your own hands
Each flooring has its own installation features. Therefore, you need to know how to handle this or that material.
When laying underfloor heating throughout the house, they try to correctly combine coatings
PHOTO: domkotlov.by
Ceramic tile
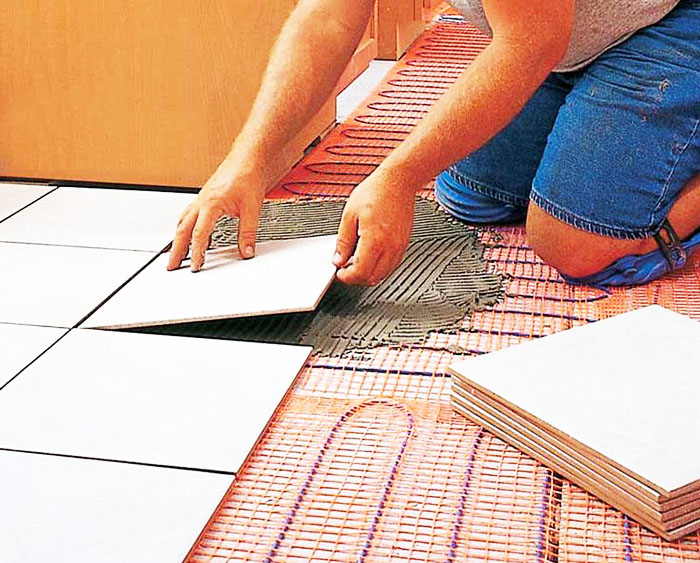
After calculating the area of the room, the tile material is purchased. Usually it is laid on a sand-cement screed, so it is pre-primed. In addition, they are guided by some tips.
- Without a preliminary layout of the tile, it is impossible to start work on the installation of tile material.
- It is imperative to keep the time for 2-3 hours after the primer layer is applied.
- After preparation, the glue is applied to the base or to the tile (choose one of two options).
- Such a tile is laid with undulating and pressing movements. After that, tapping is carried out with a rubber hammer.
Related article:
Warm floor under the tiles, which is better? From this publication you will learn about the nuances of using TP under tiles, the subtleties of installation, the pros and cons of different types of floors.
Linoleum
Initially, it is worth deciding whether to put linoleum on a warm floor. Many people think that this is unsafe, since under material is stacked a sufficient amount of highly flammable compounds.However, this opinion is wrong.
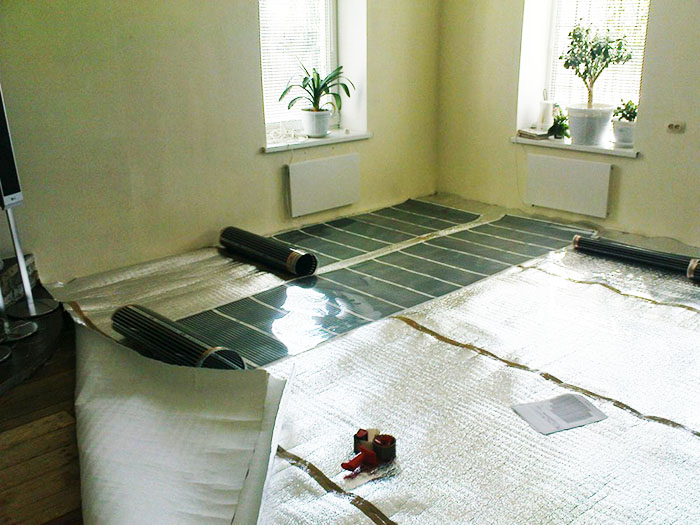
The film is laid strictly on the substrate, after which linoleum is already mounted
PHOTO: stroyfora.ru
Experts believe that in this case you need to choose one of the expensive types and follow some recommendations.
- The most common option for linoleum is a film infrared warm floor.
- The base for the material must be perfectly aligned.
- Do not use a coating that is too thin, as the thermal structure will be strongly felt under it.
- Linoleum is laid out over the entire surface for a day under the influence of a warm floor. This is necessary for the material to unfold.
If linoleum is laid exclusively on a concrete floor, then it must be fixed special adhesive base... Otherwise, waves may form in the future.
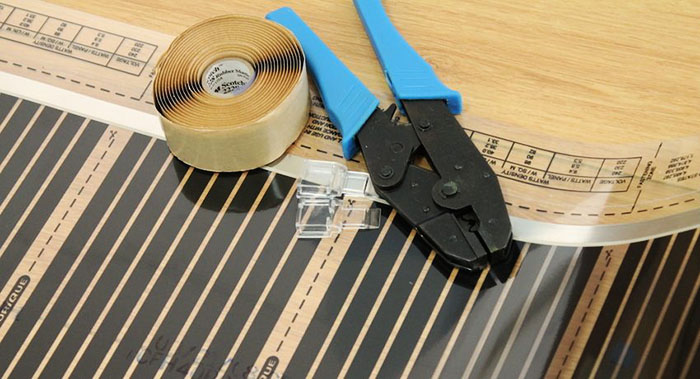
It is not advised to install special clips under linoleum, you can put the heater on a special adhesive base
PHOTO: tepliy-pol.com
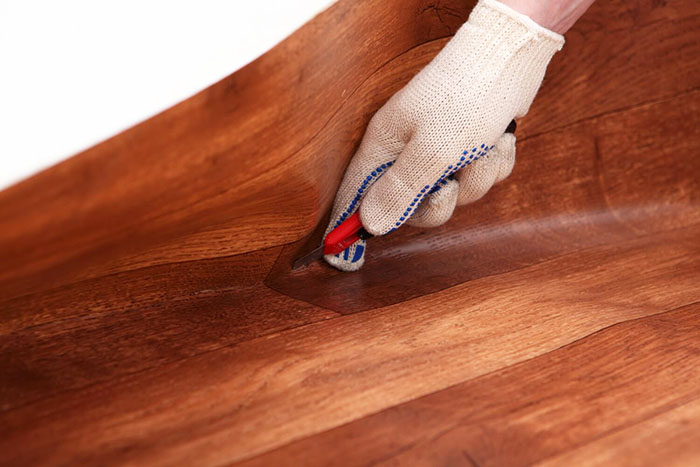
The excess length of linoleum is immediately cut off to enable it to stretch well on the surface
PHOTO: tepliy-pol.com
Related article:
Warm floor under linoleum on a wooden floor. What types of underfloor heating are there, the criteria for the correct choice, the correct installation of underfloor heating - in our publication.
Laminate
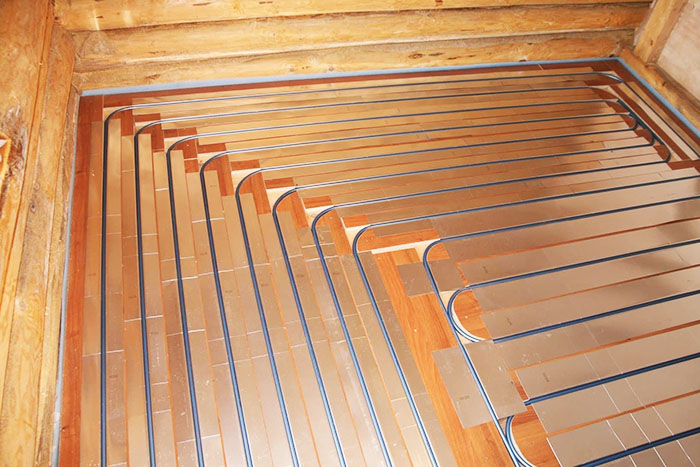
Laminate most often installed on an infrared heated floor. For this, the facing material is placed directly on the heater layer. If water heating of the floor is being arranged, then you should first install special logs, which will serve as the basis for a finishing coating.
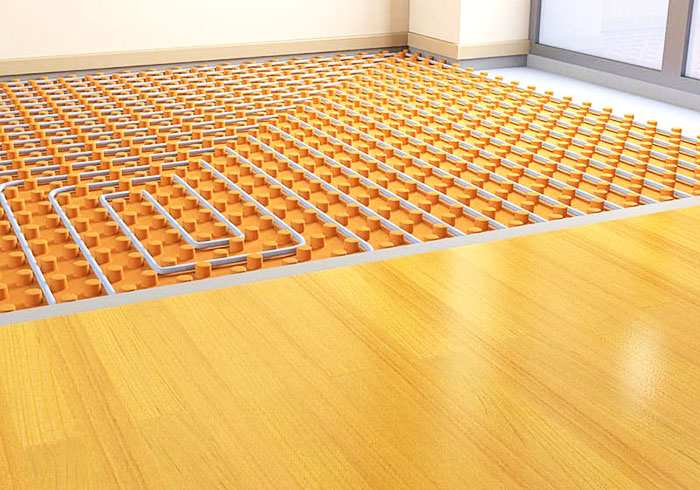
Laminate tubes are installed in a special clamp, which is spread under the entire area of the mounting floor
PHOTO: twitter.com
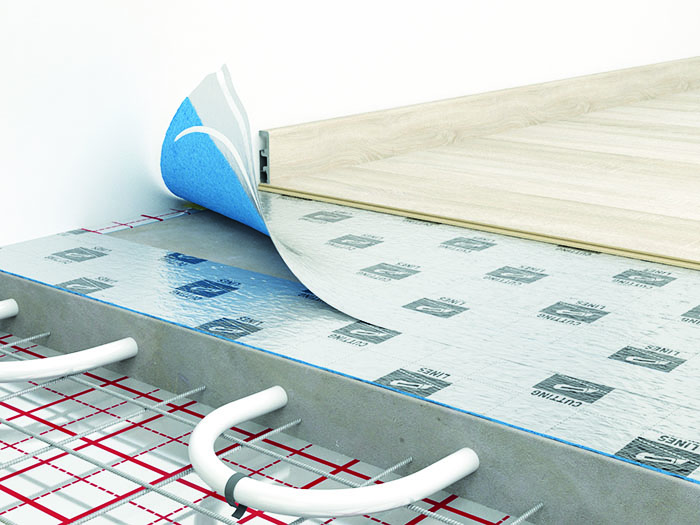
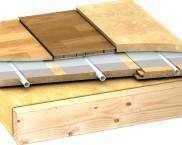
A water-heated floor cake necessarily provides for the presence of additional top layers
PHOTO: pol-exp.com
Related article:
Warm floor under the laminate on a wooden floor. In a separate publication, you can find out how underfloor heating is mounted on a wooden base and all the nuances of installation.
Video instruction on working with flooring when refining a warm floor
Dear readers, if you have any questions about installing a warm floor, feel free to ask them in the comments. Also, do not forget to rate the publication and share your experience in this direction.


